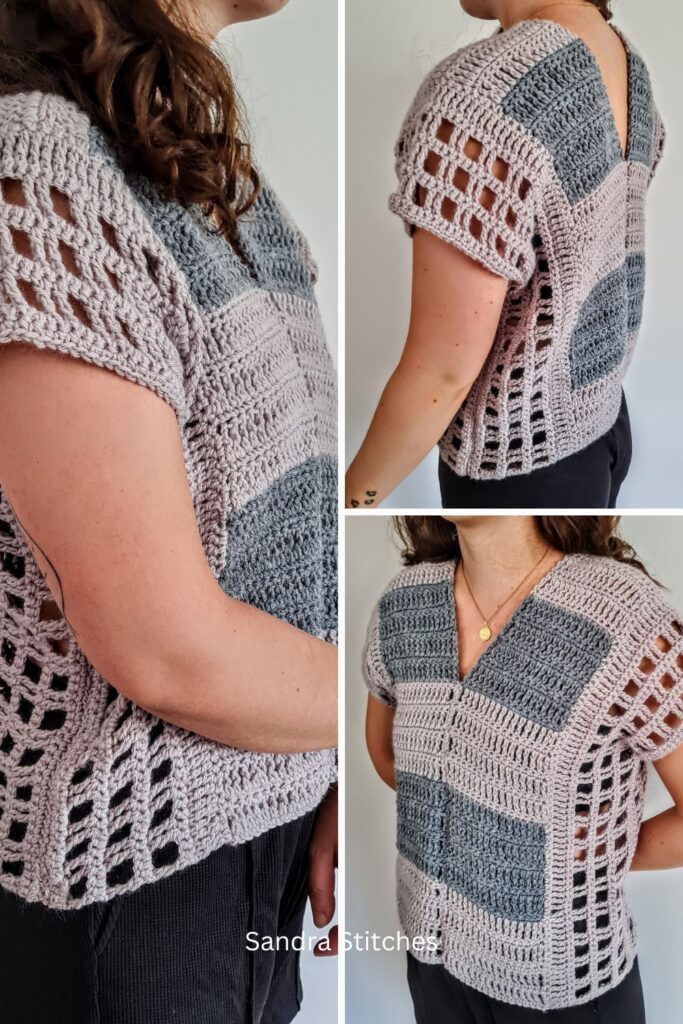
This Simple Crochet Top pattern is an easy crochet top for beginners that works up very fast. All you need to know is how to make chains, double crochet, and treble crochet stitches. It’s worked in two separate rectangle pieces which are then seamed together on the sides and shoulders. Perfect for any season!
Are you with me?
There are 2  ways to get this pattern:

Option 1: You can purchase the individual pattern as an easy-to-read, ad-free, print-friendly PDF  from Ravelry

Option 2: Scroll down to get the written instructions for this pattern for free
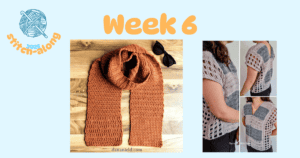
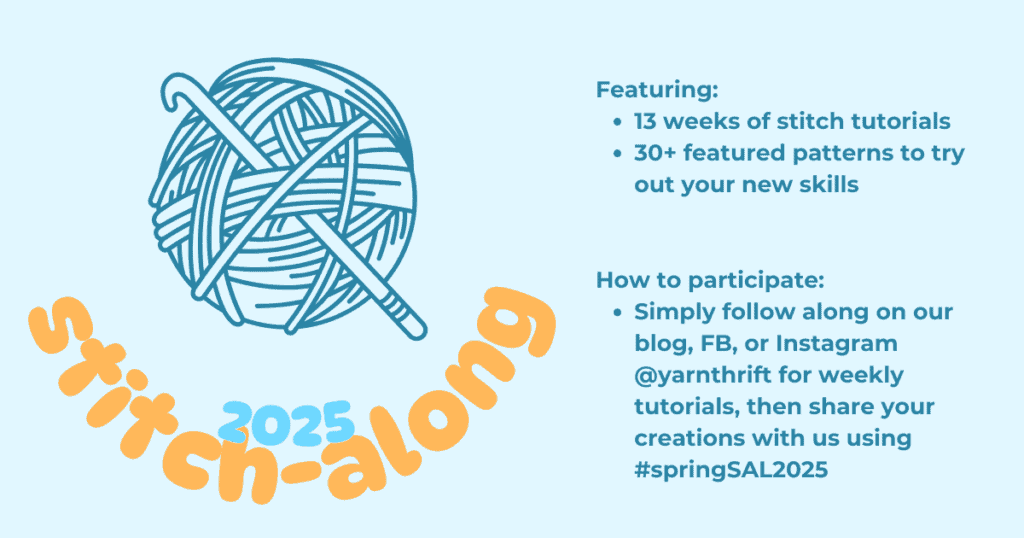
This pattern is part of the Spring Stitch Along Blog Hop 2025 – Scroll Down for details👇

** Some of the links in this post may include affiliate links. Making a purchase through one of these links pays me a small referral fee at no added cost to you. These small fees add up and help me keep the blog running. View our Disclosure and Privacy Policy for more information.
Before you get started, check out my Favorite Crochet Tools (affiliate)
Yarn Winder – a perfect crochet accessories
Neck Stretcher – to keep you without neck and back pain
Gauge Ruler – so you always get the right size
The construction of this simple crochet top
This crochet top pattern is designed to be customizable for your perfect fit! It involves creating two identical panels. Each panel is unique because you work it in two stages.
- First, you’ll crochet rows from the bottom up until you reach your desired length.
- Then, with the first stage complete, you’ll rotate the panel and crochet additional rows to achieve your preferred width.
This clever technique allows you to adjust both the length and width of the top to match your measurements, ensuring a comfortable and flattering fit.
Pattern Designed By: Sandra Stitches This pattern is copyright protected; it is unlawful to distribute this pattern in any form (free, sale or trade).
▶️ Add this pattern to your Ravelry favorites here.
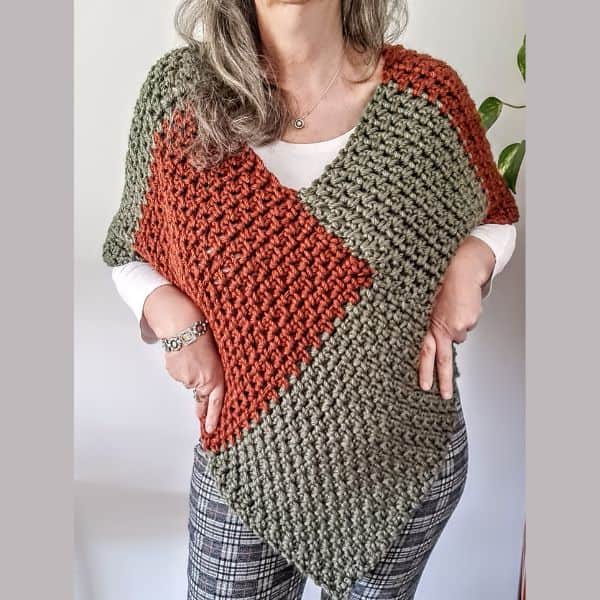
Let’s get to the pattern, shall we? Making a Granny Square Poncho
Difficulty

Materials

- Ice yarns 100% Acrylic ,100gr, 210 mt weight #3 DK Color beige and gray
- For this sample, I used 3 skeins
- or any weight # 3 yarn of your choice
Hook: US Size H-8 (5 mm)
- Yarn Needle, Scissors, Measuring Tape
Sizes
- This sample is: Size S /M (21” tall, 20” wide)
Stitch Key
- Ch = Chain
- Sc = Single Crochet
- Dc = Double Crochet
- Tr = Treble Stitch
Notes
- The pattern is worked in Rows
- Beginning ch3 does count as 1st st
- I used two colors, you can choose to use more or just one color.
- This pattern is made with two exact rectangle panels joined together.
- Each panel is made in two parts- The first is crocheted vertically and the second horizontal
- If changing colors make sure to have a changing technique
- You can decide on the width and length of the Test by adding multiples of chains at the foundation and row repeats
Instructions
We will make two identical panels, each panel will be made in two parts
Part one
Foundation chain: chain 17 +1
Row 1: Starting in the 2nd chain from the hook, work 1sc in each ch to last ch, turn your work (17)
Row 2: ch3 (counts as 1st tr), tr 1 in next st and in every st across to end of row, turn your work (17)
Row 3: ch1 (does not count as st), sc 1 in 1st st from hook, sc 1in next st and in every st across to end of row, turn your work.
Row 4+5: Repeat Row 2+3
Row2 + Row3 are the pattern repeats for the first part of our panel- I made 4 repeats and changed color every 4 repeats.
You can continue with one color
In total you need 36 Row2+Row3 repeats- make sure you end with a sc row.
If you wish to make this Top longer just add rows of the pattern repeat
You can rotate the panel on the side and continue OR Fasten your yarn, weave in ends and cut
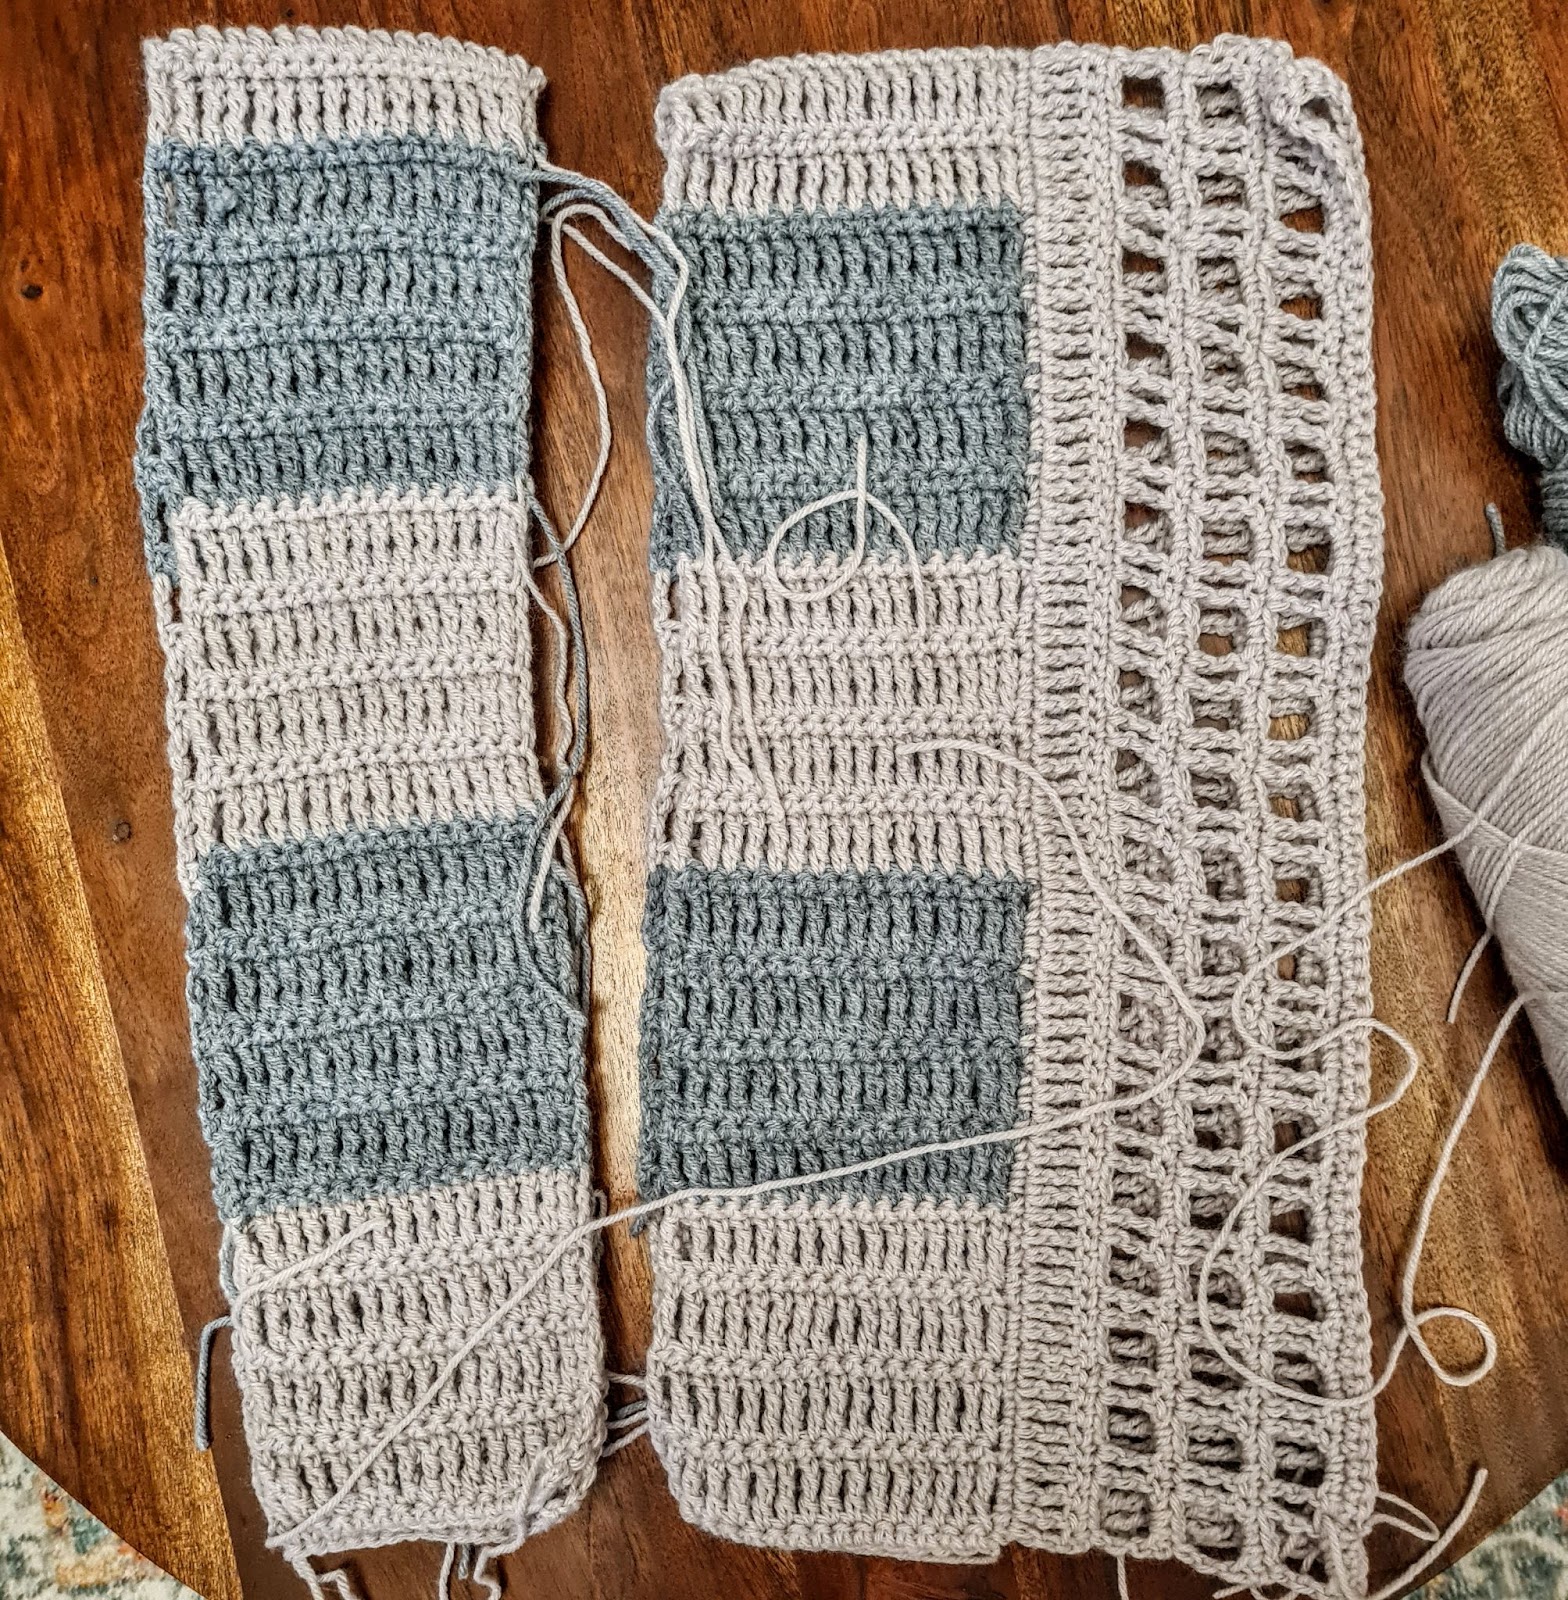
Part Two of Panel
Row 1: Lay your work flat right side up, work 1 sc on each sc st and 2sc on each tr st along the right side
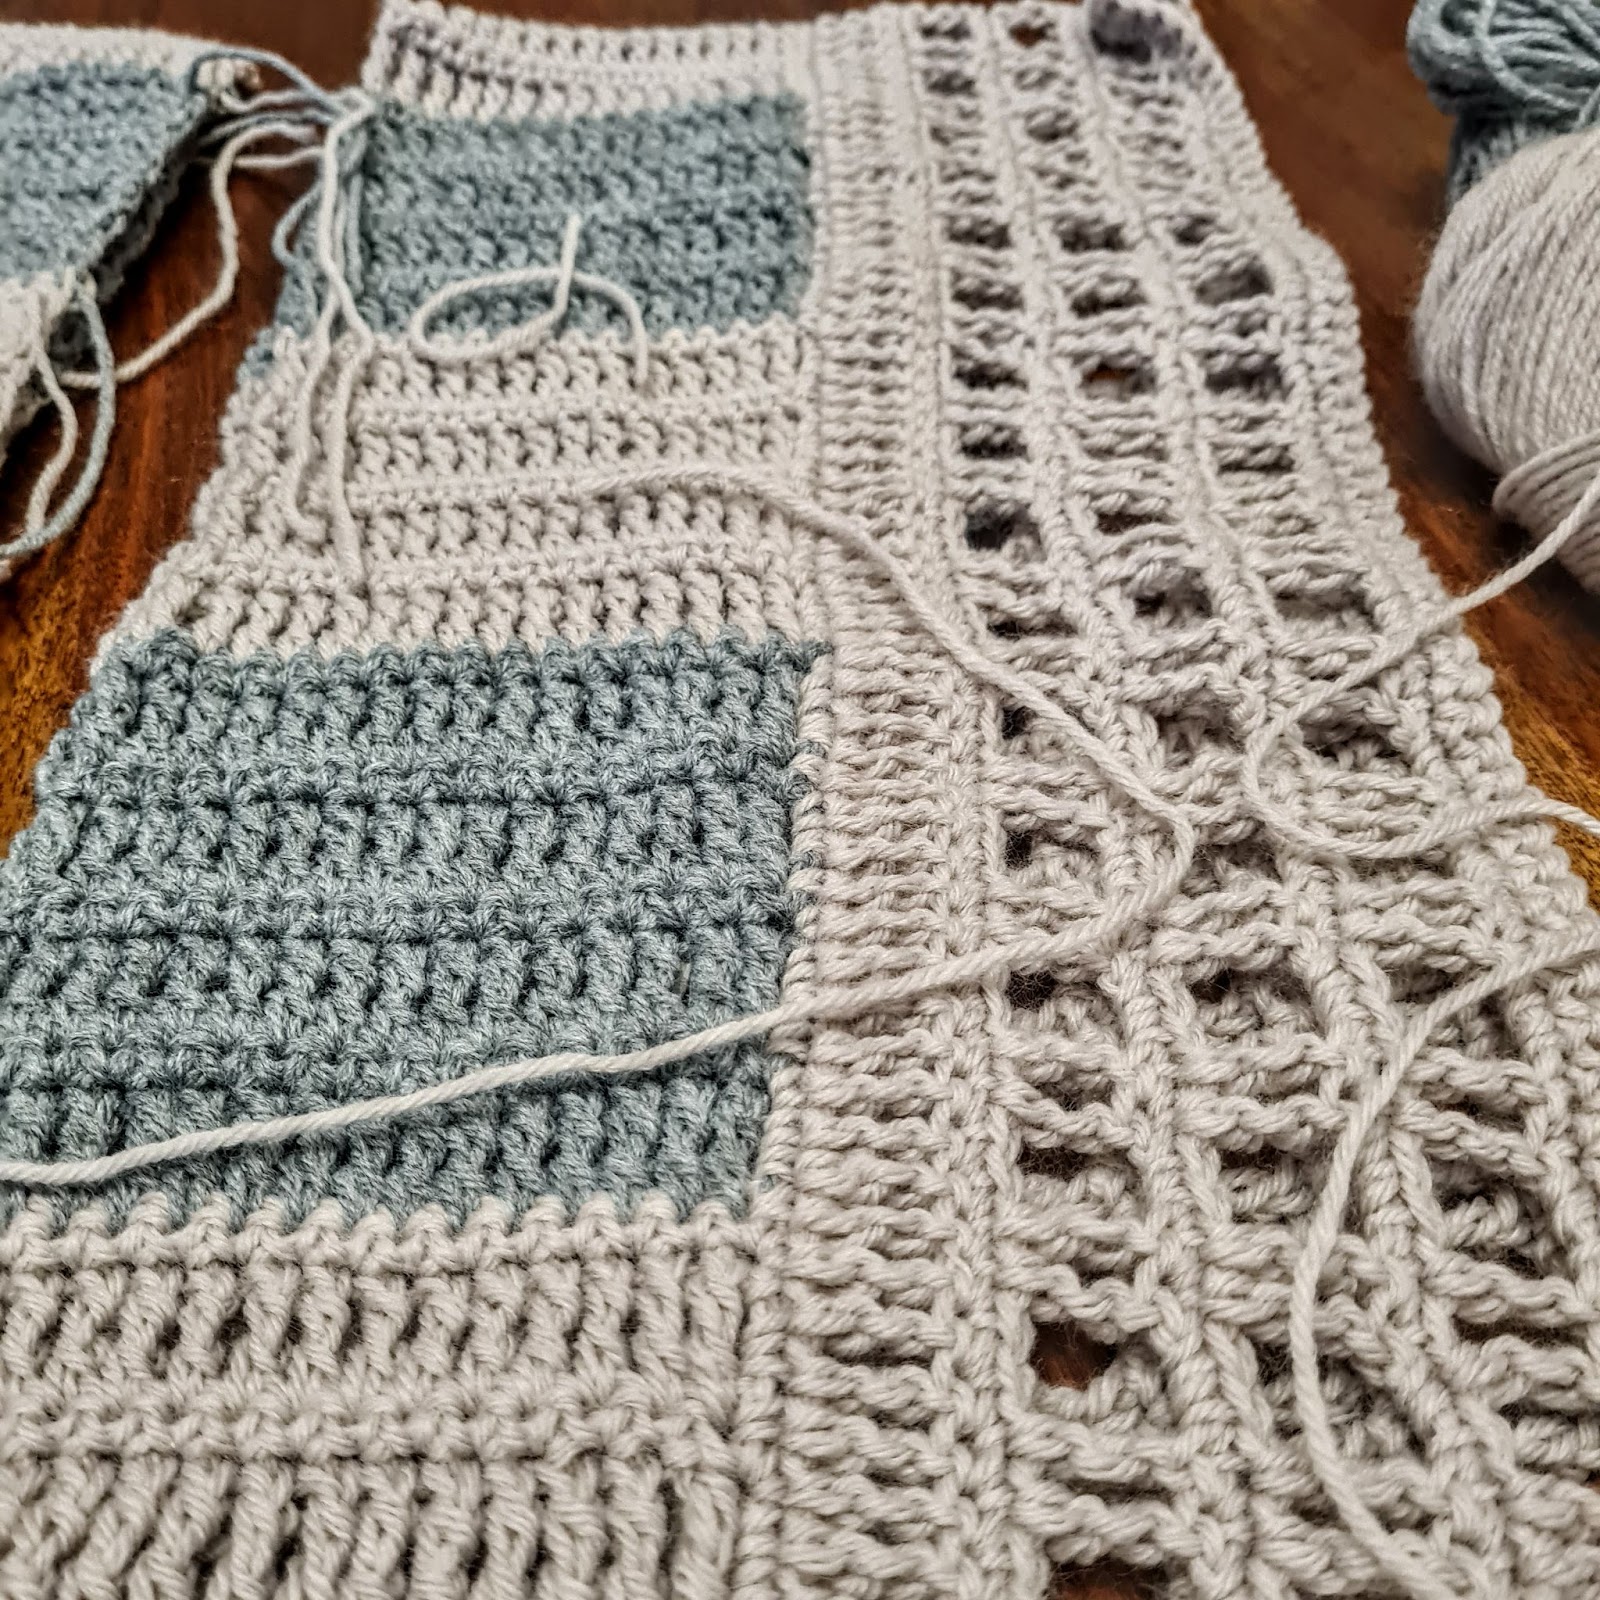
Row 2: ch3 (counts as 1st tr), tr1 in next st and in every st across to end of row, turn your work.
Row 3: ch1 (does not count as st), sc 1 in 1st st from hook, sc 1in next st and in every st across to end of row, turn your work.
Row 4:ch3 (counts as 1st tr), tr1 in next st, *[ch 2, skip 2 st, tr 1 in next st, tr 1 in next st]*, repeat from * to * to end of row- try to end with 2 tr, if you have only one space skip only 1 st at the last repeat.
Row 5: ch1 (does not count as st), sc 1 in 1st st from hook, sc 1in next st and in every st across to end of row, turn your work. Make sure to sc in each ch and st from the previous row. Count your stitches to make sure you have the same amount.
Repeat Row 4+ 5 two more times for a total of three times
Finishing
Sew two panels together on both sides from the bottom leaving space for an arm hole, and join at the center leaving a V-neck as deep as you wish.
You can leave the sides open to form a Poncho.
You can add fringes or tassels at the bottom of the top for more detail
Cut your yarn and weave in the ends.
Enjoy!
Want to save this post for later? Pin it!
Did you try this Pattern? Share a picture
Tag me on Instagram
@sandrastitchesil
P.S. Do you love this pattern? Share in the comments below and let’s build a supportive community of crocheters who love to learn and grow together!
Want more crochet Top patterns?
DISCLOSURE
AMAZON ASSOCIATES: Sandra Stitches is a participant in the Amazon Services LLC Associates Program, an affiliate advertising program designed to provide a means for sites to earn advertising fees by advertising and linking to Amazon.com.
This post contains links to products that I use and recommend, If you purchase any using my links I get a very small fee at no ad to you! Thank you for supporting my small biz!

