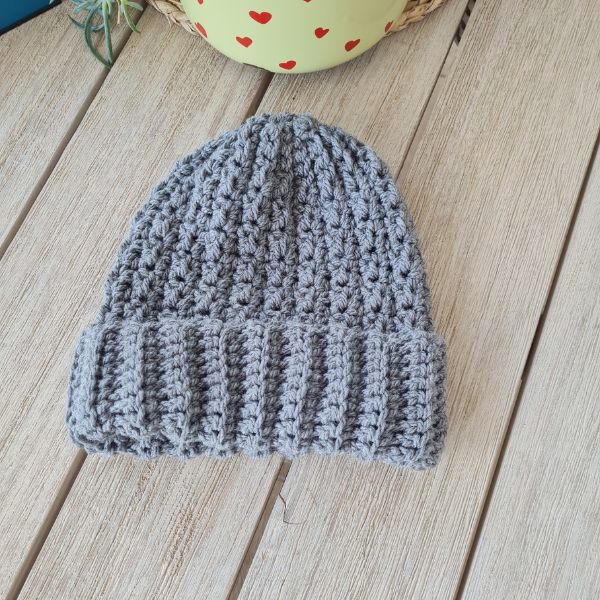
Hello, my crochet friends! If you love wearing crochet hats or beanies in the winter to keep you warm, this quick and easy crochet hat pattern is just for you!
It is worked in rows and joined on the sides, you will not need to worry about increasing or decreasing. The stitch pattern of this crochet hat pattern will do it for you!
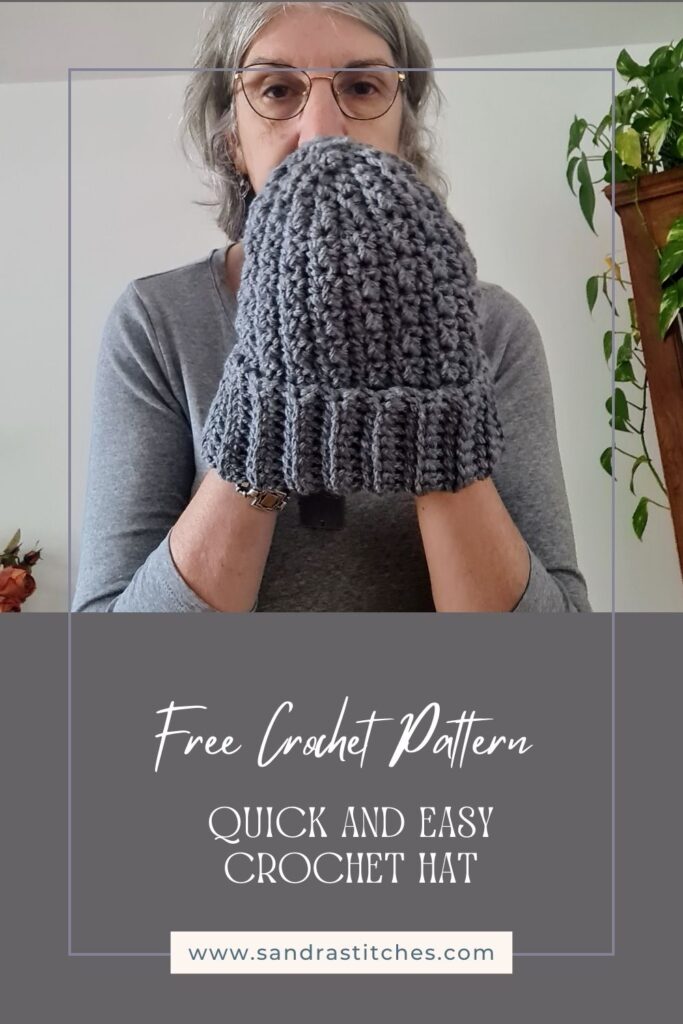
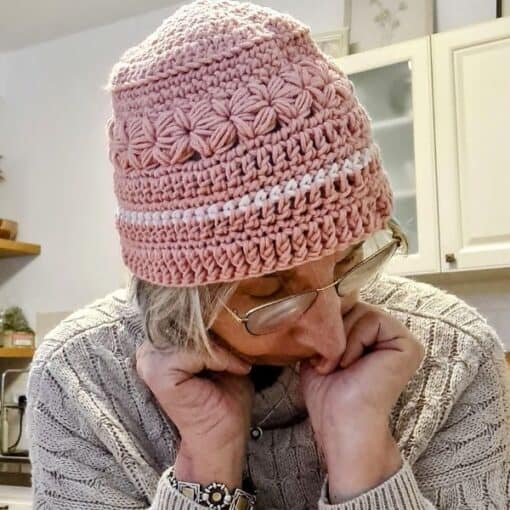
A great thing about wearing a crochet hat/ beanie is that you keep your head cozy all day, it is also super trendy and you can make multiple crochet hats to match your outfits.
Are you with me?
Find the free pattern below or purchase the ad-free PDF version of this pattern on Ravelry. The PDF is designed for printing and this way you can support me! Thank you!
What can I tell you about this Quick and Easy Crochet Hat Pattern?
- Cost-Effective Gift: Beanie-making is relatively inexpensive, especially compared to store-bought options. Create unique, from your heart gifts for friends and family, that match their tastes and personalities.
- Express Yourself Crafting your own crochet hat allows you to release your true personality and style. Choose bold colors, and unique textures, or even add personalized touches like initials or embroidery. Your quick and easy beanie becomes a wearable piece of self-expression.
** Some of the links in this post may include affiliate links. Making a purchase through one of these links pays me a small referral fee at no added cost to you. These small fees add up and help me keep the blog running. View our Disclosure and Privacy Policy for more information.
What are the crochet hat sizes?
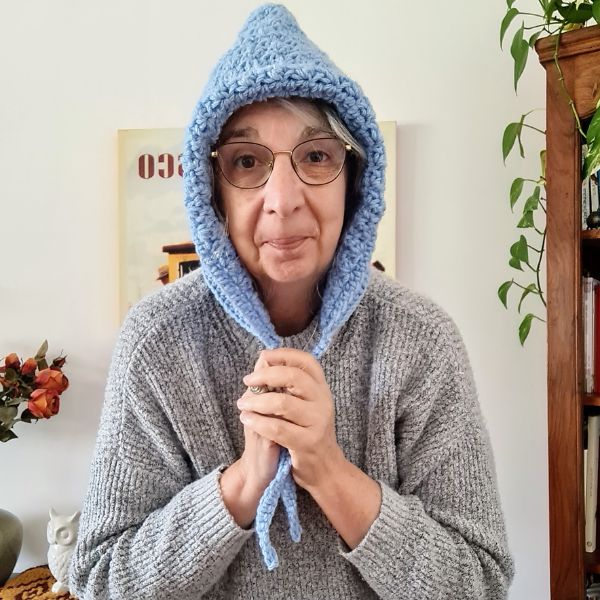
This sample is regular adult size: 12” height 20” circumference
Here is a size chart you can learn from- to adapt this pattern to your size choice, use thinner yarn(smaller) or add rows (bigger)
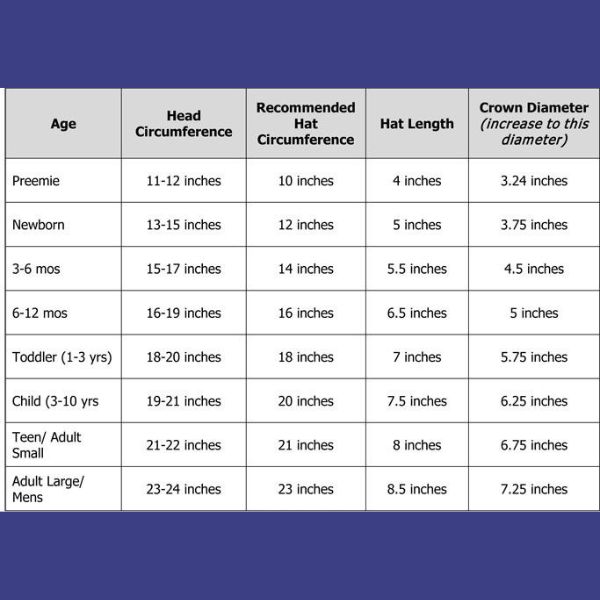
How To Measure For Crochet Beanies
A big Tip for sizing your hat correctly. The circumference of your crochet beanie should be about 1–2 inches smaller than your head circumference. This negative ease of 1–2 inches will keep your hat securely on your head.
Crochet Hats and Beanie pattern styles?
Crocheting your own winter hat isn’t just about warmth; it’s about personalization and creative expression. Let’s talk a bit about the different construction methods so you can decide which is the perfect beanie for your style and skill level. Let’s explore two popular approaches:
Flat and Cozy?
Perfect for beginners, Imagine crocheting a simple rectangle that transforms into a snug beanie with a few seams. This method avoids complex increases and decreases, making it ideal for learning basic crochet techniques.
Round and Quick:
Crocheting your hat in the round creates a continuous spiral, eliminating seams and offering a quicker completion time. This method typically involves increasing stitches to shape the crown, creating a more round fit.
Before you get started, check out my Favorite Crochet Tools (affiliate)
Yarn Winder – a perfect crochet accessories
Neck Stretcher – to keep you without neck and back pain
Gauge Ruler – so you always get the right size
Pattern Designed By: Sandra Stitches This pattern is copyright protected; it is unlawful to distribute this pattern in any form (free, sale or trade).
Top Down vs. Bottom Up Choosing Your Crochet Hat Pattern
In the world of crocheted hats, you will meet two distinct construction paths: top-down and bottom-up. Each one has its own set of advantages and challenges, and choosing the right one depends on your preferences and skill level.
Top Down:
You start with a magic ring or a chain and gradually increase stitches to form the crown. As you work downwards, you shape the brim and band, resulting in a hat that grows from the top of your head.
This method is easy to fit as you can measure yourself as you go and it also does not require any seems- all in one piece. A downside is that if you got the measurement wrong at the start, a lot of forging will take place!
Bottom Up:
This method starts with the brim and band, usually made in rows so you can control the size exactly, forming a circle by sewing the ends and working in rounds decreasing for the crown
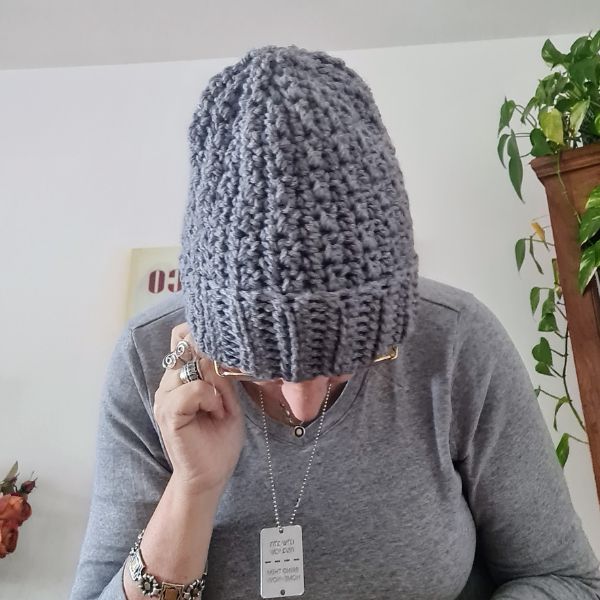
How to work the Lemon Peel stitch?
The Lemon Peel Stitch is a combination of two of the most basic crochet stitches: the single crochet and the half double crochet.(sometimes the double crochet) We simply alternate the stitches across each row; single, half double, single, half double, etc. It really is that easy! This stitch creates a beautiful effect, similar to a lemon rind 🍋
Let’s get to the pattern, shall we?
Difficulty
Experienced Beginner
Materials
Ice Yarns Atlas, #5,100% Acrylic, 100 gr , 130 m, 1 skein color grey
Subs can be: any weight #5 yarn
Hook: US Size 7mm
Yarn Needle, Scissors, Measuring Tape
Gauge
- 10 rows X 8 st
Sizes
- Regular adult size: 12” height 20” circumference
Stitch Key
- Ch = Chain
- Sc = Single Crochet
- Hdc = Half Double Crochet
- SlSt = Slip Stitch
- YO = Yarn over
Specialty Stitches
Blosc = Back loop only single crochet stitch (Insert hook into the next st (but only in the back loop). YO, pull back through that st (2 loops on hook), YO, pull through all 2 loops on hook.
Lp = Lemon Peel st: Sc 1 in st, hdc 1 in next st repeat to end. Ch 1, turn, hdc on top of sc and sc on top of hdc from previous row
Notes
- The pattern is worked in rows
- Ch1 does not count as st at the beginning of each row
- You can work this pattern with one color or multiple as you wish- I used 1 color
- If changing colors make sure to have a changing technique and weave your ends in.
- The beanie is worked in one piece alternating stitches as you go
Instructions for the quick and easy crochet hat pattern for beginners
Ch 35
Row 1: Sl st 1 in 2nd st from hook, sl st 1 in next 3 st, hdc 1, sc 1 (LP st) for next 17 st, sc 1 in next 12 st, ch 1 turn
Row 2: Blosc in 1st st from hook, blosc 1 in next 11 st, Lp st in next 17 st, sl st in next 4 st, ch1 turn
Row 3: Sl st 1 in 1st st from hook, sl st 1 in next 3 st, Lp st in next 17 st, blosc 1 in next 12 st, ch 1 turn
Row 4-42: repeat rows 2+3
Finishing
Secure yarn, fold beanie outside in and sew two heights with a yarn needle, joining middle loops
of each stitch, join the upper part (4 blosc) to close the cap.
Secure yarn weave in ends and cut
Enjoy!
Want to save this post for later? Pin it!
Did you try this Pattern? Share a picture
Tag me on Instagram
@sandrastitchesil
Want more crochet Hats and Beanies ideas?
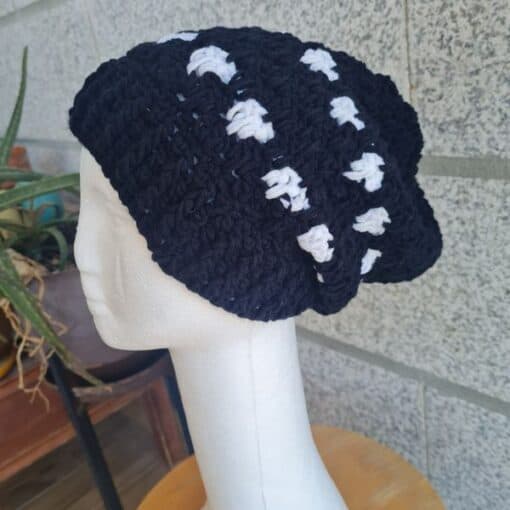
Textured Crochet Beanie Pattern
Questions?
Ask and share in our
FREE Facebook Group
DISCLOSURE
AMAZON ASSOCIATES: Sandra Stitches is a participant in the Amazon Services LLC Associates Program, an affiliate advertising program designed to provide a means for sites to earn advertising fees by advertising and linking to Amazon.com.
This post contains links to products that I use and recommend, If you purchase any using my links I get a very small fee at no ad to you! Thank you for supporting my small biz!
