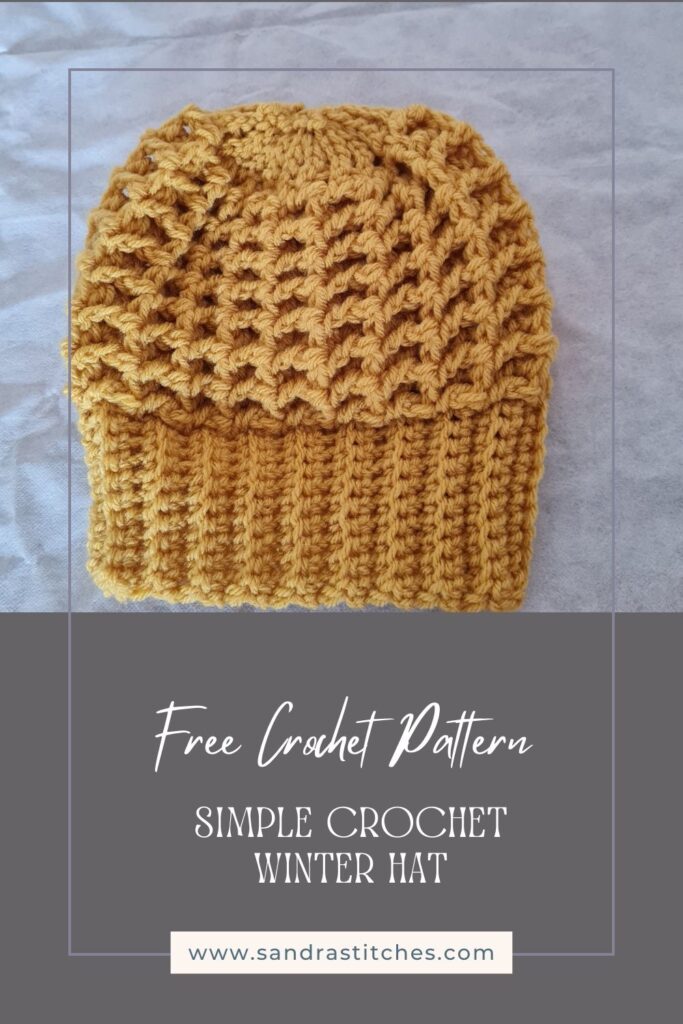
Learn how to make an easy winter crochet hat. The result is a textured, stretchy fabric that will fit you amazingly! Made with just one skein of bulky-weight yarn, this free crochet winter hat pattern is a great project for beginners and advanced crocheters alike.
I called it Sunny Life so it brings a smile to your life and a feeling of warmth!
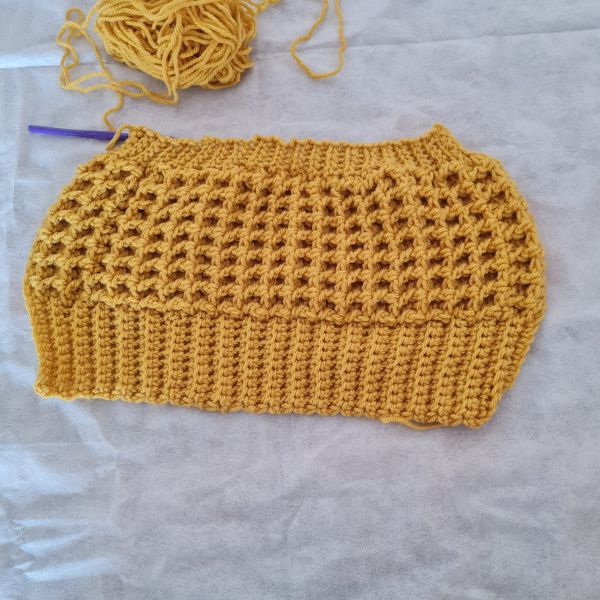
In this crochet hat pattern, I used the front post double crochet stitch and gave it a waffle look for more texture. I also wanted to make it relatively a simple construction, so the crochet pattern for the winter hat is worked as a flat rectangle and seamed.
There are lots of crochet winter hats out there, but this winter crochet hat will be your go-to for gifts!
Are you with me?
This pattern is part of the 2024 International Crochet Month Blog Hop with Underground Crafter (with prizes)
Get the Free PDF – Coupon valid for 24 hrs on March 19th ( scroll down for details) 👇
There are 2  ways to get this pattern:

Option 1: You can purchase the individual pattern as an easy-to-read, print-friendly PDF  from Ravelry This is how you support me!

Option 2: Scroll down to get the written instructions for this pattern for free
What can I tell you about this Crochet Winter Hat Pattern?
- Skill Building: This crochet hat pattern is perfect for beginners as it helps build fundamental crochet skills. You’ll practice basic stitches like chain, single crochet, and a more advanced stitch like the front post double crochet
- Quick and Gratifying: Unlike some complicated patterns that can take weeks to complete, this crochet pattern for winter hat works up quickly. you will love the sense of accomplishment that comes with finishing a project in just a few hours, boosting confidence and motivation to continue crocheting.
- Customization: One of the joys of crocheting your winter hat is the ability to customize it to suit your style. With this pattern, you can easily adjust the size to fit your head perfectly and choose yarn colors that match your wardrobe or reflect your personality.
** Some of the links in this post may include affiliate links. Purchasing one of these links pays me a small referral fee at no added cost to you. These small fees add up and help me keep the blog running. View our Disclosure and Privacy Policy for more information.
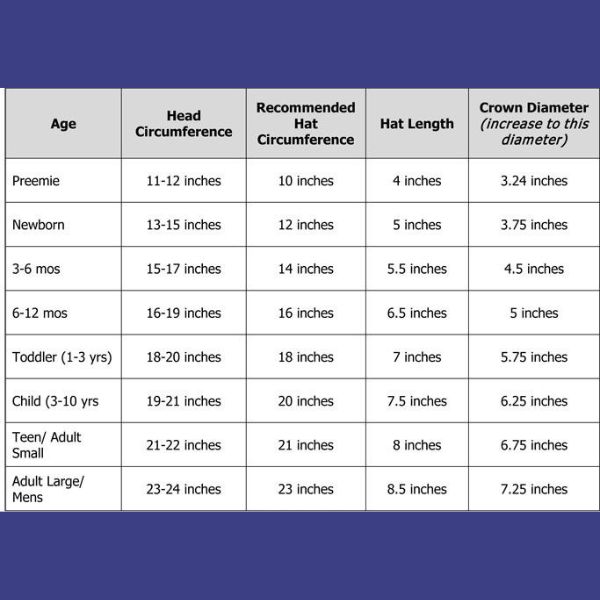
What are the crochet hat sizes?
This sample is a regular adult size: 23” circumference, 9” height
Here is a size chart you can learn from- to adapt this pattern to your size choice, use thinner yarn(smaller) or add rows (bigger)
Ways to wear a crochet beanie hat
- Classic Fit: For a timeless look, wear your winter crochet hat pulled snugly over your head. This fit keeps your ears warm and adds a touch of coziness to any outfit.
- Slouchy Style: To achieve a relaxed, slouchy look, push the winter crochet hat back on your head slightly. This style works especially well with a longer beanie, allowing the fabric to drape naturally for a casual and effortless vibe.
- Accessorized Elegance: Add a personal touch to your winter beanie by attaching a crochet flower, pom-pom, or button.
How do you make your crochet winter hat warmer?
To make your crochet hat warmer, you can try a few tricks to amp up its coziness. First, consider using a thicker yarn like a bulky or super bulky weight. This will create a denser fabric that keeps the cold out. Another option is to double up on your yarn by crocheting with two strands at once. This adds extra insulation and makes the crochet winter hat super snuggly.
Another trick is to use a tighter crochet stitch, such as half double crochet or double crochet. This creates a thicker fabric that traps more heat. If you want to go the extra mile, you can add a lining to your hat. Sewing in a fleece or flannel lining will add an extra layer of warmth and make your hat extra comfy. With these tips, your winter crochet hat will be the warmest, coziest hat around!
Before you get started, check out my Favorite Crochet Tools (affiliate)
Yarn Winder – a perfect crochet accessories
Neck Stretcher – to keep you without neck and back pain
Gauge Ruler – so you always get the right size
Pattern Designed By: Sandra Stitches This pattern is copyright protected; it is unlawful to distribute this pattern in any form (free, sale or trade).
How to work the Front Post Double Crochet Stitch?
This is a kind of basic stitch used in many crochet stitch combinations, The trick is to insert your hook around the double crochet post from the previous row starting from you and finishing towards you. See the detailed explanation below in the pattern instructions
Let’s get to the pattern, shall we?
Difficulty
Intermediate
Materials
Cygnet Chunky, 100 gr, 100% Acrylic, 156 m, color Gold,1 skein, color beige 0.5 skein
Subs can be any weight #4 yarn
Hook: US Size J-10 (6 mm)
- Yarn Needle, Scissors, Measuring Tape
Gauge
- Not Relevant
Sizes
- Regular adult size: 23” circumference, 9” height
Stitch Key
- Ch = Chain
- Sc = Single Crochet
- Dc = Double Crochet
- SlSt = Slip Stitch
- Yo = Yarn over
Specialty Stitches
Fpdc = Front Post Double Crochet (Yo, insert your hook from front to back to front around the post of the next stitch, yo, pull up a loop, yo, pull through 2 loops on your hook, yo, pull through the remaining two loops on your hook)
Notes
- The pattern is worked in rows
- Ch1 does not count as st at the beginning of each row
- Each row is worked with 3 different stitches as noted in the instructions
- This beanie is worked in one piece and joined to form
- You can add a pompon
Instructions
Ch 30+1
Row 1: Sc 1 in 2nd st from hook, sc 1 in next 9 st, dc 1 in next 15 st, slst in last 5 st, ch 1 and turn (30)
Row 2: Slst in 1st st from hook, slst in next 4 st, *[Fpdc in next st, dc 1 in next st]* repeat from *to* for a total of 7 times, Fpdc 1 in next st, sc 1 in next 10 st, ch 1 and turn (30)
Row 3: Sc1 in 1st st from hook, sc 1 in next 9 st*[dc1 in next st, Fpdc 1 in next st]* repeat from *to* for a total of 7 times, dc 1 in next st, slst 1 in next 5 st, ch 1 and turn (30)
Rows 4- 42: repeat rows 2+3
Finishing
Finishing
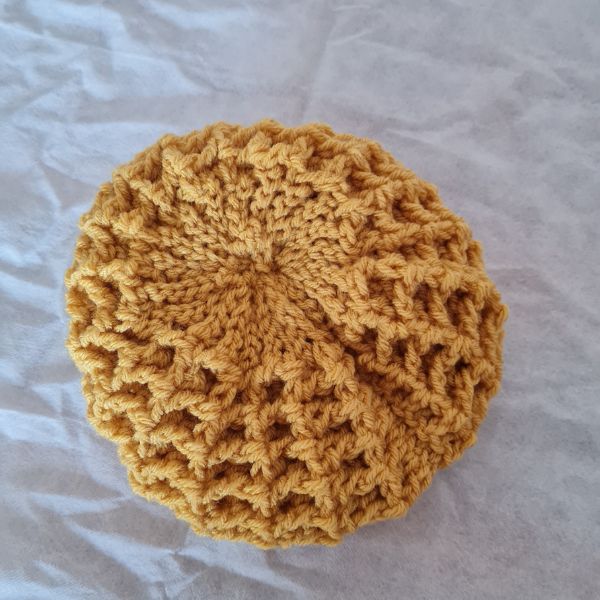
Fold in half right side facing in, Join 2 sides using the tapestry needle, and close the hole on the top ( the slipstitch part)
Secure yarn weave in ends and cut.
Enjoy!
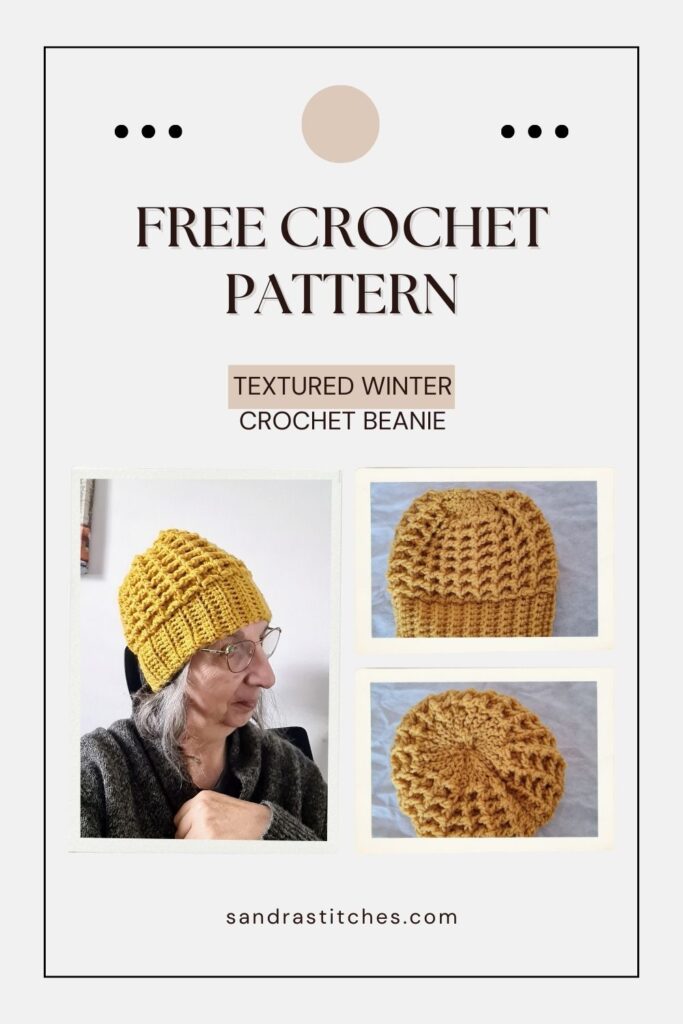
Want to save this post for later? Pin it!
The 2024 International Crochet Month Blog Hop is hosted by Underground Crafter, click the image for the main Blog Post
Every day during the International Crochet Month Blog Hop, a new permanently free crochet pattern will be released
Find the Free PDF download for this pattern valid for 24 hrs on March 19th using coupon code: WINTER on Ravelry
Did you try this Pattern? Share a picture
Tag me on Instagram
@sandrastitchesil
Want more crochet Hats and Beanies ideas?
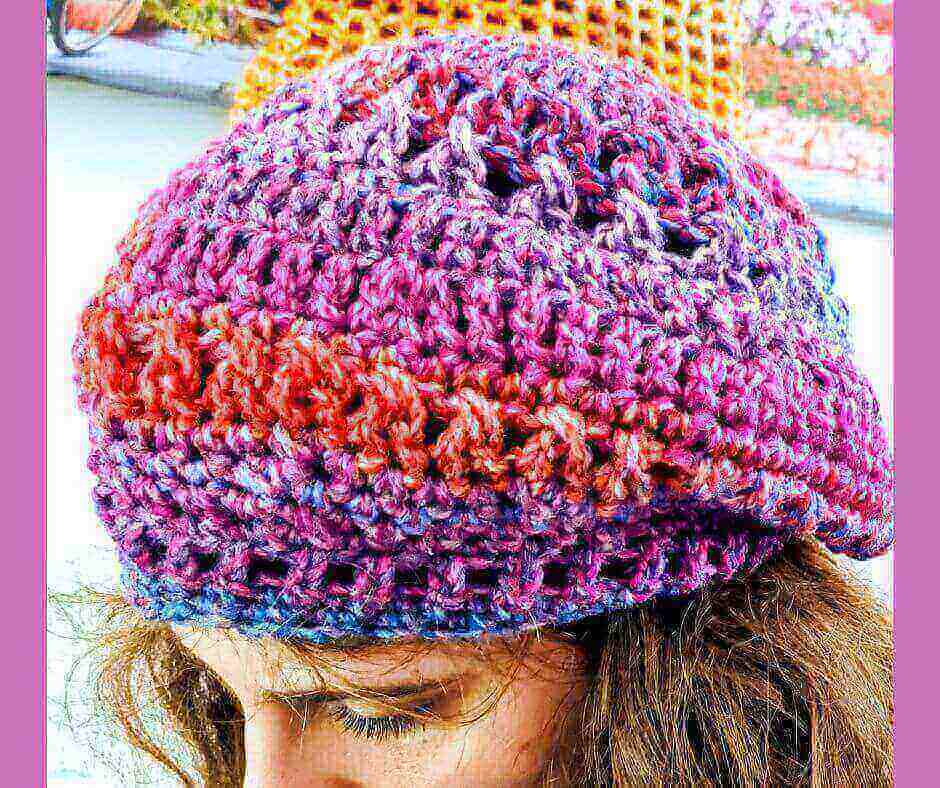
Textured Crochet Beanie Pattern
Questions?
Ask and share in our
FREE Facebook Group
DISCLOSURE
AMAZON ASSOCIATES: Sandra Stitches is a participant in the Amazon Services LLC Associates Program, an affiliate advertising program designed to provide a means for sites to earn advertising fees by advertising and linking to Amazon.com.
This post contains links to products that I use and recommend, If you purchase any using my links I get a very small fee at no ad to you! Thank you for supporting my small biz!


6 thoughts on “Winter Crochet Hat ( Sunny Life Beanie)”
Hi Sandra,
Many thanks for this cozy hat – it looks ideal for frosty winter days.
Unfortunately I missed the free download (computer crashed & got tangled doing so-called ‘upgrades’ grrr) so looking here but it looks like the pattern finishes at row 42 – without the ? top / bottom ribbing ? Can you clarify please?
Many thanks, LornaM
Hi Lorna!
The pattern is worked in rows and then joined to form the round. so you need to work 42 rows- on each row there are stitches for the brim and the top.
Hope this helps
Sandra
Hi Sandra,
Many apologies & thank you so much for your explanation. I had read that the pattern was in rows & joined – but had visualised it in my mind as horizontal rows rather than vertical, oops, my bad, a good lesson learned 🙂
With best wishes, LornaM
Happy it helped you!
Thank you so much for this pattern, and especially for the size chart instead of a gauge. My crochet has never looked right when using a gadget, but these look perfect.
Hello Linda!
So Happy to help!
Sandra