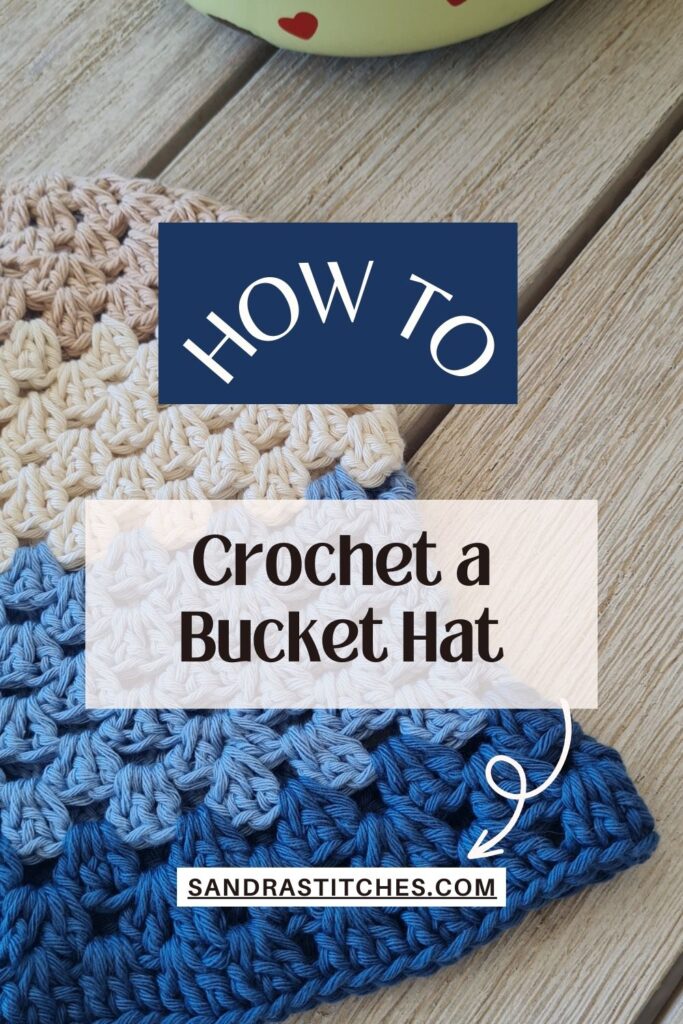
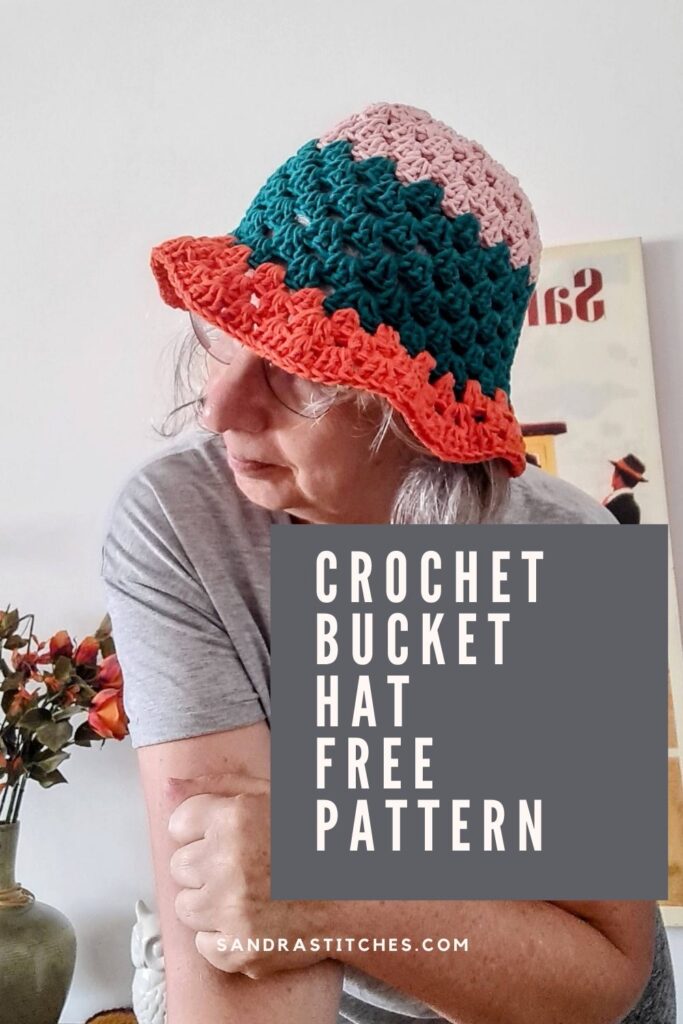
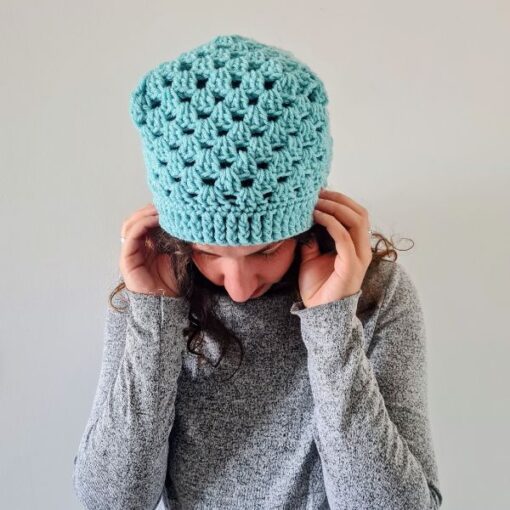
Summer is here and we need to cover our heads and keep cool! Try this super easy and quick Crochet Bucket Hat Pattern.
Using 3 double crochet clusters and 4 different cotton yarn colors, and let’s say 2 hours work at most and you have a cute , washable summer bucket hat ready to hit the beach!
This pattern has photo tutorials so you will find it easier to work it.
Are you with me?
There are 2  ways to get this pattern:

Option 1: You can purchase the individual pattern as an easy-to-read, print-friendly PDF  from Ravelry

Option 2: Scroll down to get the written instructions for this pattern for free
What size should I make my crochet bucket hat?
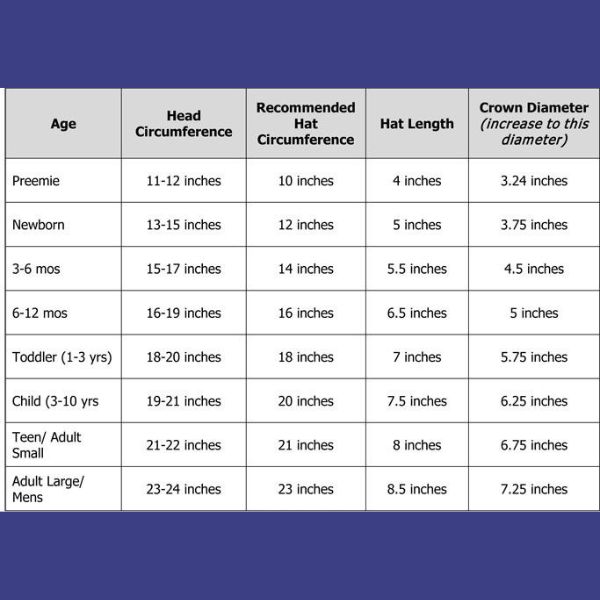
You will find instructions in the free pattern below ⬇️
** Some of the links in this post may include affiliate links. Purchasing one of these links pays me a small referral fee at no added cost to you. These small fees add up and help me keep the blog running. View our Disclosure and Privacy Policy for more information.
Before you get started, check out my Favorite Crochet Tools (affiliate)
Yarn Winder – a perfect crochet accessories
Neck Stretcher – to keep you without neck and back pain
Gauge Ruler – so you always get the right size
Pattern Designed By: Sandra Stitches This pattern is copyright protected; it is unlawful to distribute this pattern in any form (free, sale or trade).
▶️ Add this pattern to your Ravelry favorites here
Let’s get to the pattern, shall we? Making Crochet Bucket Hat

Materials
Drops Paris Uni Color 100% cotton, 50g, 75 m (82 yds) color dark blue, light blue, and cream – or any Weight #4- Total of approx 160 yards
Or use any cotton or blended cotton yarn weight # 4 yarn

Hook: US Size (5mm)
Yarn Needle, Scissors, Measuring Tape
Gauge
- 15 st X 7 rounds ( 4” X 4”)
Sizes
- It can be modified as you wish
- This sample is: 8” in height and 21” in circumference before the brim
Stitch Key
- Ch = Chain
- Sc = Single Crochet
- St = Stitch
- Dc = Double Crochet
- Slst = Slip stitch
- Inc = Increase round
Specialty Stitch
3Dc Cluster = 3 Double crochet st in same space
Notes
- The pattern is worked in rounds
- Ch 3 counts as st at the beginning of the round
- All rounds from round 2 will be worked between the posts of Dc’s, not on top of the Dc’s
- This pattern uses pattern repeats.
- You can work this pattern with one color or multiple as you wish- I used four colors
Instructions
I used four colors and changed every few rows ( I used scrap yarn so as the yarn ran out) You decide when to change
Ch 4 and Slst to 1st ch to form a round, or use the magic circle method
Round 1:Ch 3 ( counts as 1st st), dc 11 in circle, slst to ch3 to close the round (12)
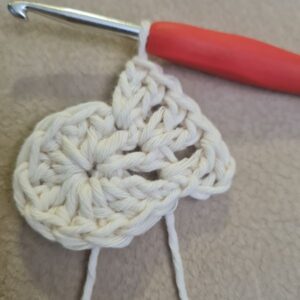
Round 2: Inc, Slst to 1st space between the posts of dc from prev round, Ch 3, dc 1 in same space, dc 2 in next space ( between posts), continue around to end of the round, slst to ch3 to close the round (24)
Do you want to save this post for later? Pin it!
Round 3: Inc, Slst to 1st space between the posts of dc from prev round, Ch 3, dc 2 in same space, dc 3 in next space ( between the 2dc clusters from prev round), continue around to end of the round, slst to ch3 to close the round (36)
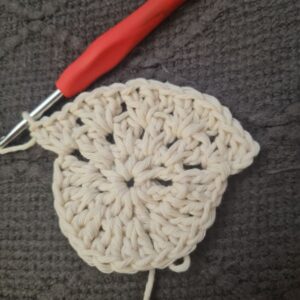
Round 4: Inc, Slst to 1st space between the 3 dc clusters from prev round, Ch 3, dc 3 in same space,* dc 3 in next space ( between the 3 dc clusters from prev round), dc 4 in next space, repeat from *around to last space of the round dc 3 , slst to ch3 to close the round (42)
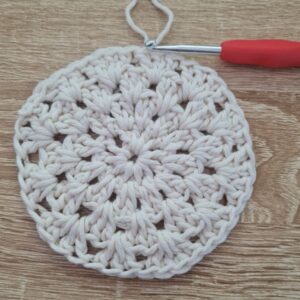
Last Increase round
Round 5: Inc, Slst to space between the 2 first posts of the 4dc cluster from prev round, Ch 3, dc 2 in same space, dc 3 in next space ( between the 4dc cluster and next 3 dc cluster from prev round), dc 3 in next space (between 3dc cluster and next 3 dc cluster), dc 3 in space between the first 2 dc from 4dc cluster, alternate as in the photo to end of round slst to ch3 to close the round (54)
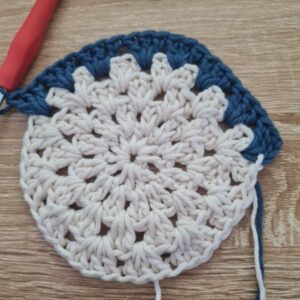
Here we stop increasing – you should have around a 5.5” – 6.5” diameter circle
Round 6-15: Slst to 1st space between the 3 dc clusters from the prev round, Ch 3, dc 2 in same space,* dc 3 in next space, repeat from *around to last space of the round dc 3, slst to ch3 to close the round (54)
Try your hat on and make sure it fits your head. If you need more continue repeats of the last round
Now we begin the brim
Round 16: INC Slst to 1st space between the 3 dc clusters from prev round, Ch 3, dc 3 in same space,* dc 3 in next space ( between the 3 dc clusters from prev round), dc 4 in next space, repeat from *around to last space of the round dc 3, slst to ch3 to close the round (63)
Round 17: Inc, Slst to space between the 2 first posts of the 4dc cluster from prev round, Ch 3, dc 2 in same space, dc 3 in next space ( between the 4dc clusters and next 3 dc cluster from prev round), dc 3 in next space (between 3dc cluster and next 3 dc cluster, dc 3 in space between the first 2 dc from 4dc cluster, alternate as in the photo to end of round slst to ch3 to close the round (81)
Round 18: INC Slst to 1st space between the 3 dc clusters from prev round, Ch 3, dc 2 in same space,* dc 3 in next space ( between the 3 dc clusters from prev round), dc 3 in next space, repeat from *around to last space of the round dc 4, slst to ch3 to close the round (93)
You can continue repeating rounds 17+18 for a longer brim
Finishing
Cut your yarn and weave in the ends.
Did you try this Pattern? Share a picture
Tag me on Instagram
@sandrastitchesil
Want more sustainable Crochet Patterns?
DISCLOSURE
AMAZON ASSOCIATES: Sandra Stitches is a participant in the Amazon Services LLC Associates Program, an affiliate advertising program designed to provide a means for sites to earn advertising fees by advertising and linking to Amazon.com.
This post contains links to products that I use and recommend, If you purchase any using my links I get a very small fee at no ad to you! Thank you for supporting my small biz!

