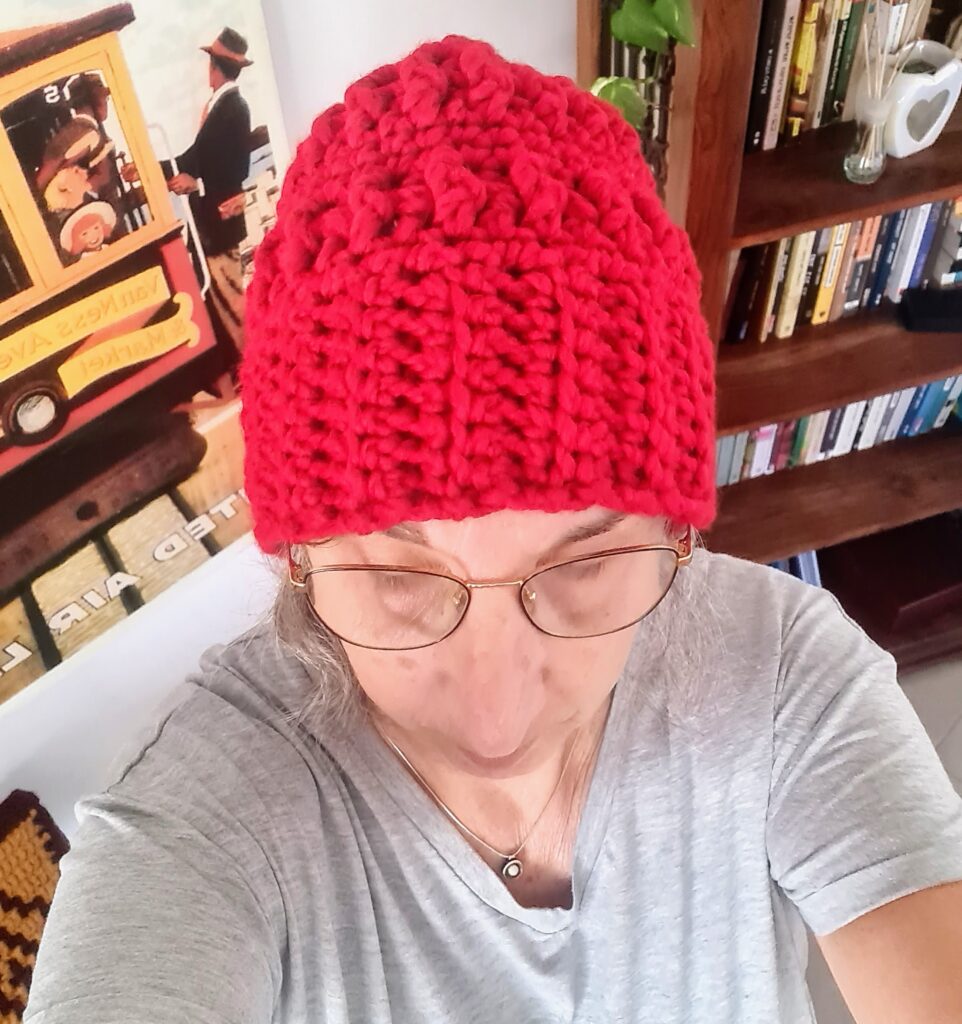
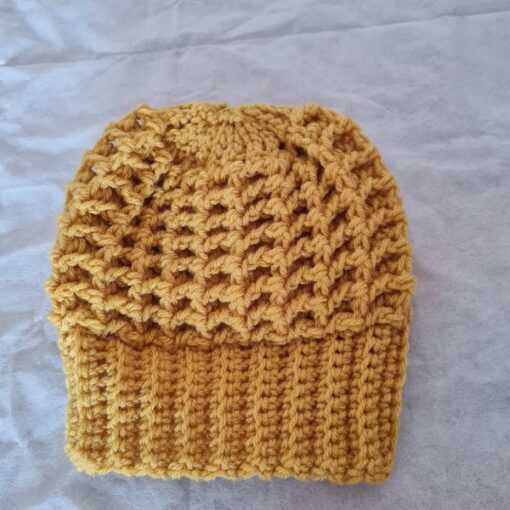
I love any textured crochet beanie pattern!
This beanie pattern is no different using basic stitches and combining more textured ones, makes your beanie a cozy statement piece.
The pattern is categorized as intermediate level only because we use several specialty stitches, but it really is very simple!
Are you going to give it a try?
Look for the Marly Bird 24 Days of Quickies with Friends
Blog hop event details below 👇
Find the free pattern below or purchase the ad-free PDF version of this pattern on Ravelry. The PDF is designed for printing and this way you can support me! Thank you!
What can I tell you about this textured crochet beanie pattern?
- Using a bulky or chunky weight yarn it works really quick
- It is unisex style so you can make it in different colors to match your gift list
- Cozy, textured, and very easy to work
- Pompons are optional, I do not use them but adding one can make a big impact!
** Some of the links in this post may include affiliate links. Making a purchase through one of these links pays me a small referral fee at no added cost to you. These small fees add up and help me keep the blog running. View our Disclosure and Privacy Policy for more information.
Before you get started, check out my newest favorite finds!
Yarn Winder – a perfect crochet accessories
Domestika creative courses – choose your next craft adventure
Neck Stretcher – to keep you without neck and back pain
Gauge Ruler – so you always get the right size
Pattern Designed By: Sandra Stitches This pattern is copyright protected; it is unlawful to distribute this pattern in any form (free, sale, or trade).
Let’s get to the pattern, shall we?
Difficulty
Intermediate
Materials
- Kartopu Super Chunky – Soft touch Bulky, 100gr,80% Acrylic, 20% Wool, 98 yards, 1 skein
- Subs can be: any soft acrylic or blended yarn weight #5 – 6
- Hook: 8 mm
- Yarn Needle, Scissors, Measuring Tape
Sizes
- One size 9” in height, 19 “in circumference
Gauge
8 st X 7 rows ( pattern stitches)
Stitch Key
- ch = Chain
- sc = Single Crochet
- Sl St = Slip Stitch
- Yo = Yarn over
- dec = Decrease
- bpdc = Back post double crochet
- fpdc = Front post double crochet
- Sc2Tog = Single crochet 2 together
- blosc = Back loop only single crochet
Specialty Stitches
Front post double crochet stitch: Yo, insert your hook from front to back to front around the post of the next stitch, yo, pull up a loop, yo, pull through 2 loops on your hook, yo, pull through the remaining two loops on your hook.
Back post double crochet stitch: Yo, insert your hook from back to front around the post of the next stitch, yo, pull up a loop, yo, pull through 2 loops on your hook, yo, pull through the remaining two loops on your hook.
Single Crochet 2 together: Insert hook into stitch indicated, pull up a loop, insert hook into next stitch indicated, draw up a loop, yo, pull through all 3 loops on hook.
Back loop only single crochet: Insert hook into the next st (but only in the back loop). yo, pull back through that st (2 loops on hook), yo, pull through all 2 loops on hook.
Notes
- This pattern is worked in rounds and rows
- Ch1 does not count as 1st st
- Ch 3 at the beginning of the row or round does count as 1st stitch.
- This pattern is worked bottom-up
- The brim is worked in rows and joined to form a round
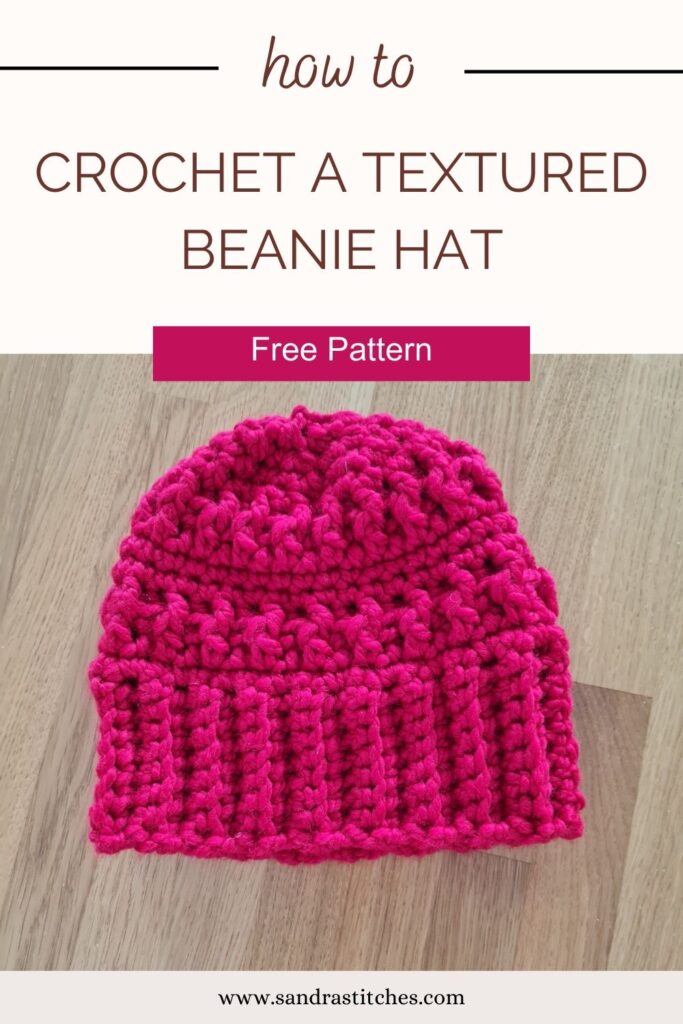
Want to save this post for later? Pin it!
Click Here to download a printable version of this pattern
Instructions
Brim: Chain 9
Row1: Sc1 in 1st st from hook, sc1 in next and across to end of row, ch1 and turn (8 st)
Row 2: Blosc 1 in 1st st from hook, Blosc in next and across to end of row, ch1 and turn (8 st)
Rows 3-38: Repeat row 2 (8 st)
Close the brim to a circle by Slst both height ends to each other on the wrong side, ch 1, turn work to the right side.
Now we will work in rounds
Body
Round 1: Sc1 in 1st st from hook, sc 1 in next st and around to end of round, Slst to 1st st. (38 st)
Round 2: Ch 3, dc 1 in next st, dc 1 in every st around to end of round, Slst to 3rd ch of beginning ch 3 (38 st)
Round 3: Ch3, *[fpdc in next st, bpdc in next st]* repeat from *to* around, Slst to 3rd ch of beginning ch 3. (38 st)
Round 4+5: Ch 1, sc 1 in 1st st from hook, sc 1 in next and around on each st to end of the round, Slst to 1st st (38 st)
Round 6+7: repeat round 2+3
Round 8: (Dec), Ch 1, sc 1 in next 3 st, sc2tog in next, sc 1 in next 3 st, sc2tog in next, and around to end of the round, finish with sc 1 in last 2 st, Slst to 1st st.
Round 9: (Dec), Ch 1, sc 1 in next 2 st, sc2tog in next, sc 1 in next 2 st, sc2tog in next, and around to end of the round, finish with sc 1 in last st, Slst to 1st st.
Round 8: (Dec), Ch 1, sc 1 in next st, sc2tog in next, sc 1 in next st, sc2tog in next, and around to end of the round, Slst to 1st st.
Round 9: (Dec), Ch 1,sc2tog on every st around to finish the closing- if your counting is off, do not worry, we will close the hole by sewing. Finish with Slst to 1st st.
Secure yarn and cut leaving a tail.
Finishing
Flip your hat to the wrong side, using the tapestry needle, sew and close the gap on the top of the hat, cut your yarn and weave in ends.
You can add a pompom
Enjoy!
Find the free pattern below or purchase the ad-free PDF version of this pattern on Ravelry. The PDF is designed for printing and this way you can support me! Thank you!
I’m participating in the Marly Bird 24 Days of Quickies blog hop!
Get 1 free copy of the Red Beanie Hat PDF when you click the below button No Code Needed; valid only on day 5 of 24 (see the official 24 Days of Quickies post for details).

Want to save this post for later? Pin it!
Did you try this Pattern? Share a picture
Tag me on Instagram
@sandrastitchesil
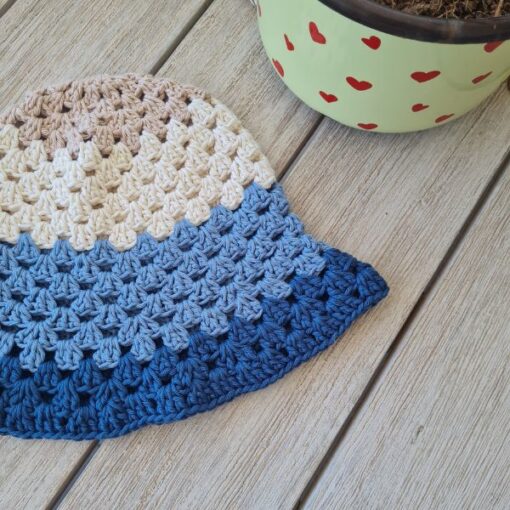
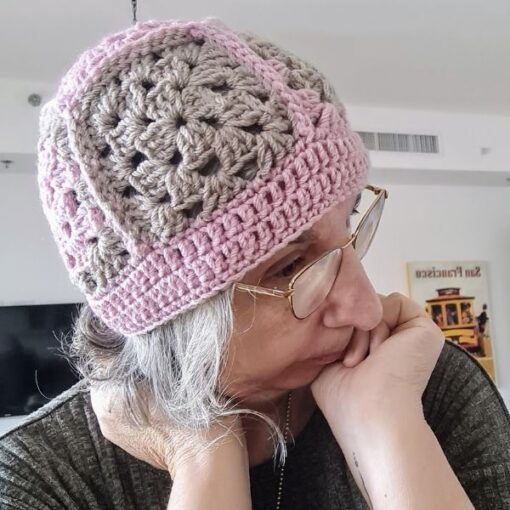
Want to try more beanie patterns?
Questions?
Ask and share in our
FREE Facebook Group
DISCLOSURE
AMAZON ASSOCIATES: Sandra Stitches is a participant in the Amazon Services LLC Associates Program, an affiliate advertising program designed to provide a means for sites to earn advertising fees by advertising and linking to Amazon.com.
This post contains links to products that I use and recommend, If you purchase any using my links I get a very small fee at no ad to you! Thank you for supporting my small biz!

8 thoughts on “Textured Crochet Beanie Pattern”
Hi Sandra,
I signed up for your free pattern. Got a pop up that said “Thank you!” Your free copis is on it’s way to your inbox. That was early this morning. I still haven’t received it. It’s not in my junk mail either.
Hi Christie
Here is the direct link to the pattern- please make sure you use it before the free offer ends https://www.ravelry.com/patterns/library/red-beanie-hat
Thanks for the link! I didn’t get mine via email either but now have it on Ravelry! Thanks again!