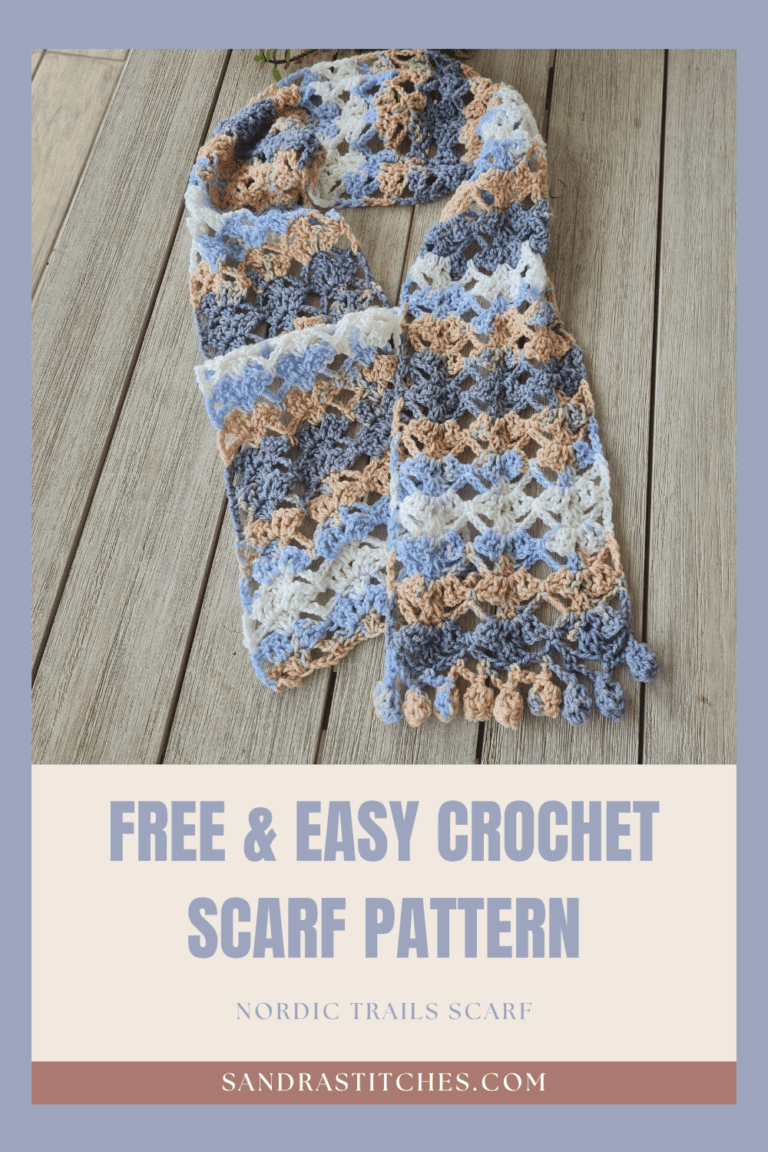
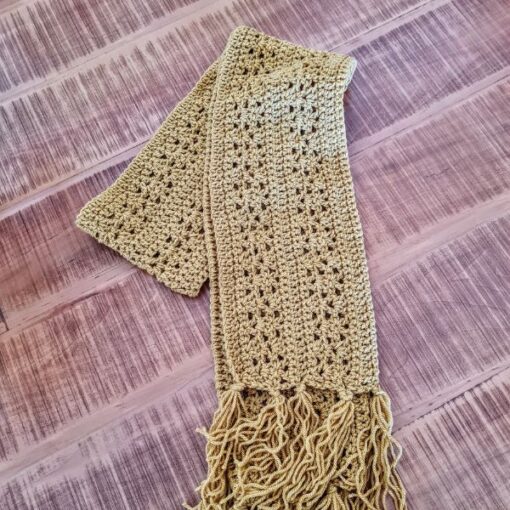
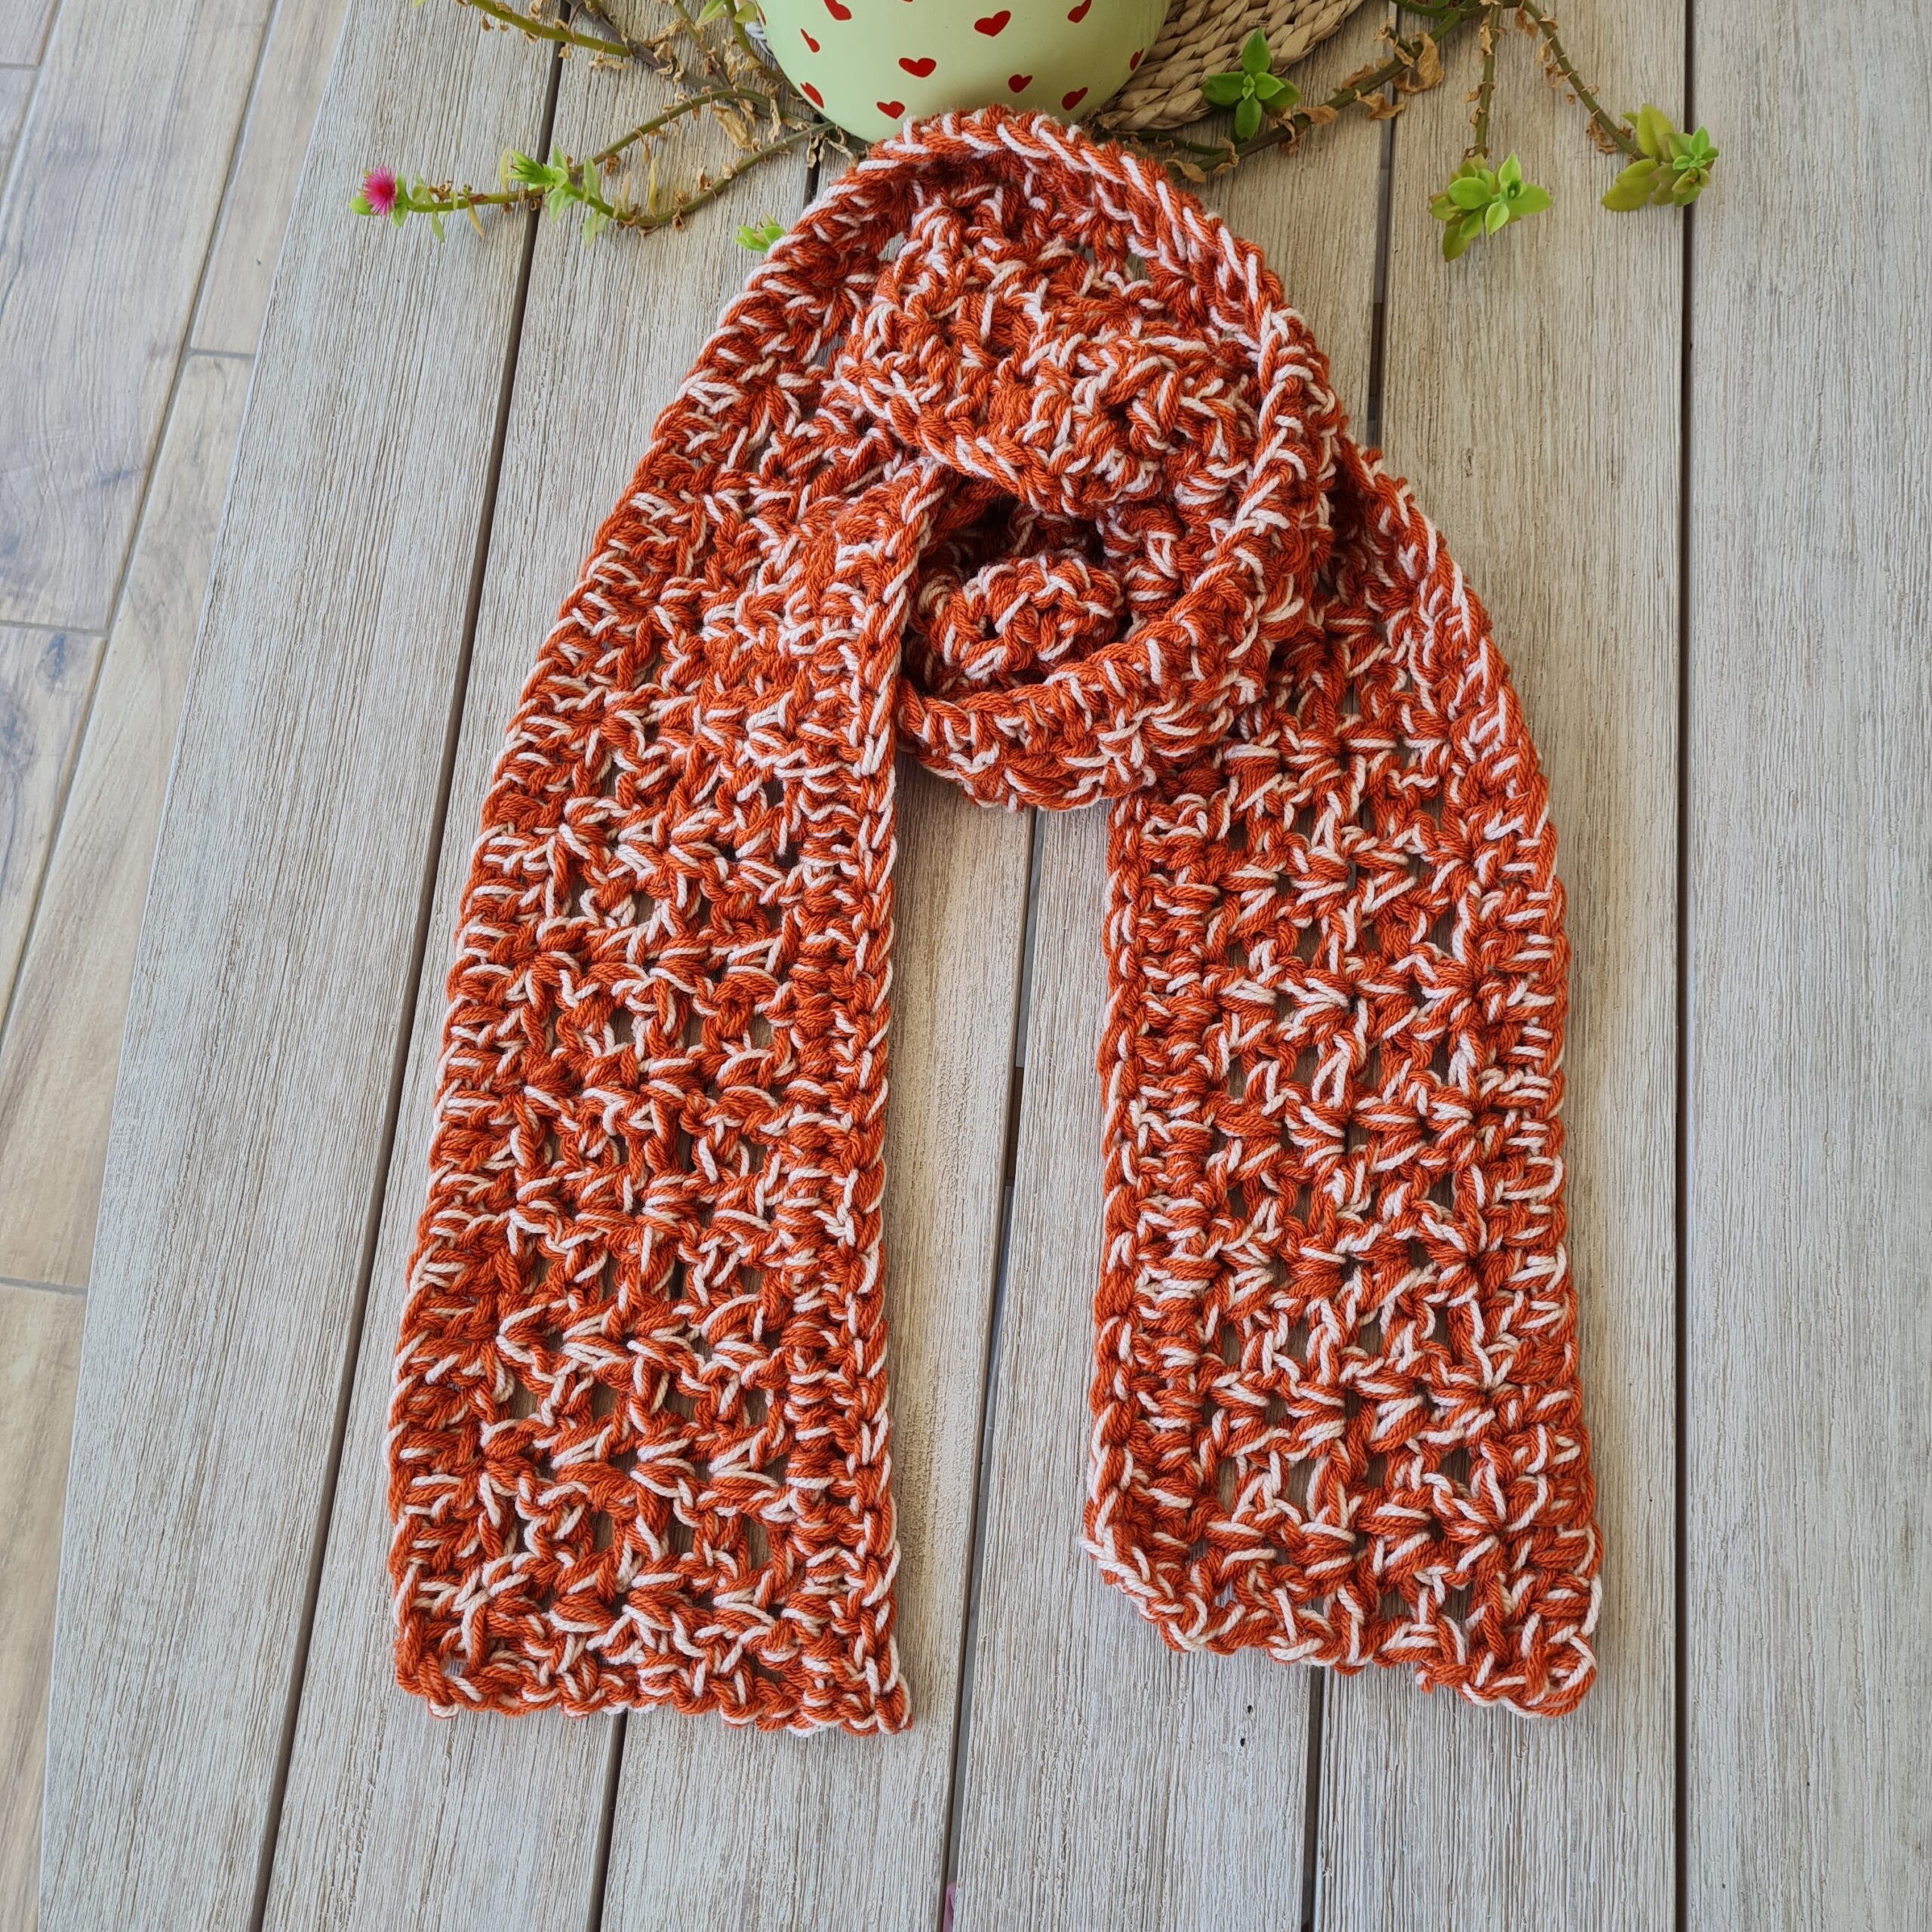
Introducing the Nordic Trails Scarf, Free Crochet Scarf Pattern, my latest crochet creation inspired by the rugged beauty of the Nordic landscapes.
This unique free crochet Scarf pattern uses a variety of stitches and textures to capture the essence of the region.
Wrap yourself in the cozy warmth of the Nordic Trails Scarf and be inspired to explore the world of crochet in all its beautiful complexity.
Find the free pattern below or purchase the ad-free PDF version of this pattern on Ravelry. The PDF is designed for printing and this way you can support me!
Nordic Trails Scarf Pattern
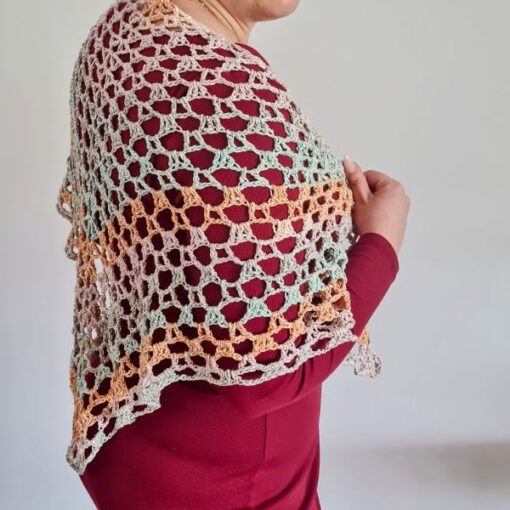
You may wonder about the name- So this Free Crochet Scarf Pattern is actually a new brother to the Nordic Trails Shawl, it came along from the yarn colors and stitch combination and as you may see, I ran out of yarn so the pompom border is only in one side!
** Some of the links in this post may include affiliate links. Making a purchase through one of these links pays me a small referral fee at no added cost to you. These small fees add up and help me keep the blog running. View our Disclosure and Privacy Policy for more information.
What to expect from this pattern:
- Two rows repeat
- One weekend project
- Lots of fun working on it
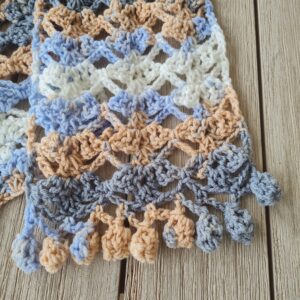
- Unique and textured Pompom Border
The Nordic Trails Scarf
Difficulty
Beginner
Materials
Bebe Batik Alize Burcum Yarn, 100% Acrylic, 100gr, 210m, 230yds, 1.5 skeins
Subs can be
Mary Maxim: Baby Blankie
Herrshners: Worsted 8
Bernat: Super Value
Hook: US Size J-10 (6 mm) Try these Bamboo ones for sustainability
- Yarn Needle, Scissors, Measuring Tape
Gauge
- 13 st X 6 rows of the pattern repeat
Sizes
- This sample is: 66” in length X 8” in width before blocking
Stitch Key
- Ch = Chain
- Sc = Single Crochet
- St = Stitch
- DC = Double Crochet
- Tr = Treble Crochet
- Yo = yarn over
- Slst = Slip stitch
Want to save this post for later? Pin it!
Specialty Stitches
Dc3Tog = 3 Double Crochet Stitches together
Yo, insert the hook into the first stitch, yarn over, and pull up a loop. Yarn over, and pull through 2 of the loops. You should now have 2 loops on your hook. Yo, insert the hook into the same stitch, yarn over and pull up a loop, yarn over and pull through 2 of the loops on the hook. You should now have 3 loops left on your hook. Repeat those steps one more time, You should now have 4 loops left on your hook. Yo over and pull through all 4 loops to complete the stitch.
Notes
- The pattern is worked in rows
- Ch1 does not count as St at beginning of each row
- This pattern uses pattern repeats.
- You can work this pattern with one color or multiple as you wish- I used a variegated yarn
- If changing colors make sure to have a changing technique and weave your ends in.
- I added Bubble fringe to the ends (optional)
Instructions
Chain multiples of 8+3 (24+3)
Row 1:Sc1 in 2nd Ch from hook, *[ Ch3, skip next 3 Ch, Dc 3 in next Ch, Ch3, Skip next 3 Ch, Sc1 in next Ch}* repeat from *to* across to end of row. Turn work
Row 2: Ch4 (count as Tr) *[ skip next Ch3 loop, ( Dc1 + Ch1 + Dc1 + Ch1 ) in each of next 2 Dc, Dc1+Ch1+Dc1 in next Dc, skip next Ch3 loop, ]* repeat from *to* , Tr in last Sc from prev row.
Row 3: Ch1 (does not count as St) Sc1 in 1st St from hook (Tr), *[Ch3 and skip the next 2 Ch 1 spaces, Dc3 in next Ch1 space, Ch3, skip the next 2 Ch1 spaces, Sc1 between the the 2 Dc from prev row]* repeat from *to * to end of row, end with Sc1 in 3rd Ch from turning Ch, Turn work
Repeat :Row 4-87: repeat rows 2 +3
Free ways to share and support me
- Favorite this pattern on Ravelry
- PIN on Pinterest
- Share in your story on Instagram
- Share on Facebook
Thank you so much! 🙂
Get your Ad-Free version on Ravelry
Bubble Fringe
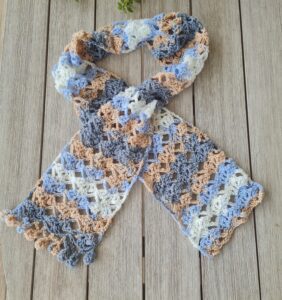
Insert hook on 1st st, Ch6, Dc3tog on 3rd Ch from hook, Ch3, Dc3tog on top of last Dc3 tog, Che, skip 4 st, Sc in next, and repeat. Think how many bubbles you want to have and decide on the skipped st between. It will depend on the width of the scarf
Work the exact same on the other end.
Finishing
You can add more repeats to make a longer Scarf
Cut your yarn and weave in the ends.
I recommend blocking the finished Scarf before wearing it!
DONE!!
Copyright protected. You may not redistribute pattern after purchase or publish any part as your own including photos. If sharing online you must link back to this original post. You may sell finished products and if possible, reference back to this pattern and/or give credit to Sandra Stitches by Sandra as the original designer.
Want to save this post for later? Pin it!
Did you try this pattern?
Share a picture
Tag me on Instagram
@sandrastitchesil
Questions?
Ask and share in our
FREE Facebook Group
Want to know more about me? This is my story
DISCLOSURE
AMAZON ASSOCIATES: Sandra Stitches is a participant in the Amazon Services LLC Associates Program, an affiliate advertising program designed to provide a means for sites to earn advertising fees by advertising and linking to Amazon.com.
This post contains links to products that I use and recommend, If you purchase any using my links I get a very small fee at no ad to you! Thank you for supporting my small biz!
You may also like:
Read: Stay Calm with Crochet

Make: Dori Plastic Bag Holeder

6 thoughts on “Free Crochet Scarf Pattern: The Nordic Trails Scarf”
Hi Sandra, Your Nordic Trails scarf turned out beautifully. I really love the edging you added to it! Thank you for linking up at our weekly Link Party! You are being featured at our Wednesday
Party #500 this week. Here’s the direct link to the post in case you’d like to share your feature:
https://oombawkadesigncrochet.com/crochet-cardigan-boho-bag-and-nordic-trails-scarf-link-party-501/
Hope to see you again next week! Rhondda