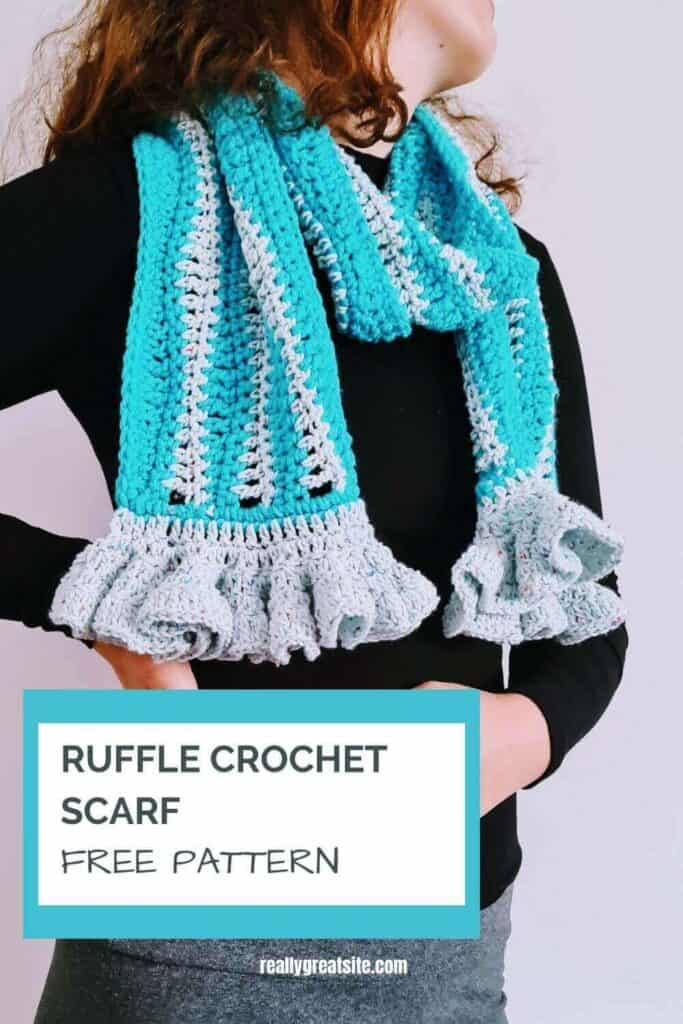
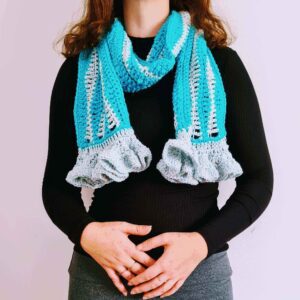
Hello, crochet enthusiasts! Prepare to embark on a journey into the world of waves and sea foam with this Ruffle Crochet Scarf pattern!
This pattern combines light ruffles with an ongoing wave stitch pattern, creating a scarf that is both classic and unique
Get ready for some fun with the Ruffle Crochet Scarf pattern —let the adventure begin!
Find the free pattern below or purchase the ad-free PDF version of this pattern on Ravelry. The PDF is designed for printing and this way you can support me!
It is a great pattern because:
It is one-of-a-kind, believe me! This gem combines the whimsy of the wave stitch with the elegance of ruffles, creating a stunning masterpiece that’ll remind you of the sea and its gentle foam.
And guess what? Don’t let its intricate look fool you; it’s surprisingly easy to make! Perfect for all levels of crocheters, so no worries if you’re a beginner.
The best part is, you’re the artist here! Pick any color you fancy or play around with different yarn weights to achieve your desired style. The possibilities are endless, and the result will be nothing short of breathtaking!
So don’t wait any longer, dive into this crochet adventure and create your own ocean-inspired wonder. Get those hooks ready and make a splash with this unique project! Happy crafting! 🌊
** Some of the links in this post may include affiliate links. Making a purchase through one of these links pays me a small referral fee at no added cost to you. These small fees add up and help me keep the blog running. View our Disclosure and Privacy Policy for more information.
Before you get started…
Check out my Favorite items and tools
Rechargeable LED night reading light on Amazon
Bamboo Hooks on Amazon
Colorful Bobby pins as crochet markers on Amazon
About the Wave stitch
Prepare to be obsessed with the crochet wave stitch!
I love it because It’s a stitch that adds a magical touch to your projects, creating a beautiful ripple effect that’s simply amazing.
With each stitch, you’ll watch as waves of texture are formed before your eyes.
Whether you’re crocheting a cozy blanket or a trendy accessory, the wave stitch will give your creations a sense of movement and style.
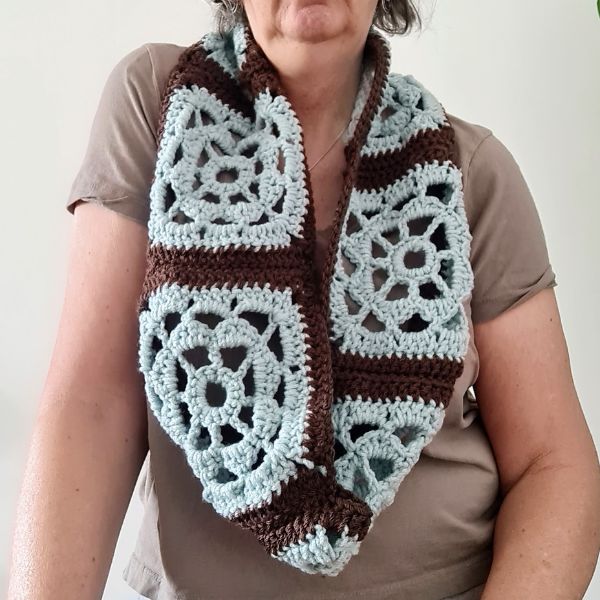
In this Scarf, I was all into the sea view from my bedroom window, and the sea foam is the ruffles
Let’s get to the pattern, shall we?
Difficulty
- Intermediate Friendly
Materials Used
- Bravo Gizem 100gr, 97%soft acrylic 3%viscose 1 skein
- Alize Burcum KlasiK 100gr, 210mt- 0/5 skein
- 5 mm hook, scissors, tapestry needle, stitch markers
Measurements
166cm (65”) X 17cm (7”)
Stitches Used
ch = chain
dc = double crochet
Sc = single crochet
Hdc = half double crochet
Tr = treble crochet
st = stitches
Notes:
The inspiration for this Seashell Scarf came from the view from my bedroom window facing the Mediterranean Sea, the changes of colors, and the foamy waves. It took me a while to figure out how to make that feeling and I think the ruffle wavy foamy edges are perfect!
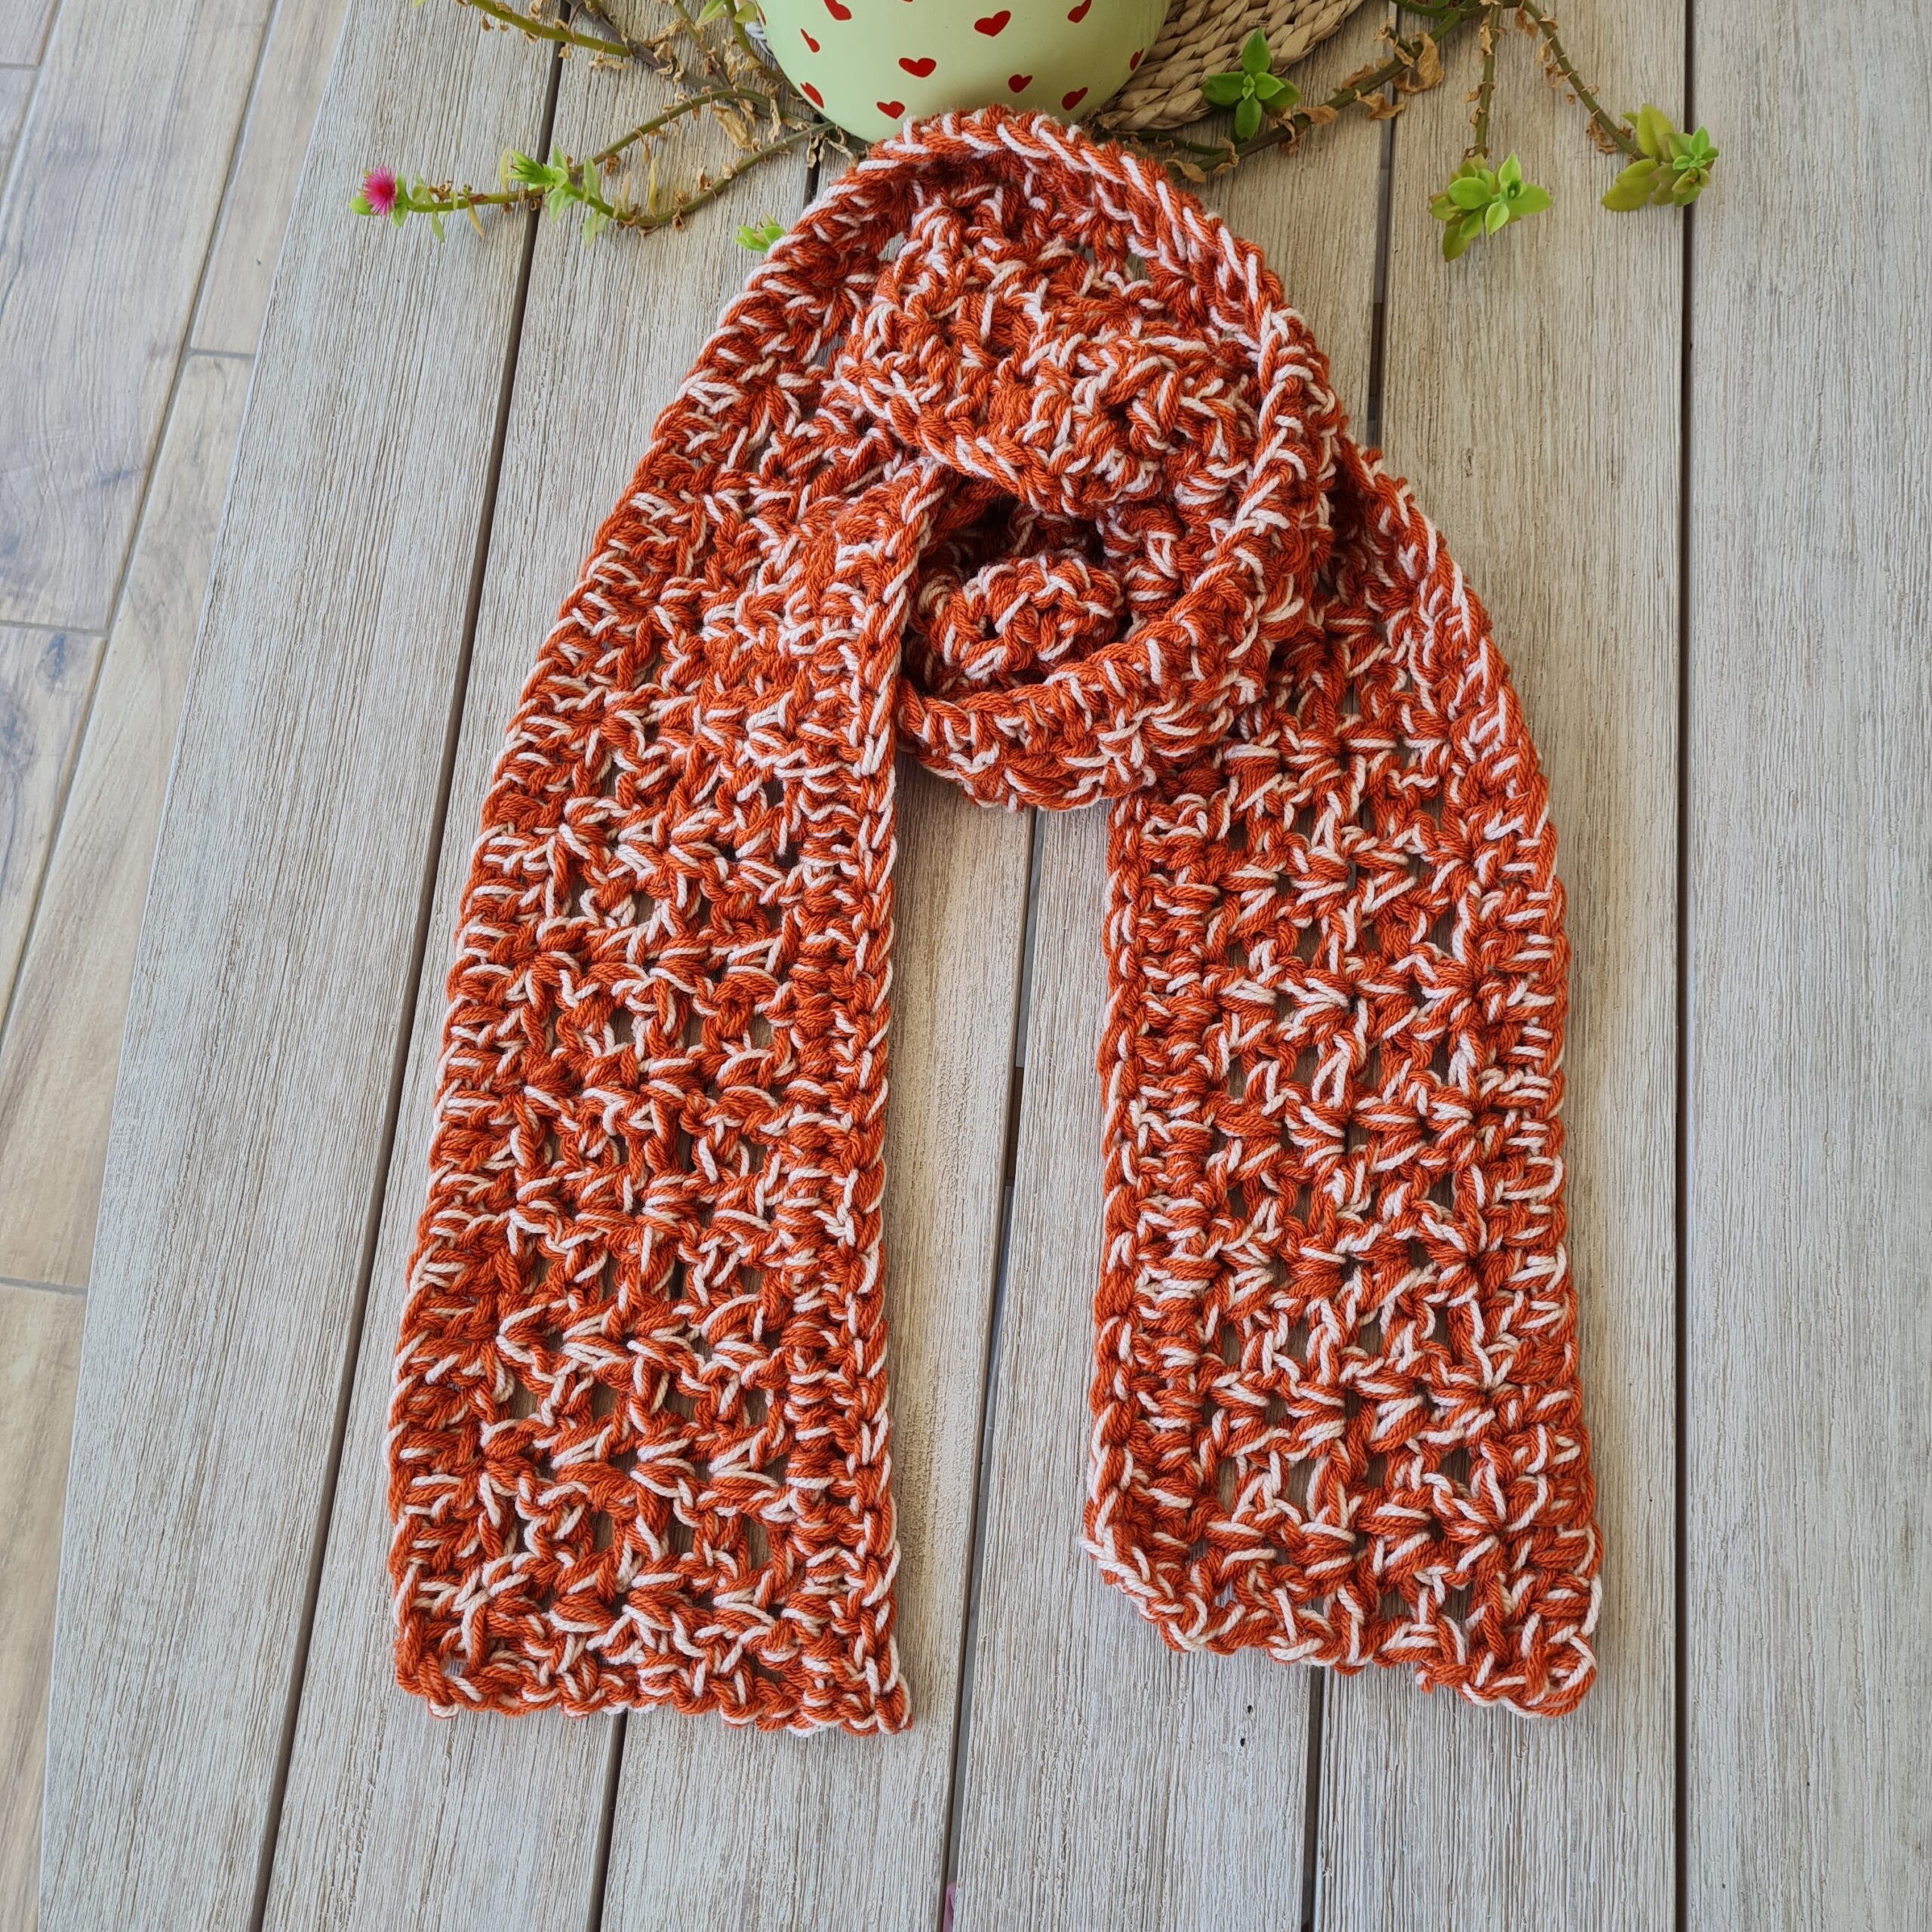
Of course, you can as always adapt this pattern to your color palette, maybe a fall earthy spicy or a citrus orange lemon, or maybe a marshmallow pink!
Just enjoy the making!
This Scarf is made in long rows that make the main rectangle body and two identical ruffle edges that make the ends.
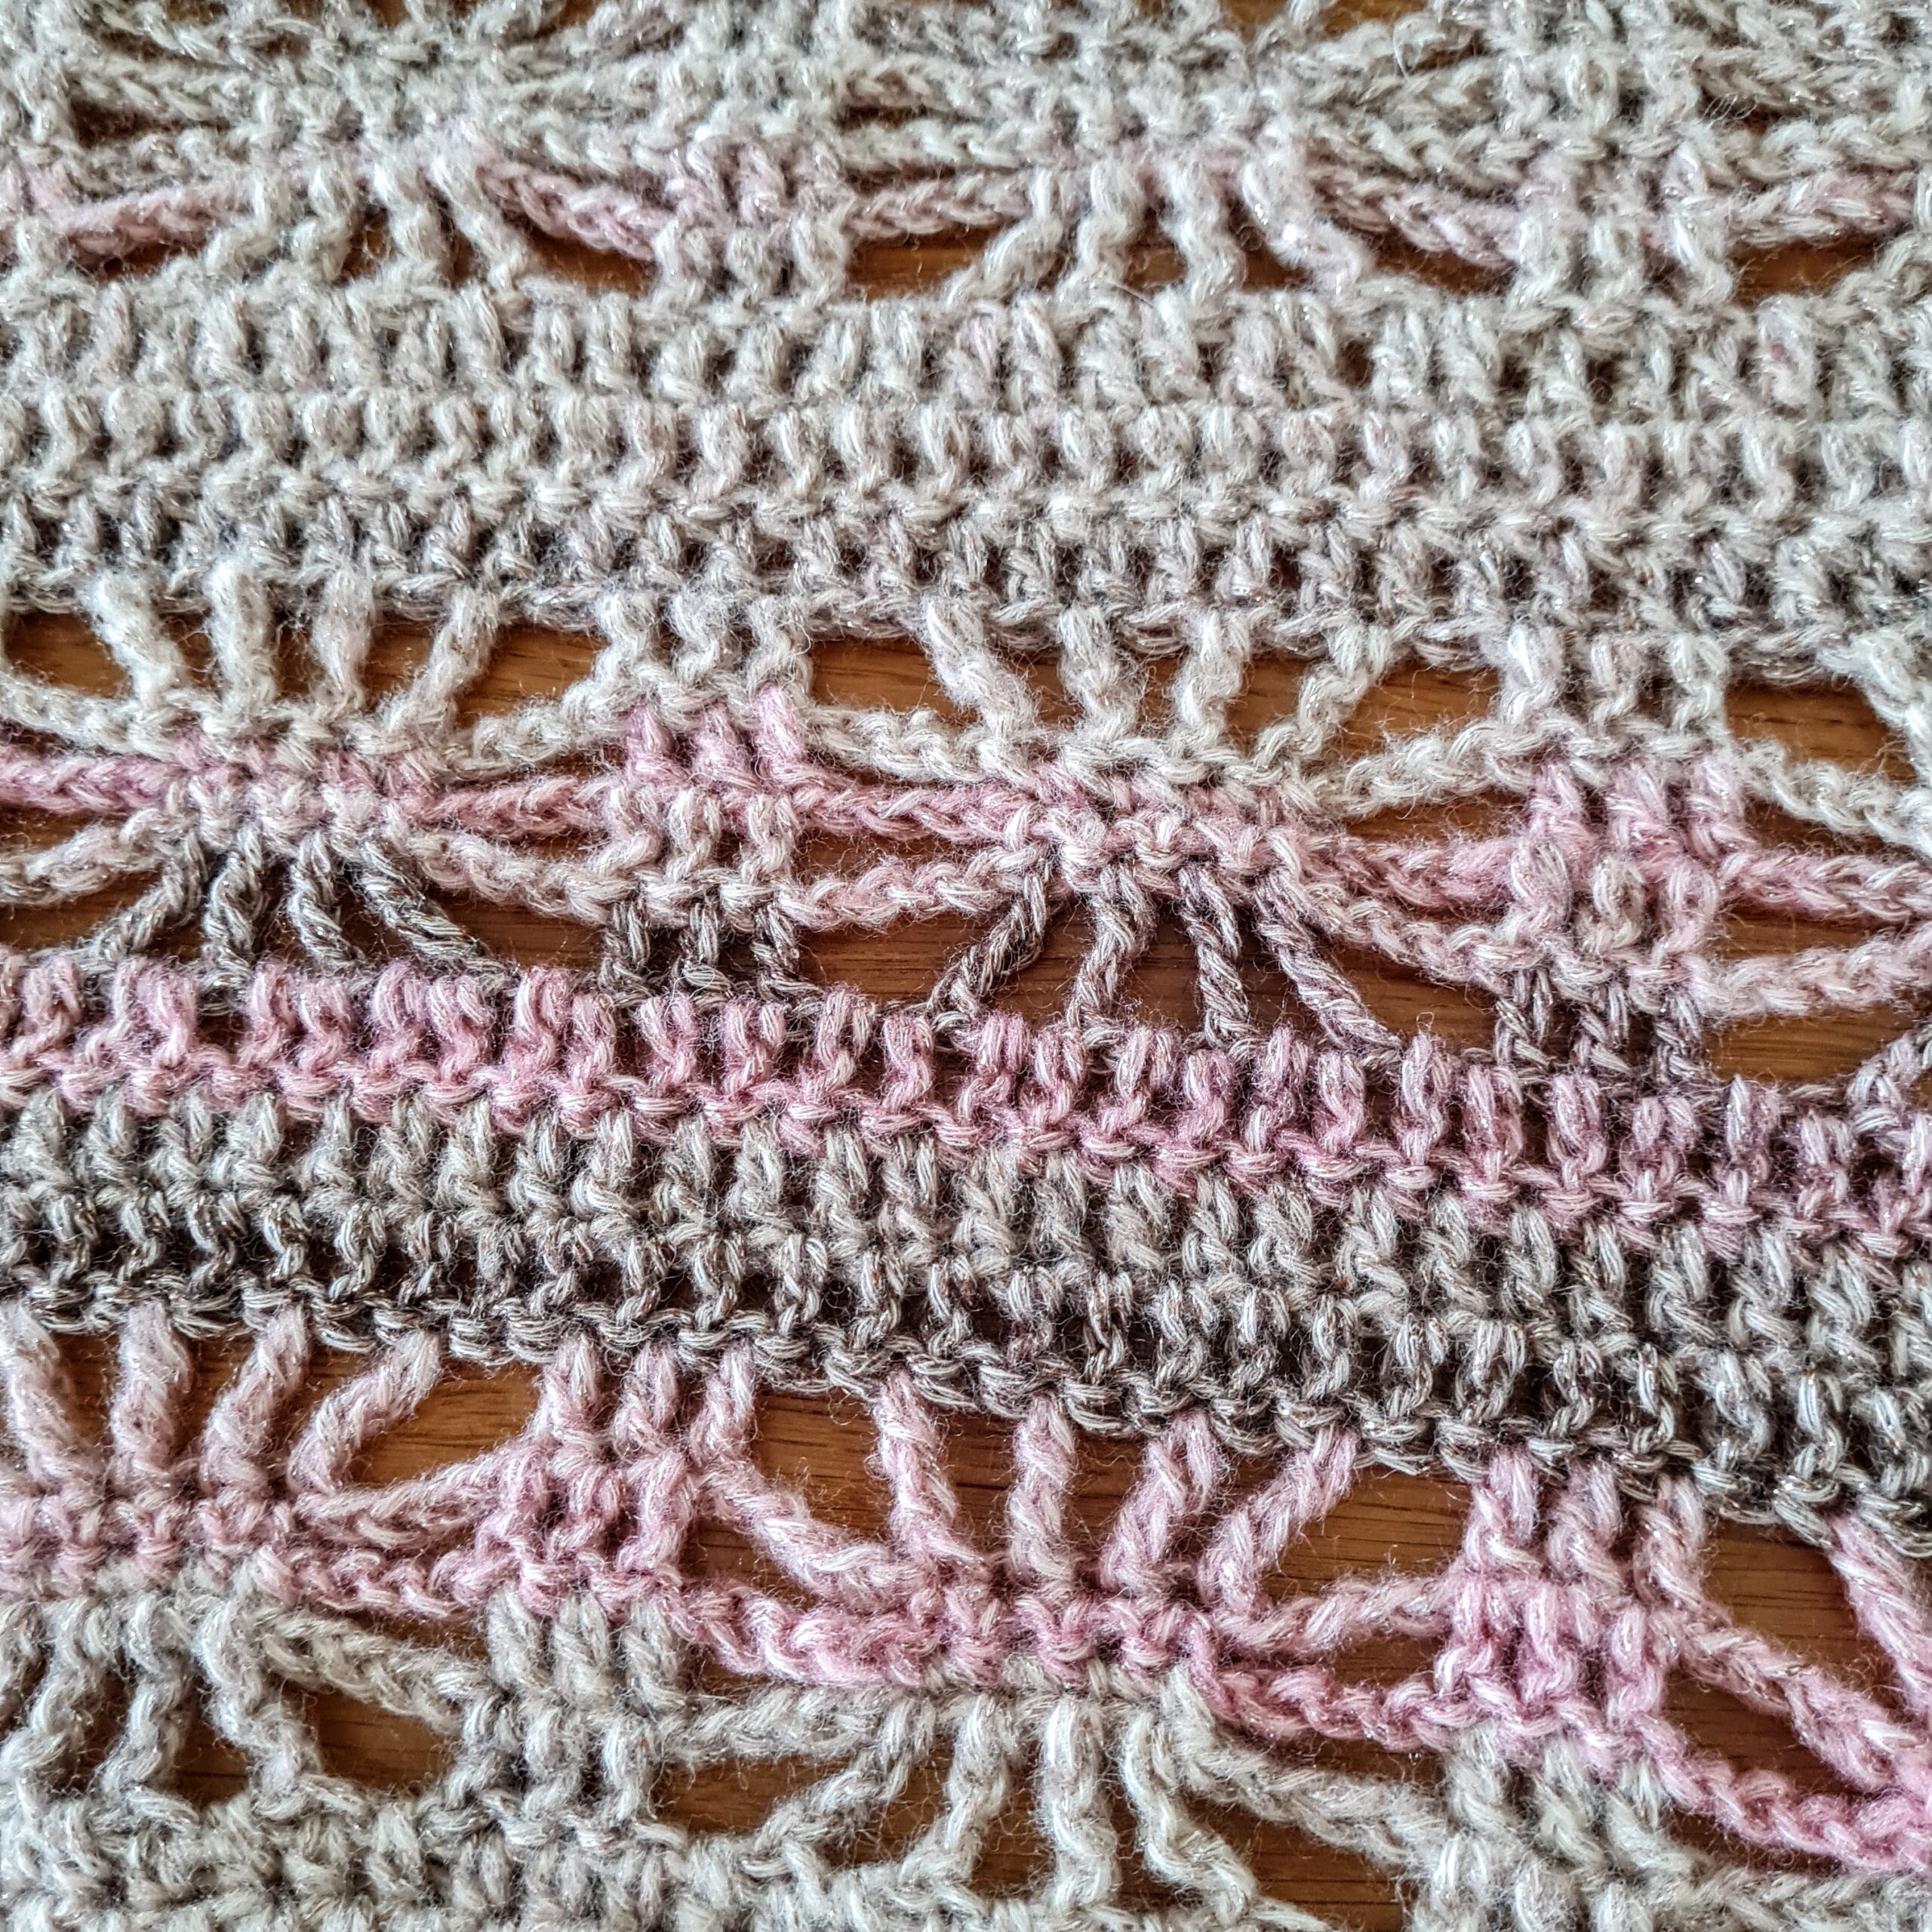
The body is made by the long shell stitch which is a 3 rows repeat
To obtain the Shell pattern it is best to use two colors but not a must!
Pattern Designed By: Sandra Stitches This pattern is copyright protected; it is unlawful to distribute this pattern in any form (free, sale or trade).
Watch my latest video
Get your Ad-Free version on Ravelry
On to the instructions:
Foundation chain: ch 167 or any multiple of 14 +2 to your choice of length (color A)
R1: Sc in 2nd st from hook, Sc 1 in next st and all the way across to end of the row, ch 1 and turn your work.
R2: Sc1 into 1s st, Sc into the next stitch, Hdc into each of the next 2 stitches, Dc into each of the next 2 stitches, Tr into each of the next 3 stitches, Dc into each of the next 2 stitches, Hdc into each of the next 2 stitches, Sc into each of the next 2 stitches. Repeat all across to the end of the row, turn
Important
Make sure you count your stitches, this is the first repeat row of the pattern, ch1, and turn your work
Next R3: Sc 1 in every st from the prev row in the same color A, at the end of this row change to color B .
With your color A, insert your hook into the final stitch, yarn over, and draw up a loop. Drop your color A, pick up your color B, and place it on your hook. Draw a loop through. You will now be set to begin the next row in your color B.
Continue With color B, chain 3 (counts as treble crochet), and turn your work.
R4: This row will be the opposite of Row 2 so we get the whole wave patterns
Tr1 into the next stitch, Dc into each of the next 2 stitches, HDC into each of the next 2 stitches, SC into each of the next 3 stitches, HDC into each of the next 2 stitches, DC into each of the next 2 stitches, TR into each of the next 2 stitches. Repeat this pattern all the way across to the end of the row, Ch 1, and turn your work
Check your work: you should have a treble on top of a single Dc, HDC, and so on….
Now R5: Sc1 in every st from prev row
Repeat R6-13: repeat rows 2-4 changing colors every 2 rows
Last one R14: Sc 1 in 1st from hook and all the way across to end of the row, fasten your work and cut the yarn
Make sure you end the body with the same color on both sides.
You can, of course, add rows to make this Scarf wider, repeat the 3 rows pattern and end with an Sc row that gives the work a nice frame.
Continue the Sc across the short sides of the scarf to form a complete frame. We will work the ruffles over those stitches
Want to save this post for later? Pin it!
The Ruffle edges
R1: Pick up one color in my case it is color B, insert your hook in 1st sc from the frame at the corner of the narrow side. Make sure you are working on the right side of your work, ch 3 which counts as 1st Dc, Dc 1 in every sc from the prev row. In my case, I had 20 st. ch 3 and turn your work
Next R2: 1st Ch 3 counts as 1st st, Dc 1 in the same 1 st, Dc 1 in next 2 st from prev row, Dc 2 in next st, Dc 1 in next 2 st and so on to the end of row. This is the beginning of our increasing rows to form the ruffle effect.
Repeat R3-5: Ch 3 counts as 1st Dc, Dc 1 in the same 1st st from prev row, and Dc2 in each and every st to the end of the row.
You will see the waves and ruffle as you add st in every row!
You are done!!!!
Fasten your yarn and cut your yarn, Repeat the same at the second narrow side of the Scarf!
Weave all your ends and Enjoy!!!!
Free ways to share and support me
- Favorite this pattern on Ravelry
- PIN on Pinterest
- Share in your story on Instagram
- Share on Facebook
Thank you so much! 🙂
.
Click Here to share your finished project in our community!
I hope you enjoyed this pattern, make sure to visit frequently, I add a new free design every week!
Interested in a professional Paperback Crochet Planner?
Check out my Planner on Amazon
Did you try this pattern?
Share a picture
Tag me on Instagram
@sandrastitchesil
Questions?
Ask and share in our
FREE Facebook Group
Want to know more about me? This is my story
DISCLOSURE
AMAZON ASSOCIATES: Sandra Stitches is a participant in the Amazon Services LLC Associates Program, an affiliate advertising program designed to provide a means for sites to earn advertising fees by advertising and linking to Amazon.com.
This post contains links to products that I use and recommend, If you purchase any using my links I get a very small fee at no ad to you! Thank you for supporting my small biz!
You may also like:
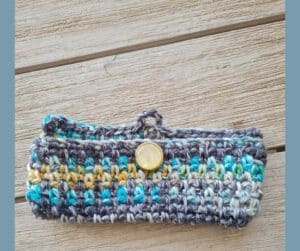
Glasses case pattern
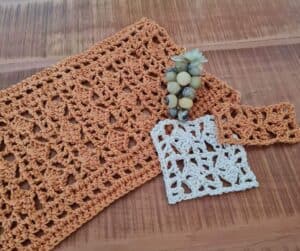
Tangerine Crochet Table Runner


4 thoughts on “Ruffle Crochet Scarf Pattern”
Your Ruffle Crochet Scarf is lovely! Thank you for linking up at our weekly Link Party! You are being featured at our Wednesday
Party #506 this week. Here’s the direct link to the post in case you’d like to share your feature:
https://oombawkadesigncrochet.com/ruffle-scarf-amigurumi-cal-double-thick-potholder-link-party-506/
Hope to see you again next week! Rhondda