
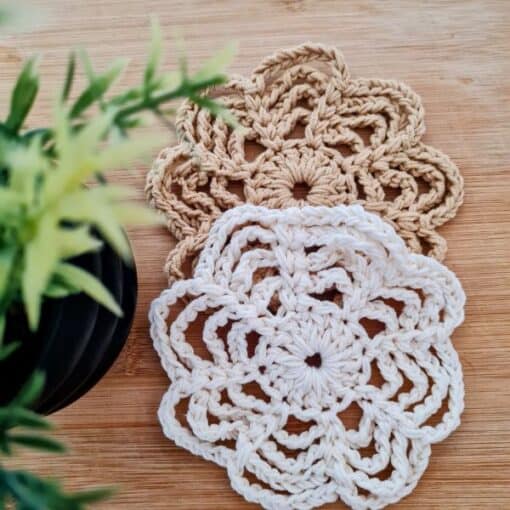
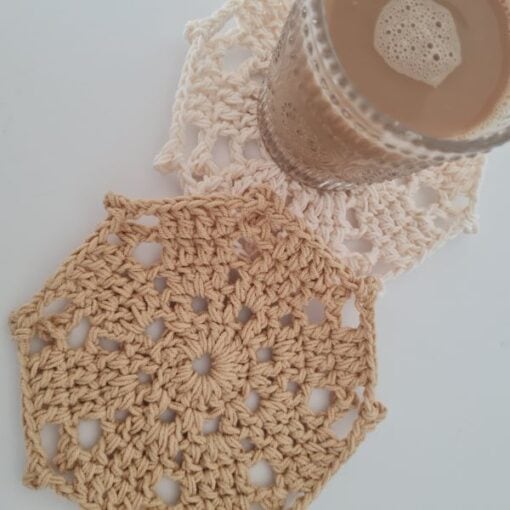
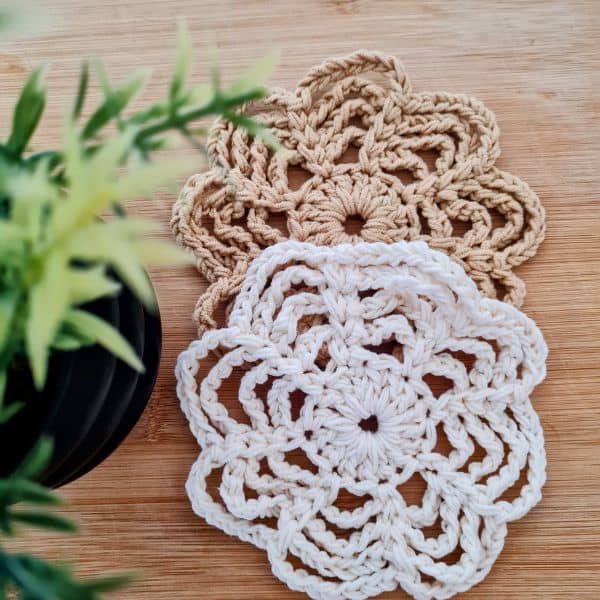
I made the coasters too, you can see them in the photos. Same stitch, just scaled down.
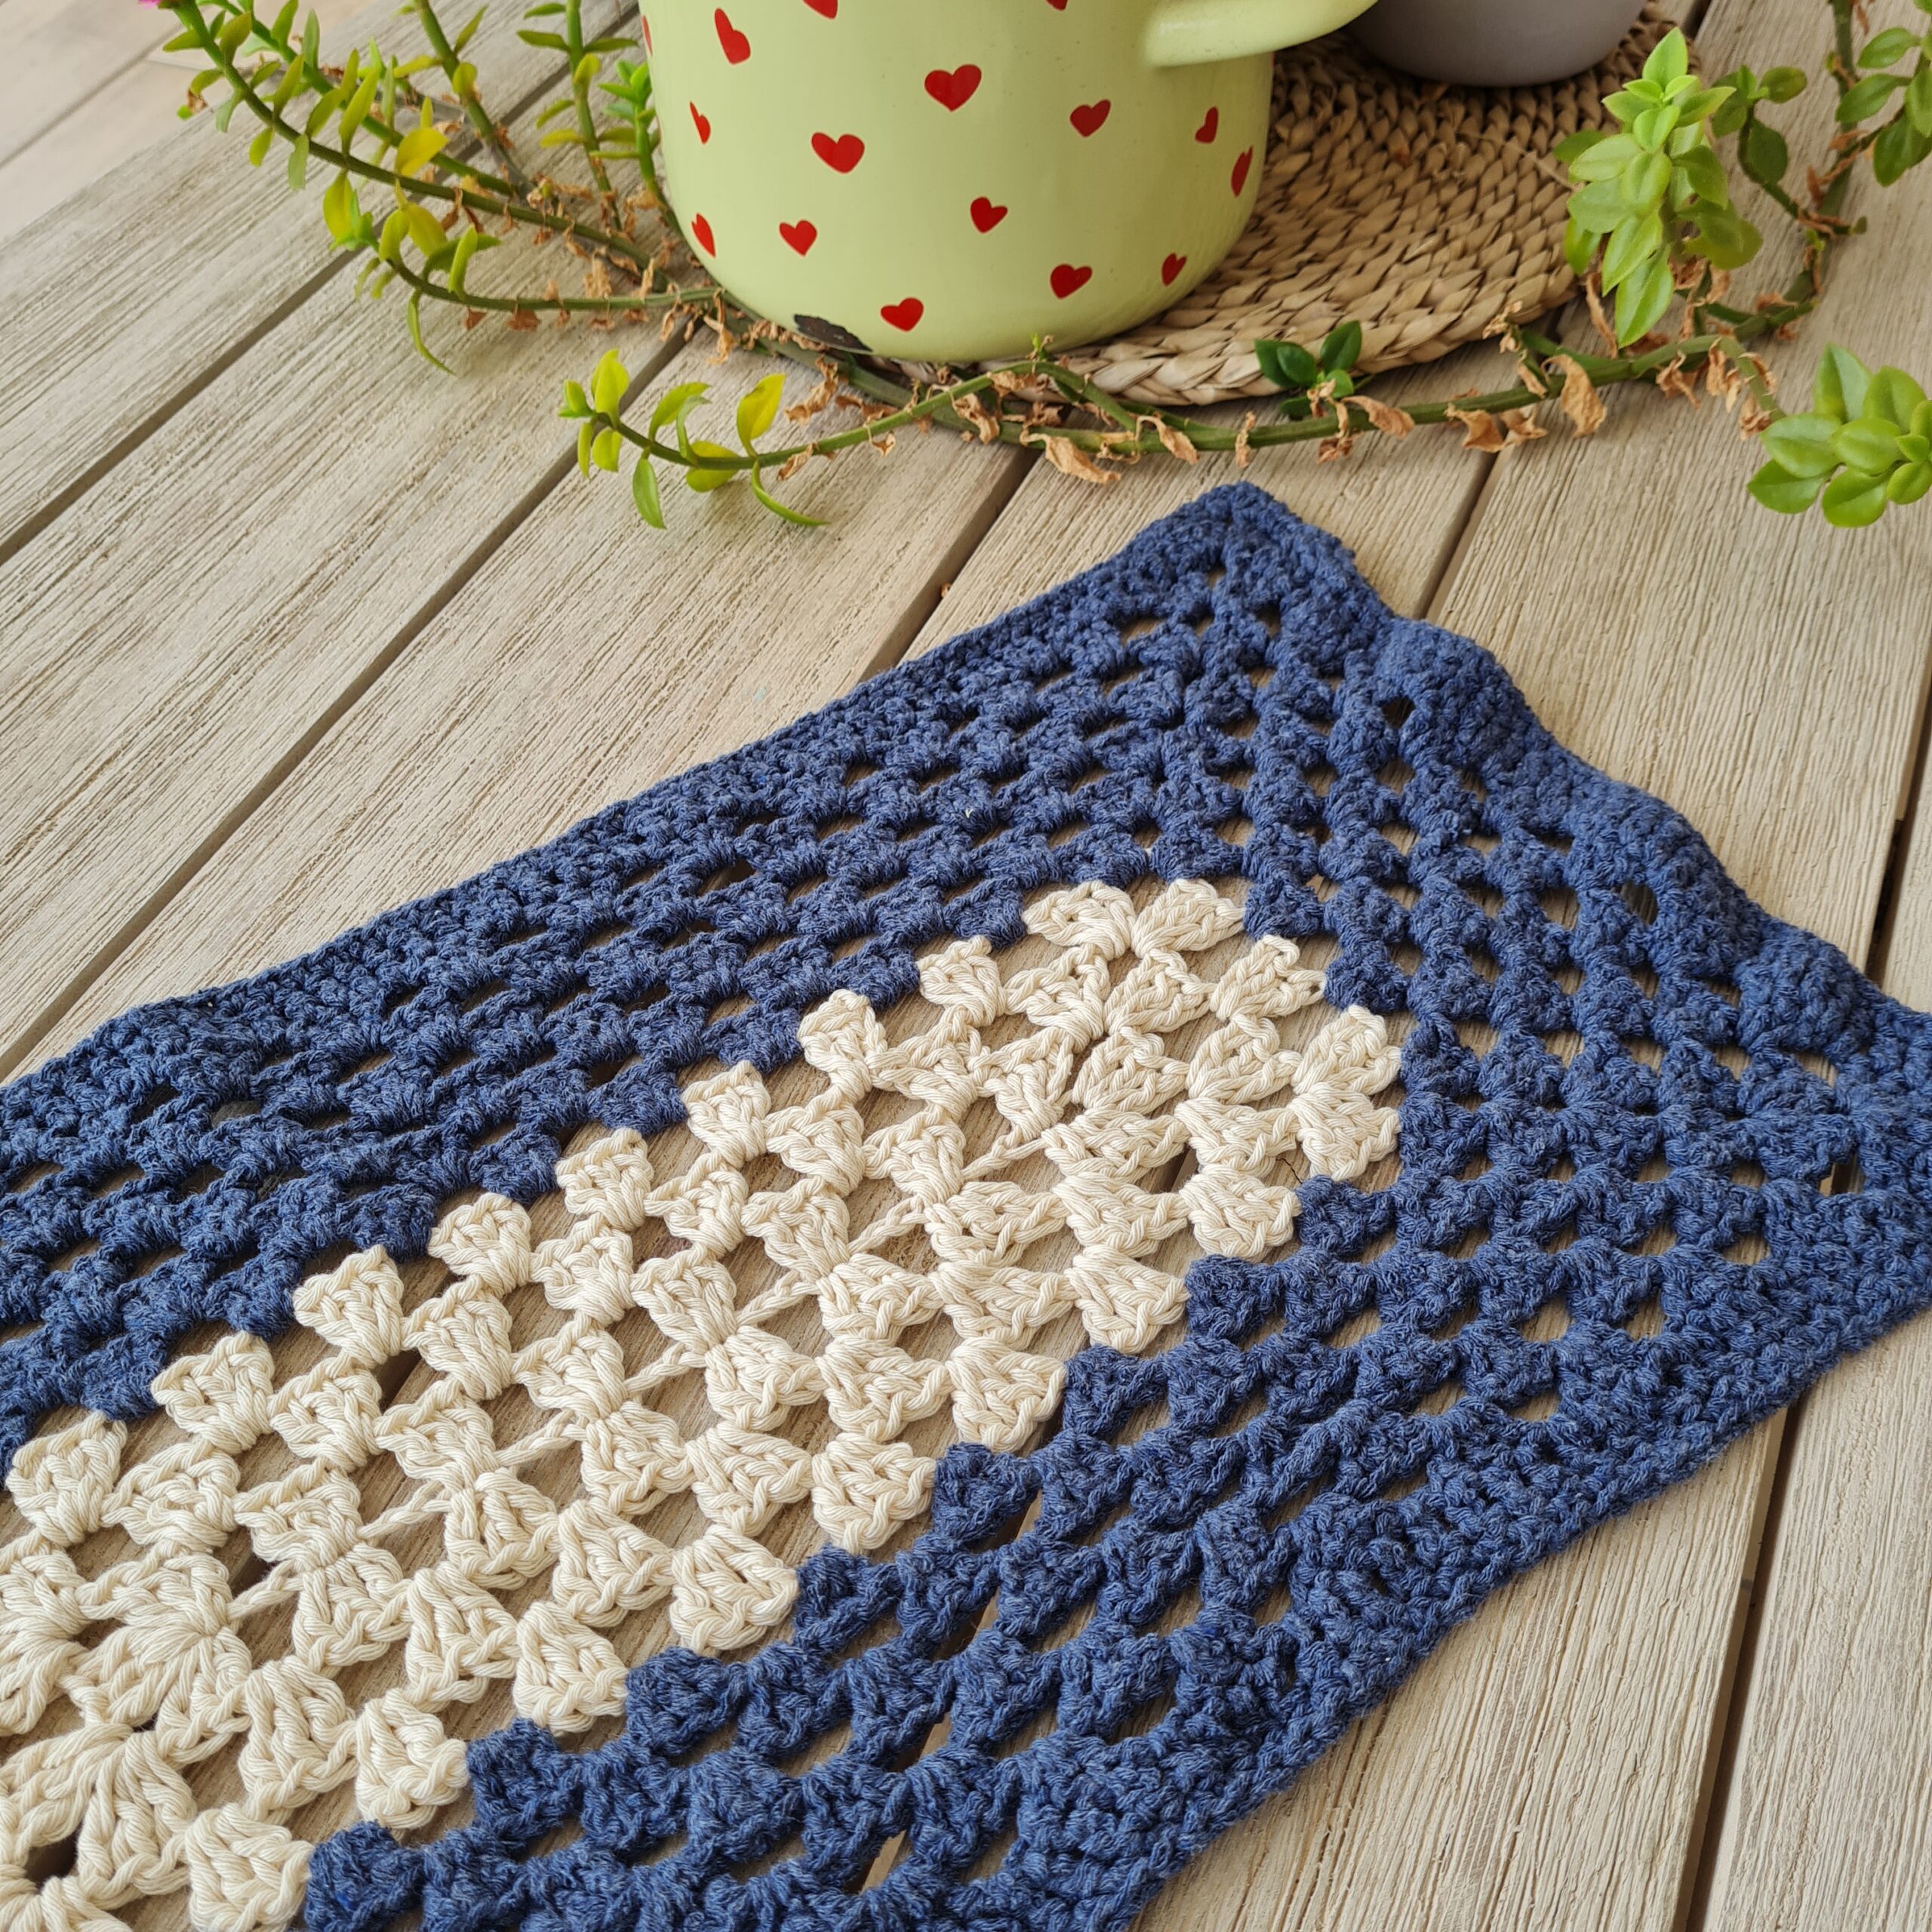
Quick answer: This is a crochet placemat pattern made from a simple stitch repeat worked in cotton yarn, sized 14 inches long by 9 inches wide. The same stitch combo scales down easily, which is exactly how the matching coasters came about.
Find the free pattern below or purchase the ad-free PDF version of this pattern on Ravelry. The PDF is designed for printing and this way you can support me!
Why cotton for a placemat
Cotton holds its shape and handles spills better than a softer acrylic, which matters for something that’s going to sit under plates and cups.
It’s also machine washable, so it’s practical for everyday use, not just something you set out for company.
Save for later PIN IT

** Some of the links in this post may include affiliate links. Making a purchase through one of these links pays me a small referral fee at no added cost to you. These small fees add up and help me keep the blog running. View our Disclosure and Privacy Policy for more information.
Let’s get to the pattern, shall we?
Difficulty
Intermediate
Materials
Drops Paris 100% cotton yarn, 50gr, 75 mtr, 82yrds in color 71 one skein per placemat
Subs: Here
Hook: US Size H-8 (5 mm)
- Yarn Needle, Scissors, Measuring Tape
Gauge
- 16 st X 7 rows of pattern stitches
Sizes
- 14” long X 9” wide
Stitch Key
- Ch = Chain
- Sc = Single Crochet
- St = Stitch
- DC = Double Crochet
Notes
- The pattern is worked in rows
- This pattern is worked as one main panel and rows on both sides
- Ch3 at the beginning of the row does count as 1st stitch
- Ch1 at the beginning of the row does not count as a stitch
- This pattern uses pattern repeats.
- You can work this pattern with one color or multiple as you wish- I used one color
- If changing colors make sure to have a changing technique and weave your ends in.
Sandra’s tip: If you want to try the matching coaster set, work the main panel section only, in a shorter chain multiple, and skip the side border rows, that’s really all a coaster needs.
Main panel
Chain multiples of 8+4 for this placemat I chained 28
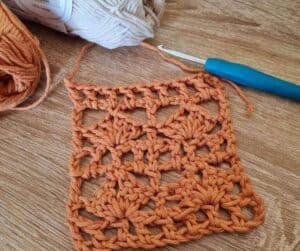
Row 1: Dc1 in 5th Ch from hook ( counts as 1st Dc + Ch1), Ch1, *[skip 1 st, Dc1 in next st]* repeat from *to* to end of row, ending with Dc1,turn work,
Row 2: Ch3, * [skip next 2 Ch1 spaces, (Dc3 +Ch2+Dc3) in next Ch1 space from prev row, skip next 2 Ch1 spaces, Dc1 in next Dc]* repeat from *to* across, ending with last Dc ion top of Ch3 from the beginning of row, turn
Now to Row 3: Ch 6 (counts as Dc+Ch3), *[Sc1 in next Ch2 space from prev row, Ch3, skip next 3 st, Dc1 in next st,, Ch3 ]* repeat to end of row, end with Dc1 on top of Ch3 form beginning Ch, turn work
Row 4: Ch4 (counts as Dc + Ch1), *[Dc1 in next Ch3 loop, Ch1, Dc1 in next Sc, Ch1, Dc1 in next Ch3 loop, Ch1, Dc1 in next Dc, Ch1]* repeat fron *to* to end of row, finish withDc1 in 3rd Ch of beginning, turn work
And Row 5-7: Repeat rows 2-4
Row 8- 25: Repeat rows 2-4
Endless possibilities for your Deco’r
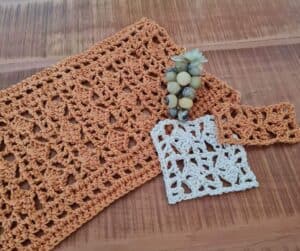
We finished the main panel, now we will work on both sides of the placemat with this identical pattern
Row 1: Start at 1st st facing the long side of the panel, insert your hook, Ch1, and Dc1in 1st st, Dc 50 across to end of the row, turn
Row2: Ch1, Sc1 in 1st st from hook, Sc1 in next and across to the end of the row, turn
Row 3: Ch1, Dc1 in 1st st from hook, Dc1 in next and across to the end of the row.
Work the same on the opposite side
If you wish to make this placemat wider you can either add multiples of 8 at the foundation chain or add rows on the sides
Finishing
Cut your yarn and weave in the ends.
DONE!!
Copyright protected. You may not redistribute pattern after purchase or publish any part as your own including photos. If sharing online you must link back to this original post. You may sell finished products and if possible, reference back to this pattern and/or give credit to Sandra Stitches by Sandra as the original designer.
If you like projects for the home like this one, you might also enjoy the Crochet Market Tote Bag or the Hanging Basket Pattern.
Did you try this pattern? Share a picture, tag me on Instagram @sandrastitchesil
Questions? Ask and share in our FREE Facebook Group
Free ways to share and support me
- Favorite this pattern on Ravelry
- PIN on Pinterest
- Share in your story on Instagram
- Share on Facebook
Thank you so much! 🙂
I hope this tutorial has inspired you to create your own Tangerine Crochet Placemat and explore the wonderful world of handmade decor.
FAQ
It’s rated intermediate. The stitch repeat is straightforward once you’re a few rows in, but the chain space counting requires some attention
Yes, work just the main panel in a shorter chain multiple and skip the side border rows for a coaster-sized piece
Yes, add chain multiples of 8 to the foundation chain for width, or add extra rows on the side panels for length
A quiet place to keep crocheting
If projects like this one are your kind of calm, you might love the V-Stitch Club.
It is my little corner of the internet for women who crochet for the joy and the quiet of it, with new patterns, gentle company, and the steady rhythm of always having something beautiful on the hook.
Be Part of The Tribe!
Come share your finished Ridgeline Beanie in my free Facebook group. Join Crochet & Stories with Sandra Stitches.
DISCLOSURE
AMAZON ASSOCIATES: Sandra Stitches is a participant in the Amazon Services LLC Associates Program, an affiliate advertising program designed to provide a means for sites to earn advertising fees by advertising and linking to Amazon.com.
This post contains links to products that I use and recommend, If you purchase any using my links I get a very small fee at no ad to you! Thank you for supporting my small biz!


Hi my crochet friend!
Crochet has followed me from Argentina to Israel and through every crossroads since. Now I design calm, achievable crochet, made to feel possible.
Come find free patterns, tutorials, and the V-Stitch Club right here on the blog.

6 thoughts on “Crochet Placemat Pattern, Also Works as a Coaster Set”