Hello my Crochet friends!
If you’re anything like me, you know how relaxing and rewarding crochet can be. But let’s face it, mistakes happen.
It’s frustrating, but it’s also a natural part of the learning process. The good news is that there are ways to fix these mistakes and keep on crafting with confidence.
In this post, I’ll share 9 common crochet mistakes and tips on how to fix them like a pro. So grab your hook and let’s get started!
Only Beginners make mistakes? Ohhh no…..
Making mistakes is a natural and normal part of the learning process, especially when it comes to crochet.
As a beginner, it’s important to remember that you are still learning and developing your skills. Mistakes will happen, but they also provide an opportunity for growth and improvement.
In fact, even experienced crocheters make mistakes very often
Try to ask how many times I have frogged any piece I work on 😖
It’s all about how you handle those mistakes that determine your progress as a crafter. With patience and persistence, you can learn how to fix common crochet mistakes and improve your skills.
So don’t get discouraged if you make a mistake while crocheting.
Take a deep breath, assess the situation, and use the tips and techniques available to fix the mistake and keep on crafting.
Remember, every mistake is a chance to learn something new and become a better crocheter.

** Some of the links in this post may include affiliate links. Making a purchase through one of these links pays me a small referral fee at no added cost to you. These small fees add up and help me keep the blog running. View our Disclosure and Privacy Policy for more information.
Dropped Stitches
Dropped stitches are a common mistake that many crocheters make, especially beginners.
It happens when a stitch is accidentally skipped or falls off the hook, creating a gap in the fabric. This can be frustrating, but it’s important to remember that it’s a natural part of the learning process and can be easily fixed with a few simple techniques.
- If you catch a dropped stitch early, you can simply pull it back up to the correct row using your hook. First, identify the dropped stitch by looking for the gap in the fabric. Then, insert your hook into the loop directly below the dropped stitch and pull it up to the current row. You can then continue with the rest of the stitches in that row as usual.
- However, if you’ve missed a few rows and the dropped stitch is now several rows down, it can be a bit trickier to fix. One method is to use a crochet hook or a tapestry needle to create a ladder of loops up to the current row, then pull the dropped stitch up to the top.
- Another method is to frog the section of the fabric with the dropped stitch and start again from that point.
Now take your time here! do not rush it, try to fix this with patience so you do not make more mistakes on the way!
With practice, you’ll become more confident in identifying and fixing dropped stitches, and they’ll become less and less of a problem in your crochet projects.
Table of Contents
Increase or Decrease
It’s not uncommon to accidentally increase or decrease stitches. This can happen when we lose count or get distracted. But don’t worry, there are ways to fix these mistakes and get back on track.
- If you’ve accidentally added a stitch, you can simply remove it by unraveling the last stitch and working the next two stitches together. This will decrease the stitch count by one and fix the mistake.
- On the other hand, if you’ve accidentally missed a stitch, you can use a crochet hook to pick up the missed stitch and work it back into the row.
It’s important to catch these mistakes early on, The best way is to count your stitches after every row. especially when you are working on a textured stitch pattern or you are a beginner crocheter.
Not reading the entire pattern before starting
Have you ever found yourself diving right into a crochet pattern, only to realize halfway through that you missed a crucial step or misunderstood an instruction?
It happens to the best of us, but it’s a mistake that can easily be avoided.
One of the most important things you can do before starting a new crochet project is to read through the entire pattern from beginning to end. This way, you can get a sense of the overall structure of the project and make note of any unfamiliar stitches or techniques that you might need to learn before diving in.
Plus, you can make sure that you have all the necessary materials and tools before you begin.
If you find anything confusing you can approach the designer and ask for help before falling into mistakes.
Taking a few minutes to read through the entire pattern can save you a lot of frustration and mistakes in the long run, and help you create a beautiful finished project that you’ll be proud of.
Here are more crochet mistakes and tips to fix them
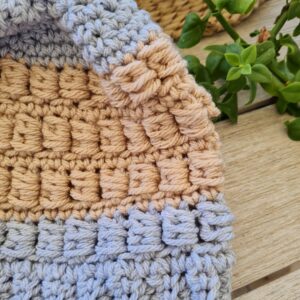
Uneven Tension
One of the most frustrating things about crochet is when you end up with uneven tension. It can happen to the best of us, whether we’re just starting out or have been crocheting for years. Uneven tension can make your project look wonky and unprofessional but don’t worry, it’s a fixable problem.
So what is uneven tension? Basically, it means that your stitches are different sizes or your gauge changes as you work. This can happen for a variety of reasons, such as using a different tension when working on different parts of a project or simply having a natural variation in your tension.
If you notice that your stitches are uneven as you work, don’t panic! There are some easy ways to fix this.
- One method is to adjust your tension as you go. You can do this by simply being mindful of your tension as you work, and consciously making your stitches more even.
- Another method is to try a different hook size. Sometimes, a hook that’s too small or too large for the yarn you’re using can cause uneven tension. By experimenting with different hook sizes, you may be able to even out your tension and create a more consistent gauge.
However, if you notice a significant change in your tension, it may be best to rip out the affected rows and start again.
This may seem daunting, but it’s better to catch the problem early and fix it than to keep going and end up with a wonky finished product.
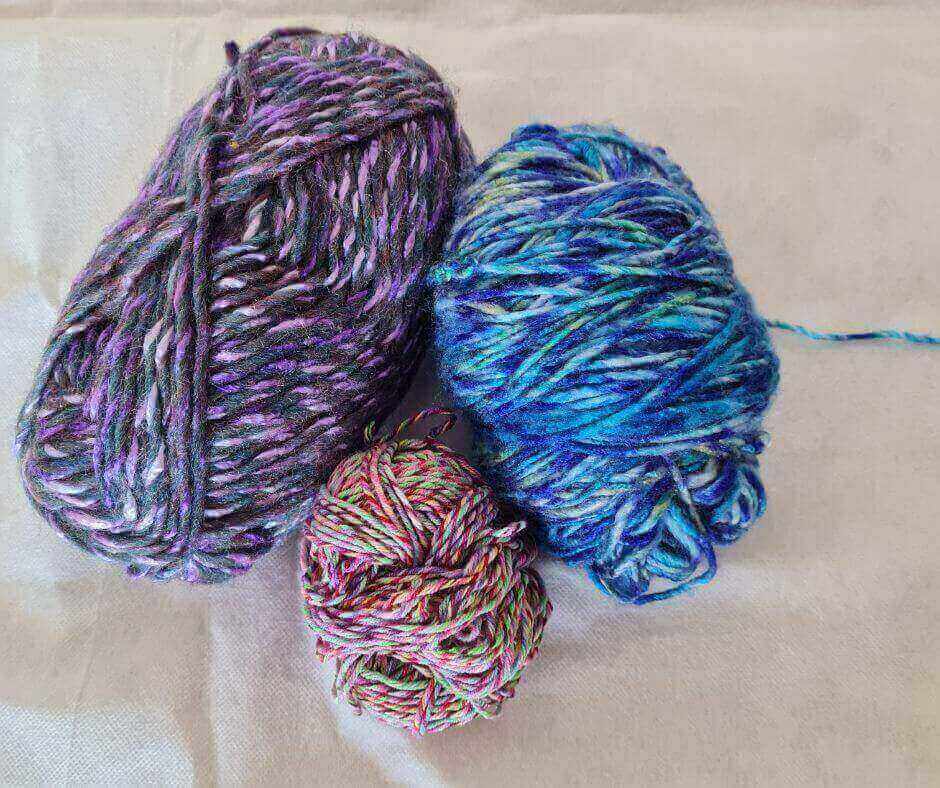
Using the wrong type or weight of yarn
It can be tempting to use a yarn that you already have in your stash or that’s on sale at the craft store, but it’s important to consider how it will affect the finished product.
Using a different yarn than what the pattern recommends can change the size, drape, and overall appearance of your project.
For example, using bulky yarn instead of a fingering weight yarn for a delicate shawl pattern can make the final product look chunky and heavy.
- Always check the pattern requirements and labels on your yarn before starting a project. Most patterns will specify the weight, fiber content, and yardage needed for the project.
- Be sure to choose a yarn that matches those specifications as closely as possible.
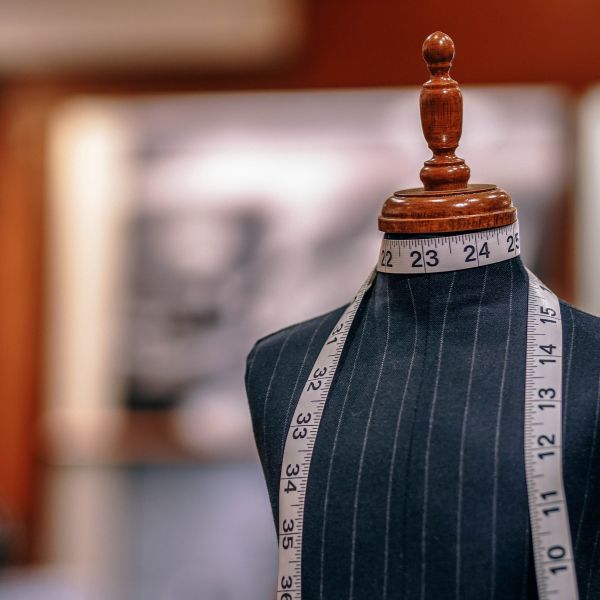
Not checking Gauge
Another mistake that often goes hand in hand with using the wrong yarn is not checking the gauge.
Gauge refers to the number of stitches and rows per inch in a project, and it can vary depending on the yarn type, hook size, and tension.
For example, if your gauge is too tight, the finished project may be too small and uncomfortable to wear.
On the other hand, if your gauge is too loose, the final product may be too large and baggy.
Take the time to check your gauge before starting a project.
Want to save this post for later? Pin it!
Not weaving in ends properly
We all love to finish a project and see it come to life, but it’s important to take the time to properly weave in the loose ends of yarn.
It can be tempting to simply tie a knot and trim the excess, but this can lead to the ends coming undone and unraveling over time.
To avoid this:
- Weave in the ends using a tapestry needle or the crochet hook itself. First, thread the end of the yarn onto the needle or hook and weave it in and out of the stitches in the same direction as the yarn. This will secure the end and prevent it from coming loose.
- If the yarn is too short to weave in, try using a magic knot to join a new piece of yarn.
- Another tip is to weave in the ends as you go, especially when working with multiple colors or changing yarns frequently. This will save you time and ensure that the ends are properly secured before moving on to the next section of the project.
So take the extra time to weave in those ends properly, and your finished project will look neater and more professional.
Not Blocking your finished project
Not blocking a finished project is a common mistake that can affect the final appearance and fit of your crochet item. Blocking helps to shape and even out stitches, as well as eliminate any unwanted bumps or waves.
For example, a hat that has not been blocked may end up being too tight or too loose, or a blanket may appear lumpy and uneven.
Here’s how to do it:
Gather your materials: You will need a clean towel, rustproof T-pins, and a spray bottle filled with water.
Prepare your workspace: Choose a flat surface, such as a table or the floor, and cover it with the towel.
Wet your project: Use the spray bottle to mist your crochet project with water. Be careful not to soak it too much, as this can cause the colors to bleed.
Shape your project: Gently stretch and shape your project into the desired size and shape, being careful not to pull it too hard or distort the stitches.
Pin your project: Secure the edges of your project to the towel with the T-pins, making sure that it stays in the desired shape.
Let it dry: Allow your project to dry completely before removing the pins. This can take several hours, or even overnight.
Not taking breaks
Ok I know we all know this last one, but do we actually prevent this mistake? Or can you find yourself siting for hours …
Not taking breaks can lead to fatigue, strain, and even injuries like carpal tunnel syndrome.
To avoid this common crochet mistake, try setting a timer for 30 minutes to an hour of crocheting, then take a 5 to 10-minute break to stretch, walk around, or rest your hands. It’s also important to listen to your body and take longer breaks or stop crocheting altogether if you feel any pain or discomfort.
Set a timer: It can be easy to lose track of time when you’re in the middle of a project. To avoid overworking, set a timer for a certain amount of time, like 30 minutes or an hour. When the timer goes off, take a break.
Stretch and move: Crocheting can be a sedentary activity, which can lead to stiffness and discomfort. During your break, take the opportunity to stretch and move your body. Do some simple stretches or go for a quick walk to get your blood flowing.
Stay hydrated and fueled: Make sure you have water and a healthy snack nearby while you’re crocheting. Staying hydrated and fueled will help keep your energy levels up and prevent fatigue.
Change your focusC: If you find yourself getting frustrated or stuck on a particular part of your project, take a break and switch to a different activity for a little while. This can help refresh your mind and give you a new perspective when you return to your crochet.
Remember, taking breaks and avoiding overworking is important for your physical and mental health, as well as the quality of your crochet work.
By following these tips, you can keep yourself comfortable and energized throughout your crochet sessions.
Free ways to share and support me
- PIN on Pinterest
- Share in your story on Instagram
.
So what have we learned here?
Making mistakes while crocheting is completely normal and even experienced crocheters make them from time to time. The key is to not get discouraged and to approach these mistakes as learning opportunities.
By taking the time to properly understand the pattern, using the correct materials, checking gauge, and taking breaks to prevent overworking, you can avoid many common mistakes.
And when mistakes do happen, there are often simple solutions that can be applied to fix them.
Just enjoy the process of crocheting, even with the occasional mistake. With practice and persistence, you’ll become more confident in your skills and produce beautiful crochet projects.
Interested in a professional Paperback Crochet Planner?
Check out my Planner on Amazon
Before you leave 🙂

Questions?
Ask and share in our
FREE Facebook Group
Want to know more about me? This is my story
DISCLOSURE
AMAZON ASSOCIATES: Sandra Stitches is a participant in the Amazon Services LLC Associates Program, an affiliate advertising program designed to provide a means for sites to earn advertising fees by advertising and linking to Amazon.com.
This post contains links to products that I use and recommend, If you purchase any using my links I get a very small fee at no ad to you! Thank you for supporting my small biz!
You may also like:
How to use color yarn combinations

Free Crochet Beanie Pattern


One thought on “9 Common Crochet Mistakes and fixing Tips”
Thank you for sharing! I’ve been crocheting for many years and it’s nice to be reminded that mistakes happen and that some are easier to fix then others. I love your tips, especially on how to add a stitch.