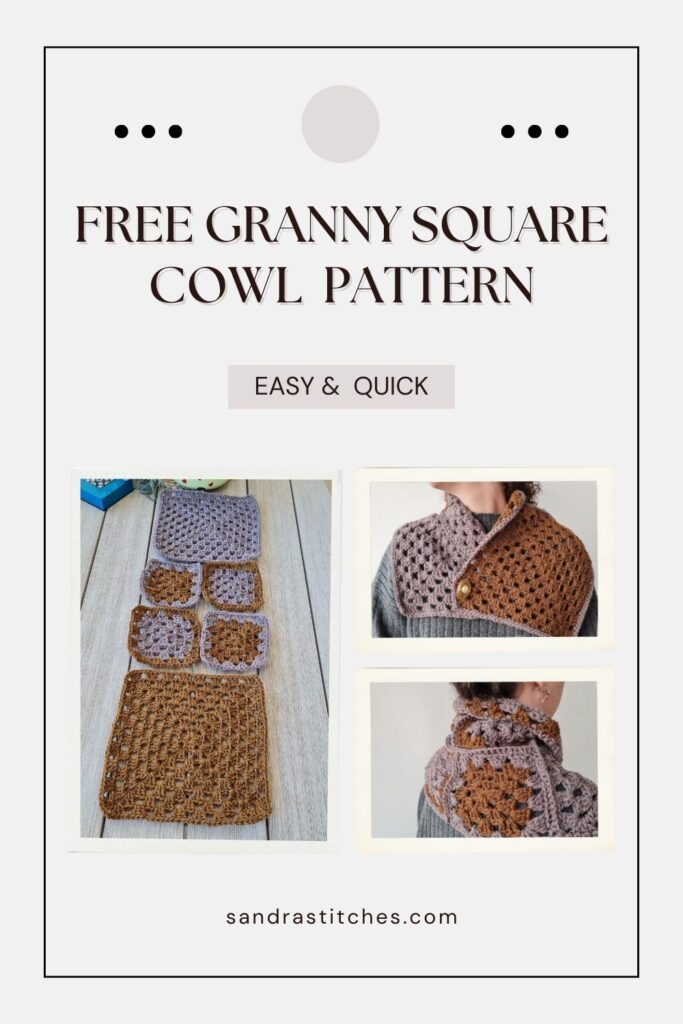
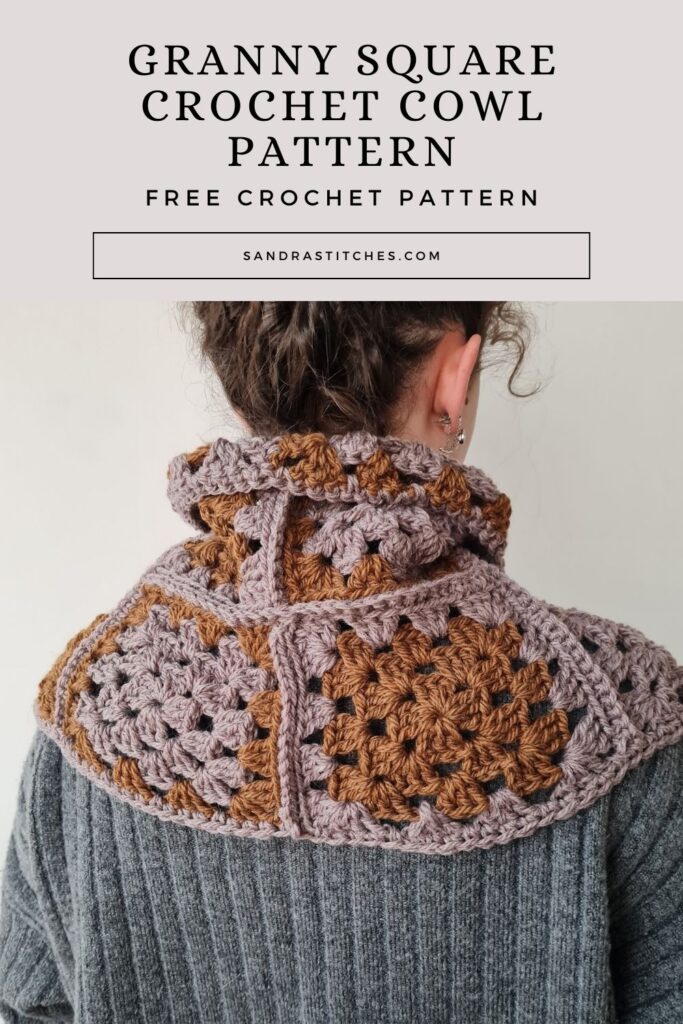
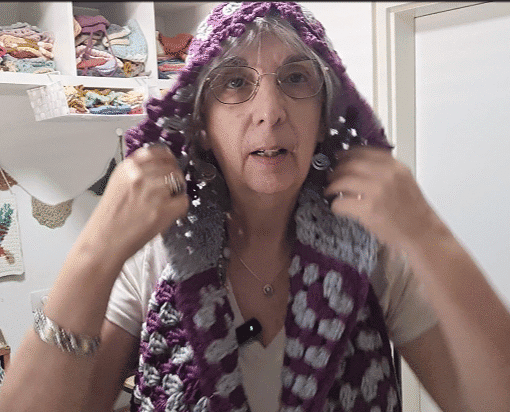
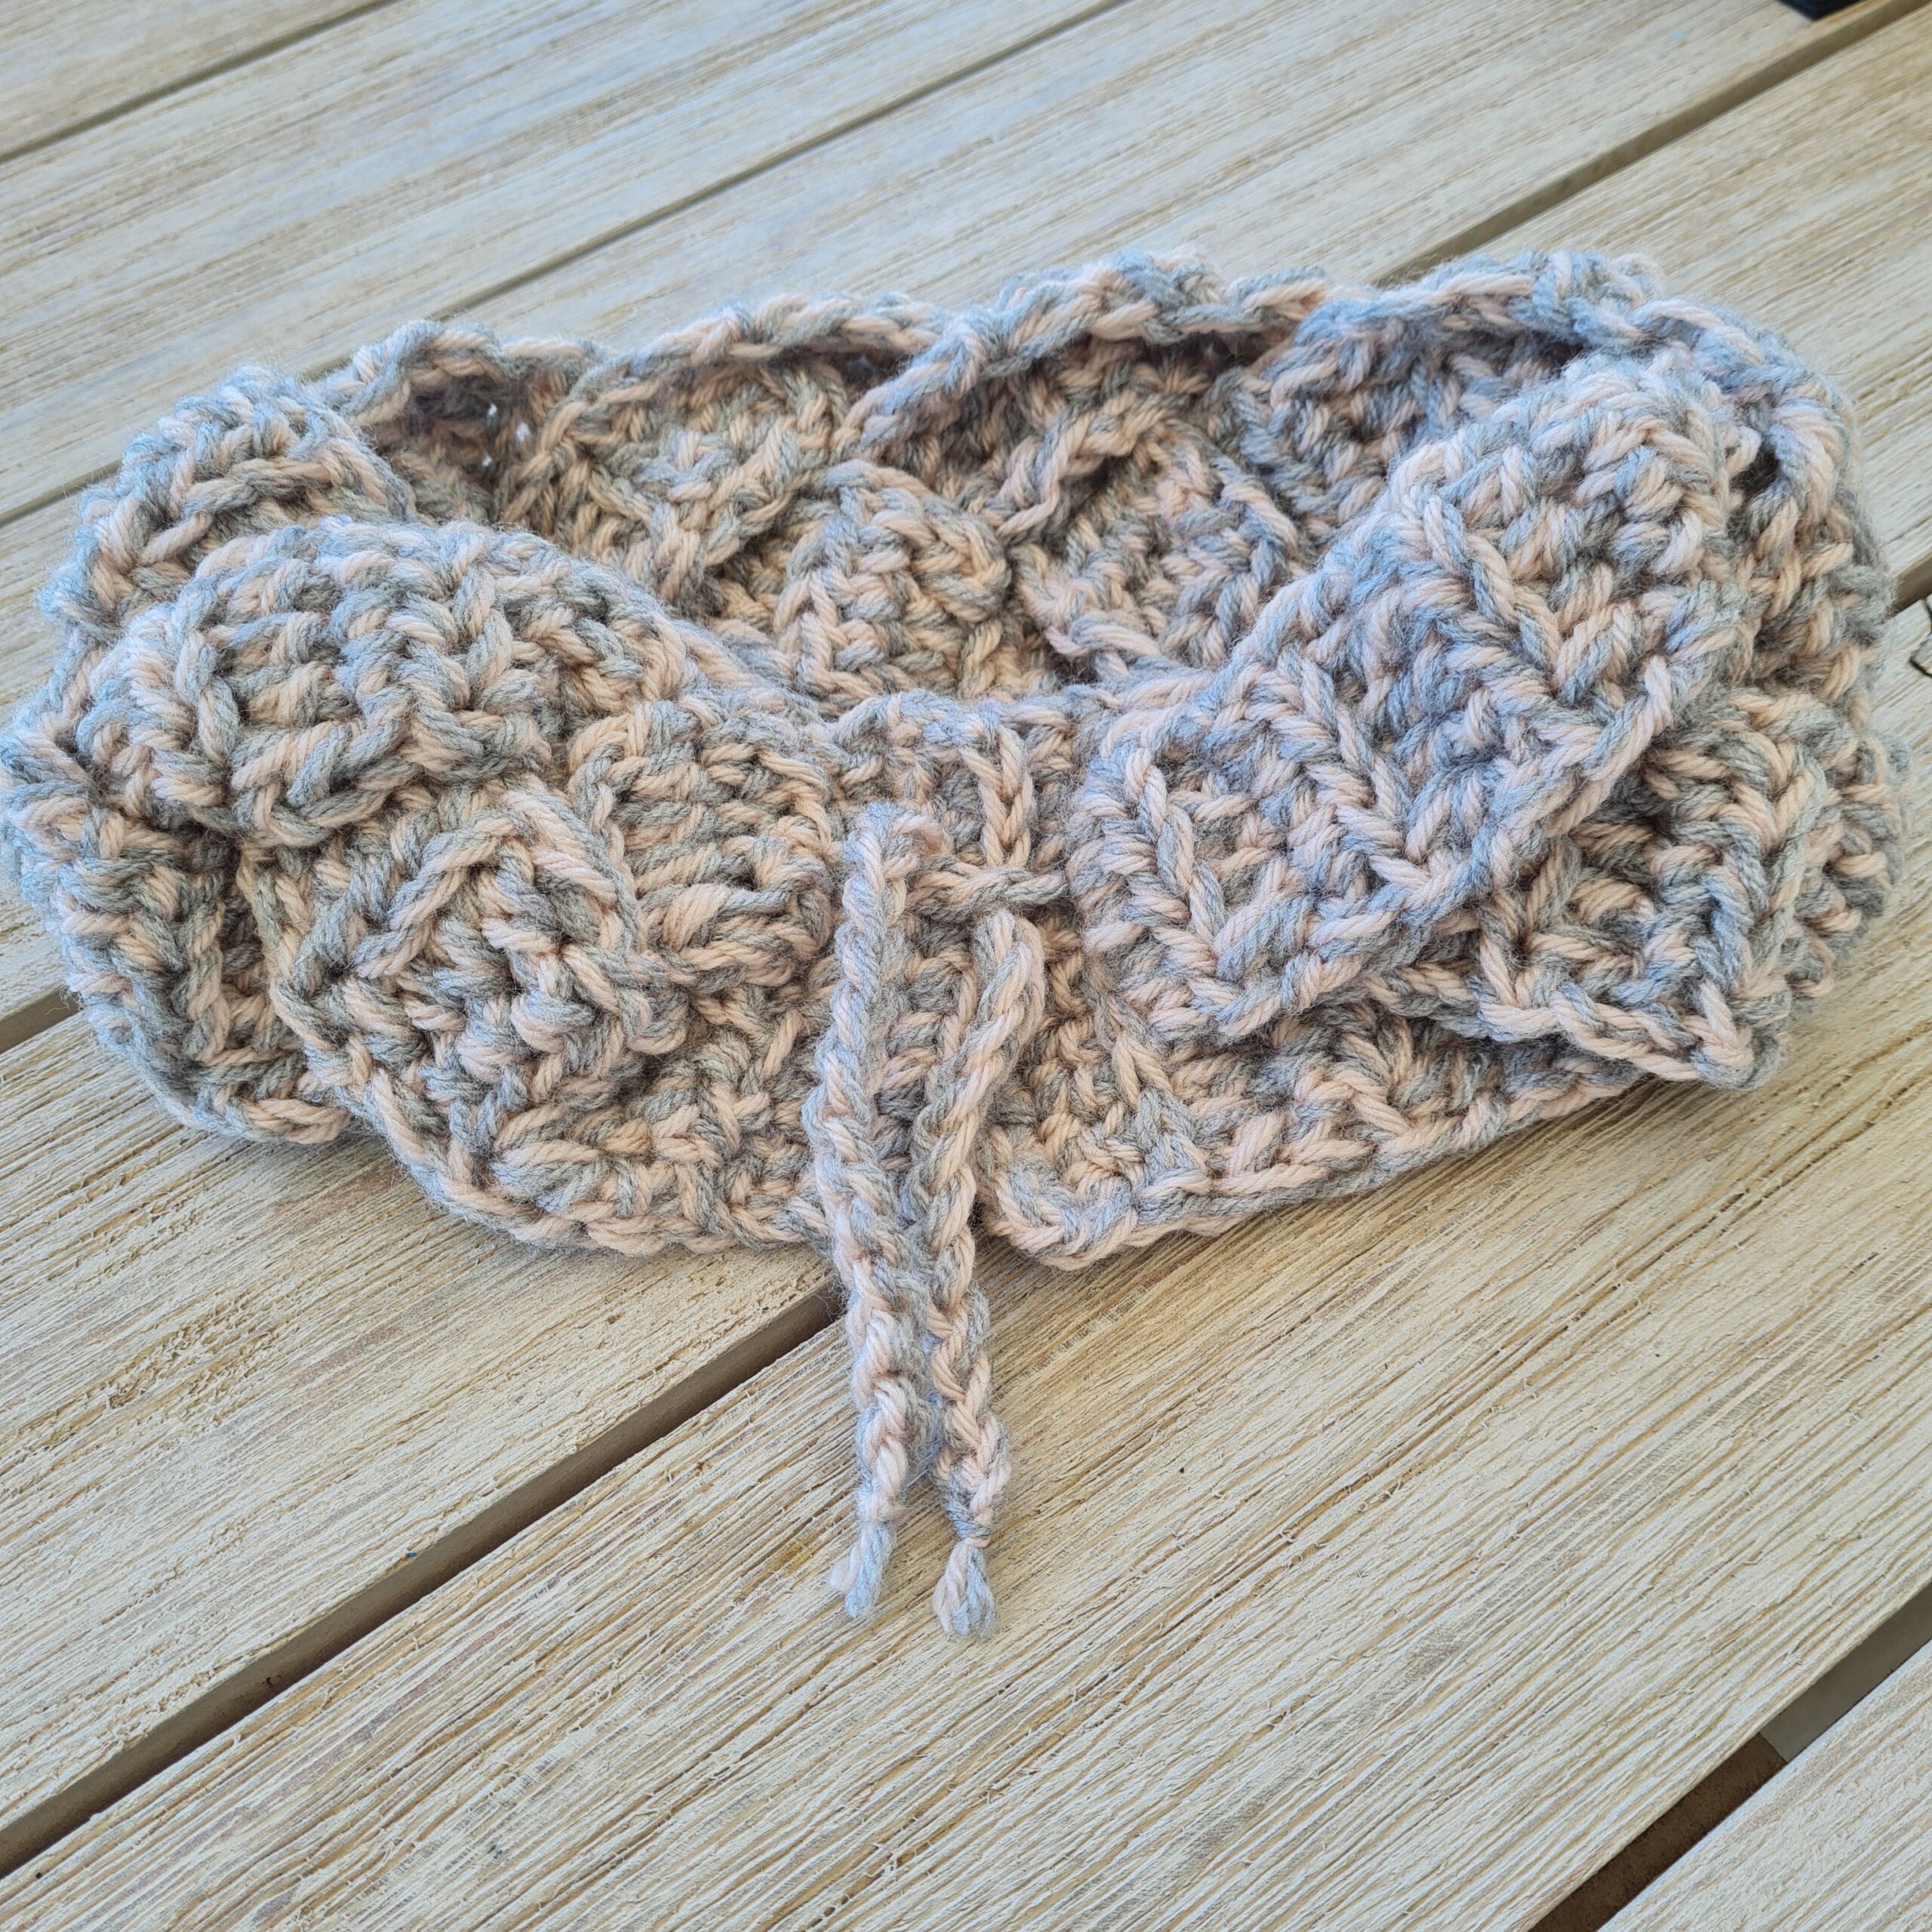
This Granny Square Cowl Crochet Pattern is made up of granny squares in different sizes and color combinations sewn together into a cowl shape. All you need to know is how to make a basic granny square for this simple cowl.
Are you with me?
Find the free pattern below or purchase the ad-free PDF version of this pattern on Ravelry. The PDF is designed for printing and this way you can support me! Thank you!
Is a Granny Square Cowl a good project for a beginner crocheter?
Believe me, granny squares cowls are a dream come true for beginner crocheters like us! They’re not only a fantastic way to learn the basic granny stitch, but you also end up with a beautiful and useful accessory.
The repetitive nature of the squares is perfect for practicing your skills without feeling overwhelmed, Plus, you get to pick the colors and yarn textures you love, making it a truly personalized project. So, grab your hook and yarn, and get ready to crochet your way to cozy cowl bliss!
** Some of the links in this post may include affiliate links. Making a purchase through one of these links pays me a small referral fee at no added cost to you. These small fees add up and help me keep the blog running. View our Disclosure and Privacy Policy for more information.
Tips for blocking my Granny Square Cowl to ensure a neat and even shape:
Blocking your granny square cowl helps it achieve a neat and even shape, Here are some tips:
- Gently Wash and Dry: Before blocking, hand-wash your cowl following the yarn care instructions (usually lay flat to dry). Avoid harsh scrubbing or wringing, as this can distort the squares.
- Prepare Blocking Materials: You’ll need a blocking board or mat, rust-proof pins, and a spray bottle filled with clean water.
- Pin the Cowl: Lay the damp cowl flat on the blocking board, gently stretching each square to its desired shape and size. Use pins to secure the edges and any uneven corners.
- Smooth: Use your hands to gently smooth any remaining bumps or wrinkles.
- Air Dry: Leave the pinned cowl flat to air dry completely. Once dry, remove the pins, and enjoy your beautifully shaped cowl!
Before you get started, check out my Favorite Crochet Tools (affiliate)
Yarn Winder – a perfect crochet accessories
Neck Stretcher – to keep you without neck and back pain
Gauge Ruler – so you always get the right size
Pattern Designed By: Sandra Stitches This pattern is copyright protected; it is unlawful to distribute this pattern in any form (free, sale or trade).
▶️ Add this pattern to your Ravelry favorites here.
Let’s get to the pattern, shall we? Making a quick chunky cowl
Difficulty
Beginner
Materials
Drops, Alaska Mix, 100% wool, 50g ( 1.8 oz) 70m (77yds), color 66 : 1.5 skeins, color A
Drops, Alaska Mix, 100% wool, 50g ( 1.8 oz) 70m (77yds), color 55 : 1.5 skeins – color B
Subs can be HERE
Hook: US Size H-8(5 mm)
- Yarn Needle, Scissors, Measuring Tape
Gauge
- 12 st X 7rows
Sizes
- Can be modified as you wish this sample is 12” width X 34” length
Stitch Key
- Ch = Chain
- Sc = Single Crochet
- St = Stitch
- Dc = Double Crochet
- Yo = Yarn over
Specialty Stitches
Grst : Granny stitch ( Dc3 in ch1 space,(dc3+ch2+dc3 in corners))
Single crochet join
Line up your motifs/granny squares, start at a corner (chain 2). Insert your hook through both motifs in the last chain in your corner, and attach yarn and chain 1.
Insert your hook through the back loop of the next stitch on the first motif and the back loop of the second motif and create a Single Crochet.
For each stitch, you will insert your hook through the back loop of the first motif and the front loop of the second motif creating a Single Crochet.
Notes
- The pattern is worked in rounds
- This pattern consists of squares joined together to form a rectangle
- There will be 4 small granny st squares and 2 bigger solid squares to form the cowl
- Ch3 does count as st at the beginning of each row
- Ch1 at the beginning of the row does not count as a stitch
- This pattern uses pattern repeats.
- You can work this pattern with one color or multiple as you wish- I used two colors
- If changing colors make sure to have a changing technique and weave your ends in.
- You can decide on the size of the cowl by adding squares – if wanted it can become a scarf
Instructions
Small Granny stitch squares, each 4 rounds – make 4
Alternate with colors as you wish – I used 3 rounds with color A and the last round with color B and switched every two squares
Round 1: Make a magic ring (or ch 4 and join with a sl st to form a ring). Ch 3 (counts as first dc here and throughout), 2 dc into the ring, *[ch 2, 3 dc into the ring]* repeat from * to * 2 more times. Ch 2 and sl st to the top of the beginning ch 3 to join. Pull the magic ring tight or weave in the yarn tail to secure the center.

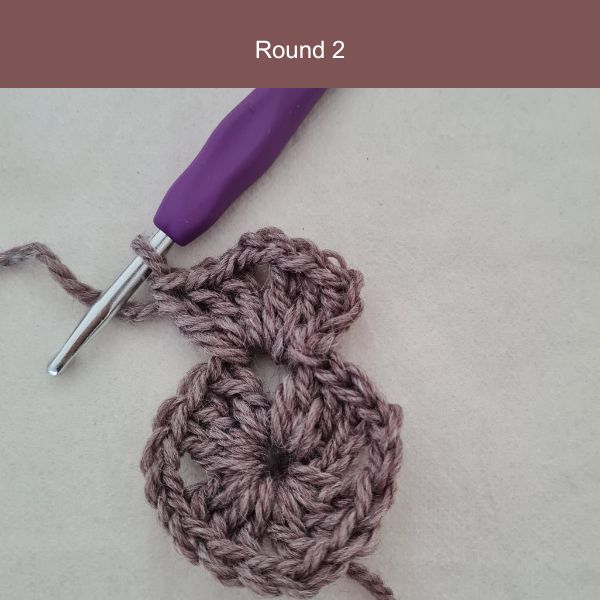
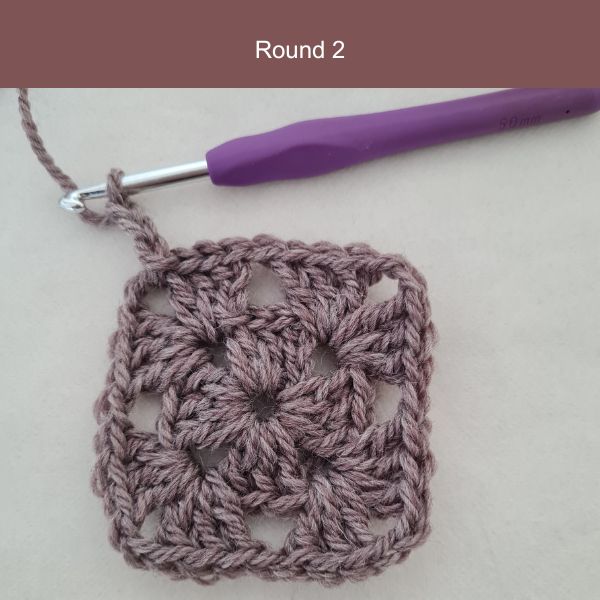
Round 2: Sl st in the next 2 dc and into the ch-2 corner space. ch 3, dc 2 in the same ch-2 space, ch 2, dc 3 in same ch-2 space, *[ch 1, (dc3+ch2+dc3) in next ch-2 space]* repeat from * to * until you reach the beginning corner, ch1 , sl st to the top of the beginning ch 3 to join.

Round 3: Sl st in the next 2 dc and into the ch-2 corner space. ch 3, dc 2 in the same ch-2 space, ch 2, dc 3 in same ch-2 space, *[ch 1, dc 3 in next ch-1 space, ch1, (dc3+ch2+dc3) in next ch-2 space ]*repeat from * to * until you reach the beginning corner, ch1, sl st to the top of the beginning ch 3 to join.
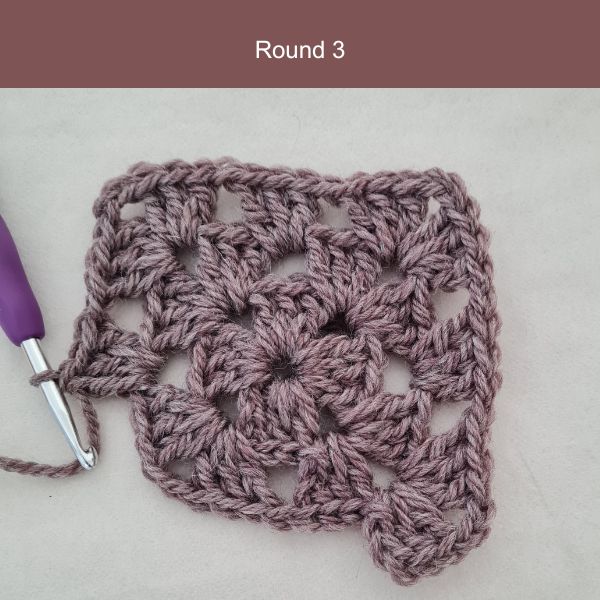
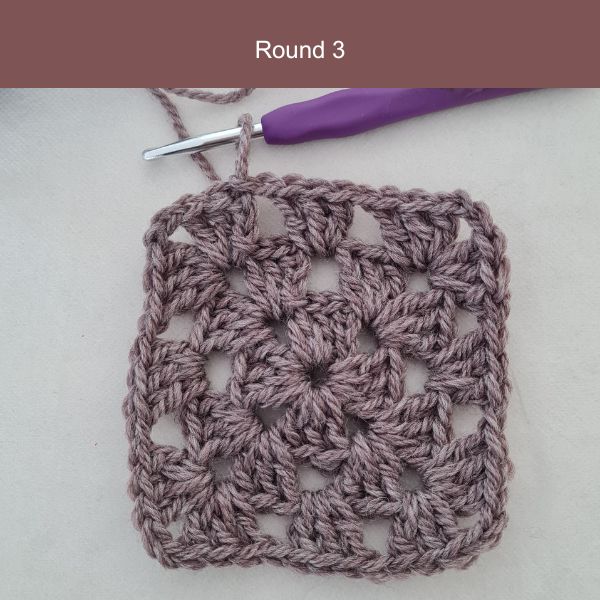
Continue to
Round 4: Continue the pattern, increasing the ch-1 spaces between the 3-dc groups by 1 in each round. For example, in Round 4, you would have (dc 3+ ch 2 + dc 3) in the next ch-2 space, ch 1, 3 dc in the next ch-1 space, ch 1, 3 dc in the next ch-1 space repeat from until you reach the beginning corner. After each corner, continue to add ch-1 spaces to separate the 3-dc groups in each side of the square. Secure yarn, cut and weave in ends
Big Granny squares – make 2
Work with one solid color on each square
Repeat instructions for small granny square adding more rounds as instructed in round 4 for a total of 8 rounds
Secure yarn, cut, and weave in ends

Construction
Block all squares before joining
Lay 4 squares alternating between colors to form a big square.
Use one color of yarn
Single crochet join the 4 squares to each other.
Single crochet join each big square to a side
For a clean edge, Sc1 on each st around the joined cowl working (sc 1+ch1+sc1) on each corner
Secure yarn , cut and weave in ends.
Finishing
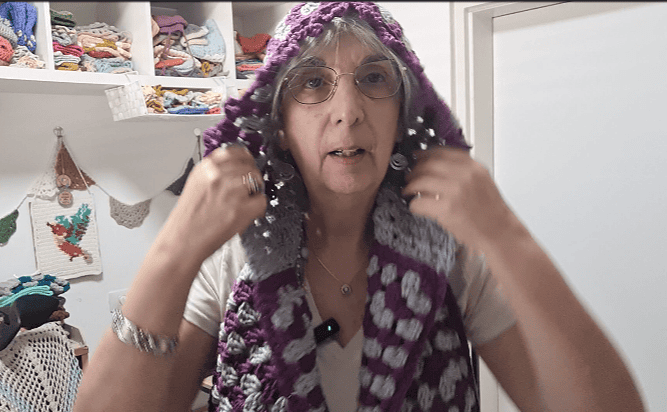
Block your cowl, add a button or brooch to close the cowl
Enjoy!
Want to save this post for later? Pin it!
Did you try this Pattern? Share a picture
Tag me on Instagram
@sandrastitchesil
Want more crochet Cowl patterns?
DISCLOSURE
AMAZON ASSOCIATES: Sandra Stitches is a participant in the Amazon Services LLC Associates Program, an affiliate advertising program designed to provide a means for sites to earn advertising fees by advertising and linking to Amazon.com.
This post contains links to products that I use and recommend, If you purchase any using my links I get a very small fee at no ad to you! Thank you for supporting my small biz!


