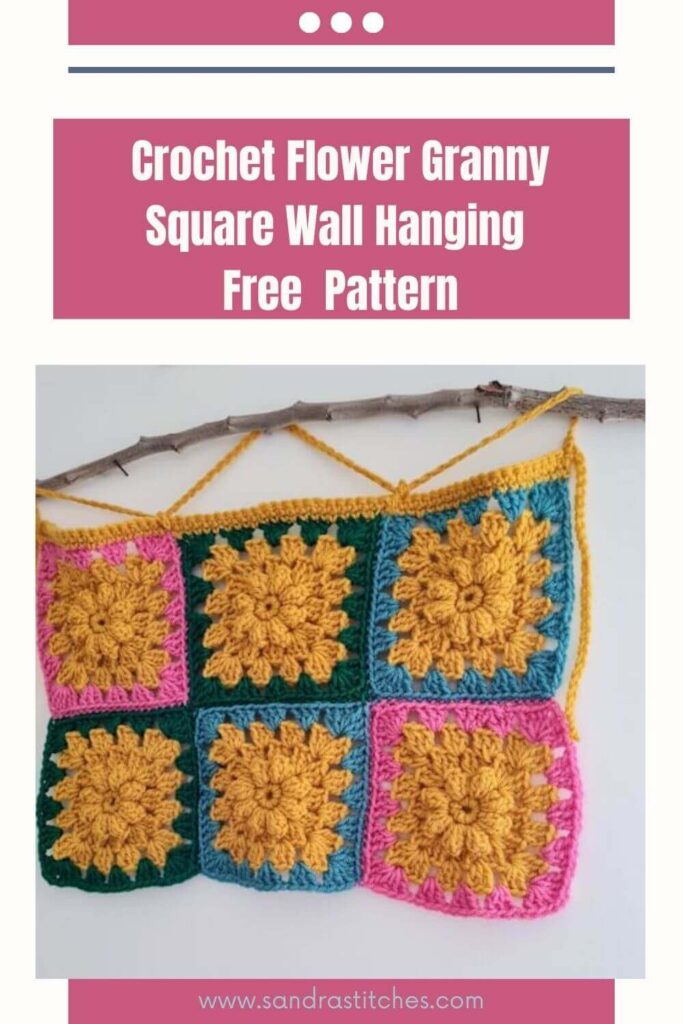
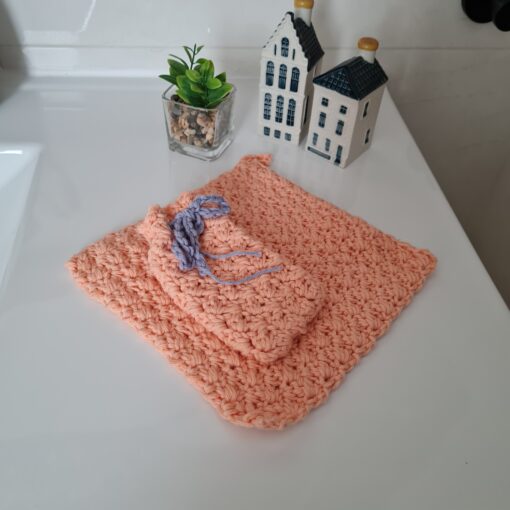
Crochet flower granny squares are a versatile and fun way to add a touch of handmade charm to any project. As someone who loves to crochet, I’ve found that these squares are a great way to use up leftover yarn and create beautiful, unique designs like this wall hanging!
Whether you’re a beginner or an experienced crocheter, you’ll find that these flower granny squares are easy to make and can be customized to suit your personal style by choosing the color combinations and sizes
Find the free pattern below or purchase the ad-free PDF version of this pattern on Ravelry. The PDF is designed for printing and this way you can support me! Thank you!
This pattern is part of the May Flowers Blog Hop hosted by Stardust Crochet – Scroll Down for details ⬇️
Pin it for later 👇
Here are five reasons why you’ll love this Flower Granny Square Wall Hanging
- Colors Galore: You can use all sorts of amazing colors to make the flowers and squares. Imagine a rainbow hanging on your wall!
- Feels Awesome: When you touch it, the wall hanging has bumps and textures that feel really cool. It’s like a soft, fancy puzzle for your wall.
- Make It Your Size: You can decide how big or small to make it.
- Watch It Grow: With every stitch, your wall hanging becomes more and more real. It’s like a magic picture that appears as you work on it.
- Show Off Your Art: People will notice your awesome creation and ask you all about it. It’s like having a special story to share with your friends and family.
** Some of the links in this post may include affiliate links. Making a purchase through one of these links pays me a small referral fee at no added cost to you. These small fees add up and help me keep the blog running. View our Disclosure and Privacy Policy for more information.
Before you get started, check out my newest favorite finds!
Yarn Binder – a perfect crochet accessories
Granny Squares Book – an ulitimate guide
Pattern Designed By: Sandra Stitches This pattern is copyright protected; it is unlawful to distribute this pattern in any form (free, sale or trade).
Let’s get to the Pattern, shall we?
Difficulty
Intermediate
Materials
Cygnet Chunky, 100 gr, 100% Acrylic, 156 m, color Gold 1 skein, colors green, pink and blue a few yards
Subs can be: any cotton or acrylic yarn in bulky weight
Hook: US Size J-10(6 mm)
- Yarn Needle, Scissors, Measuring Tape
Gauge
- Not Relevant
Sizes
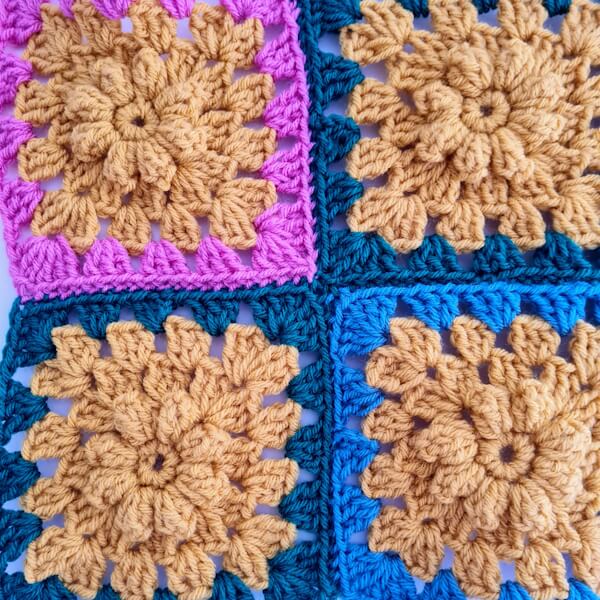
- Can be modified as you wish each square in this sample is 6.5” X 6.5” – You can add squares for a larger wall hanging
Stitch Key
- Ch = Chain
- Sc = Single Crochet
- Dc = Double Crochet
- SlSt = Slip Stitch
Specialty Stitch & Technique Key
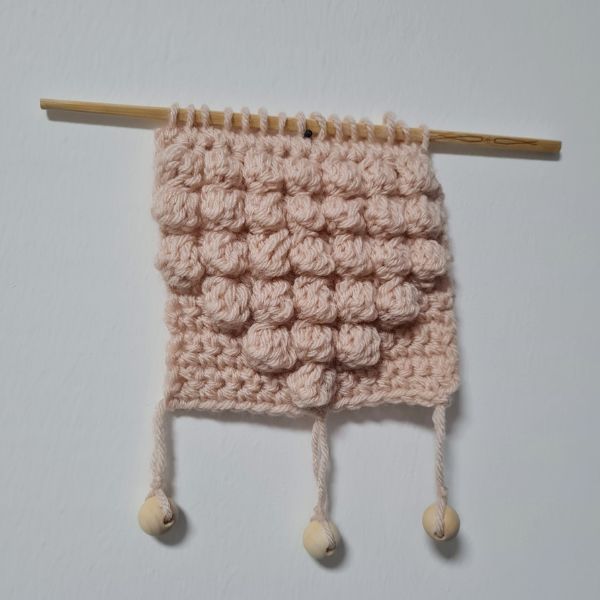
Popcorn Stitch = Pc : Make 5 Dc in specified st, draw up the last loop slightly and remove hook, insert hook in the first of the 5 Dc made, pick up the dropped loop and draw it through, Ch 1.
Notes
- The pattern is worked in rounds
- Ch3 does count as st at the beginning of each row
- You can work this pattern with one color or multiple as you wish- I used 4 different colors
- If changing colors make sure to have a changing technique and weave your ends in.
- You can decide on the size of the square by adding rounds.
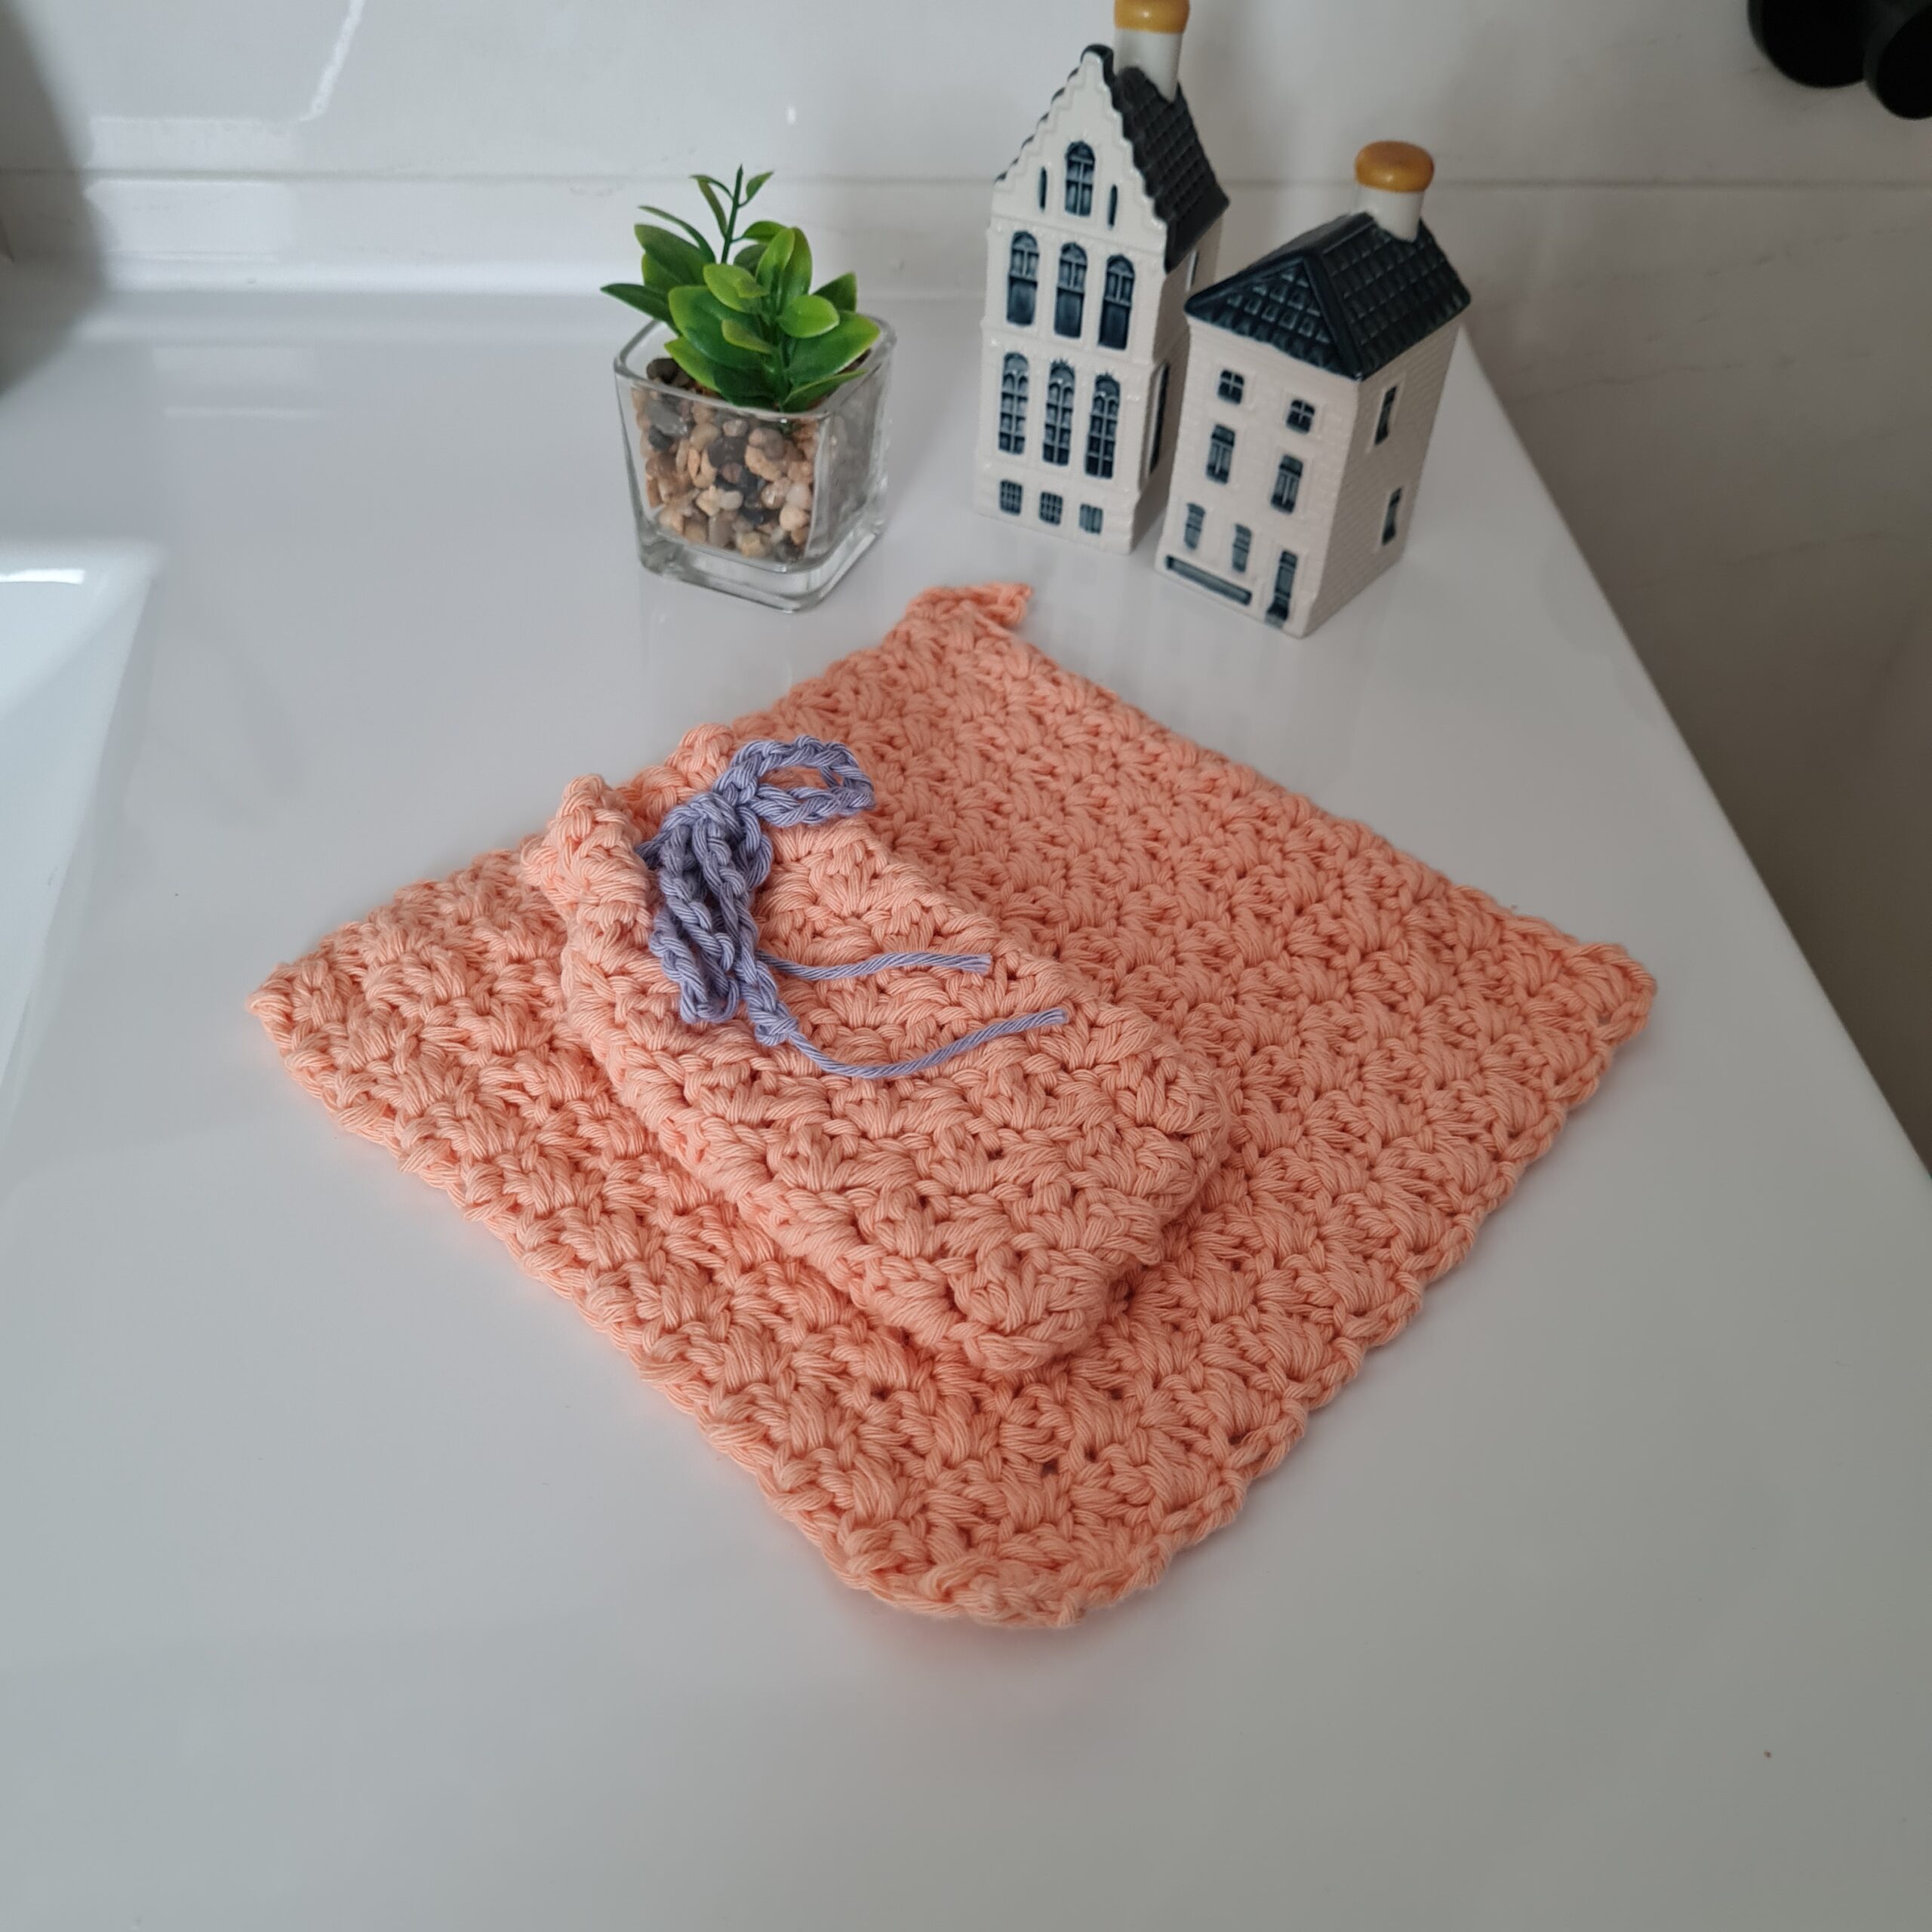
Pin it for later 👇

Instructions
Make 6 identical squares- alternating colors as you wish
Ch 4, join with a SIst to form a ring.
Round 1: Ch 1, 8 Sc in ring, join with a SI st in first Sc.
Round 2: (Pc): Ch 3 (counts as a dc), 4 Dc in first st, insert hook in the top of the ch 3, pick up dropped loop, tighten, Ch 1 to complete first Pc, Ch 1, *[Pc in next Sc, Ch 1]* rep *to* 6 times more, (8 Pc), join with a SI st to top of the beg Ch-3.
Now to Round 3: Ch 3 (counts as a Dc now and throughout) 2 Dc in same sp (half corner), Ch 1, 3Dc next ch-1 space, *[Ch1, (3 Dc+Ch 1+ 3 Dc) in next ch-1 space (corner), Ch1, Dc3 in next]*, rep from *to * twice 3 Dc in the same sp as beg half corner, ch 1, join ( 4 corners and 4 3Dc clusters in
between), Join with a SI st to top of beg ch-3 (this completes the first corner).
Round 4: Ch 3 , 2 Dc in same sp (half corner), Ch 1, 3Dc next ch-1 space, *[Ch1, 3Dc in next ch1-sp, Ch1, (3 Dc+Ch 1+ 3 Dc) in next ch-1 space (corner), Ch1, Dc3 in next ]*, rep from *to *around 3 Dc in the same sp as beg half corner, ch 1, join with a SI st to top of beg ch-3 (this completes the first corner). ( 4 corners and 8 3Dc clusters in between), fasten off . we will change color now
Round 5: Color B – Ch 3 , 2 Dc in same sp (half corner), Ch 1, 3Dc next ch-1 space, *[Ch1, 3Dc in next ch1-sp Ch1 , 3Dc in next ch1-sp, , Ch1, (3 Dc+Ch 1+ 3 Dc) in next ch-1 space (corner), Ch1, Dc3 in next ]*, rep from *to *around 3 Dc in the same sp as beg half corner, ch 1, join with a SI st to top of beg ch-3 (this completes the first corner). ( 4 corners and 12 3Dc clusters in between), fasten off cut yarn and weave in ends
Construction
- Join all squares by sewing one to the other using the loops technique ( back loop+front loop from each square side,
- Make sure to sew with the color of the one border to avoid different colors appearing.
- Once all squares are joined. Work two rows of Sc across one long side of the rectangle.

Did you know?
Crochet has been around for centuries, dating back to the 19th century!
People used to crochet intricate lace for fancy clothes. But guess what? Nowadays, crochet isn’t just about clothes – it’s a way to create all sorts of amazing things, like our flower granny square wall hanging.
So, when you’re crafting this masterpiece, you’re actually continuing a long tradition of creativity and artistry that’s been passed down through generations. How cool is that? Happy crocheting!
Are you in?
Did you try this Pattern? Share a picture
Tag me on Instagram
@sandrastitchesil
Finishing
I decided to use a tree branch to hang it on the wall- I chained as many as needed according to the hanging technique you chose. And just tied the chain to the piece on both sides of each square.
You can add fringe or tassels at the bottom for a more Boho-style
Want to save this post for later? Pin it!
Why and How to Block This Wall Hanging
Once you’ve finished crocheting your flower granny square wall hanging, you might notice that it looks a bit wobbly or uneven.
Not to worry! Blocking is like giving your creation a spa day. You gently shape and stretch it to make sure all the stitches look neat and tidy. Lay your piece flat on a clean towel, pin it into the right shape, and mist it with water.
Let it dry, and voilà – your wall hanging will look polished and perfect, ready to take its place as a stunning work of art on your wall!
Questions?
Ask and share in our
FREE Facebook Group
DISCLOSURE
AMAZON ASSOCIATES: Sandra Stitches is a participant in the Amazon Services LLC Associates Program, an affiliate advertising program designed to provide a means for sites to earn advertising fees by advertising and linking to Amazon.com.
This post contains links to products that I use and recommend, If you purchase any using my links I get a very small fee at no ad to you! Thank you for supporting my small biz!
