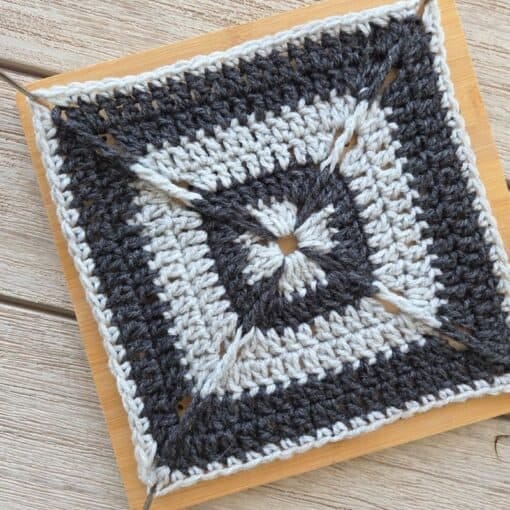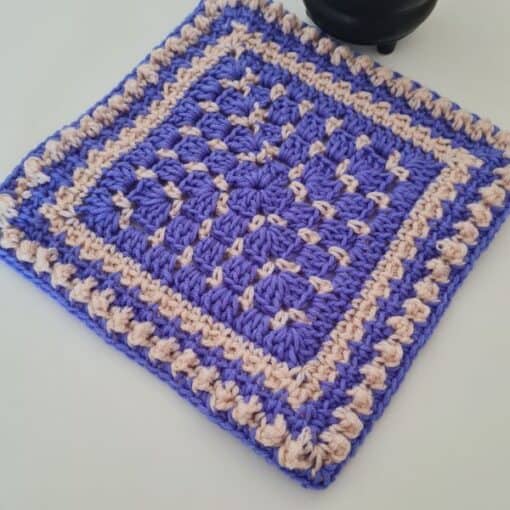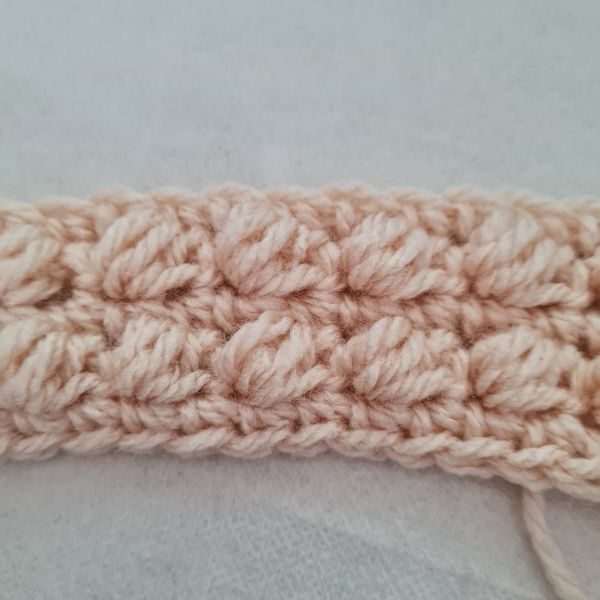
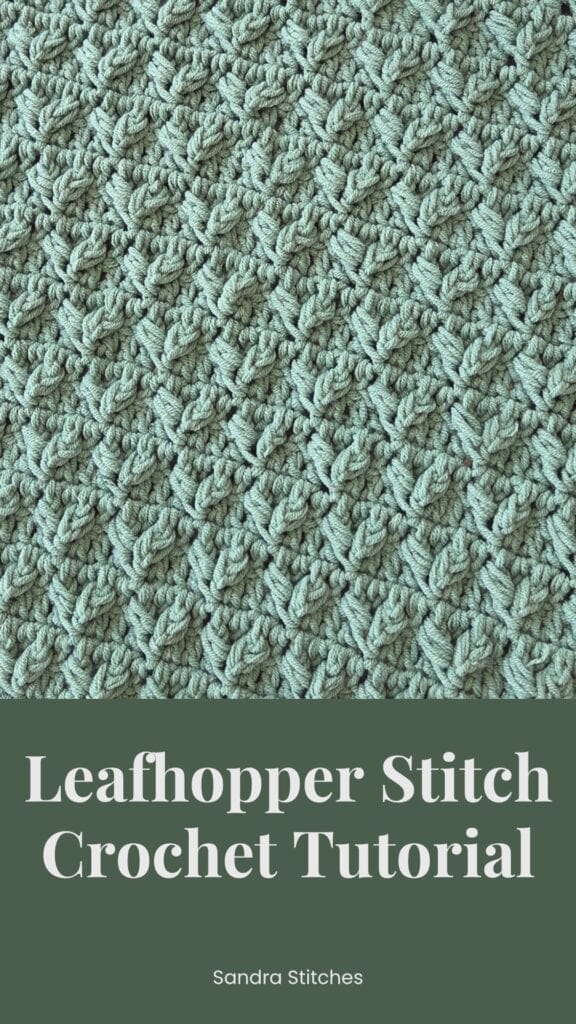
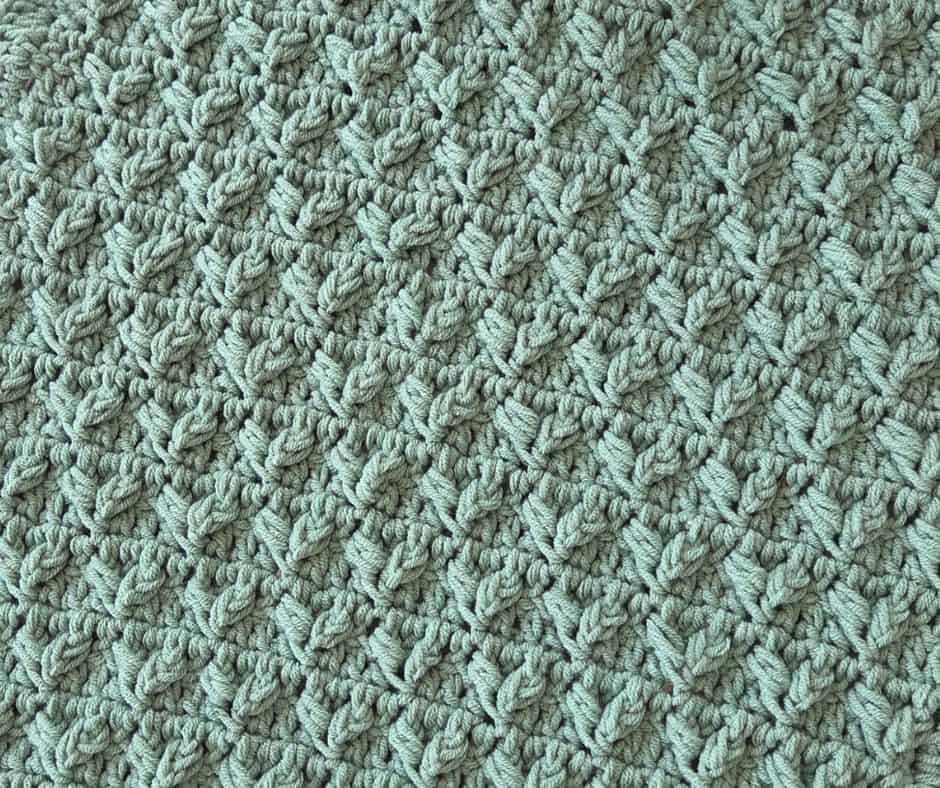
The leafhopper cluster stitch is made by working two small clusters around the post of a stitch in the row below, joined together at the top. It creates a raised, layered texture that looks a lot harder than it actually is to make. If you can work a double crochet and you are comfortable working around a stitch post instead of into the top of a stitch, you already have what you need.
If you love a textured stitch but don’t want to fight with a complicated chart, this is a good one to add to your rotation. It works up in a simple four row repeat. Once you’ve made your first cluster, every one after that follows the same rhythm.
I filmed the whole process so you can follow along stitch by stitch, no rushing.
Be creative!
Do you want to save this post for later? Pin it 👇
Watch the Video Tutorial
Sometimes seeing the stitch worked in real time makes everything click. Watch the full video here
What Makes This Stitch Different
Most textured stitches ask you to work into the top of a stitch, the same place your eye naturally goes.
The leafhopper cluster stitch asks you to work around the post instead, reaching into the row below rather than the row you just finished.
That’s the whole trick to it. Once your hand gets used to reaching around the post instead of into the top, the rest of the pattern is just repetition
** Some of the links in this post may include affiliate links. Making a purchase through one of these links pays me a small referral fee at no added cost to you. These small fees add up and help me keep the blog running. View our Disclosure and Privacy Policy for more information.
What You’ll Need
- Worsted weight yarn in your favorite color
- A hook sized to your yarn (check your yarn label for the recommended size)
- Yarn needle for weaving in ends
Sandra’s tip: Keep the loops you pull up around each post a little looser than feels natural. If they’re pulled too tight, the cluster fights you on the last pull through, and the stitch won’t sit as nicely once it’s blocked.
The Leafhopper Cluster Stitch, Written Out
This stitch pattern calls for multiples of 4 + 3.
Leaf hopper cluster: Yarn over, insert your hook around the post of the stitch directly below the last double crochet stitch worked, yarn over and draw up a loop. Again, working around the same stitch, yarn over, insert your hook around the post of the same stitch, yarn over and draw up a loop. Yarn over and pull through four loops on your hook.
Next, skip the next dc in the row below and repeat: yarn over, insert your hook around the post of the next stitch, yarn over and draw up a loop. Again, working around the same stitch, yarn over, insert your hook around the post of the same stitch, yarn over and draw up a loop. Yarn over and pull through four loops on your hook.
Finally, yarn over and draw through all three loops on your hook. The leaf hopper cluster stitch is made.
Row 1: Dc1 into the fourth chain from your hook and into each chain stitch across. Ch 3 and turn your work. The starting chain three counts as a double crochet stitch.
Row 2: Skip the 1st stitch (at the base of your turning chain), double crochet into the next stitch, *leaf hopper cluster over the next stitch. Dc1 in each of the next three stitches. Repeat from * across to the final two stitches, dc 1 in the final two stitches. Ch 3 and turn your work.
Row 3: Double crochet into the next stitch and into each stitch across. Ch 3 and turn your work.
Row 4: *Dc 1 into each of the next three stitches, leaf hopper cluster over the next stitch. Repeat from * across ending with one dc in each of the last four stitches. Ch 3 and turn your work.
Row 5: Repeat row three.
Repeat rows 2 through 5 for as long as you’d like your piece to be.
A Few Things to Watch For
The most common place this stitch trips people up is row 2, the first time you work a cluster.
Remember you’re reaching into the row below, not the row you’re currently working. If you find yourself confused about which stitch to go into next, that’s completely normal the first time through.
Pause the video, look at your work from the top, and you’ll be able to see exactly where the post sits.
Love This Pattern? There’s More Where That Came From!
You will discover my complete collection of crochet patterns, tutorials, and resources, both free and premium all in one convenient place.
I know you’ll find something to inspire your next project🙃
Wrapping Up
The leafhopper cluster stitch is one of those patterns that feels tricky for exactly one repeat, and then suddenly makes sense.
Once you’ve worked through rows 2 through 5 once, your hands will know what to do without you having to think it through stitch by stitch. That’s the moment worth crocheting for.
Take a photo of your swatch when you’re done. You earned that texture.
© Sandra Regev, Sandra Stitches. This is an original Sandra Regev pattern. Please do not redistribute it for free, sale, or trade. You are welcome to sell finished items made from it with credit to this shop.
Want More Calm, Textured Crochet Time?
If you enjoyed learning this stitch, V-Stitch Club is where I share two new patterns like this every month, along with a monthly crochet workbook. It’s the calm part of the day you make for yourself. You can read more here:
Want more stitch tutorials:
FAQ
Is the leafhopper cluster stitch hard to learn? It looks more complicated than it is. The only new skill is working around a stitch post instead of into the top of a stitch. Once you’ve made one cluster, the rest repeat the same way.
What can I make with the leafhopper cluster stitch? It’s a great texture for scarves, blankets, and any project where you want a raised, layered look on a plain double crochet background.
Why do I keep losing my place in the row below? This is the most common snag with this stitch. Turn your work and look at it from the top so you can clearly see which post you’re reaching around next.
What yarn weight works best for this stitch? Worsted weight shows off the texture clearly and is the easiest to practice with the first time. You can size up or down once you’re comfortable with the stitch.
A new stitch step
- When learning a new stitch, try several yarn weights and hook sizes to understand how the stitch works and looks.
- Use light yarn colors to get the stitch to form the right shape.
- Make several swatches before starting a new project
Stay Calm and Crochet!😎
Sandra
DISCLOSURE
AMAZON ASSOCIATES: Sandra Stitches is a participant in the Amazon Services LLC Associates Program, an affiliate advertising program designed to provide a means for sites to earn advertising fees by advertising and linking to Amazon.com.
This post contains links to products that I use and recommend, If you purchase any using my links I get a very small fee at no ad to you! Thank you for supporting my small biz!


Hi my crochet friend!
Crochet has followed me from Argentina to Israel and through every crossroads since. Now I design calm, achievable crochet, made to feel possible.
Come find free patterns, tutorials, and the V-Stitch Club right here on the blog.