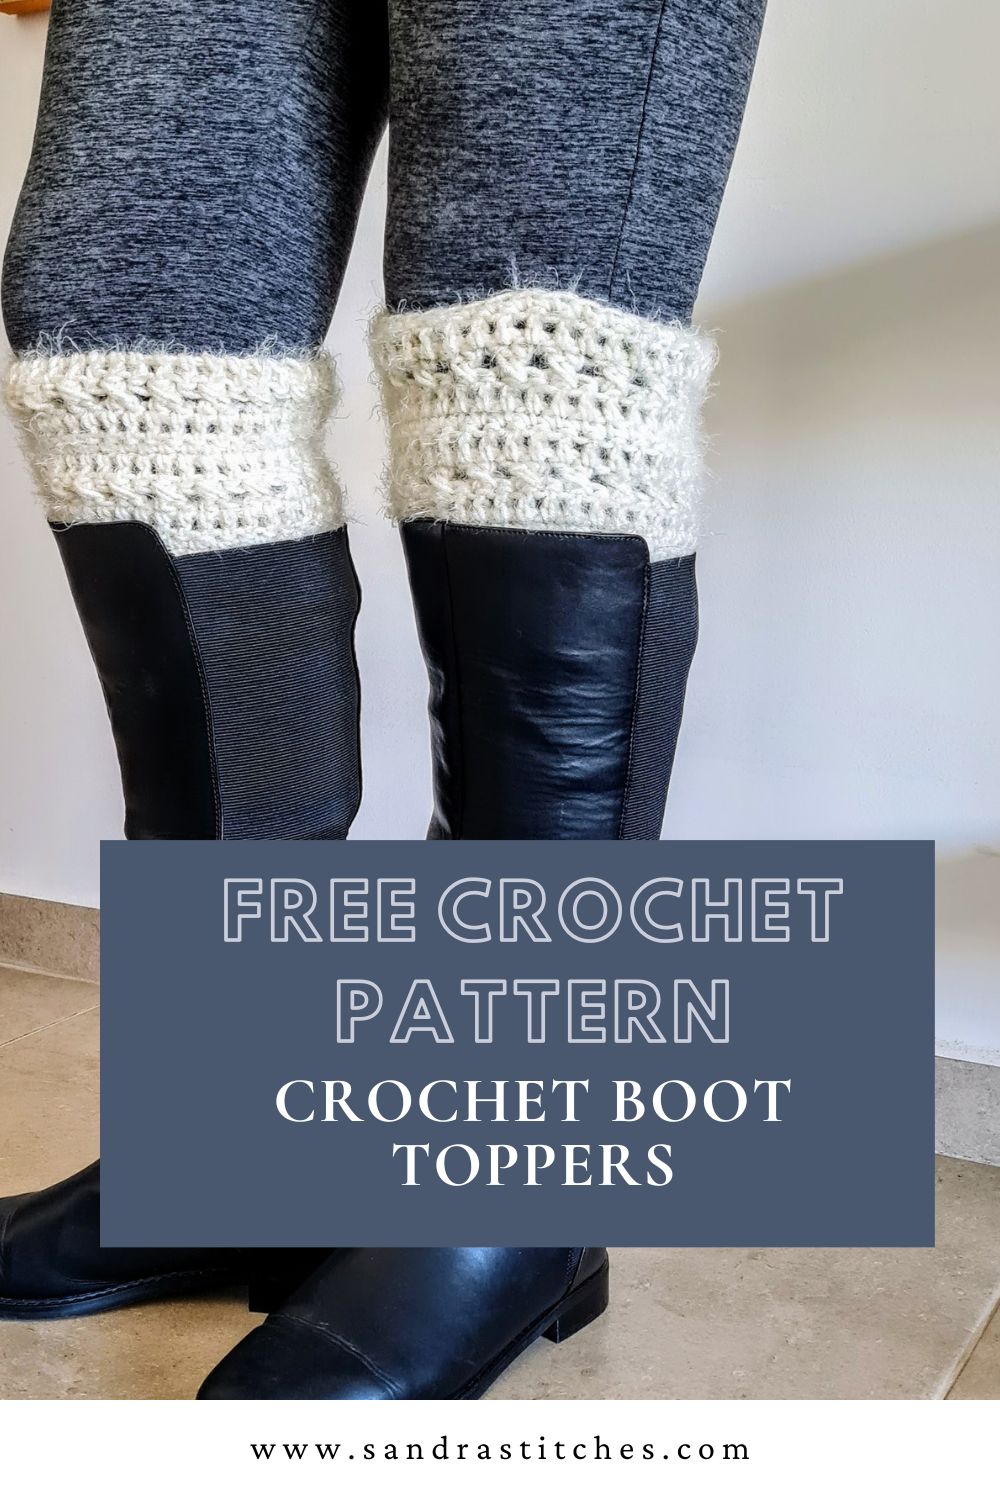
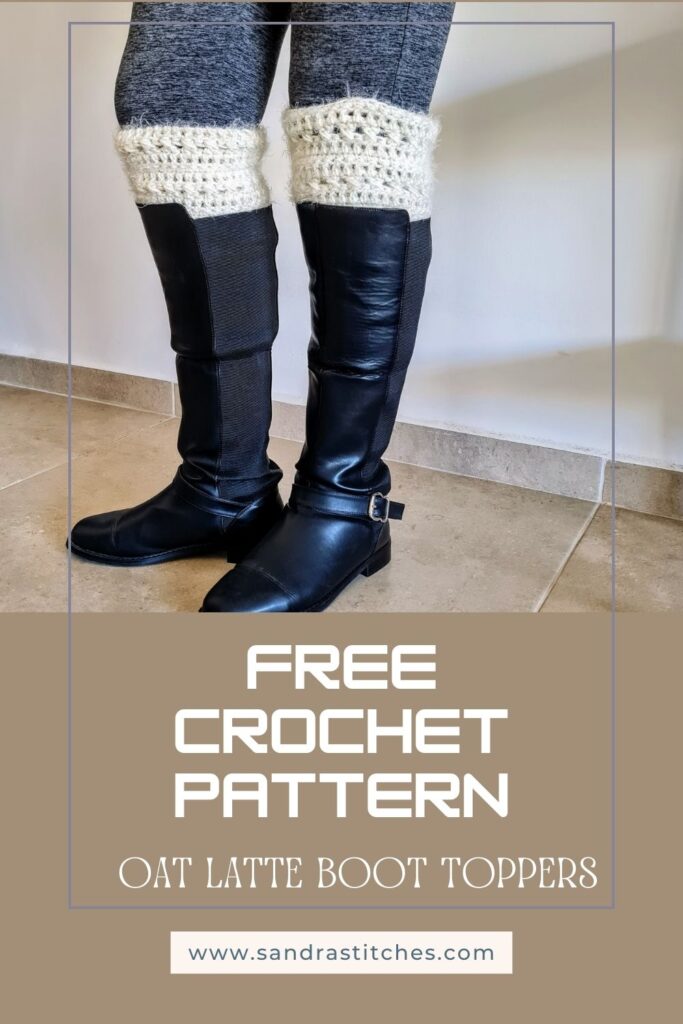
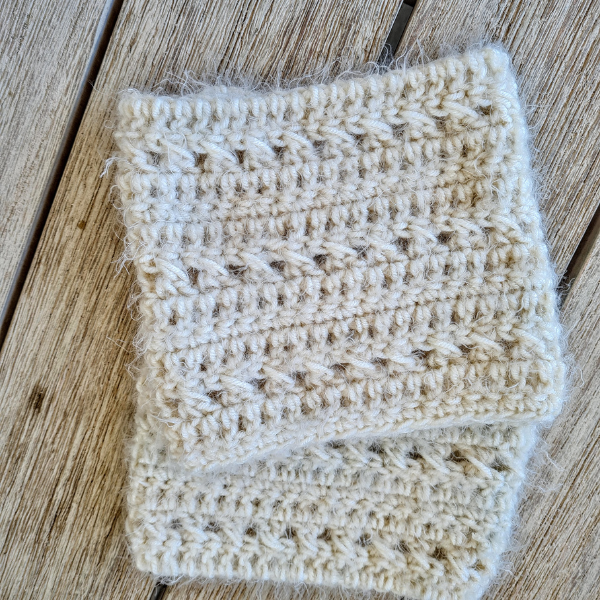
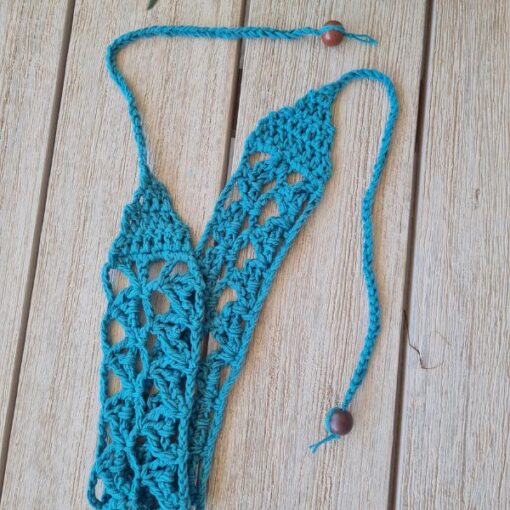
Ok, This is an obsession! A new Crochet Boot Toppers Pattern, twice a day!
Just hear me out! I am trying to finish all my leftover yarns, and prepare small gifts for the holiday season!
Using these crochet boot cuffs is perfect for the weather where I live. Not too cold but cold enough!
I am going to be making lot’s more of these….
Are you with me?
There are 2  ways to get this pattern:

Option 1: You can purchase the individual pattern as an easy-to-read, print-friendly PDF  from Ravelry

Option 2: Scroll down to get the written instructions for this pattern for free
*This is an original Sandra Regev pattern: Owner / Designer of Sandra Stitches. This pattern may not be redistributed for free, sale or trade, but finished products can be sold with credit to this shop – enjoy!
How do you wear a crochet boot topper?
Pairing them with your favorite skinny jeans or slim-fitting pants is the easiest way to rock boot toppers.
Simply cuff or roll the jean legs up a few inches from the ankle to show off the boot cuffs underneath. This looks super cute with ankle booties or short boots. The cuffs/toppers add a trendy layered look and prevent any bunching around your ankles.
For a boho-chic vibe, you can wear boot toppers peeking out over the tops of tall boots like riding boots. The cuff gives the boots a slouchy, casual fit. This style looks great with a flowy dress or tunic top. Just make sure your crochet boot toppers aren’t too bulky to fit smoothly under the boots.
If you’re wearing leggings, boot cuffs are the perfect way to turn them into a pulled-together outfit. The cuffs dressing up basic leggings. Wear them over the leggings and add knee-high or over-the-knee boots on top.
No matter how you decide to style them, boot toppers/cuffs are all about adding unexpected pops of color, pattern, and texture to outfits.
Don’t be afraid to have fun with them!
** Some of the links in this post may include affiliate links. Making a purchase through one of these links pays me a small referral fee at no added cost to you. These small fees add up and help me keep the blog running. View our Disclosure and Privacy Policy for more information.
Before you get started, check out my Favorite Crochet Tools (affiliate)
Yarn Winder – a perfect crochet accessories
Neck Stretcher – to keep you without neck and back pain
Gauge Ruler – so you always get the right size
Pattern Designed By: Sandra Stitches This pattern is copyright protected; it is unlawful to distribute this pattern in any form (free, sale or trade).
▶️ Add this pattern to your Ravelry favorites HERE
Let’s get to the pattern, shall we? Making Crochet Boot Toppers
* Want to save this post for later? Go ahead and PIN it!
* Add this pattern to your Ravelry queue HERE!
Difficulty

Materials
Any weight # 4 Yarn you have in your stash 1 skein for both
Hook: US Size H (5 mm)

Yarn Needle, Scissors, Measuring Tape
Sizes
- Women adult: This sample is 14 length X 6” height
Gauge
11 st X 7 rows (4″ X 4″)
Stitch Key
- Ch = Chain
- St = Stitch
- Dc = Double Crochet
- Hdc = Half Double Crochet
- Yo = Yarn over
Specialty Stitches
X Cross st = Skip 1 st, dc 1 in next st, dc 1 in skipped st
Notes
- The pattern is worked in rows and joined at the side
- Ch3 at the beginning of each round does count
- Ch1 at the beginning of each round does not count
- You can work this pattern with one color or multiple as you wish- I used a solid color
- This pattern calls for an odd # of chains +3
Instructions
Make 2 identical Toppers/ Leg warmers-
Ch 41+3 (this sample size)
Row 1: Dc 1 in 4th st from hook, dc 1 in next st and across to end of row, turn work (42)
Row 2: Ch 3 (counts as 1st st), X Cross st across to last st, finish row with dc 1 in last st, turn work (42)
Row 3: Ch 3 (counts as 1st st), dc 1 in next st and across to end of row , turn work (42)
Row 4: Ch 1, sc 1 in 1st st from hook, sc 1 in next st and across to end of row, turn work (42)
Row 5: Ch 3(counts as 1st st), dc 1 in next st and across to end of row , turn work (42)
Row 6: Ch 3 (counts as 1st st), X Cross st across to last st, finish row with dc 1 in last st, turn work (42)
Rows 7-10: Repeat rows 3-6 one more time
Row 11: Ch 3 (counts as 1st st), dc 1 in next st and across to end of row , turn work (42)
Final Row
Row 12: Ch 1, sc 1 in 1st st from hook, sc 1 in next st and across to end of row (42)
Do you want to save this post for later? Pin it!
Finishing
Secure your yarn and leave a long tail before cutting.
Turn your work right side in and fold in half, sew short sides with a tapestry needle to form a circle, secure your work, and weave in your yarn ends
Did you try this Pattern? Share a picture
Tag me on Instagram
@sandrastitchesil
Want more crochet accessories patterns?
DISCLOSURE
AMAZON ASSOCIATES: Sandra Stitches is a participant in the Amazon Services LLC Associates Program, an affiliate advertising program designed to provide a means for sites to earn advertising fees by advertising and linking to Amazon.com.
This post contains links to products that I use and recommend, If you purchase any using my links I get a very small fee at no ad to you! Thank you for supporting my small biz!

