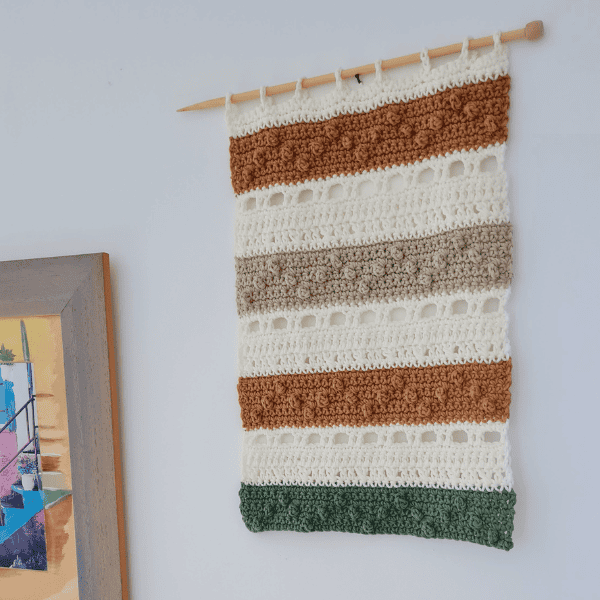
A Crochet wall hanging is one of my favorite ways to add texture and personality to a space, and this one is such a fun, relaxing project to make. If your walls are feeling a little bare, or you just need a creative spark, this boho-style design is a perfect weekend make.
It’s simple, customizable, and full of that cozy handmade charm we all love. Think soft fringe, soothing stitches, and a pattern that’s easy to follow without feeling boring.
Let’s get started and make something lovely together..
Find the free pattern below or purchase the ad-free PDF version of this pattern HERE. The PDF is designed for printing, and this way, you can support me! Thank you
This pattern is part of the 2025 Crochet Wall Hanging Happiness Blog Hop – July 1-15, 2025. Scroll down for details 👇
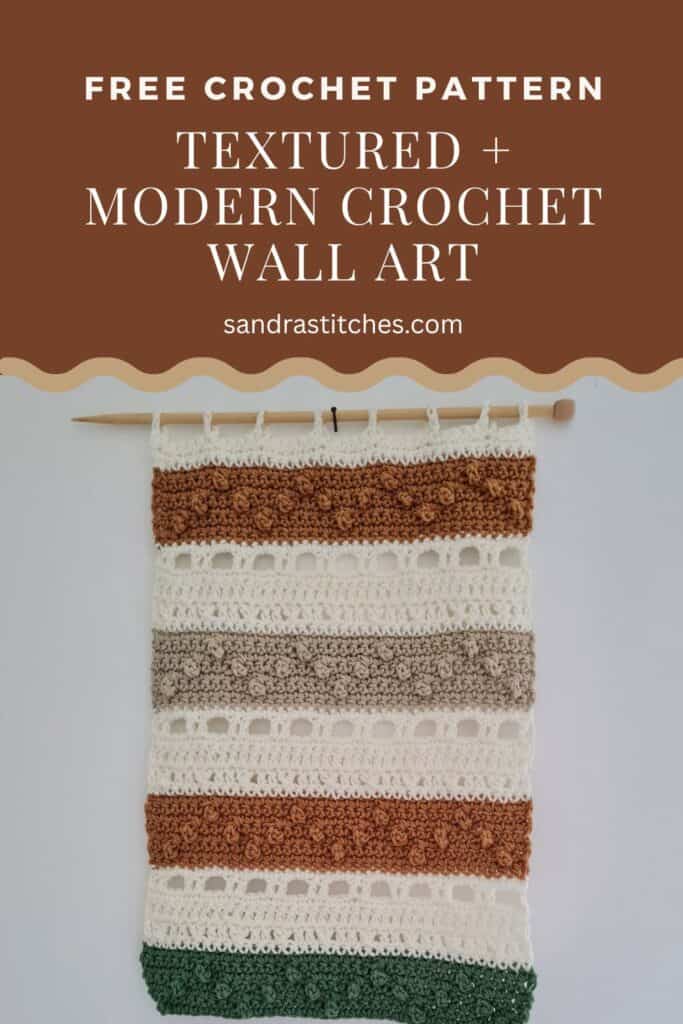
Do you want to save this post for later? Go ahead and PIN IT!
How to Hang and Display Your Crochet Wall Hangings
Once your crochet wall hanging is complete, it’s time to show it off! How you display your piece can make just as much of a statement as the design itself. Here are some simple, stylish, and creative ways to hang your crochet wall art:
Use a Wooden Dowel or Stick
- Slide a wooden dowel through the top loops or stitches for a clean, modern look.
- For a rustic or natural touch, use a smooth tree branch or driftwood instead.
- Make sure your piece hangs evenly by adjusting the stitches or loops it’s secured through.
Add Hanging Loops or Ties
- Crochet or tie yarn loops to each end of the dowel and hang it on a hook or nail.
- For extra detail, braid the ties or add decorative beads to the ends.
Use Command Hooks or Decorative Wall Hooks
- Lightweight wall hangings can be mounted with adhesive hooks—no nails needed!
- Choose hooks that match your decor style: black metal, brass, wood, or ceramic.
Frame It Creatively
- Mount your wall hanging inside a shadow box or open wooden frame for a gallery-style display.
- Layer multiple crochet pieces together in varying sizes for a bold focal wall.
Think Beyond the Wall
- Drape small hangings over shelves, bookcases, or cabinet doors.
- Add them to a seasonal gallery wall with other handmade or thrifted items.
- Use larger pieces as soft room dividers or behind a reading nook for a cozy feel.
No matter how you hang it, your handmade crochet wall art brings texture, warmth, and personality to any space—and it deserves a spot where it can shine.
** Some of the links in this post may include affiliate links. Purchasing from one of these links pays me a small referral fee at no added cost to you. These small fees add up and help me keep the blog running. View our Disclosure and Privacy Policy for more information.
Before you get started, check out my newest favorite finds!
Yarn Winder – a perfect crochet accessory
Neck Stretcher – to keep you without neck and back pain
Gauge Ruler – so you always get the right size
Crochet Wall Hanging Customization Tips: Colors, Size & Style
One of the best things about crocheting your own wall hanging is the freedom to make it uniquely yours. With just a few adjustments, you can match your wall art to any room, mood, or season.
🎨 Colors
- Choose neutral tones like cream, beige, or gray for a modern or minimalist look.
- Go bold with vibrant shades to create a statement piece.
- Use ombre yarns or color blocks for a trendy, artistic touch.
- Want extra meaning? Assign colors based on mood, season, or special memories.
📏 Size
- Follow the original pattern for a standard-sized piece, or adjust the stitch count and rows to make it larger or smaller.
- A small wall hanging is perfect for cozy nooks or gallery walls.
- Upsize your project for a dramatic display over a bed, couch, or entryway.
🌿 Style
- Add fringe, tassels, or beads for a boho-inspired finish.
- Keep it sleek and simple for a Scandinavian vibe.
- Incorporate wooden dowels, branches, or metal rods for creative hanging options.
- Mix in other fibers (like jute or raffia) to play with texture.
No matter how you customize it, your crochet wall hanging will be a one-of-a-kind piece that reflects your personal style and creativity.

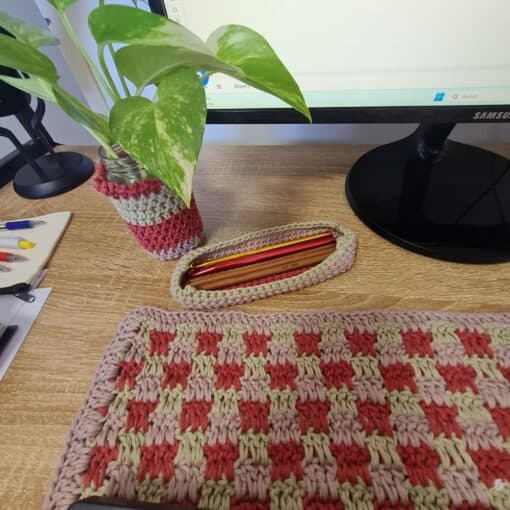
More Crochet for the Home Patterns
If you love the look of this wall hanging, here are a few more crochet patterns you can view on our website:
Let’s get to the pattern, shall we? Making a Crochet Wall Hanging
Difficulty
Intermediate
Materials
This is the yarn I had at hand. Do not forget I made a sample for you to learn, so be creative and choose the yarn you love.
Feel it before starting your project.
I know there are a million different yarn choices out there, but that also depends on where you live, so just be creative!
- I used DK weight cotton blend yarn ( from China, no label) for this sample I used a total of 80 grams (3 oz)of 4 colors( white, green, cinnamon, camel)
- Hook: US Size (5 mm)
- Yarn Needle, Scissors, Measuring Tape
Gauge
- 14 st X 13 rows ( 4” X 4”) for the repeat pattern
Sizes
This sample is 16” in height X 11” in width
Stitch Key
You can see these stitches in action as you watch these video tutorials (just click on the underlined text):
- Ch = Chain
- St = Stitch
- Sc = Single Crochet
- Dc = Double Crochet
- Tr = Treble Crochet
- Hdc = Half Double Crochet
Specialty Stitches
Spuff = Small Puff 1Tr st, 1sc st in next
Cross st = Skip next st, dc1 in next st, dc1 in skipped st
Notes
- This pattern is written in US terminology
- This pattern is worked in rows
- I used 4 colors. You can decide the colors as you wish
- Ch 2 at the beginning of the row does count as st
- The multiple for the pattern repeat is 8+6
Love This Pattern? There’s More Where That Came From!
You will discover my complete collection of crochet patterns,
tutorials, and resources, both free and premium, all in one convenient place.
I know you’ll find something to inspire your next project🙃
Crochet Wall Hanging Instructions
Instructions
For this size, Ch 38 in your starting color, for me it was green
Row 1: Sc 1 in 2nd ch from hook, sc 1 across to end of ch, turn
Row 2: Ch 1, sc 1 in 1st st, sc 1 in next st, *( Spuff), Tr1 in next st, sc 1 in next 7 st, repeat 3 more times to a total of 5 puffs, sc 1 in last 2 st. turn
Row 3: Ch 1, sc1 in 1st st from hook, sc 1 across to end of row, turn
Row 4: Ch 1, sc 1 1st st from hook, sc 1 in next 3 st, *(Spuff)Tr 1 in next st, sc 1 in next 3 st, repeat from * to a total of 7 puffs, sc 1 in last 4 st. turn
Row 5: Ch 1, sc1 in 1st st from hook, sc 1 across to end of row, turn
Row 6: Ch 1, sc 1 in 1st st from hook, sc 1 in next 5 st, *(Spuff) Tr 1 in next st, sc 1 in next 7 st, repeat from * to a total of 4 puffs, finish with sc 1 in last 6 st
Row 7: Ch 1, sc1 in 1st st from hook, sc 1 across to end of row, turn
Here, I changed to the color white
Row 8: Ch 1, sc1 in 1st st from hook, sc 1 across to end of row, turn
Row 9: Ch 2, dc 1 in next st, *(Cross st) skip next st, dc 1 in next st, dc 1 in skipped st, dc 1 in next 2 st, repeat from * to last st, dc 1 in last st, turn
Row 10: Ch 2, dc 1 in next st and across to the end of the row, turn
Row 11: Ch 1, sc 1 in 1st st from the hook, sc 1 across to the end of the row, turn
Row 12: Ch 2, dc 1 in next st, *skip 2 st, ch 2, dc 1 in next 2 st, repeat from * to end of row, finish with dc 1 in last st
Here, I changed to the color cinnamon
The pattern repeat is rows 1-12 ( after the first repeat )
Repeat the pattern as many times as you want for your wall hanging length.
For this sample size, I worked 3 full repeats ending with one last repeat of rows 1-7
Finishing
Row 44: Ch 1, sc 1 in 1st st from the hook, sc 1 across to the end of the row, turn
Row 45: Ch 6, Slst to 1st st, sc 1 in next 4 st, ch 6 Slst to same st, sc 1 in next 5 st, ch 6 Slst to the same st, sc 1 in next 5 st, continue distributing chain loops across, ending with a ch6 loop
Secure yarn, cut, and weave in ends.
You can use a craft wooden Dowel to hang in the wall, I used a wooden needle ( dollar store:)
Enjoy!
**This is an original Sandra Regev pattern: Owner /Designer of Sandra Stitches. This pattern may not be redistributed for free, sale, or trade, but finished products can be sold with credit to this shop – enjoy!
2025 Crochet Wall Hanging Happiness Blog Hop
Follow the main post for all wall hanging patterns 👇
Get the free PDF download, valid for 24 hrs July 1st 👇

Do you want to save this post for later? Go ahead and PIN IT!
Did you try this Pattern? Share a picture
Tag me on Instagram
@sandrastitchesil
Questions?
Ask and share in our
FREE Facebook Group
DISCLOSURE
AMAZON ASSOCIATES: Sandra Stitches is a participant in the Amazon Services LLC Associates Program, an affiliate advertising program designed to provide a means for sites to earn advertising fees by advertising and linking to Amazon.com.
This post contains links to products that I use and recommend, If you purchase any using my links I get a very small fee at no ad to you! Thank you for supporting my small biz!

