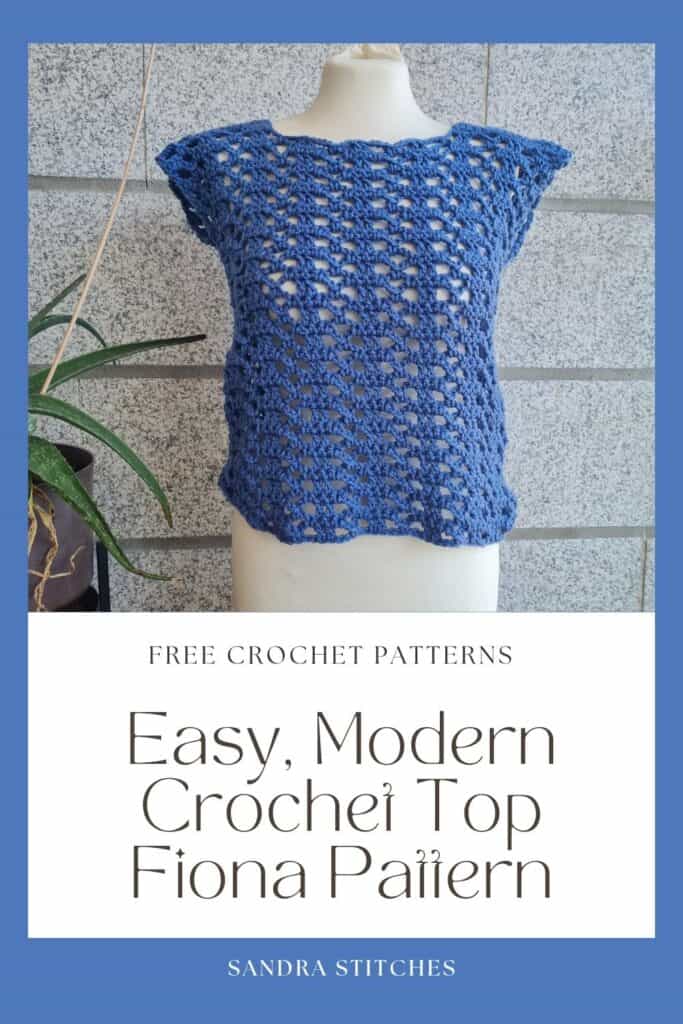
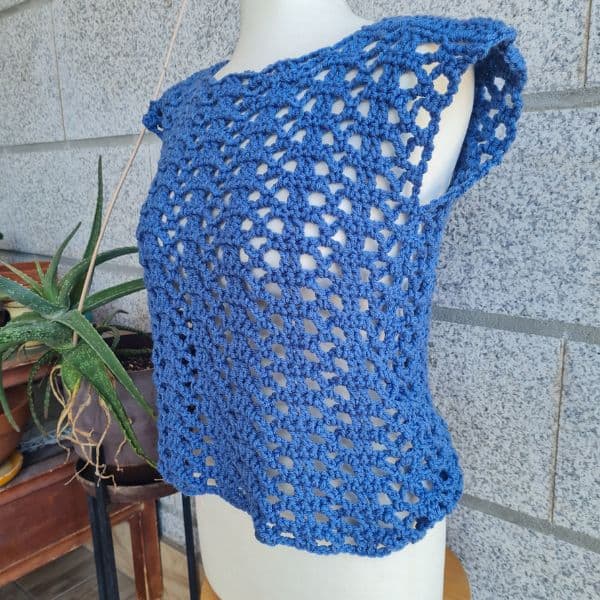
Crochet top pattern lovers will adore the Fiona Top, an easy design made from just two simple rectangles.
This versatile pattern is beginner-friendly, customizable, and works beautifully in any yarn weight, making it perfect for all seasons.
Whether you want a breezy summer top in cotton or a cozy layering piece in wool for cooler months, the Fiona Crochet Top adapts to your style and wardrobe all year round.
Are you with me?
Find the free pattern below or purchase the ad-free PDF version of this pattern HERE. The PDF is designed for printing, and this way, you can support me! Thank you
Do you want to save this post for later? Go ahead and PIN IT!
Why You’ll Love This Crochet Top Pattern
This crochet top pattern is the kind of project that feels effortless yet looks beautifully finished.
Made from just two rectangles, it’s a design that’s simple enough for beginners but still satisfying for more experienced crocheters who enjoy a relaxing project.
The adaptable fit means you can easily adjust the size or length, making it a timeless piece that works for any wardrobe.
With its clean lines and versatile style, the Fiona Crochet Top is a pattern you’ll return to again and again
** Some of the links in this post may include affiliate links. Purchasing from one of these links pays me a small referral fee at no added cost to you. These small fees add up and help me keep the blog running. View our Disclosure and Privacy Policy for more information.
Tips to Customize Your Crochet Top Pattern
The Fiona Crochet Top is a wonderfully versatile design that you can easily tailor to your style.
For a fresh look, try adding sleeves, short, three-quarter, or long to create a cozy, layered piece perfect for cooler months. A
djusting the length is simple, letting you make a cropped top or a tunic-style layer.
You can also experiment with different textures, stitches, or yarn types to turn this pattern into a modern crochet top pattern that fits your wardrobe.
With a few tweaks, the Fiona becomes a go-to crochet layering top pattern that works beautifully in any season.
Before you get started, check out my newest favorite finds!
Yarn Winder – a perfect crochet accessory
Steamer for Clothes – Portable ideal for crochet projects
Blocking Mat – 12.5″ for all your squares
Let’s get to the pattern, shall we? Making a modern crochet top pattern
Difficulty
Easy
Materials
- Stylecraft Special Chunky, 100 gr, 100% Premium Acrylic. 144 m / 157 yards, a total of 310 yards- 2 skeins
- Find substitutions HERE
- Hook: US Size (6 mm)
- Yarn Needle, Scissors, Measuring Tape
Gauge
12 st X 7 rows ( 4” X 4”)
Finished Size
This sample is 18” wide X 20” in height ( size M women)
Stitch Key
- Ch = Chain
- Sc = Single Crochet
- St = Stitch
- Dc = Double Crochet
- Yo = Yarn Over
Notes
- This pattern is written in US terminology
- This pattern is worked in rows
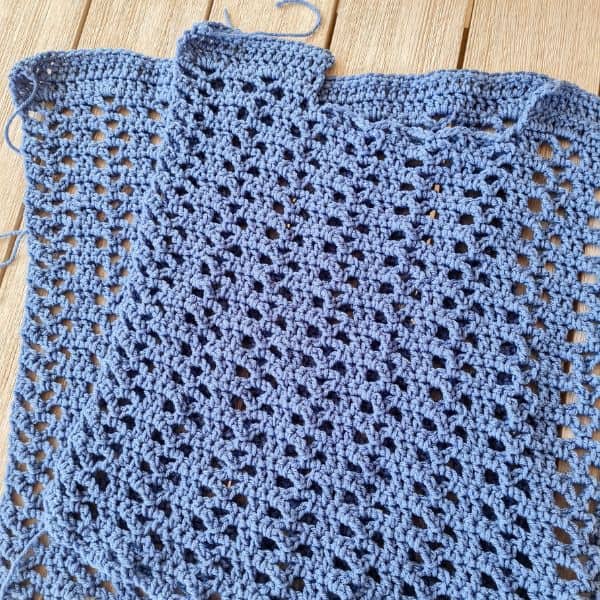
- This pattern has 2 rectangles joined together
- Ch2 does count as st at the beginning of each row
- Ch1 at the beginning of the row does not count as a stitch
- The stitch pattern uses multiples of 7 + 5
- The stitch pattern is 2 rows repeat
- To modify the size add 2” for each size on the width and rows for the height
Love This Pattern? There’s More Where That Came From!
You will discover my complete collection of crochet patterns,
tutorials, and resources, both free and premium, all in one convenient place.
I know you’ll find something to inspire your next project🙃
Instructions
Front Panel
Ch 56 +5
Row 1: Sc1 in 9th ch from hook, skip 2 ch, ch 3, * dc 1 in next 2 ch, ch 3, skip 2 ch, repeat from * across to last ch, dc 1 in last ch, turn
Row 2: Ch 1, sc 1 in 1st st from hook, sc 1 in next ch3 loop, ch 3, sc 1 in next ch3 loop, * sc 1 in each of next 2 dc, sc 1 in next ch3 loop ( you will have a 4 sc sequence), repeat from * across to last ch3 loop of turning ch, sc 1 in next ch of turning ch, turn ( you will have 2 sc at the beginning of row and 2 sc at the end of the row)
Row 3: Ch 6 ( counts as dc and ch 3), skip 1st 2 sc, sc 1 in next ch 3 loop, ch 3, skip next sc, *dc 1 in next 2 st, ch 3, sc 1 in next ch 3 loop, ch 3, skip next sc, repeat from * across to last st, dc 1 in last sc, turn
Rows 4-34: repeat rows 2+3
Now we will form the rectangle neckline, work the same on both sides
Row 35: Ch2 (counts as 1st dc, dc 1 in next 15 st for a total of 16 st, turn
Row 36: Ch 1, sc 1 in 1st st from hook, sc 1 in every st across to the end of the row, turn (16)
Row 37+38: repeat rows 35+36, cut yarn
Opposite side
Introduce yarn in 16th st from the side- working towards the edge ( so we are on the same side of work)
Repeat rows 35-38
Back Panel
Ch 56+5
Repeat rows 1-34
Row 35: Ch2 (counts as 1st dc, dc 1 in next st and across to the end of row, turn
Row 36: Ch 1, sc 1 in 1st st from hook, sc 1 in every st across to the end of the row, turn
Row 37+38: repeat rows 35+36, cut yarn
Finishing
Weave in all ends and block the Top
Lay front and back panels right side facing in, and sew using a tapestry needle the shoulders and the sides leaving 7” for the arm holes.
**This is an original Sandra Regev pattern: Owner /Designer of Sandra Stitches. This pattern may not be redistributed for free, sale, or trade, but finished products can be sold with credit to this shop – enjoy!
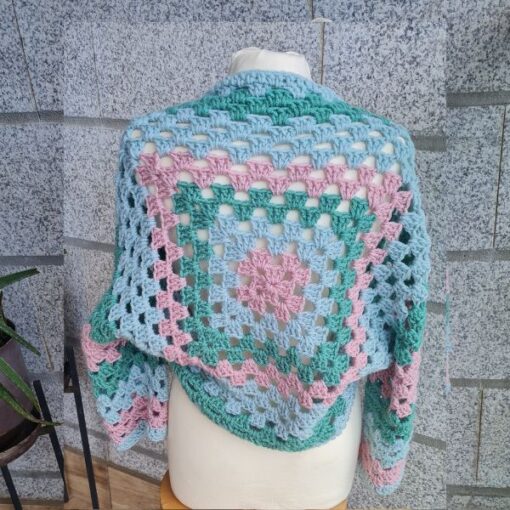
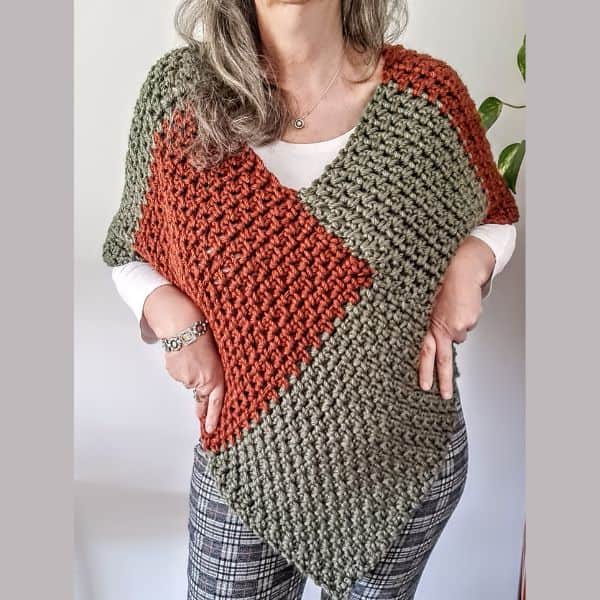
Looking for more crochet Top patterns👇
Did you try this Pattern? Share a picture
Tag me on Instagram
@sandrastitchesil
Questions?
Ask and share in our
FREE Facebook Group
DISCLOSURE
AMAZON ASSOCIATES: Sandra Stitches is a participant in the Amazon Services LLC Associates Program, an affiliate advertising program designed to provide a means for sites to earn advertising fees by advertising and linking to Amazon.com.
This post contains links to products that I use and recommend. If you purchase any using my links, I get a very small fee at no ad to you! Thank you for supporting my small biz!

