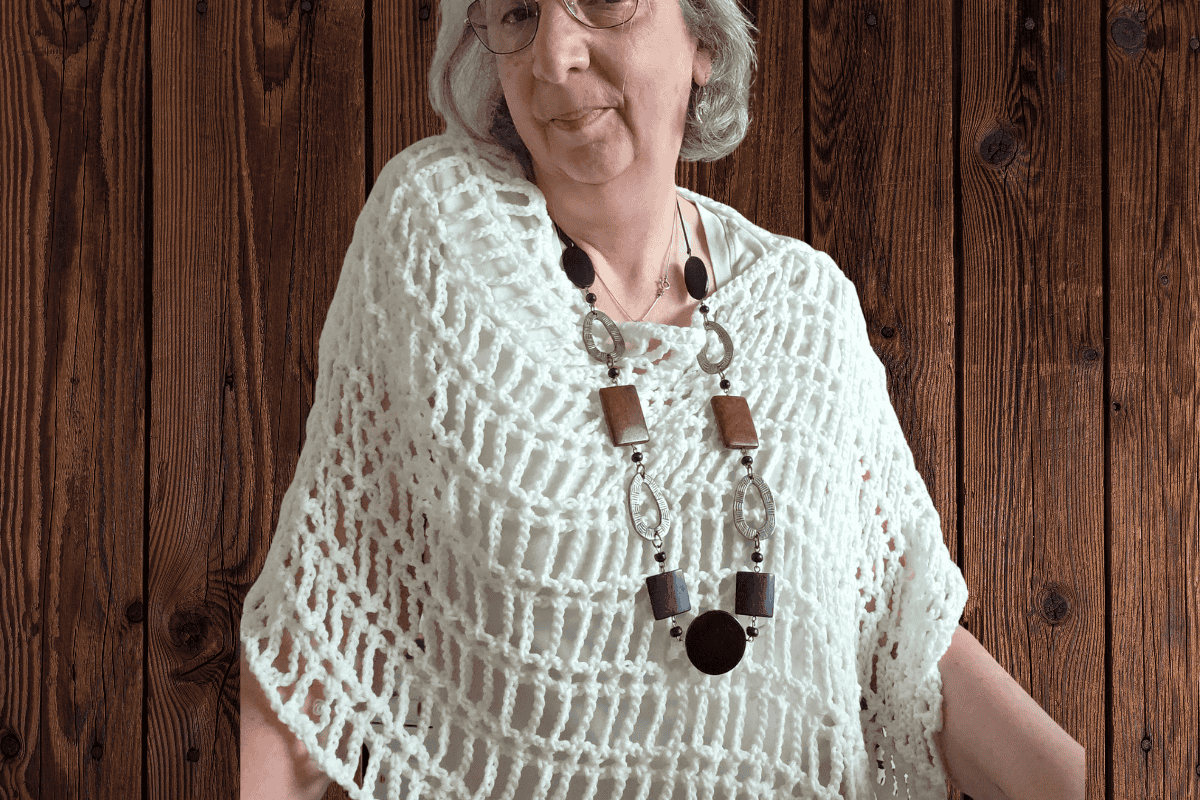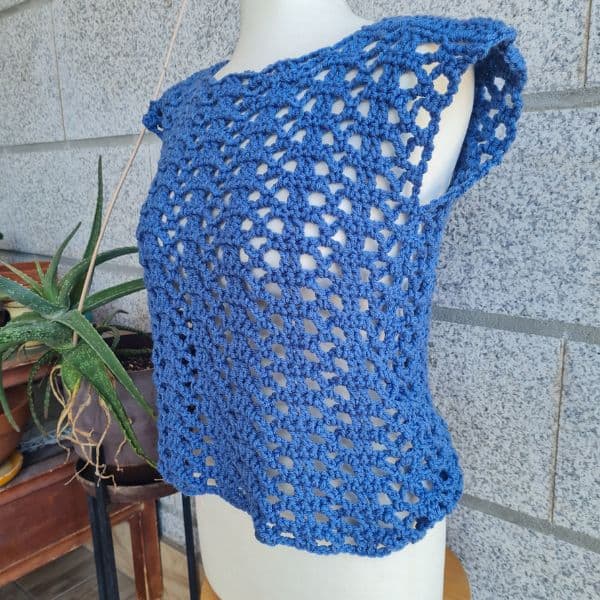
I do not like fitted clothes. So when I designed this one, I wanted something I could throw on over any blouse, sweater, or t-shirt and never think about whether it “worked” with what was under it.
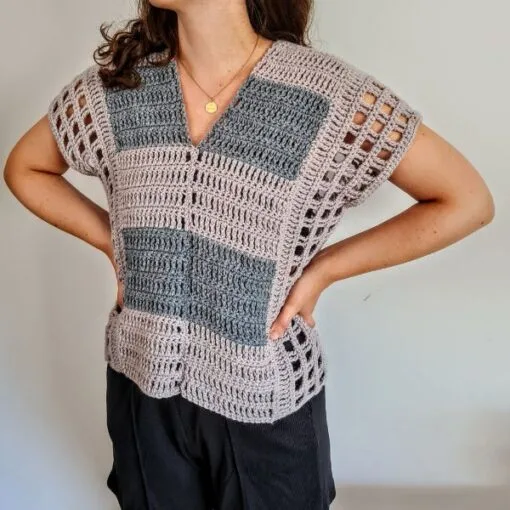
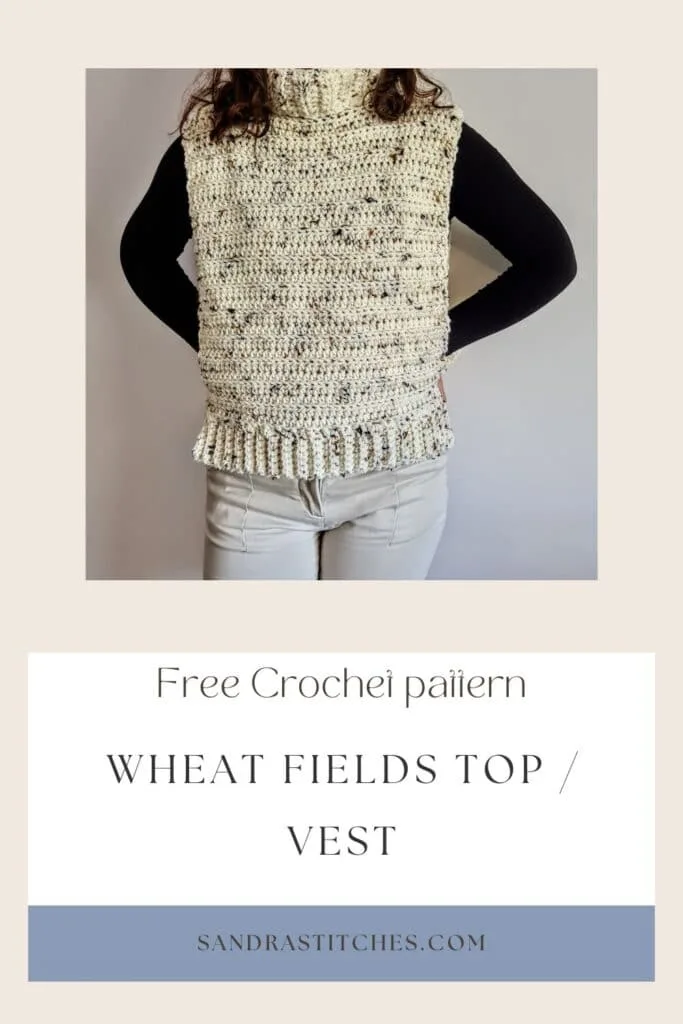
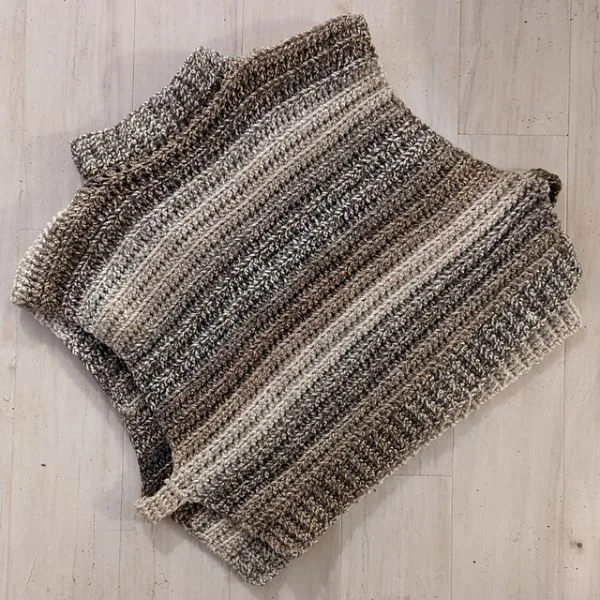
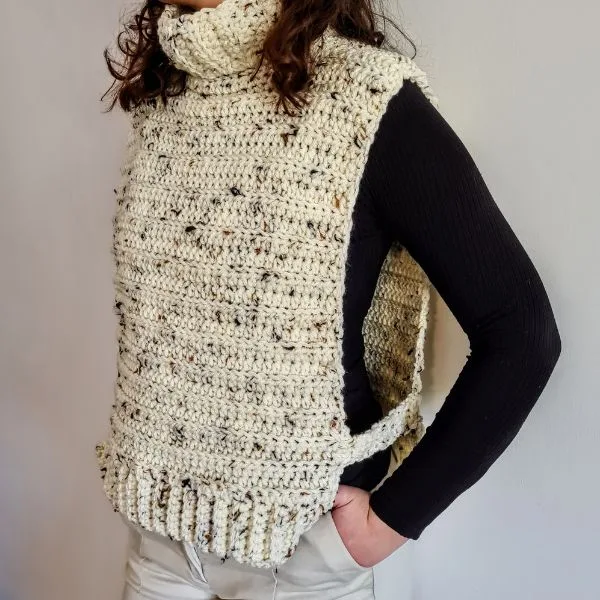
Quick answer: This is an oversized crochet turtleneck vest top made from two identical rectangles, worked in chunky yarn, with open side straps instead of full seams and a separate turtleneck collar sewn on at the end.
The open sides and the turtleneck collar together are what make this one feel different from a plain vest. It’s cozy from the chunky yarn and the collar, but still airy because of how open the sides are. Not something you’re stuck picking one or the other on.
There are 2  ways to get this pattern:

Option 1: You can purchase the individual pattern as an easy-to-read, print-friendly PDF  from Ravelry

Option 2: Scroll down to get the written instructions for this pattern for free
Why this one turned out the way it did
Most vests are either fully closed at the sides or fully open like a poncho.
I wanted something in between, a bit of structure at the shoulders, but open enough at the sides that it drapes instead of boxes you in.
The turtleneck collar was the piece that made it feel finished instead of half done, it’s what turns “two rectangles” into something that actually looks designed.
Let’s talk about sizes for the Wheat Fields Top
This is supposed to be an oversized Top/Vest.
The measurements for women’s tops are as in this chart.
Try to measure yourself and think a few stitches more…
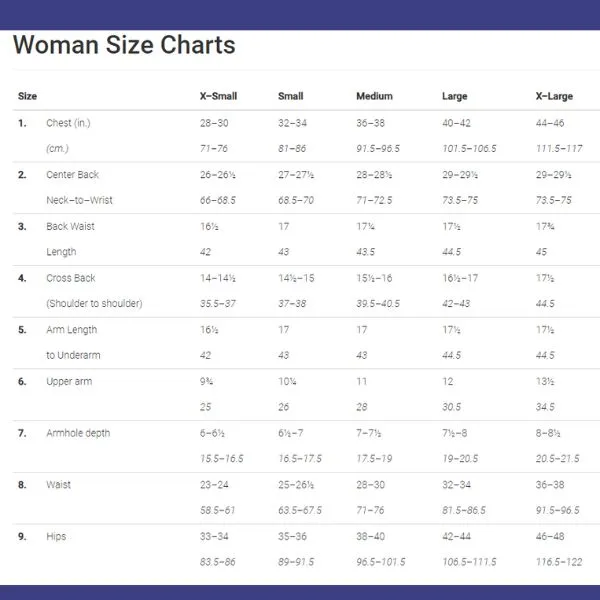
You will find instructions in the free pattern below ⬇️
Sandra’s Tip
If you want it to read more as a vest than a top, skip the extra length on the body rows and stop a few rows short, the shorter you keep it, the more it reads as a layering vest instead of a tunic-length top.
(Related, if you liked how the Apricot Vest’s two-rectangle construction works, this one uses the same logic with a collar added.)
** Some of the links in this post may include affiliate links. Purchasing one of these links pays me a small referral fee at no added cost to you. These small fees add up and help me keep the blog running. View our Disclosure and Privacy Policy for more information.
Before you get started, check out my Favorite Crochet Tools (affiliate)
Yarn Winder – a perfect crochet accessories
Neck Stretcher – to keep you without neck and back pain
Gauge Ruler – so you always get the right size
Pattern Designed By: Sandra Stitches This pattern is copyright protected; it is unlawful to distribute this pattern in any form (free, sale or trade).
▶️ Add this pattern to your Ravelry favorites here
Let’s get to the pattern, shall we? Making the Wheat Fields Top

Materials
Hayfield Bonus Chunky Extra Value yarn Weight #5, 100 gr 100% Acrylic 150 yards/ 137 m – I used 3.5 skeins
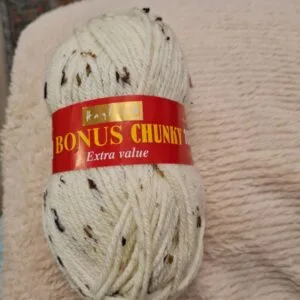
Find substitutions HERE
You can work this pattern with any yarn weight and hook size, it will change the measurements.
Or any weight #5 yarn
Hook: US Size (6 mm)
Yarn Needle, Scissors, Measuring Tape
Gauge
Sizes
- You will find the different measurements in the pattern as follows M (L, XL)
Stitch Key
- Ch = Chain
- Sc = Single Crochet
- St = Stitch
- Yo = Yarn over
- Slst = Slip stitch
Specialty Stitches
BloSc = Back Loop Only Single Crochet stitch (Insert hook into the next st (but only in the back loop). YO, pull back through that st (2 loops on hook), YO, pull through all 2 loops on hook)
BloHdc = Back loop only half double crochet – Yarn over, Insert crochet hook into the back loop only Pull up a loop, Yarn over, Pull through the 3 loops on the crochet hook.
Notes
- This pattern is written in US terminology
- This pattern is worked in rows
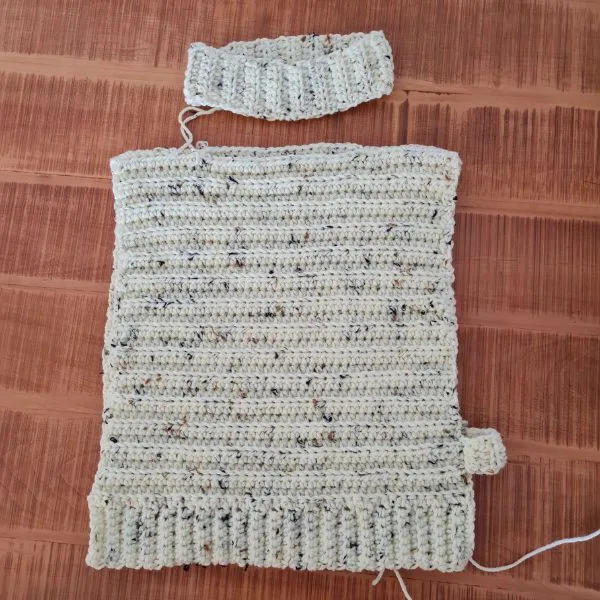
- This pattern is worked in two identical rectangles, a collar, and side straps
- Ch3 does count as st at the beginning of each row
- Ch1 at the beginning of the row does not count as a stitch
Instructions
Hem: ch 8
R1: Sc in 2nd ch from hook, and across to the end of row, turn work (7 st)
R2 : Ch 1, sc 1in 1st st from hook, BloSc 1 in next 5 stitches, sc in last st, turn work (7 st)R3-42(45, 57): Repeat R2- do not cut your yarn; you will continue making one panel of the body.
Let’s continue
The Body: work 2 identical
Turn your hem on the side the length facing you.
R1: Ch1 and sc 1 in 1st st from row at the hem, sc 1 in every st from row to a total of 42(45,57), turn work
R2: Ch 1, hdc in 1st st from hook, BloHdc in next st and across to one st before last, hdc in last st, 42(45,57), turn work
R3- R30 (32,34): Repeat R2. Secure your yarn and cut. Make sure you have about 21” length (hem+body) or add rows for your desired length.
Do you want to save this post for later? Pin it!
Collar: chain 8
R1: Sc 1 in 2nd ch from hook, sc 1 in next ch and across to end, turn ( 7 st)
R2 : Ch 1, sc in 1st st from hook, BloSc in next 5 stitches, sc 1in last st , turn ( 7 st)
R3-38: Repeat R2 (22”)
Join two short ends using the tapestry needle or Slst to form a circle
Construction
Lay two panels one on top of the other facing the wrong side out.
Sew the shoulders with your tapestry needle 12 (20)stitches from each side.
Note: If you are making this pattern wider, measure to find out how many stitches will the shoulders be, leaving approximately a 9-inch/ 23cm hole for the neckline.
Sew the collar around the neckline using your tapestry needle
Measure approx 5 inches/ 12.5 cm from the hem up to the underarm: insert your hook and sc 4 st, ch 1 turn and sc 4 for 6 rows, and sl st this strip to the second panel on the same height.
Repeat on the opposite side
Note: If you want to make more than one strip along the armhole, just measure about 11 inches from shoulder to armhole.
Finishing
Weave in all ends cut yarn and enjoy!
Did you try this Pattern? Share a picture
Tag me on Instagram
@sandrastitchesil
FAQ
Both, really. It’s cut oversized enough to wear as a tunic-length top, but if you stop the body rows a few rounds short, it reads more like a cropped vest.
A chunky, weight #5 yarn like Hayfield Bonus Chunky gives it the cozy drape and quick-growing rows it’s designed for. A lighter yarn will work but will change the finished measurements and drape.
Yes. It only uses single crochet, half double crochet, and two back-loop-only variations, no shaping, no increases or decreases anywhere in the piece
Yes, if you’d rather have an open neckline, just skip the collar section and finish the neckline with a simple round of single crochet instead.
Yes. Since it’s two flat rectangles, you can add or remove rows from the body for length, and adjust your chain count at the start for width, just keep the multiples consistent with the stitch pattern
A quiet place to keep crocheting
If projects like this one are your kind of calm, you might love the V-Stitch Club.
It is my little corner of the internet for women who crochet for the joy and the quiet of it, with new patterns, gentle company, and the steady rhythm of always having something beautiful on the hook.
Be Part of The Tribe!
Come share your finished Ridgeline Beanie in my free Facebook group. Join Crochet & Stories with Sandra Stitches.
DISCLOSURE
AMAZON ASSOCIATES: Sandra Stitches is a participant in the Amazon Services LLC Associates Program, an affiliate advertising program designed to provide a means for sites to earn advertising fees by advertising and linking to Amazon.com.
This post contains links to products that I use and recommend, If you purchase any using my links I get a very small fee at no ad to you! Thank you for supporting my small biz!

Hi my crochet friend!
Crochet has followed me from Argentina to Israel and through every crossroads since. Now I design calm, achievable crochet, made to feel possible.
Come find free patterns, tutorials, and the V-Stitch Club right here on the blog.