
Updated November 2026
✦ Quick answer: The Waffle Cowl is a free waffle stitch crochet cowl pattern that repeats just 2 rows. You chain 82, work one row of double crochet, and then alternate groups of 3 double crochet and 3 front post double crochet to build the waffle texture. I used a 5 mm hook and 2 strands of DK weight yarn held together, but any weight 4 yarn or heavier works. The finished cowl is 18 cm tall and 72 cm long, with a shell edge on both ends and 2 big buttons to close it. The pattern is beginner friendly.
Jump straight to the Waffle Cowl Instructions ↓
Hello, my crochet friend! Can you think of a textured cowl keeping you warm on those windy days? That is what I had in mind for this waffle stitch cowl and neck warmer.
The texture looks like a lot of work, but it is only 2 rows that repeat over and over again. So once you find the rhythm, you can keep going until the cowl is as tall as you want.
I used 2 strands of DK weight yarn together, and I finished mine with light wood buttons that fit the light feel of the cowl. Grab your hooks and yarn and let’s start working one. Are you with me?
There are 2  ways to get this pattern:

Option 1: You can purchase the individual pattern as an easy-to-read,ad-free, print-friendly PDF  from Ravelry

Option 2: Scroll down to get the written instructions for this pattern for free
Do you want to save this post for later? Go ahead and PIN IT!

Before You Start, a Few Things to Know
- Because the same 2 rows repeat from start to finish, this is an easy pattern.
- You can use the same pattern to make an infinity waffle scarf or a simple waffle scarf.
- Also, any weight 4 yarn or heavier works. I worked with 2 strands of DK weight yarn.
- The shell edge gives the cowl a more feminine look. If you are making it for a man, or you like a more minimalist look, you can skip it.
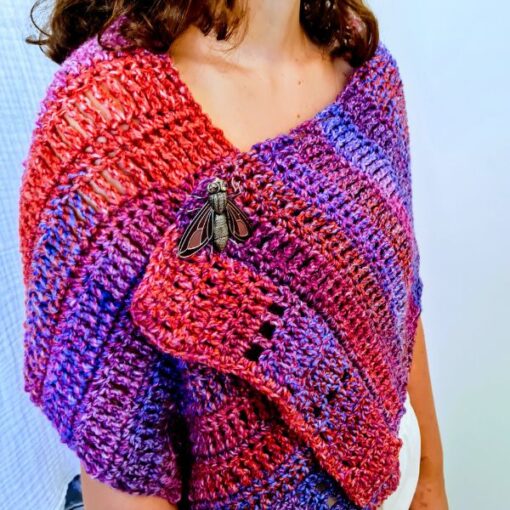
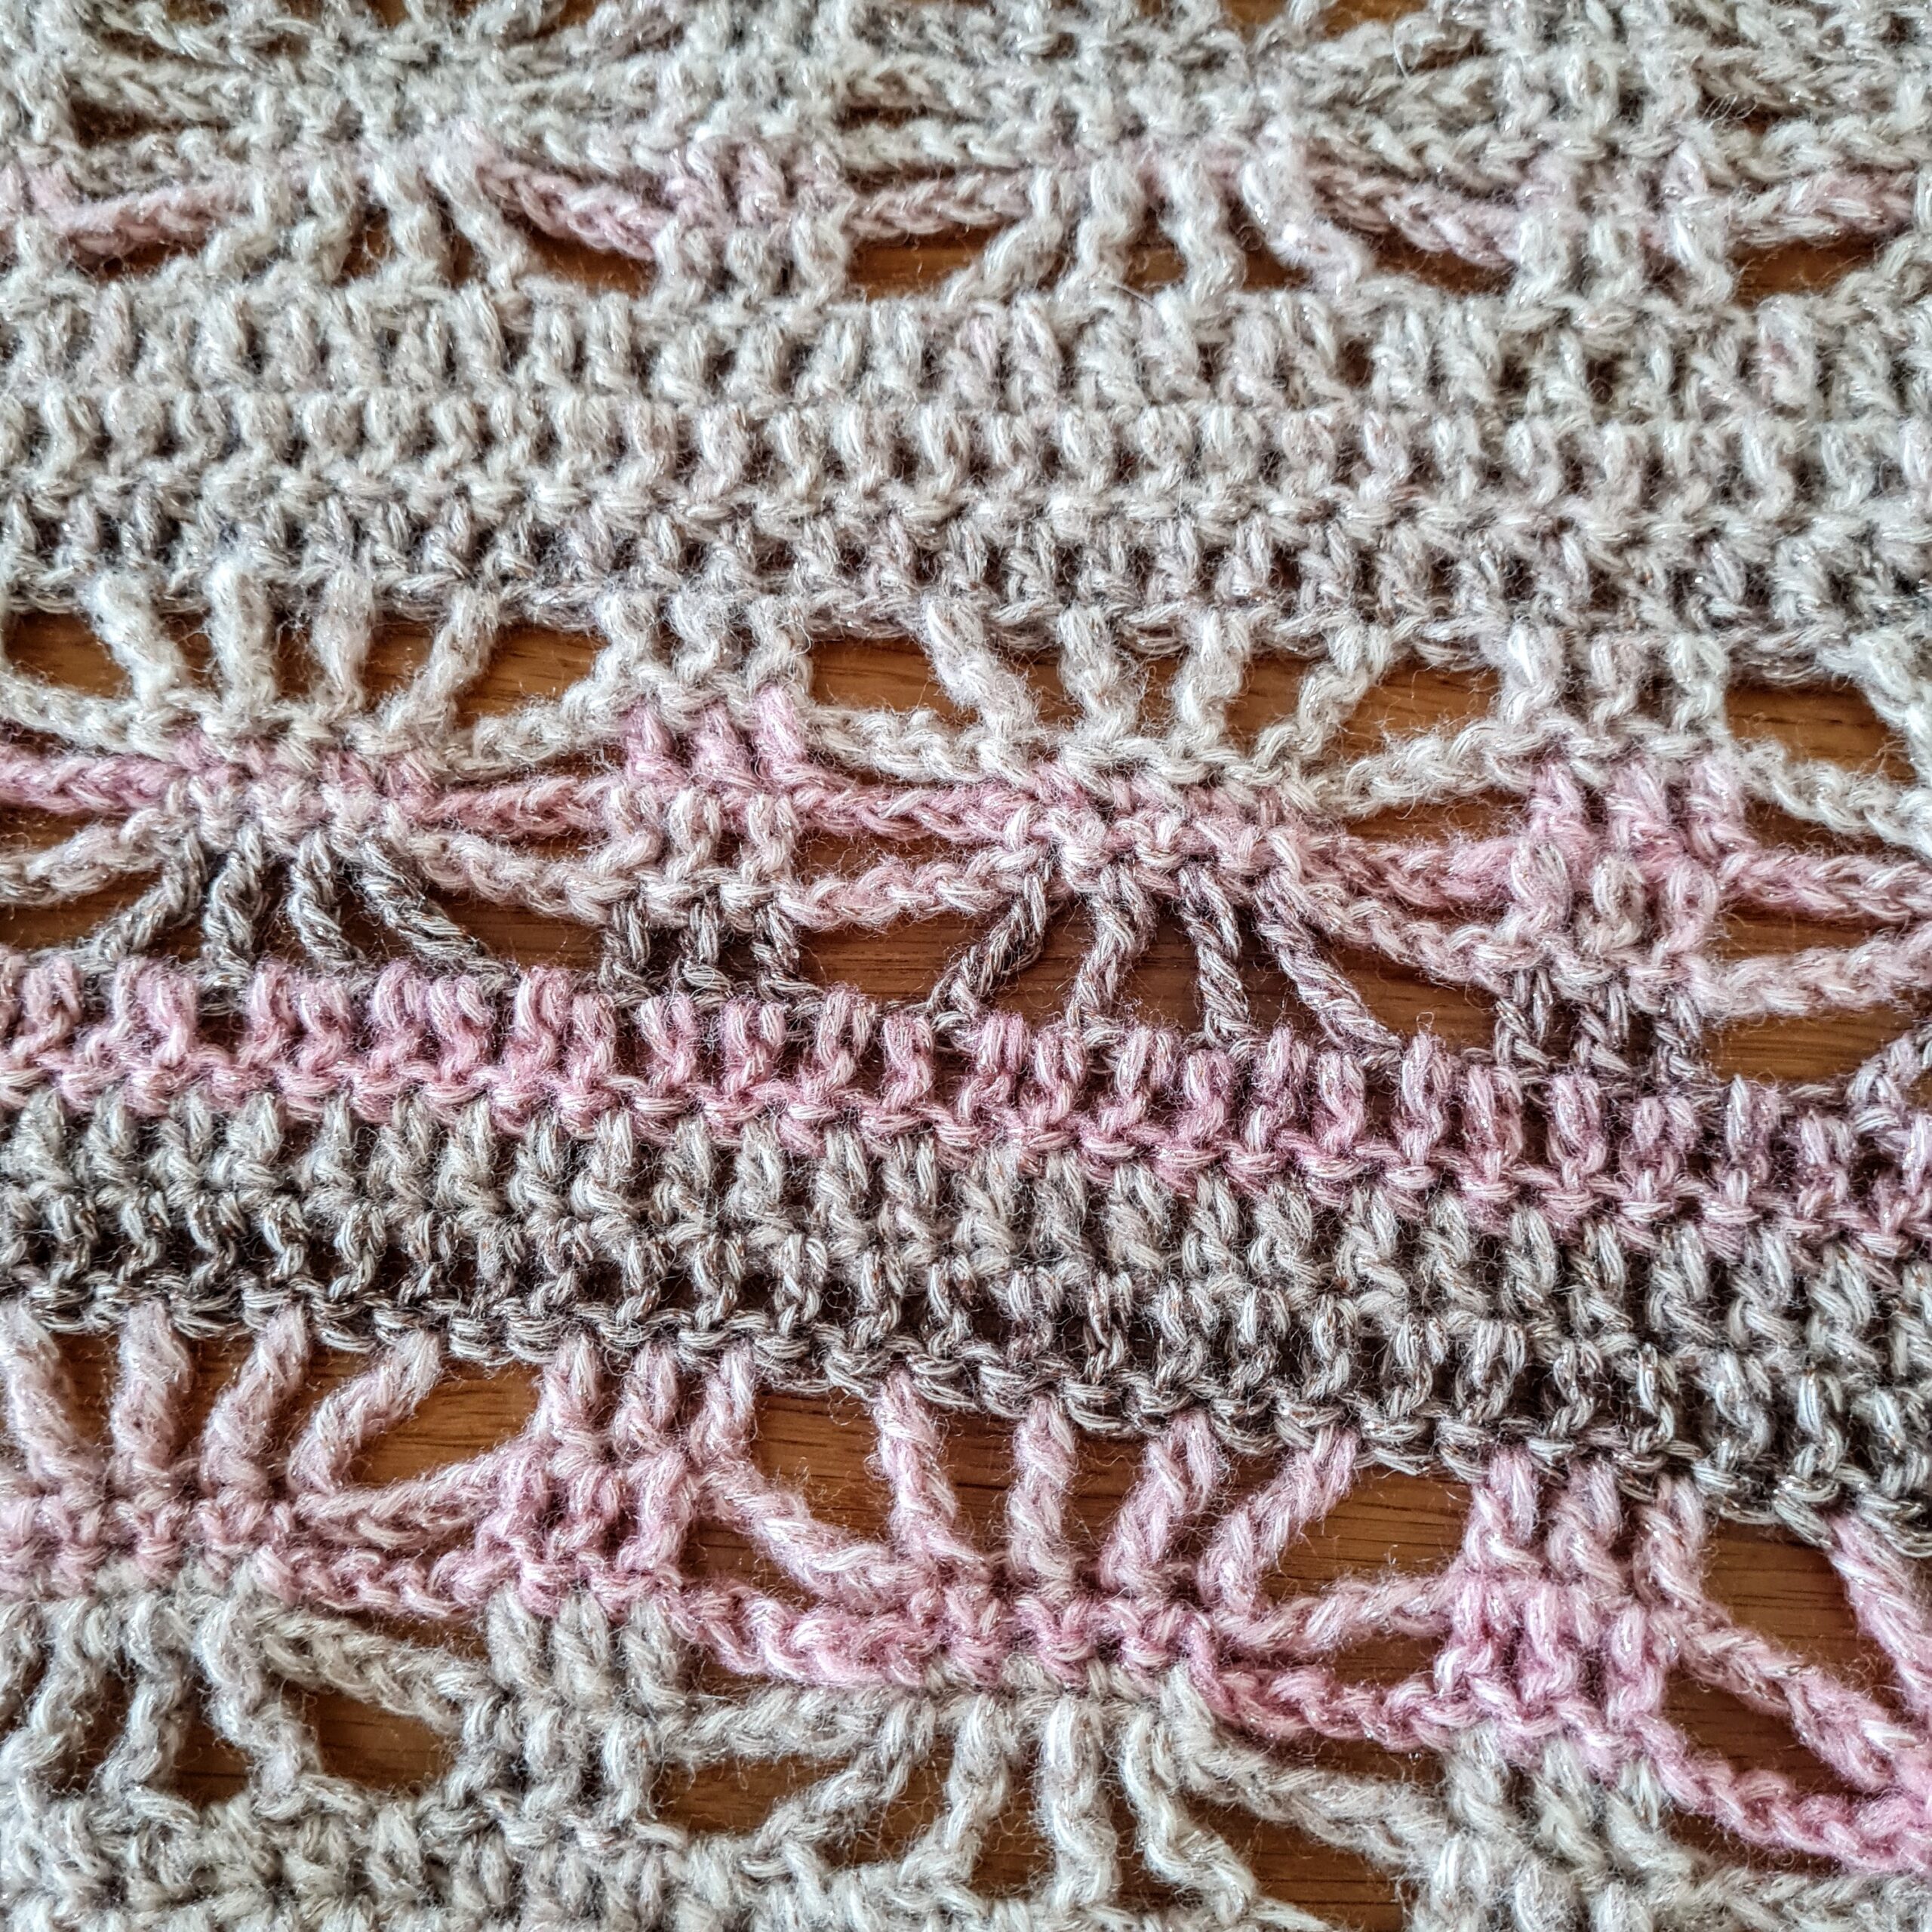
If you want to practice the stitch first, my waffle stitch crochet tutorial walks you through it. And if you like a textured neck warmer, you may also like my Busy Bee neck warmer and my diamond stitch cowl.
Some of the links in this post may include affiliate links. Purchasing from one of these links pays me a small referral fee at no added cost to you. These small fees add up and help me keep the blog running. View our Disclosure and Privacy Policy for more information.
Before You Get Started, Check Out My Newest Favorite Finds!
- Large wooden buttons to close the cowl, the same kind of light wood buttons I used
- Locking stitch markers to keep track of your groups of 3
- 5 mm crochet hook, the hook size used for this cowl
- Yarn bowl to keep your 2 strands of yarn from tangling
Let’s Get to the Pattern, Shall We? Making the Waffle Cowl
Difficulty
Beginners Friendly
Materials and Tools You’ll Need
- Any # 4 weight yarn of any kind. I used DK weight yarn, double strand
- 5mm (US H-8) hook, scissors, tapestry needle, stitch markers
- 2 big buttons to close the cowl
Sizes
18 cm height X 72 cm long
Stitch Key
- ch = chain
- sc = single crochet
- dc = double crochet
- st = stitches
- sl st = slip stitch
Specialty Stitches
Fpdc = front post double crochet (yarn over, insert the hook around the post (front, back, front) and yarn over again and complete a dc)
Shell st = shell stitch (dc 5 in same st, sk 2, sc in next st, sk 2 and dc 5 in next st)
Sandra’s Tip: The shell edge depends on how many rows you made, so play around with the skipping until you get a shell motif stitch across.
Notes
- This Pattern is made with a multiple of 3 +1, you can decide the height by adding more rows or the length by adding more chains
- This pattern is a 2 row repeat
- Ch1 at beginning of row does not count as st

Waffle Cowl Instructions
Rows 1 to 3
R1: Foundation chain , multiple of 3 + 1 , I chained 81 + 1
R2: Dc in 2nd ch from hook, dc in next ch and all the way across to end of row, you should have 81 dc
R3: ch3 (counts as 1st dc and turn your work), dc in next 2 dc from prev row, fpdc ( yarn over, insert the hook around the post (front, back, front) and yarn over again and complete a dc) in next 3 dc from prev row, dc in next 3 dc from prev row, fpdc in next 3 dc from prev row and so on making groups of 3 dc to end of row. You should have 27 groups of 3 regular dc and 3 fpdc

Rows 4 to 9
R4: ch 3 and turn work, (counts as 1st dc) Now we are going to do the opposite from the prev row, fpdc in next 2 dc, dc in next 3 dc and so on to end of row, you can see that the dcs that look at the back you are going to make a fpdc and the dcs that look at the front a regular dc
R5 to 9: Repeat rows 3 + 4 until you reach the height desired.
Finishing
Now let’s work the edges to give the Cowl a more feminine look. You can totally ignore this if you are making this Cowl for a man or you prefer a more minimalist look.
As you reach the end of row 9 do not cut your yarn, ch1 and sc across the height of your work count your stitches so you will make the same amount on the other edge.
Ch1 and turn your work, sc in first sc from prev row, sk 2 and dc 5 in 4th sc from prev row, sk 2, sc in next st, sk 2 and dc 5 in next st and so on to end.
Notice it all depends on the amount of rows you made but please play around with the skipping so you get a shell motif stitch across.
Repeat on the other edge with the same amount of sc st at the first row of the edge.
Secure your yarn and weave all ends
Sew 2 big buttons to close the Cowl
Enjoy!
This is an original Sandra Regev pattern: Owner / Designer of Sandra Stitches. This pattern may not be redistributed for free, sale, or trade, but finished products can be sold with credit to this shop.
Frequently Asked Questions
The pattern is marked beginners friendly. Also, it uses chains, single crochet, double crochet, slip stitches and front post double crochet, and 2 rows repeat over and over again.
Any weight 4 yarn or heavier works. I used a 5 mm (US H-8) hook and 2 strands of DK weight yarn held together (double strand). Also, keep scissors, a tapestry needle and stitch markers close.
Mine is 18 cm tall and 72 cm long. To change the height, add more rows. To change the length, add more chains.
I chained 81 + 1, which gave 81 double crochet in Row 2. The pattern is worked over a multiple of 3 + 1, so keep that if you change the length.
Yarn over, insert the hook around the post (front, back, front), yarn over again and complete a dc. In Row 3 you work groups of 3 dc and 3 fpdc. Then Row 4 does the opposite, so the dc that look at the back get an fpdc and the dc that look at the front get a regular dc.
No. The shell edge gives the cowl a more feminine look, and you can skip it if you are making the cowl for a man or you like a more minimalist look.
Yes. Also, the same pattern works for an infinity waffle scarf or a simple waffle scarf. For the cowl, sew 2 big buttons on to close it.
Want more crochet cowl patterns?
Did you try this Pattern? Share a picture
Tag me on Instagram @sandrastitchesil
A quiet place to keep crocheting
If projects like this one are your kind of calm, you might love the V-Stitch Club.
It is my little corner of the internet for women who crochet for the joy and the quiet of it, with new patterns, gentle company, and the steady rhythm of always having something beautiful on the hook.
Be Part of The Tribe!
Come share your finished project in my free Facebook group. Join Crochet & Stories with Sandra Stitches.
DISCLOSURE
AMAZON ASSOCIATES: Sandra Stitches is a participant in the Amazon Services LLC Associates Program, an affiliate advertising program designed to provide a means for sites to earn advertising fees by advertising and linking to Amazon.com.

Hi my crochet friend!
Crochet has followed me from Argentina to Israel and through every crossroads since. Now I design calm, achievable crochet, made to feel possible.
Come find free patterns, tutorials, and the V-Stitch Club right here on the blog.



2 thoughts on “Free Waffle Stitch Crochet Cowl Pattern, Button Neck Warmer”