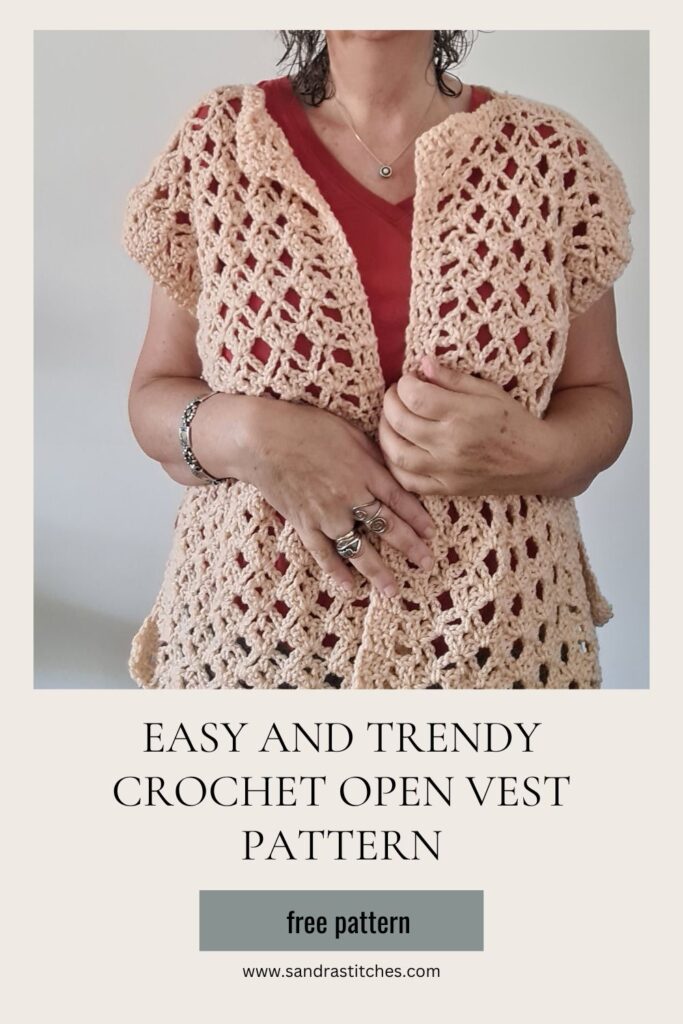
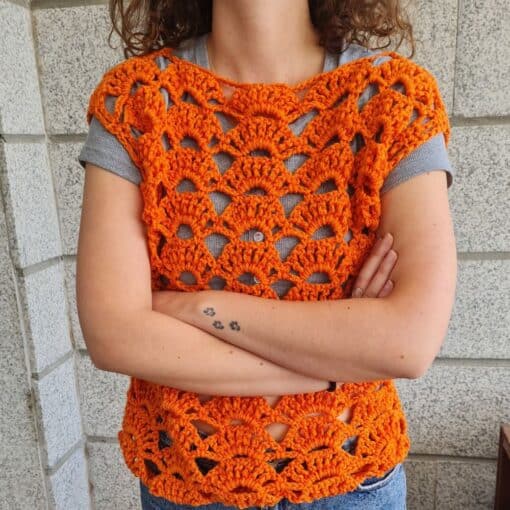
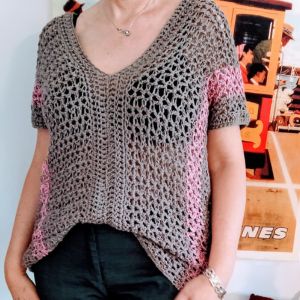
Layering on clothing with a simple open vest crochet pattern is an easy way to add a versatile piece to your closet. When it gets chilly you put it on and just take it off when it gets warm!
Open crochet vests are great to put a splash of color as well, or maybe to hide some parts and feel more comfortable
I love crochet open vests in all shapes
Are you with me?
There are 2  ways to get this pattern:

Option 1: You can purchase the individual pattern as an easy-to-read, ad-free, print-friendly PDF  from Ravelry

Option 2: Scroll down to get the written instructions for this pattern for free
This pattern is part of the Wrap Up 2024 – Weekend Blog Hop – Scroll down to get your Code for 50% off
Do you want to save this post for later? Go ahead and PIN IT!
Are crochet vests a good project for beginners?
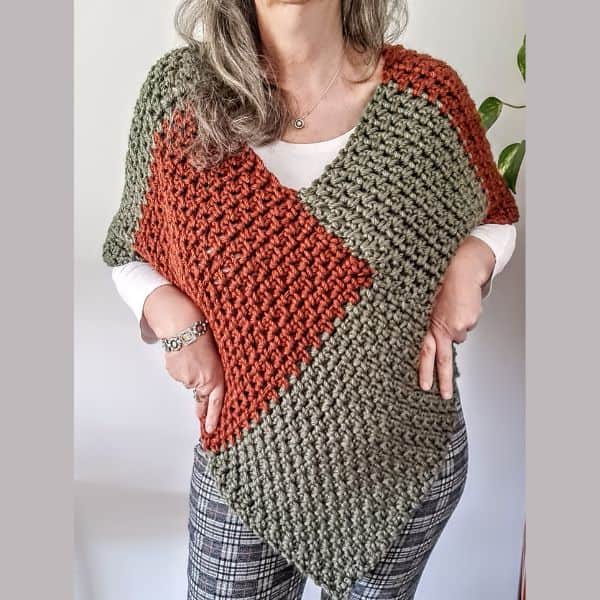
Vests are the perfect starting point for anyone new to crocheting garments.
They’re typically designed without a lot of complex shaping or seaming. In this example the Gardenia Vest is made of rectangles joined, with no increasing or decreasing
Many designs are worked without sleeves or buttonholes, minimizing the steps needed to complete the project.
** Some of the links in this post may include affiliate links. Making a purchase through one of these links pays me a small referral fee at no added cost to you. These small fees add up and help me keep the blog running. View our Disclosure and Privacy Policy for more information.
Before you get started, check out my Favorite Crochet Tools (affiliate)
Yarn Winder – a perfect crochet accessories
Neck Stretcher – to keep you without neck and back pain
Gauge Ruler – so you always get the right size
Pattern Designed By: Sandra Stitches This pattern is copyright protected; it is unlawful to distribute this pattern in any form (free, sale or trade).
▶️ Add this pattern to your Ravelry favorites here.
Let’s get to the pattern, shall we? Making an Open Vest Crochet Pattern
Difficulty

Materials

- Alize Burcum KlassiK, 100gr, 100% Acrylic, 210 mt, 230 yards color 491
- For this sample, I used 2 skeins
- or any weight # 4 yarn of your choice
Hook: US Size (7 mm)
- Yarn Needle, Scissors, Measuring Tape
Gauge
- 14 st X 6 rows ( 4″ X 4″)
Sizes
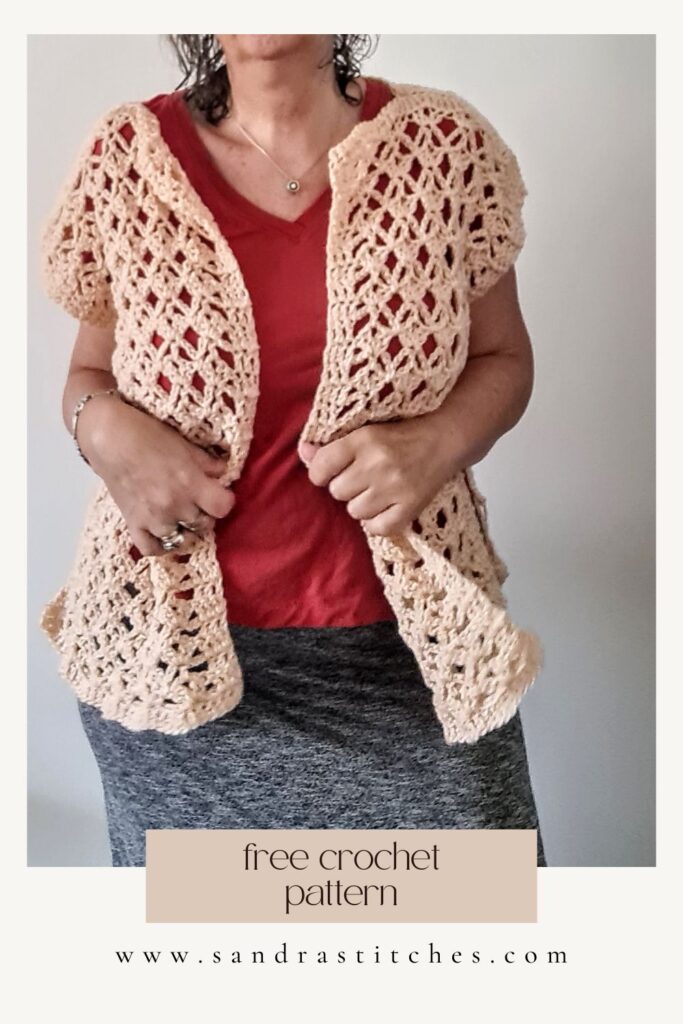
- This sample is: 22” long and 21” wide, Size M/L for women
Stitch Key
- Ch = Chain
- Sc = Single Crochet
- Dc = Double Crochet
- Tr = Treble Stitch
What yarn is best for making crochet vests?
It all depends on how and when you will wear your vest. For cozy winter vests, blended wool yarns, wool, and acrylic yarns are good choices. Cotton, Bamboo, and other natural fibers are your best bet for lighter summer vests.
Notes
- The pattern is worked rows
- This pattern is worked in separate parts and joined together, Two exact front panels and One back panel
- Ch1 at the beginning of the row does not count as st
- Ch3 does count as st at the beginning of each row
- This pattern uses pattern repeats.
- At the beginning and end of each row, we have 3 double crochet stitches to form a structure
- You can work this pattern with one color or multiple as you wish- I used one solid color
- If changing colors make sure to have a changing technique
- You can decide on the width and length of the Vest by adding multiples of chains at the foundation and row repeats
- This pattern calls for Chain multiples of 6+3
Instructions
Front Panel – make two identical
Ch 42+3
Row 1: Dc1 in 4th Ch from hook, Dc1 in next st and across to end of the row, turn work
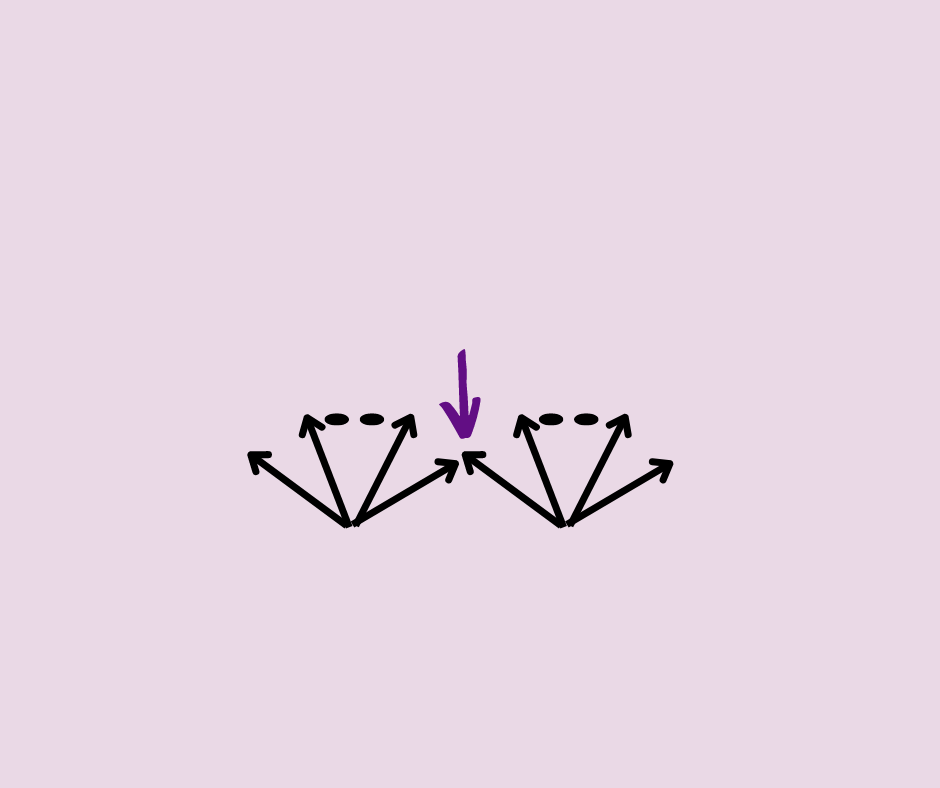
Row 2: Ch1, Dc1 in 1st st from hook, Dc1 in next 2 st , skip 3 st, (2Dc + Ch1 + 2Dc) in next st
*[ skip next 5 Ch, (2Dc,Ch 2, 2Dc) in next Ch]* repeat from * to * across to last 5 st, skip 3 st, Dc1 in last 3 St, turn work
Row 3: Ch1, Dc1 in 1st st from hook, Dc1 in next 2 st,*[Ch3, Dc in next Ch 1 space, Ch 3, skip next 2 Dc, Sc1 in between Dc clusters from prev row]* repeat from * to * across, to last Dc in between, Ch3 ,Dc1 in last 3 St, turn work
Rows 2-3 are the repeat pattern for this entire Vest
I made 16 repeats for every panel
Finishing Row: Ch 3, Dc1 in next st, Dc1 in next and Tr 1 on top of every sc, across to end of row
Back Panel
Ch 84+3
Row1: Dc1 in 4th Ch from hook, Dc1 in next st and across to end of the row, turn work
Repeat Rows 2+3 for 16 times, ending with a finishing row
Finishing
Lay three finished panels with the right side in- facing the wrong side towards you and the table.
Leave 14 stitches in the center of the back panel for the neckline, and sew the front panels from the shoulder to the neck leaving the rest open.
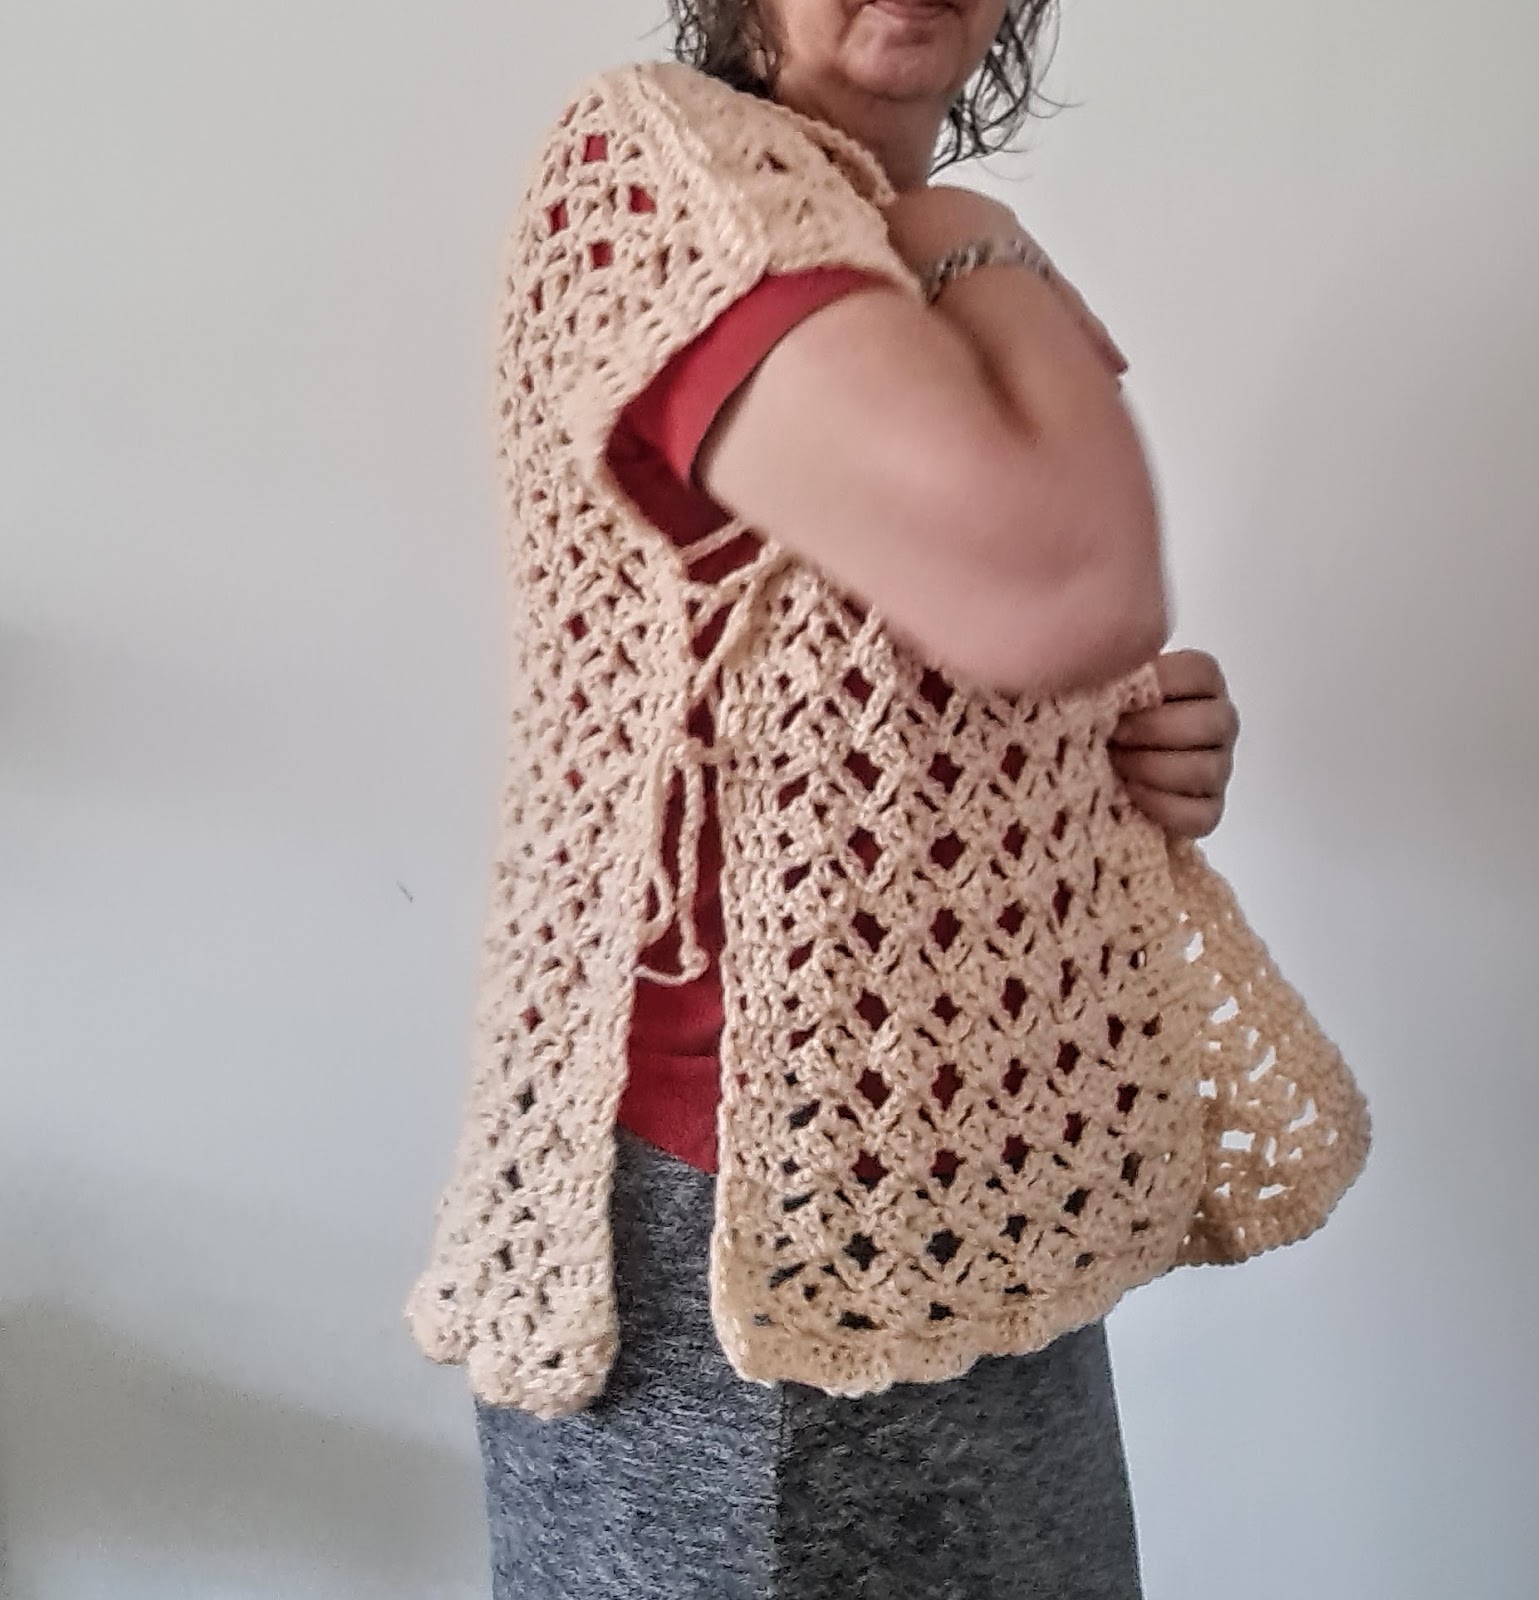
Now we will not join the sides of this Vest but leave them open and close them with a Chain weaved in zigzag on both front and back panels.
Cut your yarn and weave in the ends.
Enjoy!
Do you want to save this post for later? Pin it!
Did you try this Pattern? Share a picture
Tag me on Instagram
@sandrastitchesil
P.S. Do you love this pattern? Share in the comments below and let’s build a supportive community of crocheters who love to learn and grow together!
Want more crochet poncho patterns?
DISCLOSURE
AMAZON ASSOCIATES: Sandra Stitches is a participant in the Amazon Services LLC Associates Program, an affiliate advertising program designed to provide a means for sites to earn advertising fees by advertising and linking to Amazon.com.
This post contains links to products that I use and recommend, If you purchase any using my links I get a very small fee at no ad to you! Thank you for supporting my small biz!

