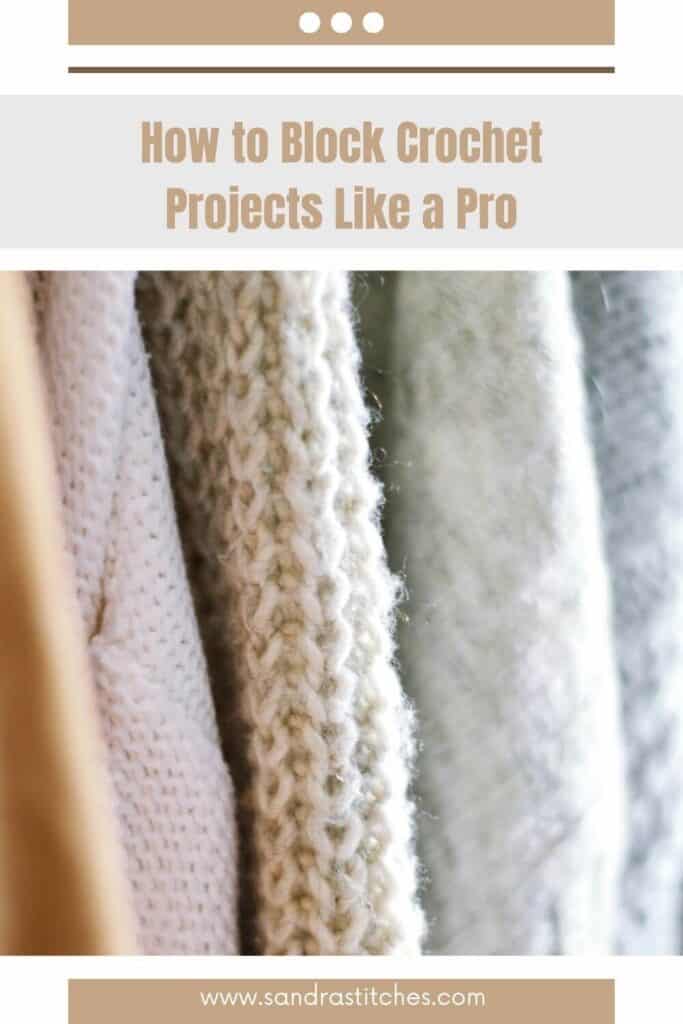
Hello, my Crochet friend!
Every crocheter knows the satisfaction of watching a project come together, stitch by stitch. But the journey doesn’t end there.
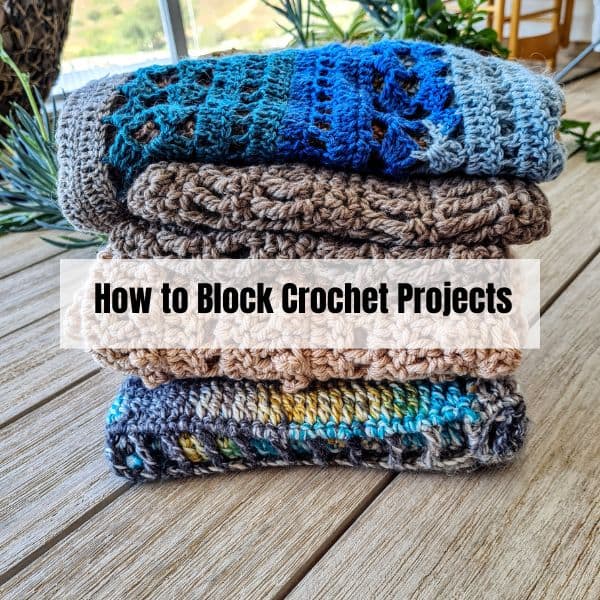
There’s one more crucial step that can elevate your creation from a simple craft to a work of art – blocking.
So how to block crochet projects?
Blocking is the gentle manipulation of your crochet project using moisture or heat to achieve the desired shape, size, and texture.
It’s the secret weapon that transforms your work from ordinary to extraordinary.
Here are three methods:
Why Block?
Blocking is not just about aesthetics; it’s about setting stitches, rectifying minor imperfections, and ensuring a professional finish. Here’s why blocking is essential for every crocheter:
- Enhances Aesthetic Appeal: Blocking brings out the intricate details and patterns in your crochet work, making it look its absolute best.
- Corrects Uneven Tension: Even the most experienced crocheters can experience uneven tension in their work. Blocking helps even out these inconsistencies, resulting in a smooth, polished finish.
- Eliminates Curling Edges: Curling edges are a common problem in crochet projects, especially around collars, cuffs, and armholes. Blocking gently stretches these areas to create a neat, flat edge.
- Achieves Desired Shape and Size: Blocking allows you to precisely shape your project to your liking, whether it’s a perfectly square blanket or a fitted garment.
- Sets Stitches in Place: Blocking helps lock stitches in place, preventing them from shifting or unraveling over time.
** Some of the links in this post may include affiliate links. Making a purchase through one of these links pays me a small referral fee at no added cost to you. These small fees add up and help me keep the blog running. View our Disclosure and Privacy Policy for more information.
Before you get started, check out my newest favorite finds!
Yarn Winder – a perfect crochet accessories
Domestika creative courses – choose your next craft adventure
Neck Stretcher – to keep you without neck and back pain
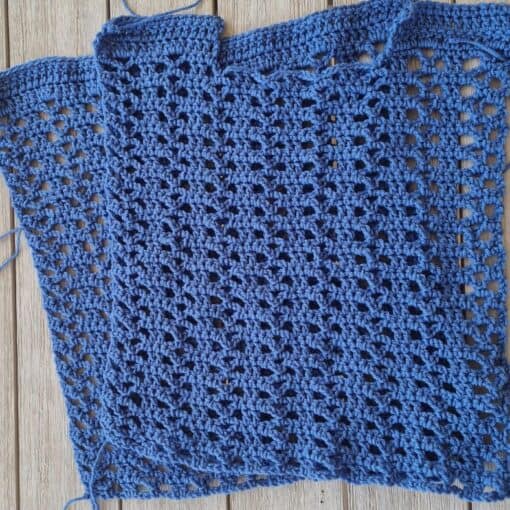
Choosing Your Blocking Method
The beauty of blocking is that there are different methods to suit different yarn types and project requirements. Here’s a quick guide to choosing the right blocking method for your project:
- Dry Blocking: Ideal for heat-tolerant fibers like acrylic or cotton, and it’s best for wearable items. It’s also a great choice for projects that you want to be able to wash easily.
- Cold Blocking: Gentle on delicate fibers like silk or mohair. It’s also a good choice for projects that you don’t want to shrink or felt.
- Wet Blocking: Best for natural fibers like wool or alpaca. It’s a good choice for projects that you want to be extra soft and cuddly.
Essential Tools for Blocking
Before embarking on your blocking adventure, gather a few basic tools:
- Blocking Surface: A clean mattress, carpeted floor, or blocking mats are suitable options.
- Rust-Proof Pins: These are your best friends to keep your project secure and prevent staining.
- Water: For wet blocking, ensure the temperature is suitable for your yarn.
- Wooden Spoon: This gentle tool helps set stubborn stitches, especially in larger projects.
Dry Blocking: Unleashing the Power of Steam
- Pinning Perfection: Pin your project to the desired shape and size on a blocking surface.
- Steam Therapy: Gently steam the item with an iron set to steam above the fabric.
- Knocking Out Lumps: Use the wooden spoon to “whack” stubborn lumps, coaxing them into submission.
- Patience is Key: Allow the piece to cool and dry completely before removing the pins.
Cold Blocking: Delicate Touch for Delicate Fibers
- Pinning with Care: Pin the item to the desired shape and size.
- Hydration Mist: Gently mist the item with clean water (preferably distilled).
- Patting Out Perfection: Pat out any stubborn areas to ensure even moisture distribution.
- Air Drying: Allow the item to dry completely before removing the pins.
Wet Blocking: Rewarding the Natural Fibers
- Bath Time: Soak your piece in lukewarm water, letting it absorb the moisture.
- Gentle Squeeze: Squeeze out excess water without twisting or wringing, preserving the fibers.
- Towel Absorption: Lay the piece on a towel and roll it to further remove excess water.
- Pinning into Shape: Lay the piece on your blocking surface and pin it to the desired shape.
- Whack Attack: Gently “whack” the piece with your hand or spoon, encouraging it to settle into the desired shape.
- Patience is Rewarded: Leave the piece to dry completely, allowing the shape to set in.
Want to save this post for later? Pin it!

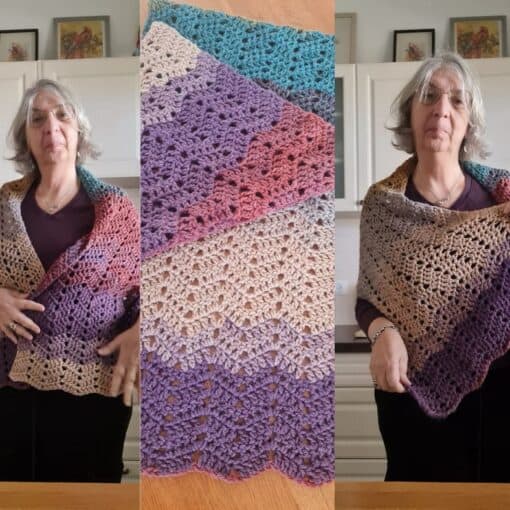
Conclusion
Blocking is not just a step; it’s an art form.
It’s the final touch that transforms your crochet creation from a collection of stitches into a masterpiece.
So, embrace the art of blocking and witness the remarkable transformation of your crochet projects. Happy crocheting!
Want to save this post for later? Pin it!
Did you try this Pattern? Share a picture
Tag me on Instagram
@sandrastitchesil
Want to learn more cool stuff about crocheting?
How to crochet faster in 3 simple steps
Success crochet with variegated yarn
Questions?
Ask and share in our
FREE Facebook Group
DISCLOSURE
AMAZON ASSOCIATES: Sandra Stitches is a participant in the Amazon Services LLC Associates Program, an affiliate advertising program designed to provide a means for sites to earn advertising fees by advertising and linking to Amazon.com.
This post contains links to products that I use and recommend, If you purchase any using my links I get a very small fee at no ad to you! Thank you for supporting my small biz!

6 thoughts on “How to Block Crochet Projects (Three methods explained)”