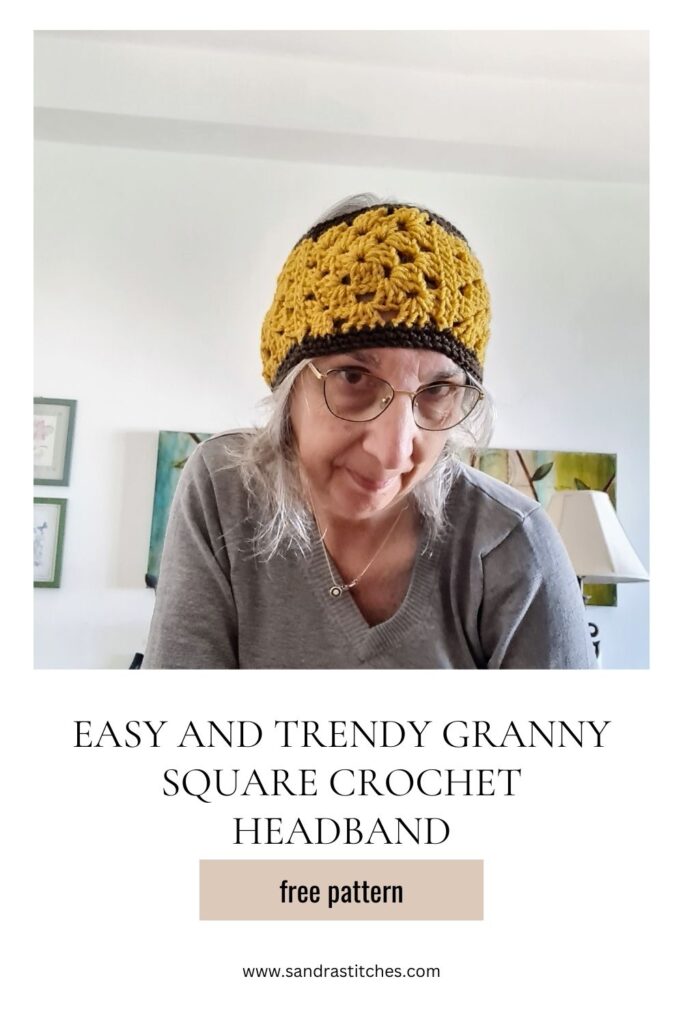
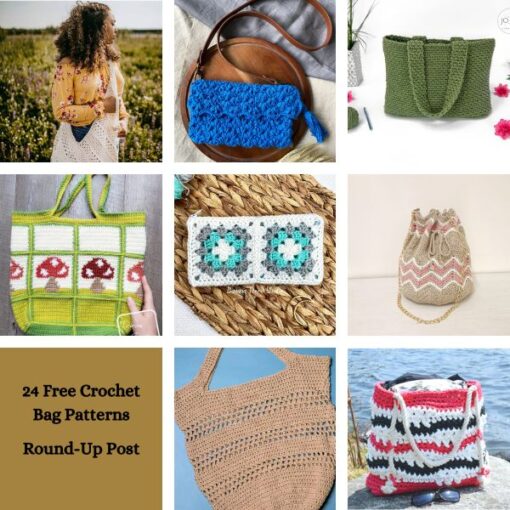
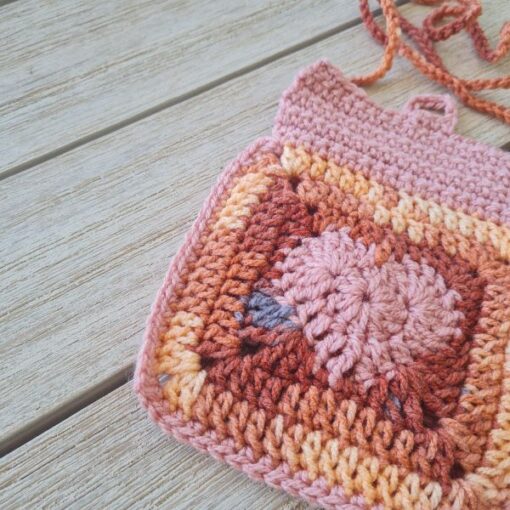
I am in the Granny Square era it seems! Here is my new Granny square headband pattern, I called it Sunshine!
Working granny squares for different projects is becoming kind of addictive for me as I find that the possibilities are endless.
This granny square headband or ear warmer is simple, fun to make, and can be a great stash buster.
I also have a scarf, cowl, vest and more granny square crochet projects for you to choose from
Let’s do it!
This pattern is part of the Twist and Tops Crochet Headbands Series Crochet along – Scroll down for details 🔽
Find the free pattern below or purchase the ad-free PDF version of this pattern on Ravelry. The PDF is designed for printing and this way you can support me! Thank you!
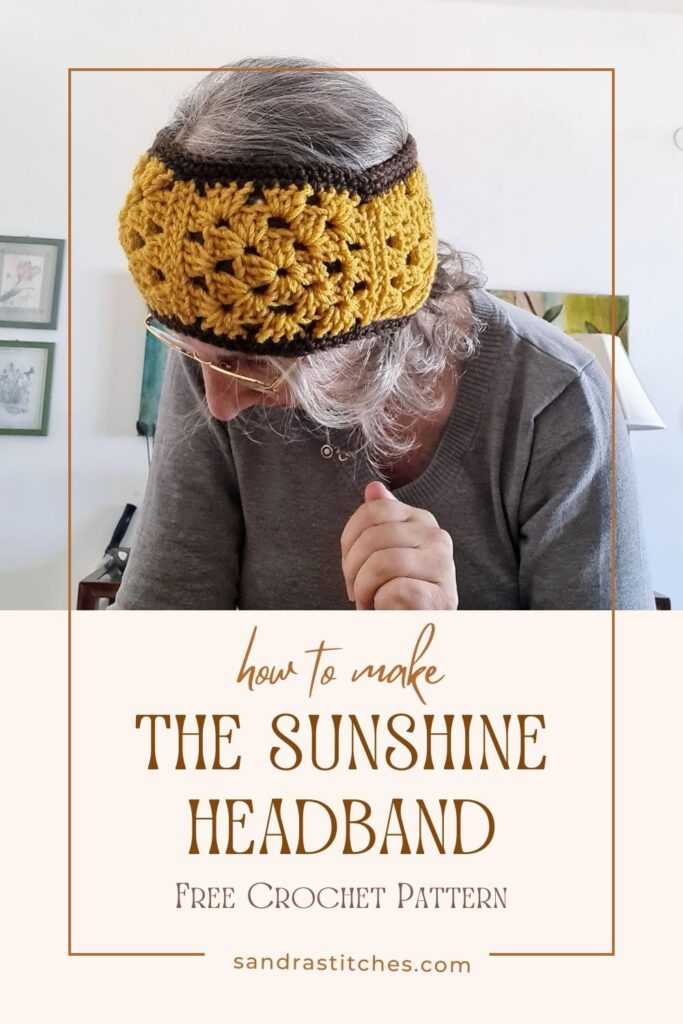
What can I tell you about this Granny Square Crochet Headband pattern?
- Crochet headbands are a lot of fun because they give that instant gratification.
- You’re going to love making this version, it’s a perfect beginner crochet granny square pattern to
- choose your colors, combine, make multiples, gift, donate or sell them!
** Some of the links in this post may include affiliate links. Making a purchase through one of these links pays me a small referral fee at no added cost to you. These small fees add up and help me keep the blog running. View our Disclosure and Privacy Policy for more information.
What is the width of a Crochet Headband?
This sample is 21” in circumference X 5” in width, regular adult women size.
Baby. 2″ wide.
Toddler. 3″ wide.
Children. 3-3.5″ wide.
Adults. 3.5-5″ wide.
Here is a size chart you can learn from- to adapt this pattern to your size choice, use thinner yarn(smaller) or add rounds to the square(bigger)
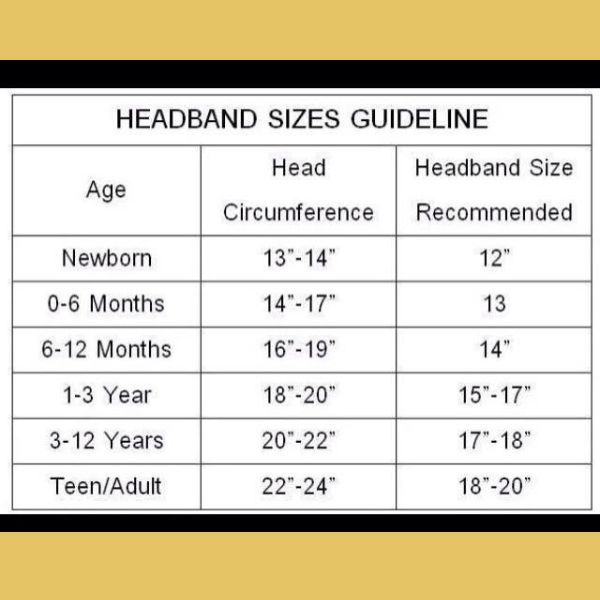
How many granny squares do I need for a headband?
5 squares will fit most head sizes, but you can always make yours with 4 or 6 squares This pattern uses 5 granny squares that you will join with a tapestry needle which is the simplest method.
The amount of granny squares you will need for a headband also depends on the weight of the yarn used, hook size, and rounds you decide to work on each square.
Before you get started, check out my Favorite Crochet Tools
Yarn Winder – a perfect crochet accessories
Neck Stretcher – to keep you without neck and back pain
Gauge Ruler – so you always get the right size
Pattern Designed By: Sandra Stitches This pattern is copyright protected; it is unlawful to distribute this pattern in any form (free, sale or trade).

Let’s get to the pattern, shall we?
Difficulty
Easy, Beginner
Materials
- Cygnet Chunky, 100gr 100% Superior Acrylic, 156 m, color yellow and brown, I used 33gr or any #4 yarn
- Hook: US Size H-8 (5 mm)
- Yarn Needle, Scissors, Measuring Tape
Gauge
- Each square is 4” X 4”
Sizes
- This sample is: 21” in circumference X 5” in width
Stitch Key
- Ch = Chain
- St = Stitch
- Dc = Double Crochet
- Yo = Yarn over
- Sl St = Slip Stitch
Specialty Stitches
Grst : Granny stitch ( Dc3 in ch1 space,(dc3+ch2+dc3 in corners))
Notes
- The pattern is worked in rounds
- This pattern consists of squares joined together to form a rectangle
- Ch2 does count as st at the beginning of each row
- Ch1 does not count as st at the beginning of each row
- You can work this pattern with one color or multiple as you wish- I used two colors
- If changing colors make sure to have a changing technique and weave your ends in. Watch this video
- This pattern uses pattern repeats.
Instructions
Granny stitch squares – make 5
Round 1: Make a magic ring (or ch 4 and join with a sl st to form a ring).Ch 3 (counts as first dc here and throughout), 2 dc into the ring, ch 2, 3 dc into the ring repeat from * to * 2 more times. Ch 2 and sl st to the top of the beginning ch 3 to join. Pull the magic ring tight or weave in the yarn tail to secure the center.
Round 2: Sl st in the next 2 dc and into the ch-2 corner space. Ch 3, 2 dc in the same ch-2 space, ch 2, 3 dc in the next ch-2 space repeat from * to * until you reach the beginning corner. Ch 2 and sl st to the top of the beginning ch 3 to join.
Round 3: Sl st in the next 2 dc and into the ch-2 corner space. Ch 3, 2 dc in the same ch-2 space, ch 2, 3 dc in the next ch-2 space, ch 1, 3 dc in the next ch-2 space repeat from * to * until you reach the beginning corner. Ch 2, dc in the first ch-2 space of the corner (middle dc of the 3-dc group), ch 2, and sl st to the top of the beginning ch 3 to join.
Round 4: Continue the pattern, increasing the ch-1 spaces between the 3-dc groups by 1 in each round. For example, in Round 4, you would have ch 2, 3 dc in the next ch-2 space, ch 1, 3 dc in the next ch-1 space, ch 1, 3 dc in the next ch-1 space repeat from * to * until you reach the beginning corner. After each corner, continue to add ch-1 spaces to separate the 3-dc groups in each side of the square.
Secure yarn, cut and weave in ends
Joining the squares
Lay two squares right side up next to each other, join using the tapestry needle, and both middle loops from each square on one side.
Lay the next square to form a rectangle and join, continue to join all 5 squares.
Join the rectangle on both sides to form a circle.
Switch sides of the headband- right side out!

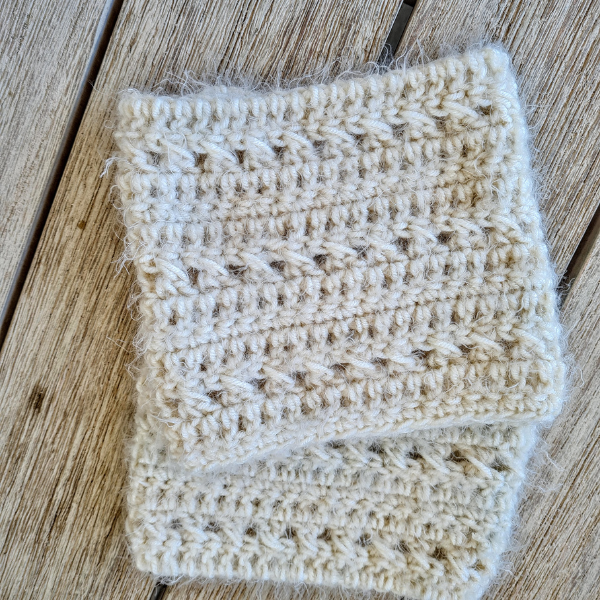
Finishing
Introduce a second yarn color (optional)
Round 1+ 2: Ch 1, sc 1 in 1st st from hook, sc 1 in next and around to end of round, Slst to 1st st.
Secure, cut your yarn, and weave in the ends.
Enjoy!
The Twist and Tops Headband Series Crochet Along
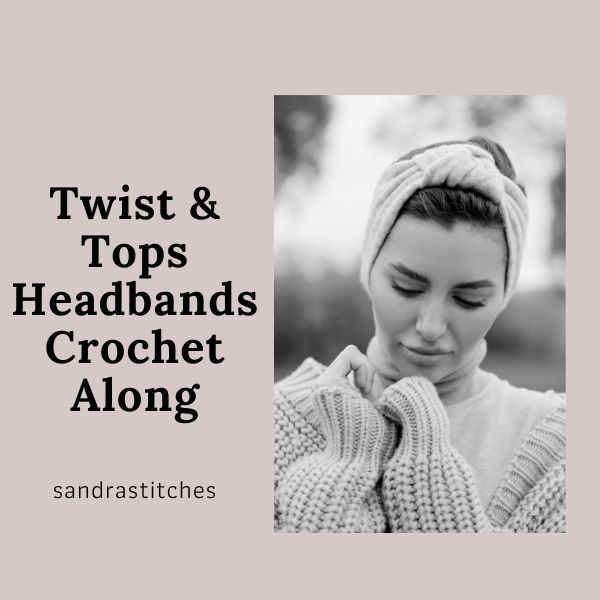
Check the main post HERE
Want to save this post for later? Pin it!
Did you try this Pattern? Share a picture
Tag me on Instagram
@sandrastitchesil
Want more crochet headband ideas?
Questions?
Ask and share in our
FREE Facebook Group
DISCLOSURE
AMAZON ASSOCIATES: Sandra Stitches is a participant in the Amazon Services LLC Associates Program, an affiliate advertising program designed to provide a means for sites to earn advertising fees by advertising and linking to Amazon.com.
This post contains links to products that I use and recommend, If you purchase any using my links I get a very small fee at no ad to you! Thank you for supporting my small biz!
