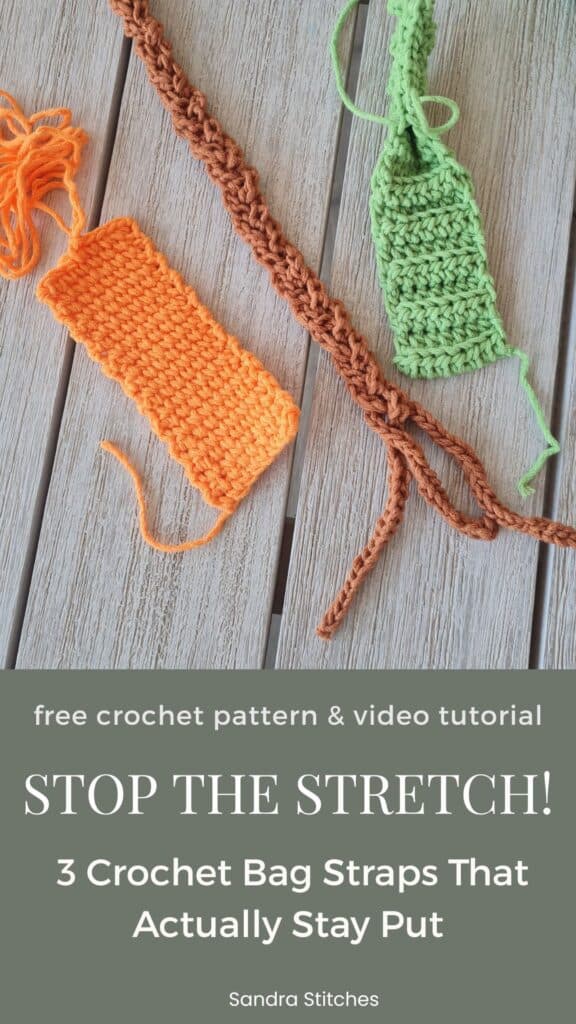
Every crochet bag strap stretches eventually. You finish your bag, you are proud of it, you carry it once and by the end of the day the strap is hitting your knees.
It is not your yarn. It is not your hook. It is the construction.
These three straps solve the stretching problem in three completely different ways. The waistcoat stitch strap creates a dense, thick fabric that holds its shape. The braided i-cord strap uses three layers of cord braided together for natural structure. The double-thickness strap folds on itself to create a double layer that barely moves.
All three are beginner-friendly. All three attach to any bag you have already made. Free written patterns for all three are at the bottom of this post.
Why Crochet Bag Straps Stretch
Most crochet bag straps are made with basic single crochet or half double crochet in rows. These stitches have natural stretch built into them which is what makes crochet fabric soft and comfortable to wear. But for a bag strap you do not want soft and stretchy.
You want structure and strength.
The solution is either changing the stitch construction, adding layers, or using a technique that locks the yarn in place.
Each of the three straps below uses a different approach to the same problem. And there is a hidden PRO TIP you will find in the video as well
Do you want to save this post for later? Go ahead and PIN IT!
What You Need for All Three Straps
The same yarn weight you used for your bag in a matching or contrasting color.
A smaller hook size you used for your bag.
A tapestry needle for attaching the straps to your bag.
Stitch markers useful for the double thickness strap to hold the fold in place while you work.
No special tools. No new yarn. Just what you already have.
** Some of the links in this post may include affiliate links. Purchasing from one of these links pays me a small referral fee at no added cost to you. These small fees add up and help me keep the blog running. View our Disclosure and Privacy Policy for more information.
How to Measure Your Strap Length
Before you start any of these straps, decide how long you want the finished strap to be and measure it.
Hold a piece of yarn from one attachment point on your bag, over your shoulder or across your body, to the other attachment point. That is your finished length. Write it down before you start.
For the braided i-cord strap specifically, multiply your desired finished length by 3.5. That is how long you will need the second yarn tail to be befor starting the icord
Strap 1 Waistcoat Stitch Bag Strap
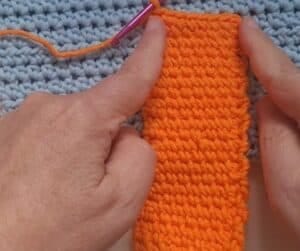
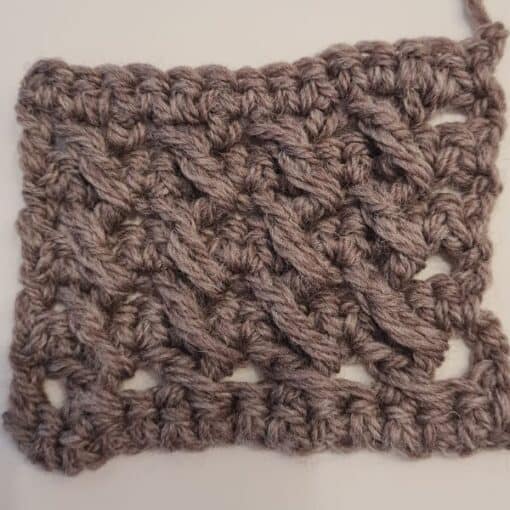
What It Looks Like
The waistcoat stitch strap looks knitted. The surface has a clean, V-shaped texture that is completely different from regular crochet. It is dense, structured, and does not stretch because the hook enters the center of each stitch rather than the top loops, locking the yarn in place.
How to Make the Waistcoat Stitch Strap
A strap of 6 to 8 chains gives a comfortable bag handle width but you can adjust this to suit your bag.
Row 1: Single crochet in the 1st st and in each chain across. Turn.
Row 2 onwards (waistcoat stitch): Insert your hook into the center of the next stitch, not under the top two loops but straight into the middle of the V below them. Pull up a loop and complete your single crochet. Repeat across the row. Turn.
Continue working the waistcoat stitch row until your strap reaches your desired length. Attach the strap to the opposite side using a Slip Stitch or the tapestry needle
Attaching the Waistcoat Stitch Strap
Thread your tapestry needle with the yarn tail. Position the end of the strap on the inside top edge of your bag at your chosen attachment point. Sew securely with several stitches going through both the strap and the bag edge. Fasten off and weave in all ends.
Before you get started, check out my newest favorite finds!
Yarn Winder – a perfect crochet accessory
Steamer for Clothes – Portable, ideal for crochet projects
Blocking Mat – 12.5″ for all your squares
Strap 3: Double-Thickness HdcBLO Strap
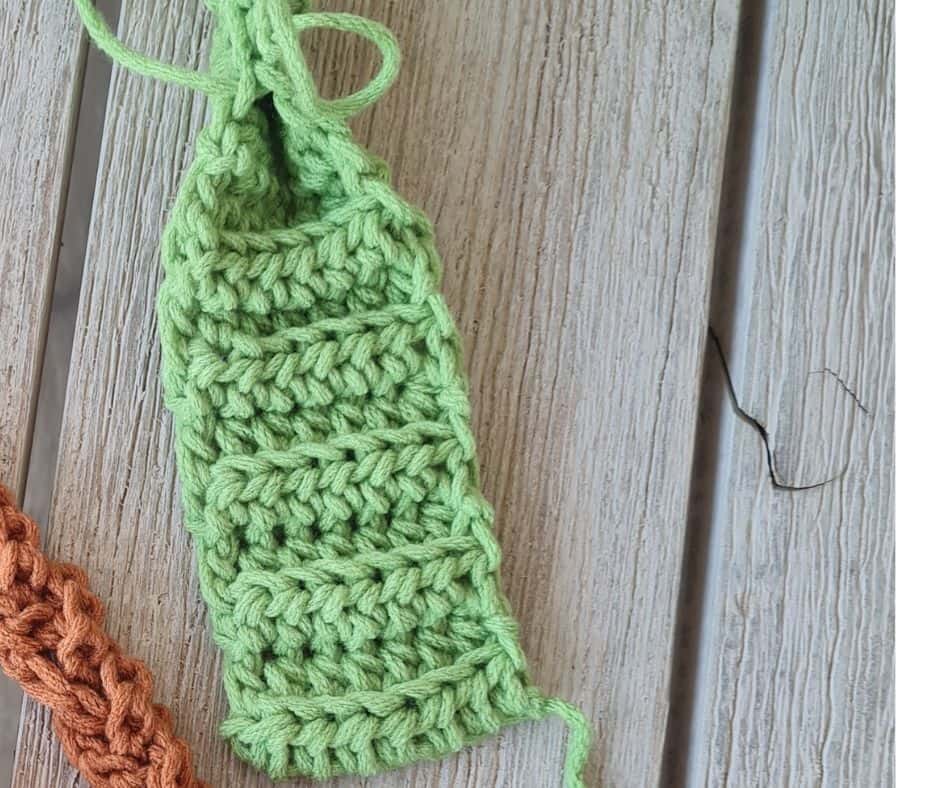
What It Looks Like
A clean, wide strap with a smooth surface and a folded edge. It looks simple but it is the sturdiest of the three because the double layer of fabric makes it almost impossible to stretch.
The back loop-only construction also adds extra structure before the fold.
Love This Pattern? There’s More Where That Came From!
You will discover my complete collection of crochet patterns,
tutorials, and resources, both free and premium, all in one convenient place.
I know you’ll find something to inspire your next project🙃
How to Make the Double-Thickness Strap
Decide your desired strap width. Because this strap folds in half, chain double the width you want in the finished strap. For example, if you want a finished strap width of 3cm, chain enough stitches to measure 6cm across.
Row 1: Half double crochet in the third chain from the hook and in each chain across. Turn.
Row 2 onwards: Half double crochet in the back loop only of each stitch across. Turn.
Continue until your strap reaches your desired finished length. Do not fasten off.
Folding and Finishing
Fold the strap in half lengthwise so the two long edges meet. Use stitch markers to hold the fold in place if needed. Slip stitch along the open long edge to close the fold and join the two layers together.
This slip stitch seam becomes the bottom edge of your finished strap. Fasten off and leave a long tail for attaching.
Strap 3: Braided I-Cord Strap
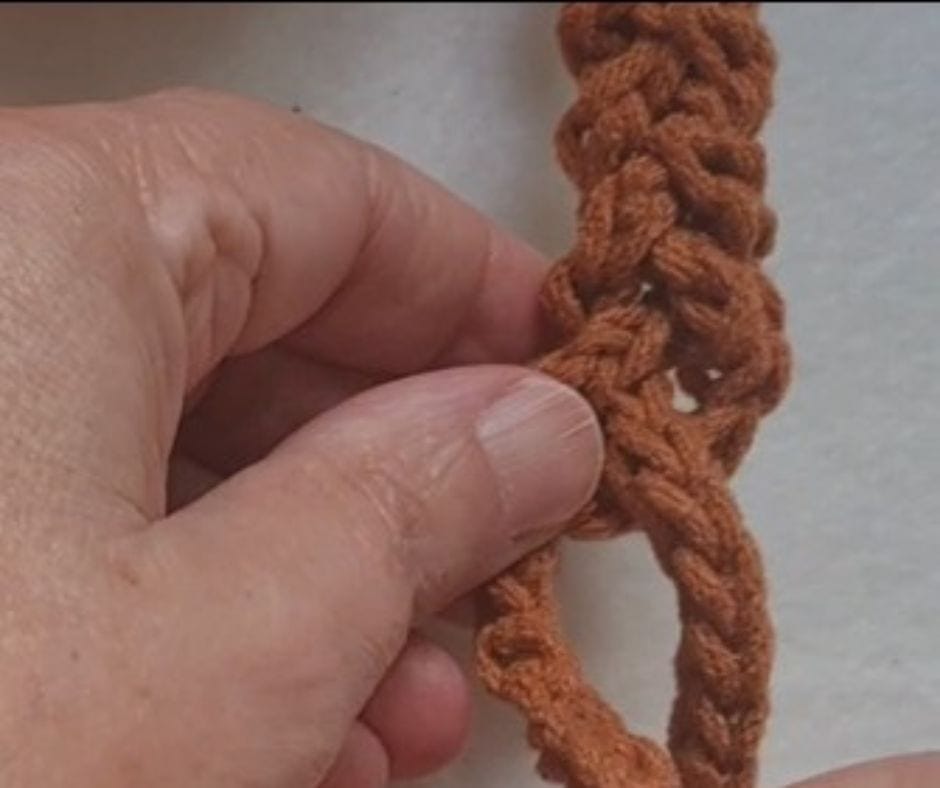
What It Looks Like
Three thin cords braided together into one thick, rope-like strap.
The braid creates natural structure and the three layers make it strong enough to carry a heavy bag all day without stretching or deforming.
How to Make the I-Cord
Make a slip knot leaving a long tail of 3 .5 times the length of your desired strap You will work with both the yarn tail and the working yarn going in opposite directions , this is what creates the i-cord structure.( follow the video)
Continue until your cord reaches the measured length. Fasten off. Make three cords in total.
How to Braid the Strap
Knot or pin the three cord ends together at one end to hold them in place while you braid. Braid the three cords together evenly all the way to the other end. Knot or pin the finishing end to secure the braid before attaching.
Attaching the Braided Strap
You have two options. Choose the one that works best for you.
Option one: sew it on. Fold the end of the braid flat. Thread your tapestry needle with matching yarn and sew the flat end directly to the inside top edge of your bag with several strong stitches.
This keeps the attachment invisible from the outside.
Option two: the loop method. Before you finish each cord end, crochet a small chain loop and slip stitch it closed. Slip stitch the loop directly onto the bag edge. This gives a cleaner decorative attachment point on the outside of the bag and works up faster than sewing.
Both methods are equally sturdy. Choose based on the look you want for your finished bag.
Tips for All Three Straps
Make both straps at the same time. If your bag needs two straps, work both simultaneously so they end up the same length. Measure after every few rows and compare.
Test the length before attaching. Hold the finished strap against your body before you sew or slip stitch it to the bag. It is much easier to add a few more rows now than to unpick a sewn attachment later.
Use the same yarn as your bag. A different yarn weight for the strap will look inconsistent and may behave differently in terms of stretch. Stick with the same yarn throughout for the best result.
Reinforce the attachment points. Whichever attachment method you use, go over it twice. Bag straps take real stress every time you pick up the bag. A double-stitched attachment point will outlast a single one every time.
What to Make Next
Now that your bag has sturdy straps, it needs a beautiful border to finish the top edge. I have a whole series of crochet bag border tutorials : the picot border and the braided border are already live on YouTube. Links below.
If you want two exclusive crochet patterns every month that are never sold and never made free anywhere else, come and join the V-Stitch Club. It is five dollars a month and you can cancel any time. The link is below.
Save this post. Every time you make a new bag you will want to come back to it.
**This is an original Sandra Regev pattern: Owner /Designer of Sandra Stitches. This pattern may not be redistributed for free, sale, or trade, but finished products can be sold with credit to this shop – enjoy!
Looking for more tutorials 👇
Did you try this Pattern? Share a picture
Tag me on Instagram
@sandrastitchesil
Questions?
Ask and share in our
FREE Facebook Group
DISCLOSURE
AMAZON ASSOCIATES: Sandra Stitches is a participant in the Amazon Services LLC Associates Program, an affiliate advertising program designed to provide a means for sites to earn advertising fees by advertising and linking to Amazon.com.

