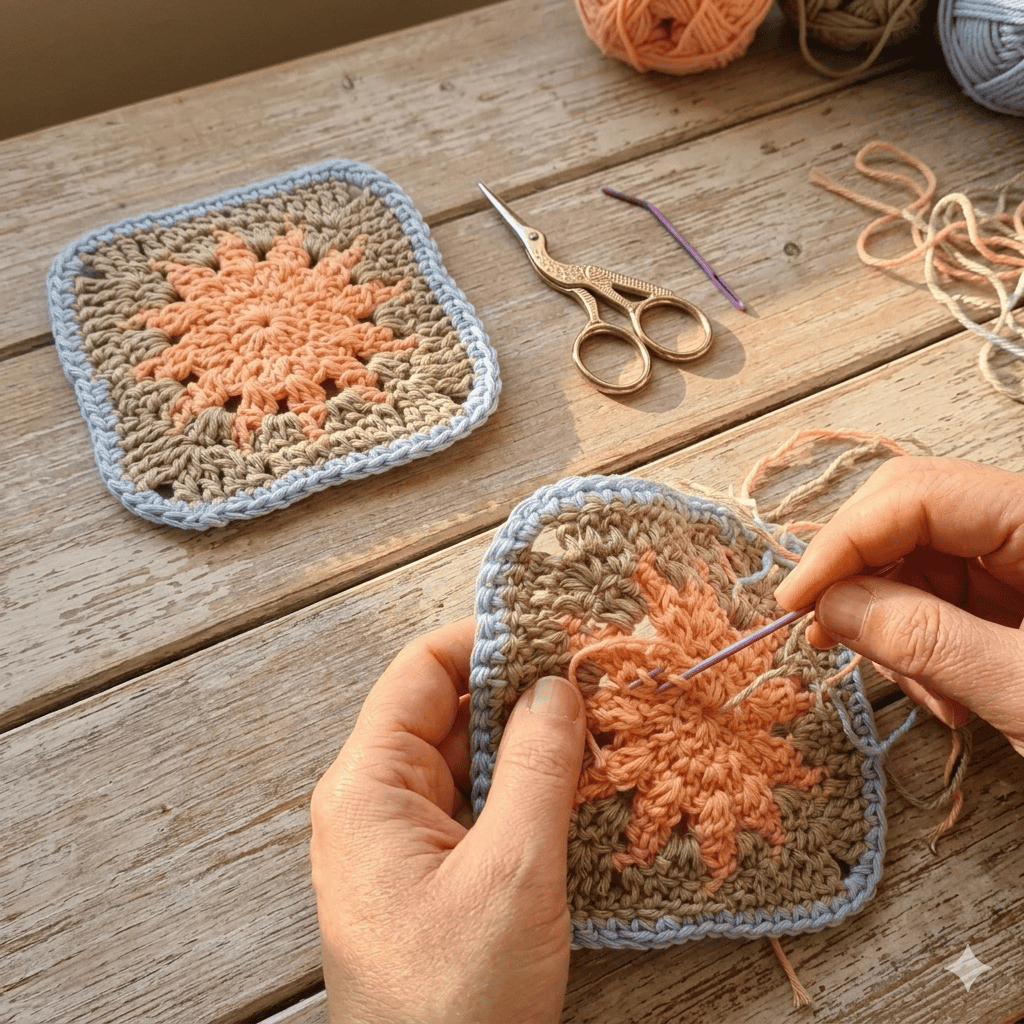
Quick answer: The bobble stitch is a 3D crochet stitch made by working five unfinished double crochets into the same stitch, then closing them all together and following with a single crochet. Every bobble uses two stitches, and you work a plain separation row of half double crochet between bobble rows, so all your bobbles pop out on the same side.
Jump straight to the Bobble Stitch Instructions
Do you want to save this post for later? Pin it 👇
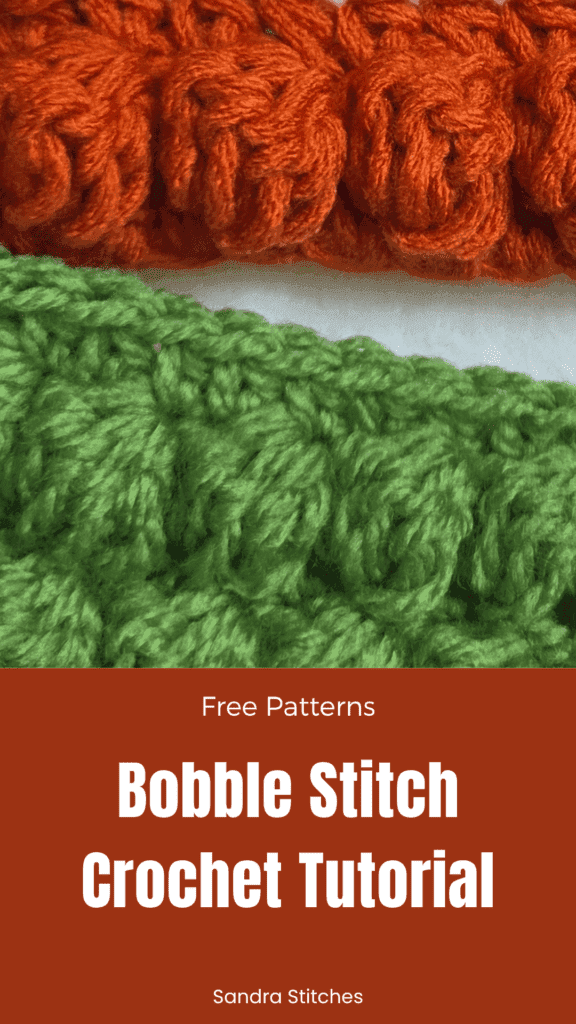
Run your hand over a piece of bobble fabric and you’ll feel it right away.
Little round bumps, really 3D, popping out on one side of the work.
That’s the bobble stitch, and today I’m going to show you how to crochet it, step by step.
I’m teaching you the bobble itself here. Once you have it, you can use it in so many ways.
A whole fabric of bobbles, a geometric shape made out of texture, a scarf, a blanket, a border. Any way you want it, really.
Watch the Video Tutorial
Sometimes seeing the stitch worked in real time makes everything click. Watch the full video here
What Is the Bobble Stitch?
A bobble is a cluster of stitches all worked into one spot and closed together, so it puffs up into a round little ball. It only pops on one side of your fabric, which is exactly what gives it that squishy 3D look.
** Some of the links in this post may include affiliate links. Making a purchase through one of these links pays me a small referral fee at no added cost to you. These small fees add up and help me keep the blog running. View our Disclosure and Privacy Policy for more information.
What You’ll Need
Yarn: worsted weight (weight 4) yarn
Hook: 5mm (US H/8) crochet hook
My tools for this tutorial:
Tapestry needles for weaving in your ends
That’s it. The length, the width, how many bobbles, that’s all up to you and your project.
Two Things to Know Before You Start
First, every bobble needs two stitches. One stitch is the bobble itself, and the next one is a single crochet. So wherever you want bobbles in your design, plan two stitches for each one.
Second, you need a separation row between every row of bobbles. This is what keeps all your bobbles popping out in the same direction. Don’t skip it!
Bobble Stitch Instructions
The Foundation Row
Start with a simple row of half double crochet. Single crochet is fine too, honestly, either way works. Make it as long as your project needs.
Working the Bobble Stitch Row
Chain 2 and turn your work. The chain 2 counts as your first stitch.
Now, in the next stitch, we make the bobble:
- Yarn over, insert your hook, pull up a loop, yarn over, pull through two. You have two loops on your hook.
- Yarn over again, in the same stitch. Pull up a loop, yarn over, pull through two. Three loops.
- Do it again in the same stitch. Four loops.
- And again. Five loops.
- And one last time, all in that same stitch. Six loops on your hook.
Yarn over and pull through all six loops.
Here’s the important part. Don’t chain one! Instead, work a single crochet in the next stitch. If you peek at the other side of your work, you’ll see the bobble starting to show.
Why six loops? Because we want our bobble to be really squishy, right?
Keep going across the row: bobble in the next stitch, single crochet in the stitch after that, bobble, single crochet. When you get to the end, finish with one double crochet in the last stitch after your last single crochet. That matches the chain 2 you started the row with.
And that’s your first row of bobbles.
The Separation Row
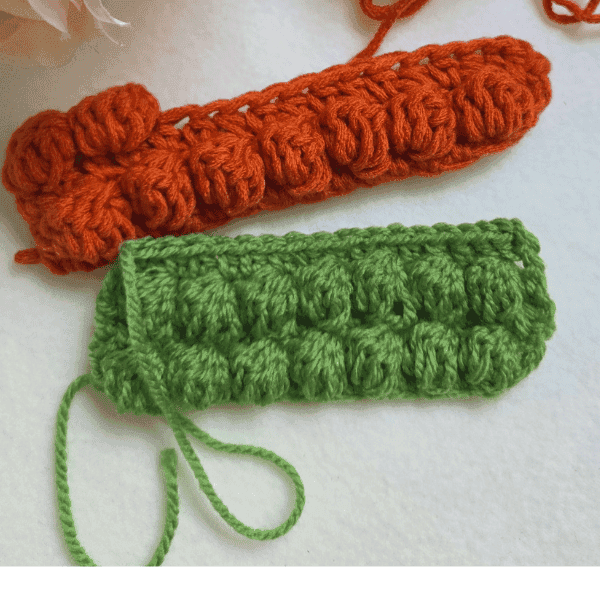
Now we need to straighten everything out. Work one half double crochet in each and every stitch across.
Start with a half double crochet on top of that last double crochet. Then one on top of the single crochet, one on top of the bobble, and so on across the row. Look closely and you’ll see the top of each bobble and the single crochet next to it. One half double crochet on top of each one.
This row makes the bobbles more stable. And it’s the row that lets you go back and work another row of bobbles that all pop up in the same direction.
The Next Bobble Row
Chain 2 and turn, and start again exactly like the first bobble row. Bobble in the next stitch (build up to six loops, yarn over, pull through all six), single crochet in the next, and repeat across.
Turn your work over and look. Your bobbles sit one on top of the other, all in neat lines.
Tips for Better Bobbles
Sandra’s tip: After you close the bobble, give the single crochet a little tug to tighten it. It holds the bobble snug and makes it stand up rounder.
Ways to Use Your Bobbles
If you want a geometric shape, you’ll need to calculate where each bobble goes. Remember, two stitches per bobble. You can also alternate them, placing the new bobbles in between the ones from the row before. However you want to design it.
Want to see bobbles in a finished project? They make a lovely squishy texture in my Candy Bobble infinity scarf, and they’re the star of this little bobble crochet mini wall hanging.
Bobble Stitch vs Puff Stitch
These two get mixed up a lot, because both make a raised bump. The difference is in how you build them. For a bobble, each yarn over is worked partway into a double crochet (you pull through two every time) and then all the loops are closed together. That’s why it stands up so round and firm. A puff stitch skips the “pull through two” part. You just keep pulling up long loops and then close them all at once, so it comes out softer and flatter.
Bobble Stitch Crochet in the Round
In this video I’m working flat rows, turning at each end. In the round, if you don’t turn, remember the bobble always pops out on the side facing away from you. Decide which side you want to show before you start, and keep a plain round between bobble rounds just like the separation row here.
Quick Recap
Foundation row of half double (or single) crochet. Bobble row: chain 2, then bobble and single crochet across, double crochet in the last stitch. Separation row: half double crochet in every stitch. Repeat the bobble row and the separation row for as long as you like.
I’d love to see what you make with it, so tell me if you use the bobble stitch in one of your projects!
Want more stitch tutorials:
A new stitch step
- When learning a new stitch, try several yarn weights and hook sizes to understand how the stitch works and looks.
- Use light yarn colors to get the stitch to form the right shape.
- Make several swatches before starting a new project
Stay Calm and Crochet!😎
Sandra
A quiet place to keep crocheting
If projects like this one are your kind of calm, you might love the V-Stitch Club.
It is my little corner of the internet for women who crochet for the joy and the quiet of it, with new patterns, gentle company, and the steady rhythm of always having something beautiful on the hook.
DISCLOSURE
AMAZON ASSOCIATES: Sandra Stitches is a participant in the Amazon Services LLC Associates Program, an affiliate advertising program designed to provide a means for sites to earn advertising fees by advertising and linking to Amazon.com.
This post contains links to products that I use and recommend, If you purchase any using my links I get a very small fee at no ad to you! Thank you for supporting my small biz!

Hi my crochet friend!
Crochet has followed me from Argentina to Israel and through every crossroads since. Now I design calm, achievable crochet, made to feel possible.
Come find free patterns, tutorials, and the V-Stitch Club right here on the blog.