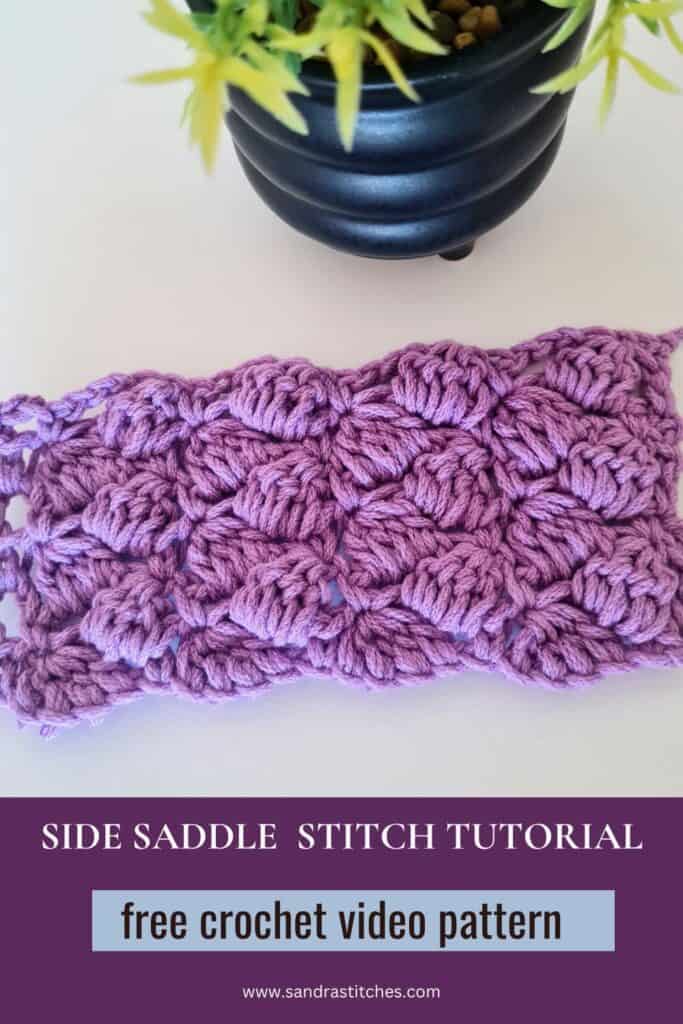
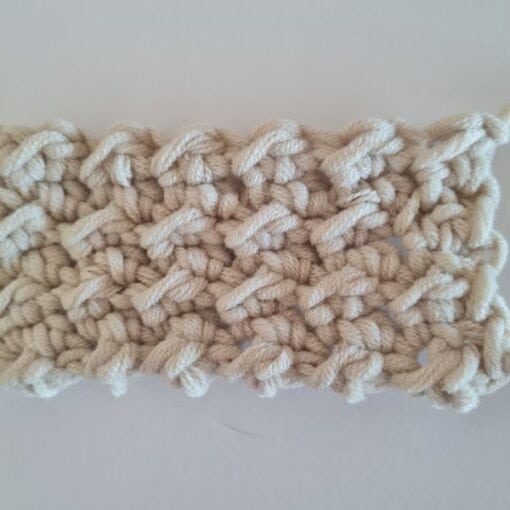
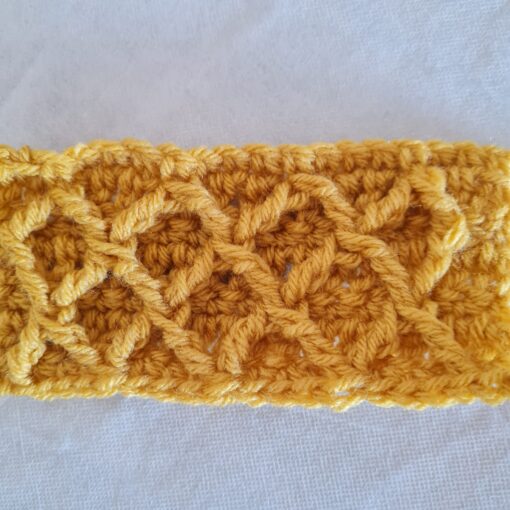
The Side Saddle stitch is a great option for crochet projects that need texture, movement, and style.
You’re going to love working with the Side Saddle Stitch – it’s such a fun one to do!
The best part is how it creates this amazing texture while still keeping the fabric nice and flexible.
It’s become super popular with crocheters everywhere, and I can see why – you can use it for basically anything. I’ve seen gorgeous blankets, cute vests, practical washcloths, and even some really stunning handbags made with this stitch. It’s definitely worth adding to your crochet repertoire!
Watch the video below for a step-by-step tutorial
Be creative!
What I love about the Side Saddle stitch
Do you know what’s really cool about the Side Saddle stitch?
Even though it’s just made up of basic stitches – your singles, doubles, and chains – it creates something unique.
When you look at it head-on, you get this beautiful geometric pattern, but just wait until you see it from the side! That’s where the magic happens – the texture is absolutely stunning from that angle. It’s amazing how these simple stitches come together to create something so special!
Do you want to save this post for later? Pin it 👇

Understanding the Basics of the Side Saddle Stitch
Before you start, let’s gather the right stuff. Having the right tools makes all the difference.
Materials You’ll Need
- Yarn weight and type: Worsted weight yarn is great for this stitch. It is easy to work with, but feel free to experiment with others. Thicker yarn creates a chunkier look. Thinner yarn will make a delicate fabric.
- Appropriate hook size: A 5mm hook is recommended for worsted weight yarn. But, the hook size depends on your yarn choice. Check the yarn label for suggestions. Using a bigger hook creates looser stitches. Smaller ones makes tighter stitches.
- Additional tools: You’ll need scissors to cut the yarn. A yarn needle helps weave in ends.
Creating the Foundation Chain
The foundation chain is the starting point. This stitch uses a multiple of 5 + 2. This means your chain length should be (5 x desired width) + 2.
- Explain the 5 + 2 multiple: The “5” is for the pattern repeat. The “+ 2” adds the necessary edge stitches.
- Step-by-step instructions for creating the chain.
- Make a slip knot and place it on your hook.
- Yarn over, then pull through the loop. This makes one chain.
- Repeat until you have the needed number of chains.
- Tips for ensuring the chain is even and not too tight. Keep a relaxed tension as you chain. This will make the first row easier. Too tight and you’ll have trouble inserting your hook.
** Some of the links in this post may include affiliate links. Making a purchase through one of these links pays me a small referral fee at no added cost to you. These small fees add up and help me keep the blog running. View our Disclosure and Privacy Policy for more information.
Before you get started…
Check out my Favorite items and tools
Rechargeable LED night reading light on Amazon
Bamboo Hooks on Amazon
Colorful Bobby pins as crochet markers on Amazon
Side Saddle Crochet Stitch Video Tutorial
Step-by-Step Guide to Row One
Now, let’s get into the first row! This sets up the whole pattern.
Single Crochet Start
You’ll begin with a single crochet. Do this in the second chain from the hook. Don’t count the loop already on the hook.
- Precise instructions for the initial single crochet. Insert your hook into the second chain. Yarn over, pull through the chain. Yarn over again, pull through both loops on the hook.
- Visual cues to ensure correct placement. Make sure you’re working into the chain, not the knot. You’ll see a small “V” shape. Insert your hook under both strands of the “V.”
The Double Crochet Cluster
Next comes the double crochet cluster. It’s a group of four double crochets worked together. This creates a unique texture.
- Detailed breakdown of each step of the cluster stitch.
- Yarn over, insert your hook into the next chain.
- Yarn over, pull through the chain (three loops on hook).
- Yarn over, pull through two loops (two loops remain).
- Repeat steps 1-3 three more times in the next three chains. You should have five loops on your hook.
- Yarn over, pull through all five loops.
- Troubleshooting tips for common mistakes. If you drop a loop, don’t worry! Just unravel back to that point. Keep tension even to prevent this from happening.
Completing Row One: Chains and Single Crochets
After the cluster, it is time for the sequence of chain one and single crochet. This sets the stage for the next row.
- Reinforce the sequence: chain three, cluster, chain one, single crochet. Chain three. Then repeat the cluster, chain one, and single crochet.
- Tips for maintaining consistent tension throughout the row. Keep your yarn flowing smoothly. Don’t pull too tight or leave it too loose.
Mastering Row Two: The Two-Row Repeat Begins
Row two builds on row one. It is where the pattern really starts to show.
Chaining Four and Turning
Start with a chain of four and turn your work. This gets you ready for the next row.
- Purpose of the chain four: This creates the height for the first stitch. It acts as a turning chain.
- How to turn the work correctly: Rotate your work so the back side faces you. Keep the yarn attached.
Single Crochet on Top of the Cluster
Now, work a single crochet on top of the cluster from the row before. Find the right spot.
- Visual guide to identifying the top of the cluster: Look for the little “knot” where all the double crochets come together.
- Explanation of why you skip the first single crochet: Because the chain four counts as the first stitch. So, you skip the first single crochet to maintain the right count.
Creating Clusters in Chain-Three Spaces
In this step, put clusters in the chain-three spaces from the last row. This adds texture.
- Reinforce the cluster stitch within the chain-three space: Follow the same steps as before to make the cluster. Work into the space, not the chain itself.
- Tips for maintaining consistent spacing: Make sure each cluster is snug but not too tight. This keeps the pattern even.
Finishing Row Two with a Double Crochet
Row two ends with a double crochet in the last stitch. This is different from how row three ends.
- Explanation of the final double crochet: Yarn over, insert your hook into the last stitch. Yarn over, pull through. Yarn over, pull through two loops. Yarn over, pull through the last two loops.
- Comparison with row three’s ending: Row three ends with a single crochet, not a double crochet. This difference is key to the pattern.
Repeating Rows Two and Three
Keep going with rows two and three! These rows make the full pattern.
Row Three: Single Crochet Start and Finish
Row three starts and ends with a single crochet.
- Reinforce the single crochet start and finish. Chain one, then single crochet in the first stitch. At the end, single crochet in the last stitch.
Recognizing the Pattern
The pattern grows with each repeat. Can you see the side saddle shape now?
- Visual cues to track progress: You’ll notice the clusters lining up. The spaces between them create a distinct look.
- Highlight the developing texture. The clusters create a bumpy, textured surface. This makes the stitch interesting to look at and touch.
Love This Pattern? There’s More Where That Came From!
You will discover my complete collection of crochet patterns, tutorials, and resources, both free and premium all in one convenient place.
I know you’ll find something to inspire your next project🙃
All Things Crochet Start Here →
Want more stitch tutorials:
Click here to share your finished project with our community!
A new stitch steps
- When learning a new stitch, try several yarn weights and hook sizes to understand how the stitch works and looks.
- Use light yarn colors to get the stitch to form the right shape.
- Make several swatches before starting a new project
Stay Calm and Crochet!😎
Sandra
Interested in a professional Paperback Crochet Planner?
Want to know more about me? This is my story
DISCLOSURE
AMAZON ASSOCIATES: Sandra Stitches is a participant in the Amazon Services LLC Associates Program, an affiliate advertising program designed to provide a means for sites to earn advertising fees by advertising and linking to Amazon.com.
This post contains links to products that I use and recommend, If you purchase any using my links I get a very small fee at no ad to you! Thank you for supporting my small biz!


