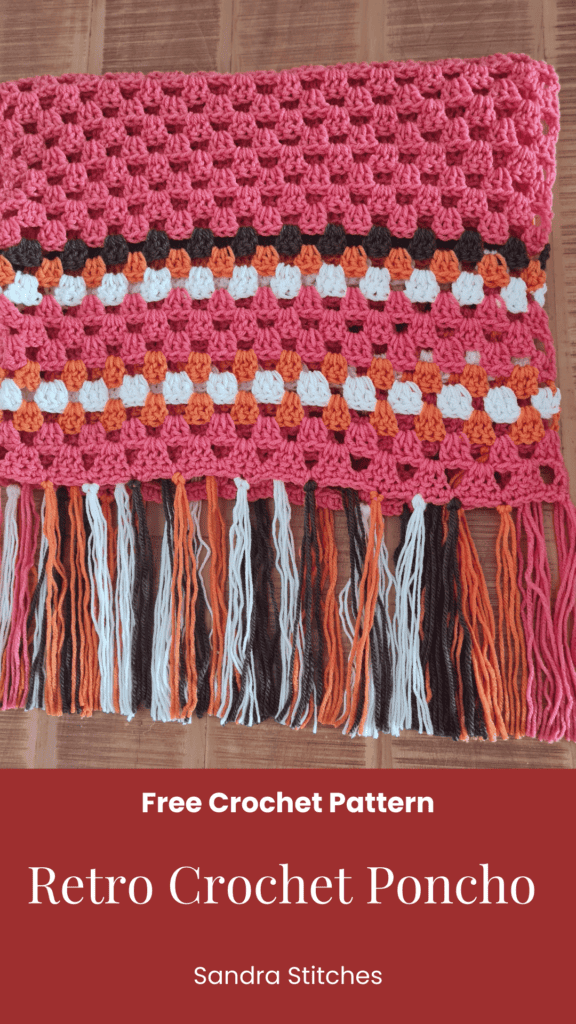
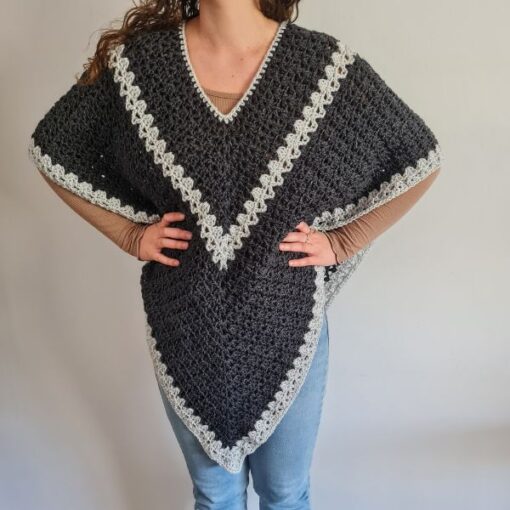
Who is here from the 70s? This Retro Crochet Poncho Pattern can bring great memories!
This pattern was inspired by a big celebrity’s very popular dress last year!
Everybody went crazy – so I had to join the party and bring my piece.
If you are a poncho girl this crochet poncho pattern is a weekend project!
Try it in any color combination to match your style
Are you with me?
There are 2  ways to get this pattern:

Option 1: You can purchase the individual pattern as an easy-to-read, print-friendly PDF  from Ravelry

Option 2: Scroll down to get the written instructions for this pattern for free
Save this post for later PIN IT!

The form you have selected does not exist.
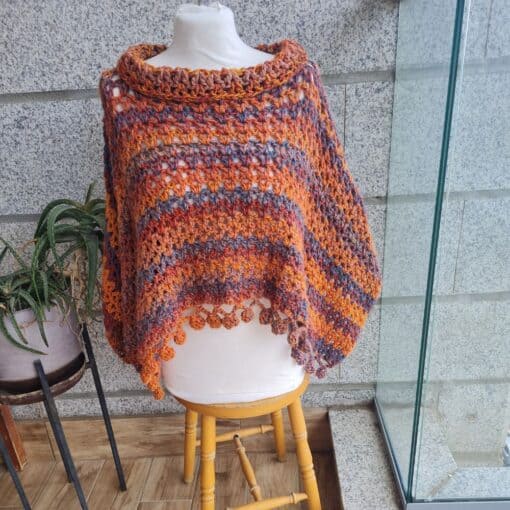
How to style a crochet poncho?
Let’s talk about styling that cozy crochet poncho you’ve got hanging in your closet!
The key to rocking a poncho is all about balance – pair it with fitted pieces to avoid looking like you’re drowning in fabric.
I love wearing mine with skinny jeans or leggings and knee-high boots for a chic fall look.
Want to dress it up? Add a long pendant necklace and some stacked bracelets.
For a casual coffee run, throw it over a basic tee with some ankle boots.
And don’t forget, a thin belt at your natural waist can give your poncho some shape and transform it from comfy to sophisticated in seconds.
Trust me, once you start experimenting, you’ll realize your poncho is way more versatile than you thought!
You will find instructions in the free pattern below ⬇️
** Some of the links in this post may include affiliate links. Purchasing one of these links pays me a small referral fee at no added cost to you. These small fees add up and help me keep the blog running. View our Disclosure and Privacy Policy for more information.
Before you get started, check out my Favorite Crochet Tools (affiliate)
Yarn Winder – a perfect crochet accessories
Neck Stretcher – to keep you without neck and back pain
Gauge Ruler – so you always get the right size
Pattern Designed By: Sandra Stitches This pattern is copyright protected; it is unlawful to distribute this pattern in any form (free, sale or trade).
Let’s get to the pattern, shall we? Making Retro Crochet Poncho

Materials
Stylecraft Special Chunky Yarn, 100% premium Acrylic, 100gr, 144 m, 157 yards in 4 colors (total of 800 yards)
Or any weight #5 yarn you decide
Hook: US Size (8 mm)
Yarn Needle, Scissors, Measuring Tape
Gauge
- 9 st X 5 rows (4” X 4”)
Sizes
- This sample is women 30 in length X 20 in height ( without fringe)
Stitch Key
- Ch = Chain
- Sc = Single Crochet
- St = Stitch
- Slst = Slip stitch
- Dc = Double Crochet
- Yo = Yarn over
Specialty Stitches
GrSt = Granny Stitch ( Dc 3 in next ch space, ch1)
Notes
- This pattern uses US terminology
- Ch3 does count as st at the beginning of each row
- Ch 4 counts as st + ch 1 at the beginning of row
- Ch1 at the beginning of the row does not count as a stitch
- This pattern uses pattern repeats.
- This pattern is worked in two rectangles joined to form a Poncho
- You can work this pattern with one color or multiple as you wish- I used 4 solid colors
- If changing colors make sure to have a changing technique and weave your ends in.
- You can decide on the poncho size by adding chains and rows

Instructions
Panel – make two
Chain 52 – start with color A
Row 1: Sc 1 in 2nd ch from hook, sc 1 in next and across to the end of the row, turn (51)
Row 2: Ch 3 + dc 2 in 1st st from hook, *skip 3 st, GrSt in next st, repeat from * to end of row, finish with last Grdc in last st, turn (51)
Row 3: Ch 4 , GrSt in next ch 1 space and across to end of row, finish with dc 1 on top of last dc from prev row, turn (51)
Change to color B
Row 4: Ch 3 + dc 2 in 1st st from hook, *skip 3 st, GrSt in next st, repeat from * to end of row, finish with last Grdc in last st, turn (51)
Change to color C
Row 5: Ch 4 , GrSt in next ch 1 space and across to end of the row, finish with dc 1 on top of last dc from prev row, turn (51)
Change to color B
Row 6: Ch 3 + dc 2 in 1st st from hook, *skip 3 st, GrSt in next st, repeat from * to end of the row, finish with last Grdc in last st, turn (51)
Change to color A
Row 7: Ch 4 , GrSt in next ch 1 space and across to end of row, finish with dc 1 on top of last dc from prev row, turn (51)
Row 8+9: Repeat row 6+7
Change to color C
Row 10: Ch 3 + dc 2 in 1st st from hook, *skip 3 st, GrSt in next st, repeat from * to end of the row, finish with last Grdc in last st, turn (51)
Change to color B
Row 11: Ch 4, GrSt in next ch 1 space and across to end of row, finish with dc 1 on top of last dc from prev row, turn (51)
Change to color D
Row12: Ch 3 + dc 2 in 1st st from hook, *skip 3 st, GrSt in next st, repeat from * to end of the row, finish with last Grdc in last st, turn (51)
Change to color A
Row 13:Ch 4, GrSt in next ch 1 space and across to end of row, finish with dc 1 on top of last dc from prev row, turn (51)
Row 14-29: repeat rows 2+3
Change to color B
Row 30: Ch 3 + dc 2 in 1st st from hook, *skip 3 st, GrSt in next st, repeat from * to end of the row, finish with last Grdc in last st, turn (51)
Change to color C
Row 31: Ch 4, GrSt in next ch 1 space and across to end of the row, finish with dc 1 on top of the last dc from prev row, turn (51)
Let’s continue, you get the idea…
Change to color B
Row 32: Ch 3 + dc 2 in 1st st from hook, *skip 3 st, GrSt in next st, repeat from * to end of the row, finish with last Grdc in last st, turn (51)
Change to color D
Row 33: Ch 4, GrSt in next ch 1 space and across to end of row, finish with dc 1 on top of last dc from prev row, turn (51)
Change to color A
Row 34+35: repeat row 2+3
Change to color B
Row 36: Ch 3 + dc 2 in 1st st from hook, *skip 3 st, GrSt in next st, repeat from * to end of the row, finish with last Grdc in last st, turn (51)
Change to color C
Row 37: Ch 4 , GrSt in next ch 1 space and across to end of row, finish with dc 1 on top of last dc from prev row, turn (51)
Change to color B
Row 38: Ch 3 + dc 2 in 1st st from hook, *skip 3 st, GrSt in next st, repeat from * to end of the row, finish with last Grdc in last st, turn (51)
Change to color A
Row 39-41: repeat row 2+3
Row 42: Ch 1, sc 1 in 1st st from hook, sc 1 in next and across to the end of the row, (51)
Do you want to save this post for later? Pin it!
Construction
Place two rectangles on the right side facing in, and long side up, measure 12” from each side in to form a shoulder and head hole, and sew using a tapestry needle on both sides.
Sc 1 on each st around the head hole
Cut yarn 18 “ long for fringe and attach around the sides, spreading and changing colors.
Finishing
Cut your yarn and weave in the ends.
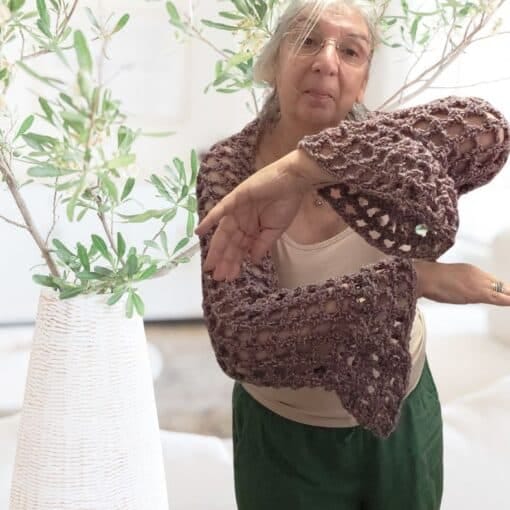
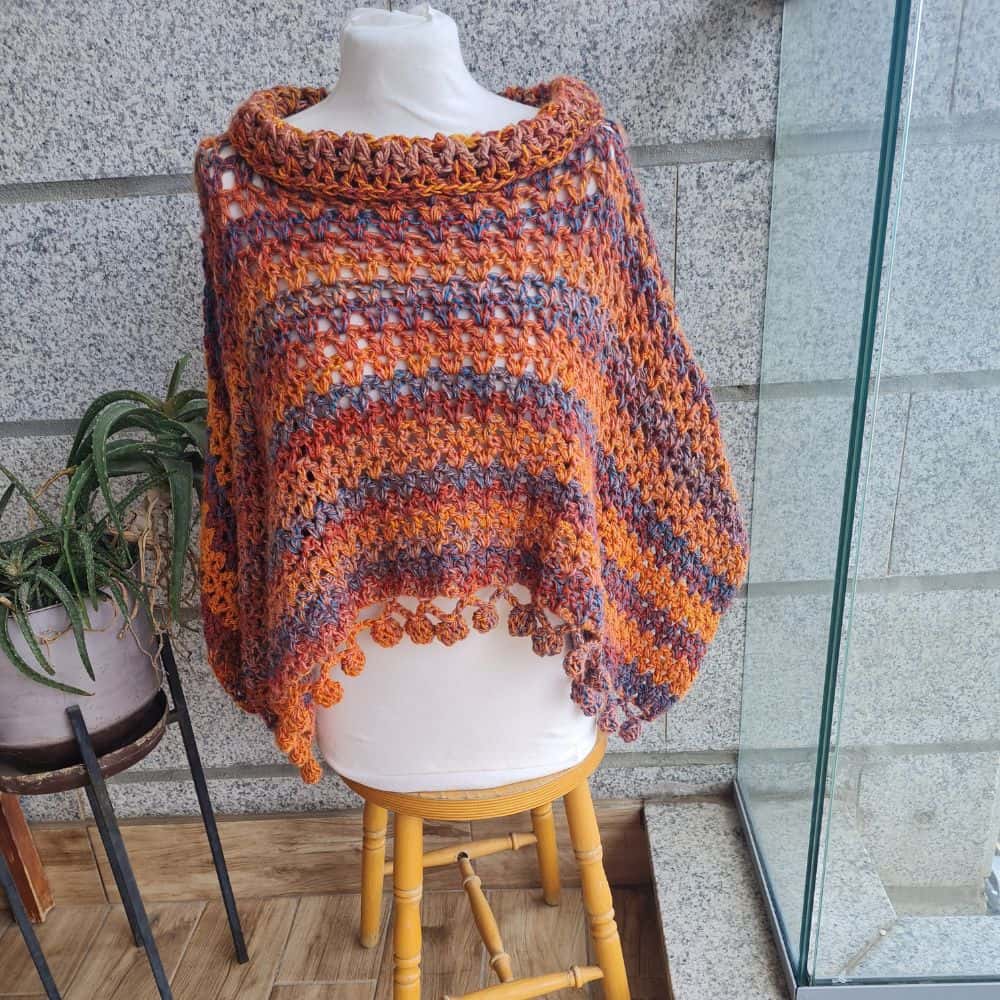
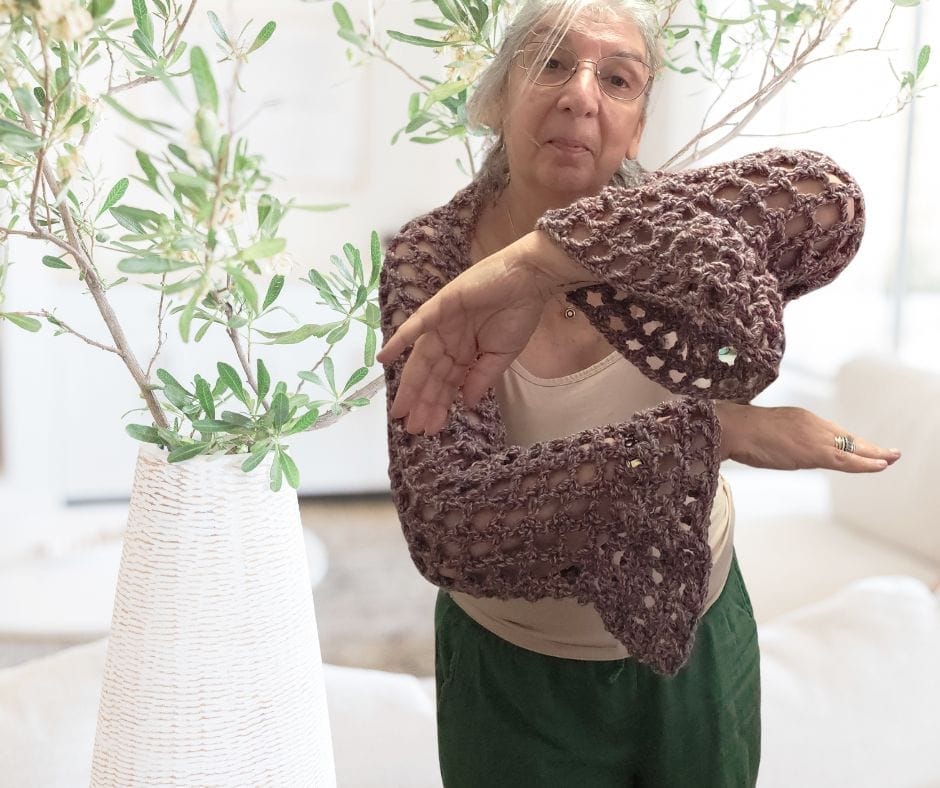
Want more poncho patterns?
DISCLOSURE
AMAZON ASSOCIATES: Sandra Stitches is a participant in the Amazon Services LLC Associates Program, an affiliate advertising program designed to provide a means for sites to earn advertising fees by advertising and linking to Amazon.com.
This post contains links to products that I use and recommend, If you purchase any using my links I get a very small fee at no ad to you! Thank you for supporting my small biz!