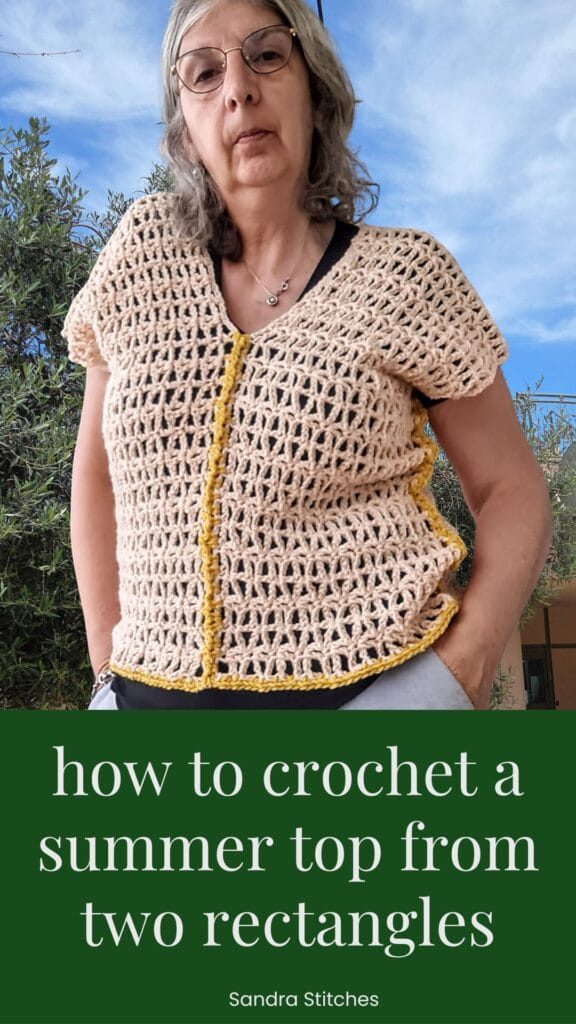
To crochet a summer top from two rectangles, you make two identical flat panels sized to your own measurements, then seam them together at the shoulders and the sides, leaving openings for your neck and your arms.
That is the whole method. There is no shaping, no complicated chart, and nothing to increase or decrease along the way.
If you can crochet a straight rectangle and sew a simple seam, you can make yourself a top, and you can very likely do it this weekend.
I wrote this one for the woman who has admired crochet garments for years and quietly thought, that looks lovely, but I could never. You can.
A top from two rectangles is the gentlest possible first garment, and it is the project I point people to again and again when they tell me they feel nervous.
So let me walk you through it slowly, the way I would if you were sitting at my kitchen table with a cup of tea and your favorite cotton.
Ready? Let’s make you something beautiful.
Want to save this post for later? Go ahead and PIN IT👇
Why two rectangles is the easiest way to crochet a top
Most garments ask you to shape as you go, adding and removing stitches to curve the fabric around the body.
That is the part that trips up new makers. A two rectangle top skips all of it. You crochet two simple flat pieces, exactly the way you would crochet a dishcloth or a scarf, just larger.
Because the panels are flat, you can hold them against yourself or try them on before you sew a single stitch, so you are never guessing about the fit.
It is forgiving, it is relaxing, and it gives you a real, wearable result without a single scary moment.

** Some of the links in this post may include affiliate links. Purchasing from one of these links pays me a small referral fee at no added cost to you. These small fees add up and help me keep the blog running. View our Disclosure and Privacy Policy for more information.
What you will need before you start
You do not need much.
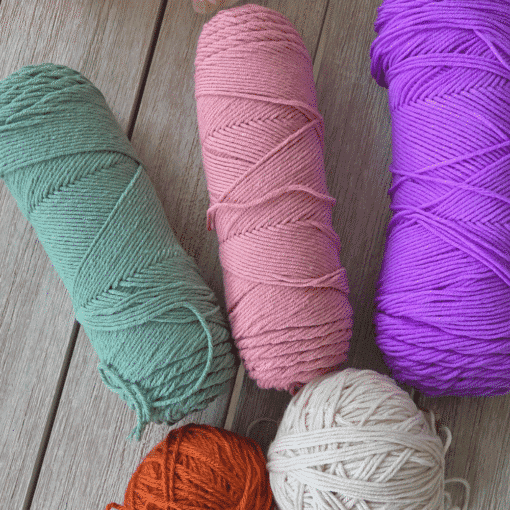
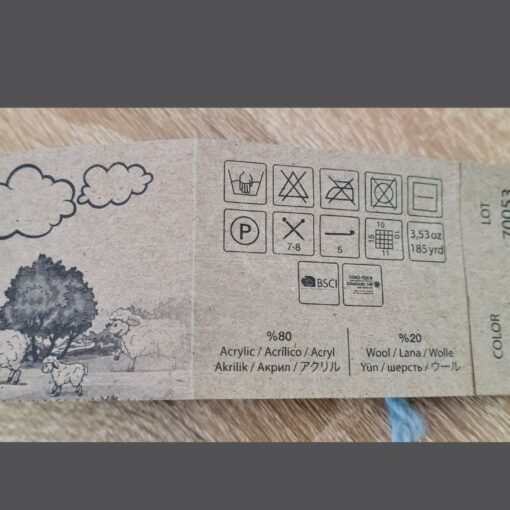
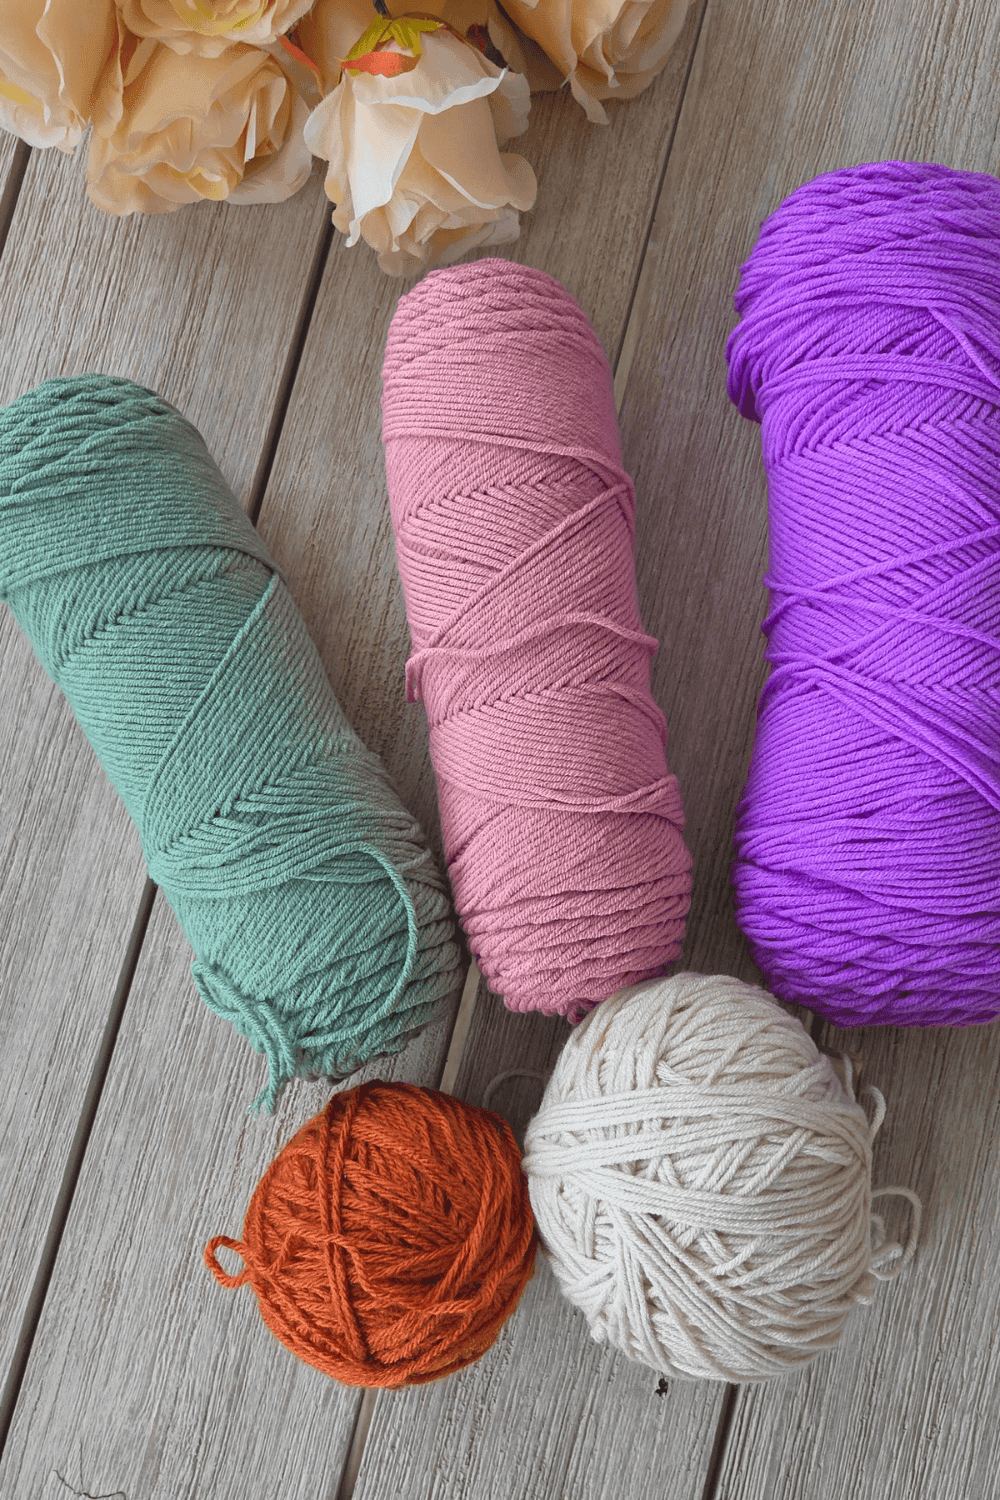
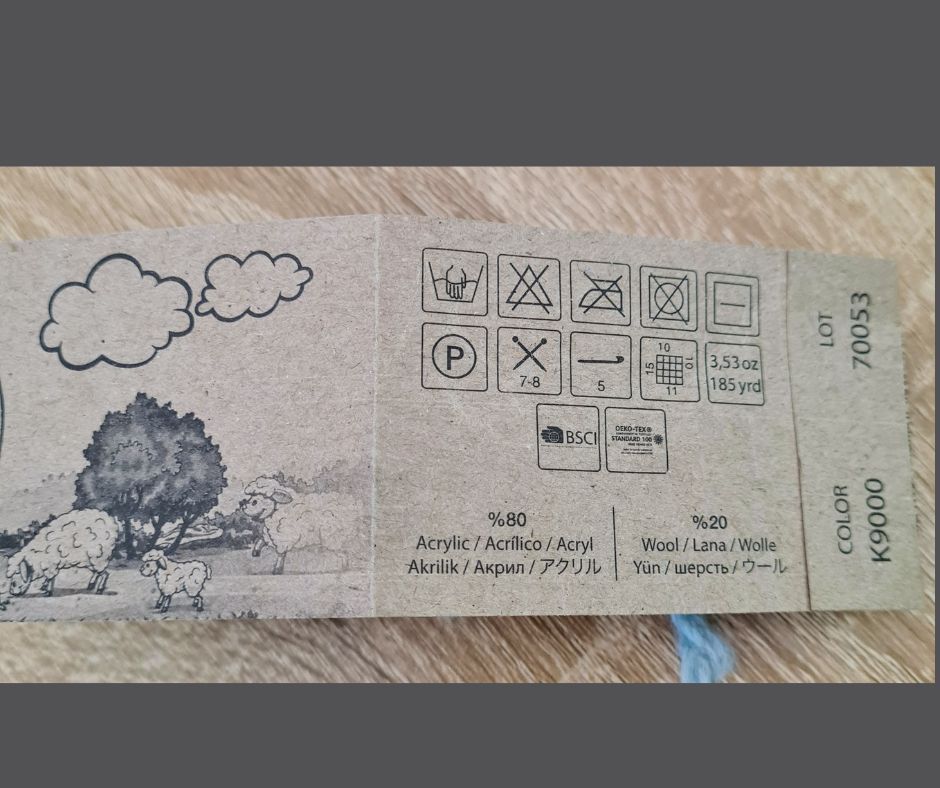
Reach for a lightweight, breathable yarn (cotton, a cotton blend, bamboo, or linen are all lovely for summer), a crochet hook in the size your yarn suggests, a tapestry needle for seaming, a tape measure, and a few stitch markers.
Add a pair of scissors and a quiet hour, and you are ready.

The two measurements that matter
Only two numbers really shape this top.
The first is the width of each rectangle, which comes from your bust measurement.
The second is the length, which is simply how far down you want the top to sit.
Everything else is just rows. Measure around the fullest part of your bust, decide how long you would like the finished top to be from shoulder to hem, and write both numbers down.
Those two figures are your whole pattern
How to crochet the two rectangles
Step 1: Make a gauge swatch first
I know, nobody loves a swatch. But this is the one step that decides whether your top fits, so please do not skip it. Crochet a small square in your chosen yarn and stitch, measure how many stitches and rows fit into four inches, and you will know exactly how many stitches to chain for your width. Five quiet minutes now saves a great deal of heartache later.
Step 2: Chain your width
Using your gauge, work out how many stitches give you the width you need for one panel, then chain that number. The pattern you choose will give you the exact figures for your size, but the idea is simple: your chain becomes the width of the rectangle.
Step 3: Work in rows until it is long enough
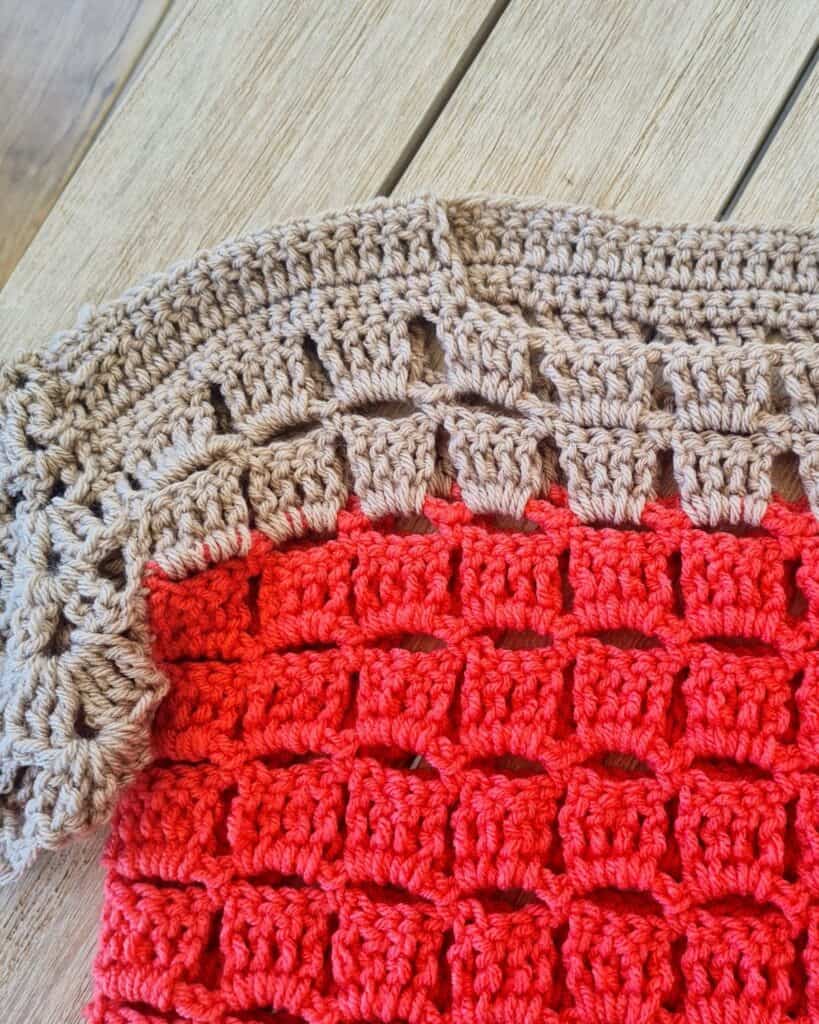
Now the soothing part. Work row after row in a simple stitch (half double crochet and double crochet are both wonderful here) until the rectangle reaches your chosen length. This is the meditative stretch where you can put on some music or a show and just enjoy the rhythm of it.
Step 4: Make a second rectangle exactly the same
When your first panel is done, make a second one to match. Same width, same length, same stitch. That is it. You now have everything you need to build your top.
How to join your two rectangles into a top
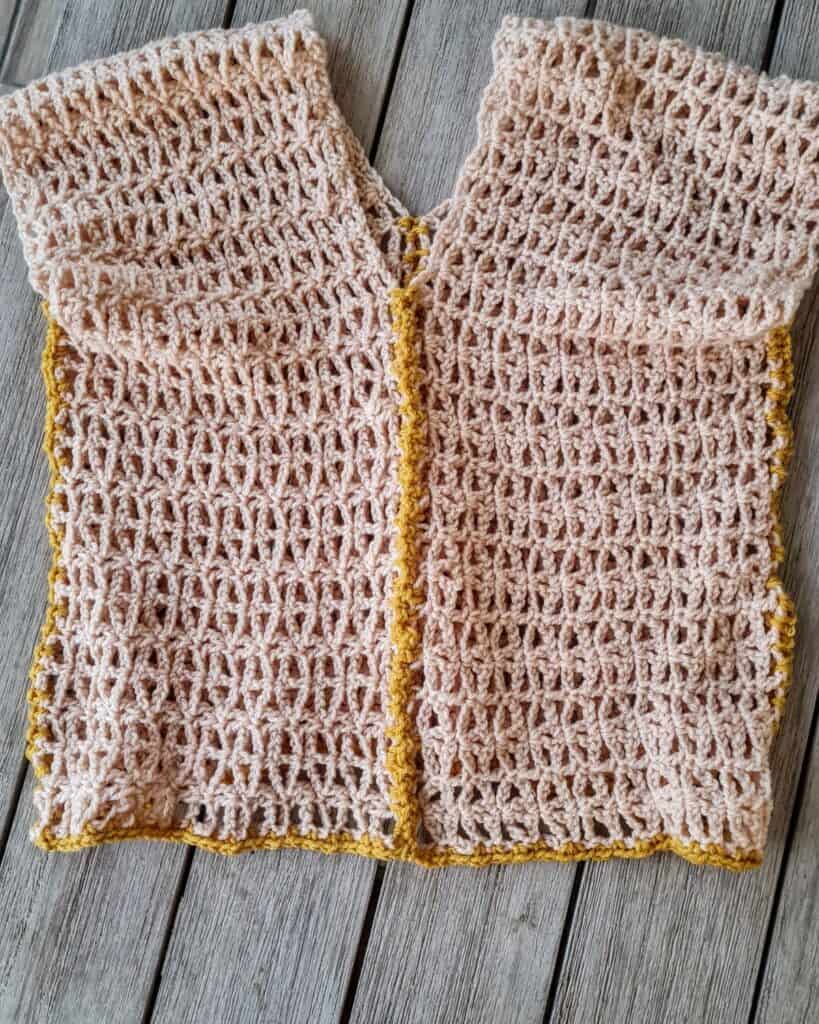
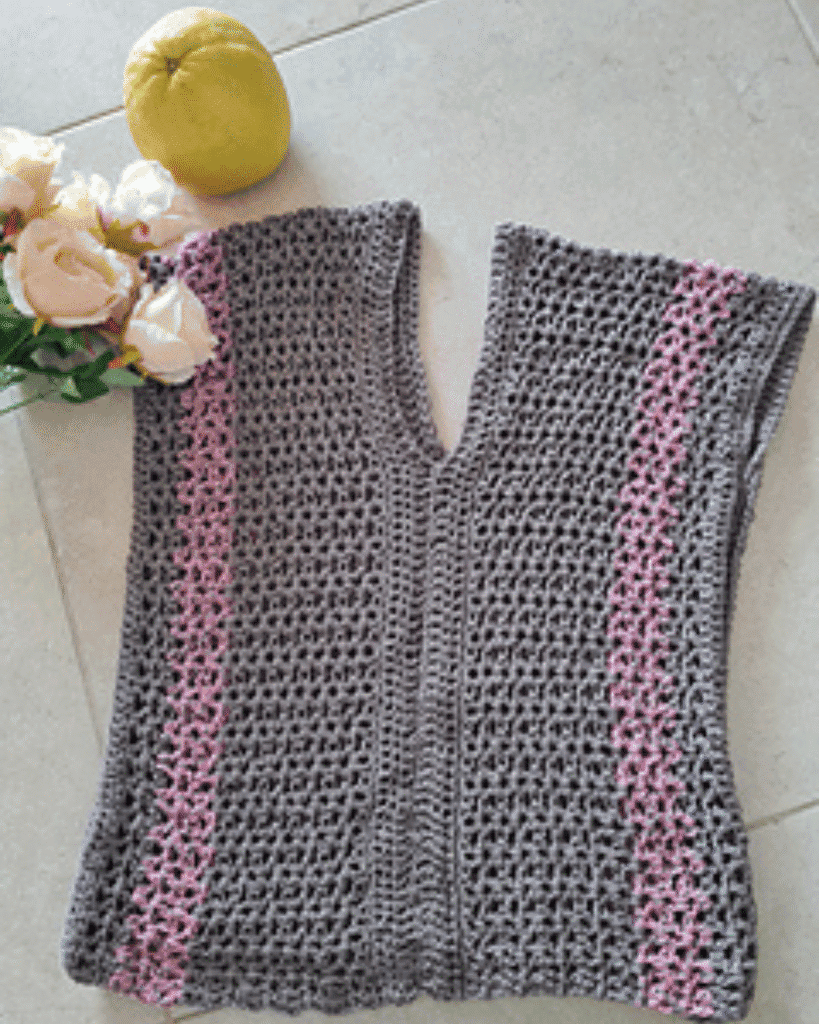
This is the moment it stops being two flat pieces and becomes a garment, and it is genuinely exciting. Lay the two rectangles on top of each other, lining up the edges.
Seam the shoulders, leaving room for your neck
Along the top edge, sew in from each side just far enough to form the shoulders, and leave the center open for your head to pass through. A neck opening of roughly eight to ten inches suits most people, but the easiest thing is to hold the panels up to yourself and see what feels right.
Seam the sides, leaving room for your arms
Down each side, sew up from the hem and stop partway to leave an armhole. Try it on as you go. You want the armholes comfortable, never tight. When both sides are seamed, weave in your ends, and your top is finished.
Try it on at every stage
The real gift of this method is that you can keep checking the fit as you work. If something feels off, you simply unpick a few seam stitches and adjust. Nothing is permanent until you decide it is.
Make it yours
Once you understand the method, you can play.
Make the panels longer for a tunic or a beach dress, or shorter for a cropped summer tee.
Leave the side seams open lower down for pretty side splits.
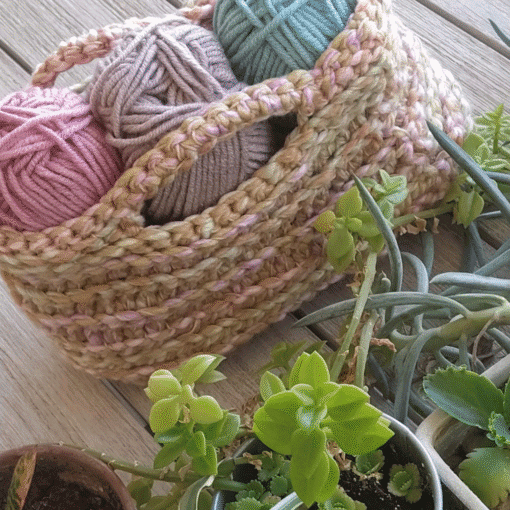
Add fringe along the hem, or work the whole thing in a soft variegated yarn so the colors do all the decorating for you.
This is your top, made for your body and your taste.
Want a ready made pattern to follow?
If you would feel more comfortable with exact stitch counts and sizes written out for you, my Romeo Top is built on this very method. It is a beginner friendly top made from two simple rectangles that join at the sides, written out so you can follow along at your own pace.
Get the free Romeo Top pattern
Prefer to crochet away from the screen? The ad free, printable PDF is on Ravelry.
And once the method is in your hands, my Valencia and Fiona tops are two more lovely two rectangle designs to try next.
Frequently asked questions
How many rectangles do you need to crochet a top? Just two, made identical to each other. One becomes the front and one becomes the back, and you seam them together at the shoulders and sides.
What is the easiest crochet top for a beginner? A top made from two rectangles. There is no shaping to manage, so you only need to crochet straight rows and sew a few simple seams.
How do I know what size to make? Measure around the fullest part of your bust and decide how long you want the top to be. Then make a gauge swatch so you know how many stitches give you that width. The pattern you follow will turn those numbers into a size for you.
What stitch should I use for a summer top? A simple, even stitch like half double crochet or double crochet works beautifully and keeps the fabric light and airy. Whatever stitch your pattern calls for, it will almost always be a basic one you already know.
Can I really make this if I have never made a garment before? Yes, truly. If you can crochet a rectangle and thread a needle, you have every skill this top needs. Take it one step at a time and trust yourself.
What yarn is best for a summer top? Lightweight plant fibers like cotton, bamboo, and linen. They stay cool against the skin and let the air move through, which is exactly what you want when the weather is warm.
Come crochet with us
If making your first top has lit a little spark, come and keep it glowing with us in the V-Stitch Club. It is a warm, welcoming place to learn, share, and grow your confidence one project at a time, with new patterns and gentle guidance whenever you need them.
You really can do this. Now measure twice, pour the tea, and let’s make you a top you will be proud to say you made yourself.
And if you found this helpful, don’t forget to subscribe to my YouTube channel for more tutorials, tools, and creative crochet inspiration.
If you want two exclusive crochet patterns every month that are never sold and never made free anywhere else, come and join the V-Stitch Club. It is five dollars a month and you can cancel any time. The link is below.
Save this post. Every time you make a new bag you will want to come back to it.
💬 Leave a comment below and share your Thougths!
