If you’re looking for a quick, fun crochet project, making a scrunchie is a perfect choice. It’s simple, beginner-friendly, and a great way to use up leftover yarn from your stash. Plus, a handmade scrunchie adds a pop of color or texture to your everyday look, or makes a sweet gift for a friend or family member.
In this post, you’ll get step-by-step instructions on how to crochet a scrunchie, along with tips on materials, yarn choices, and ideas to customize your scrunchie.
Whether you crochet for fun, want a fast project, or just want to try something new, this scrunchie is a small but satisfying piece you can finish in under 30 minutes.
Are you with me?
Materials Needed to Crochet Your Scrunchie
You don’t need much for this project, which makes it even better if you want to use your leftover yarn. Here’s a quick rundown of what you’ll need:
Hair Elastic (Ponytail Band)
- Use a simple hair elastic as the base.
- Black or white elastic works fine and you can find these at stores like Walmart or Dollar Tree.
- Try to pick a stretchy but durable elastic that won’t break easily as you crochet around it.
- If you want a polished look, you can match the elastic color to your yarn, but black is a classic and versatile choice.
Yarn Options for Scrunchies
- Velvet yarn is popular for scrunchies because it’s very soft and gentle on hair.
- Acrylic yarn works well, it’s easy care, washable, and widely available.
- Cotton yarn or cotton blends are options but pure cotton can feel a bit stiff. Softer blends are better for comfort.
- Yarn weight: worsted weight (4) or bulky (5) are ideal; avoid very thin yarns or super bulky (weight 6) because they may not work well for the scrunchie.
- Since this project uses relatively little yarn, it’s a great stash-buster—use scrap yarn or mix colors for a fun variety.
Crochet Hook Size
- A 4 mm (G-6) crochet hook is recommended for this pattern.
- This size helps keep the stitches tight enough to hold the elastic but still stretchy and soft.
Optional Tools
- Stitch markers help you mark the first stitch in each round so you don’t lose track—very handy if you’re new to crochet.
- Scissors to cut yarn and a yarn needle to weave in ends are also helpful.
Here’s a quick list for reference:
Scissors and yarn needle.
Hair elastic (preferably black or color-matched)
Acrylic, velvet, or cotton blend yarn (weight 4 or 5)
4 mm crochet hook
Stitch markers (optional)
** Some of the links in this post may include affiliate links. Purchasing from one of these links pays me a small referral fee at no added cost to you. These small fees add up and help me keep the blog running. View our Disclosure and Privacy Policy for more information.
Tips, Troubleshooting, and Creative Ideas
Common Issues and Fixes
- Losing track of stitches during the treble crochet round: Use a stitch marker to mark the first stitch of each round. Also, separate your ruffles gently to keep track of where you are.
- Elastic breaking or overstretching: Choose an elastic of good quality and stretch it only lightly as you work; overstretching can damage or weaken it.
- Uneven ruffles may happen if you miss stitches or vary your stitch count. If this happens, don’t worry—it still looks cute and handmade projects have charm.
Choosing Yarn for Different Scrunchie Textures
- Velvet yarn offers a luxurious, soft feel perfect for gentle hold and lots of texture.
- Acrylic yarn is hardy, washable, and good for everyday scrunchies.
- Cotton blends can feel a little stiff, so softer blends are a better choice if you want more flexibility.
Use Your Scrap Yarn and Mix Colors
Make several scrunchies using leftover yarn from other projects. Experiment with color combinations or different yarn textures. Scrunchies make sweet gifts or donations for kids with long hair.
Adjusting for Yarn Weight
- Use a bigger hook if your yarn is bulky (weight 5).
- Avoid yarn that’s too thin; the scrunchie may not hold well.
- Keep your stitches tight enough to cover the elastic but flexible enough to stretch comfortably.
Creative Variations
Make striped scrunchies by changing yarn colors every round.
Add sparkly or metallic yarn for a glam look.
Try incorporating beads or charms.
Before you get started, check out my newest favorite finds!
Yarn Winder – a perfect crochet accessory
Steamer for Clothes – Portable ideal for crochet projects
Blocking Mat – 12.5″ for all your squares
Step-by-Step Instructions to Crochet a Scrunchie
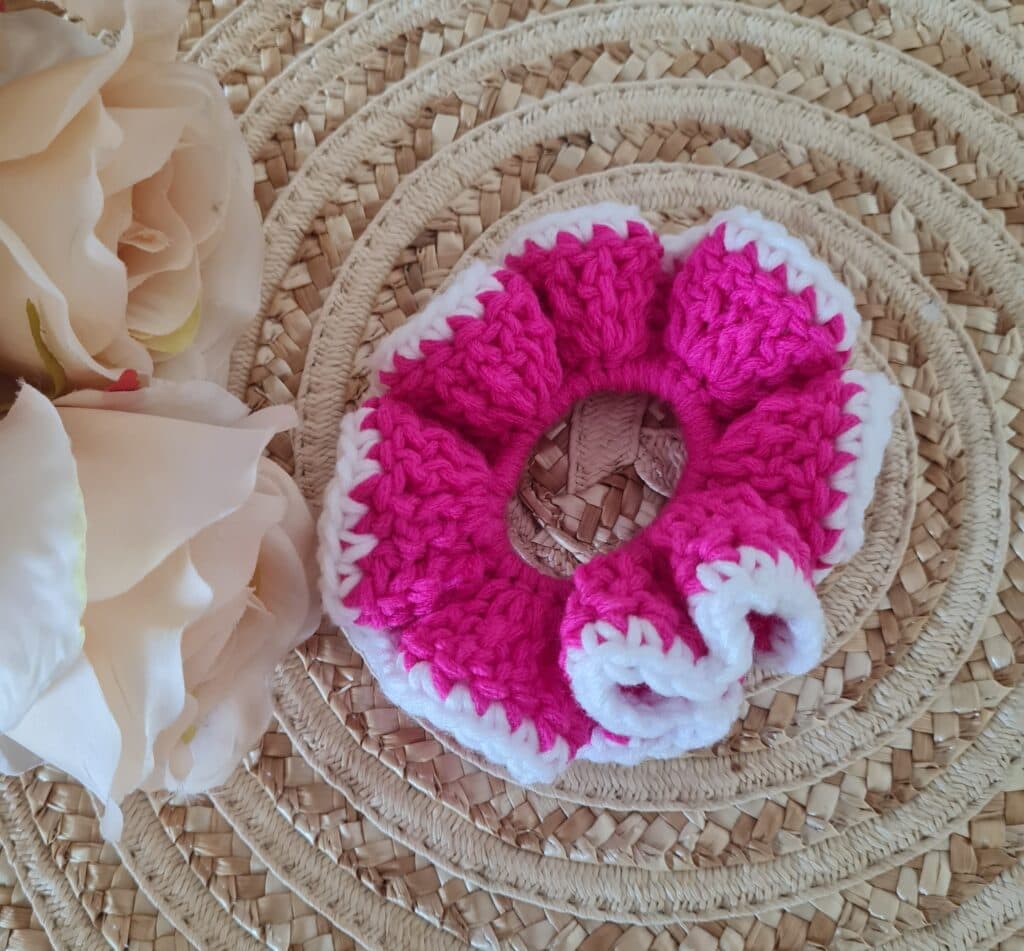
Let’s get started on the scrunchie itself. This project follows a simple two- or three-round pattern that makes a pretty ruffled hair accessory.
1. Start with Single Crochet Around the Elastic
- Begin by making a slip knot on your hook.
- Attach your yarn by placing your hook under the elastic band and pulling up a loop.
- Work single crochet stitches all around the elastic. To make one single crochet stitch: insert hook under elastic, yarn over, pull up a loop, yarn over again, and pull through both loops on the hook.
- Keep your stitches tight and close together so the elastic band is completely covered, and no gaps show.
- You don’t have to count stitches exactly; just keep going around until you cannot see the elastic through the stitches.
- Periodically stretch the elastic gently; this gives you room to work the next round without over-stretching or breaking the elastic.
- When you reach the start of your round, slip stitch to join.
2. Work Treble Crochet Ruffles
- Chain 3 (this counts as your first treble crochet).
- Treble crochet is a tall stitch: yarn over twice, insert hook into the next single crochet stitch, pull up a loop, yarn over and pull through two loops on the hook three times until one loop remains.
- Work 3 treble crochet stitches into each single crochet stitch from the previous round. This will create the ruffle effect around your scrunchie.
- If you prefer fuller ruffles, you can try 4 trebles per stitch, but working 3 is easier and still looks great.
- Make sure you don’t skip any stitches during this round. The ruffles can hide stitches, so gently move them apart to count your stitches.
- When finished, slip stitch to the top of your chain 3.
3. Optional Final Round: Single Crochet for a Finished Edge
- Chain 1.
- Work one single crochet stitch in each treble crochet stitch from the last round without increasing.
- This round gives the scrunchie a smooth, polished edge that looks professional.
- You can do this round in the same color yarn or change colors for a different effect.
- Slip stitch to join, cut yarn, and weave in the ends.
4. Finishing Up
- Make sure all yarn ends are woven in neatly.
- Stretch the scrunchie slightly to check the elasticity, but don’t overstretch it.
- Your scrunchie is ready to wear or gift!
Pro tip: If you want a bigger scrunchie with more ruffles, you can add extra rounds of single crochet and treble crochet, increasing the stitch count gradually. Just keep the increases balanced to keep the shape even.
Why Scrunchies Are Perfect for Beginners and Quick Projects
This scrunchie project is ideal if you’re new to crochet or want a quick win. You only need two basic stitches: single crochet and treble crochet.
It’s satisfying to finish a cute and useful item in about 20 minutes, especially if you want something simple to practice stitch tension or working in rounds.
Plus, making scrunchies is a great way to clear out small yarn scraps instead of letting them sit idle.
If you make one, share your finished scrunchies in the Facebook group to inspire others and get feedback.
Love This Pattern? There’s More Where That Came From!
You will discover my complete collection of crochet patterns,
tutorials, and resources, both free and premium, all in one convenient place.
I know you’ll find something to inspire your next project🙃
All Things Crochet Start Here →
Final Thoughts on Scrunchie Yarn and Future Projects
Creative projects often need time to develop. Don’t rush your decisions—your next favorite project might just be around the corner.
Feel free to experiment and see what you can make with your own yarn scraps. A scrunchie is a small, low-pressure project that’s both handy and stylish.
With just a few materials and simple stitches, you can crochet a scrunchie in 20 minutes. It’s a fun way to brighten your day, use up leftover yarn, and add something handmade to your look.h.
**This is an original Sandra Regev pattern: Owner /Designer of Sandra Stitches. This pattern may not be redistributed for free, sale, or trade, but finished products can be sold with credit to this shop – enjoy!
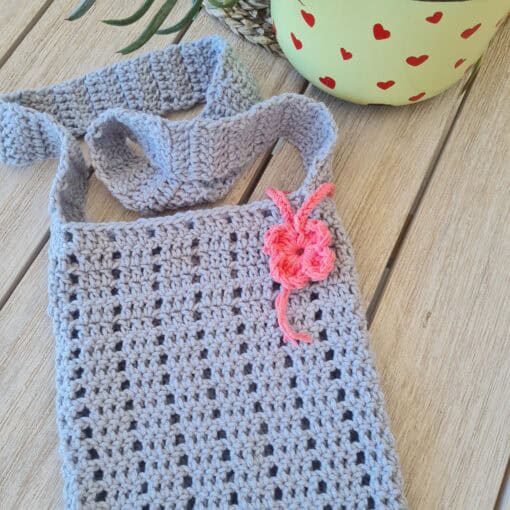
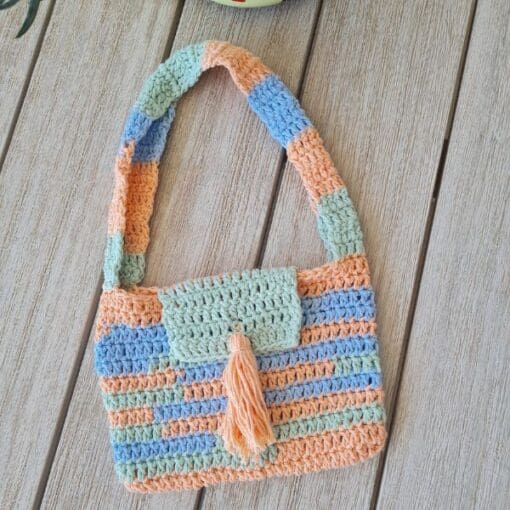
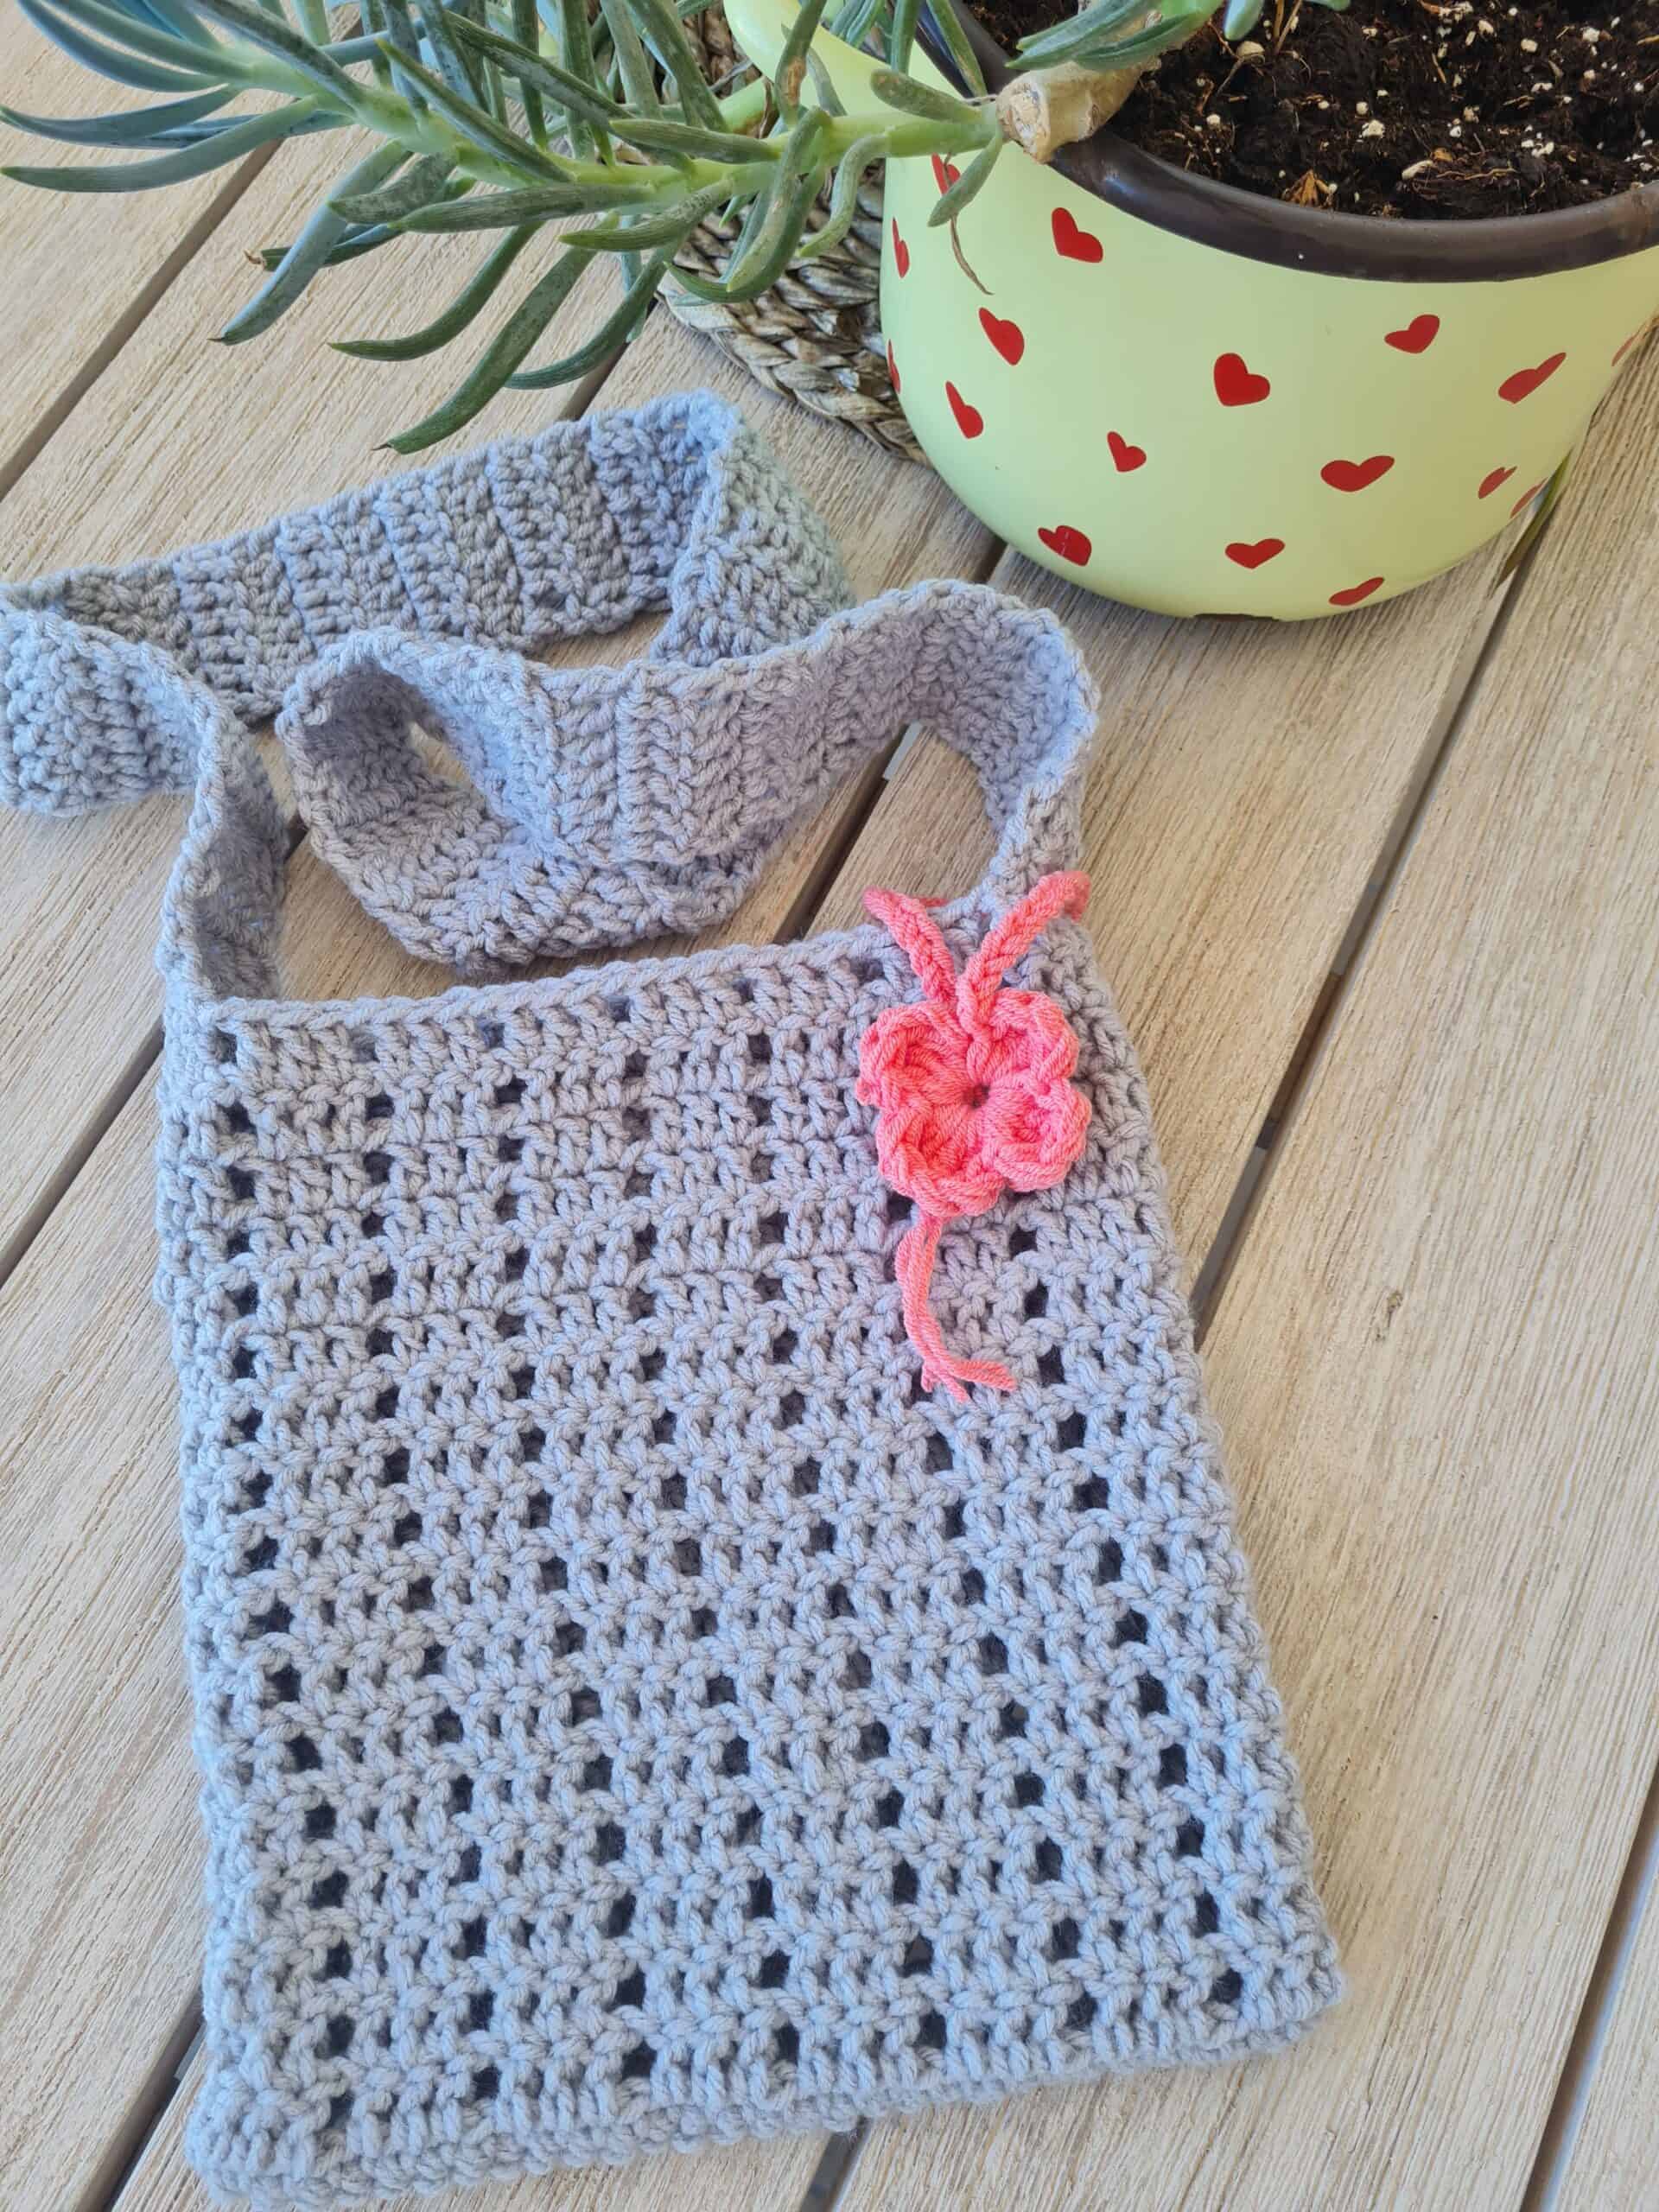
Looking for more crochet accessories👇
Did you try this Pattern? Share a picture
Tag me on Instagram
@sandrastitchesil
Questions?
Ask and share in our
FREE Facebook Group
DISCLOSURE
AMAZON ASSOCIATES: Sandra Stitches is a participant in the Amazon Services LLC Associates Program, an affiliate advertising program designed to provide a means for sites to earn advertising fees by advertising and linking to Amazon.com.
This post contains links to products that I use and recommend. If you purchase any using my links, I get a very small fee at no ad to you! Thank you for supporting my small biz!

