Hello, my crochet friend!
When it comes to homemade plant hangers, many people immediately think of macrame.
However, we’re here to show you that there’s a great alternative: crochet!
This crochet plant hanger pattern offers a fresh and unique twist to elevate your indoor greenery.
Say goodbye to the ordinary and embrace the art of crochet as you create stunning and functional plant hangers that showcase your plants in style.
This can be the beginning of a crochet journey that will transform your space into a botanical paradise.
Find the free pattern below or purchase the ad-free PDF version of this pattern on Ravelry. The PDF is designed for printing and this way you can support me!
It is a great pattern because:
It is worked with a very small amount of yarn
Uses basic stitches
You can use all your cotton yarn leftovers
Colors? Did I mention colors?
Go wild!
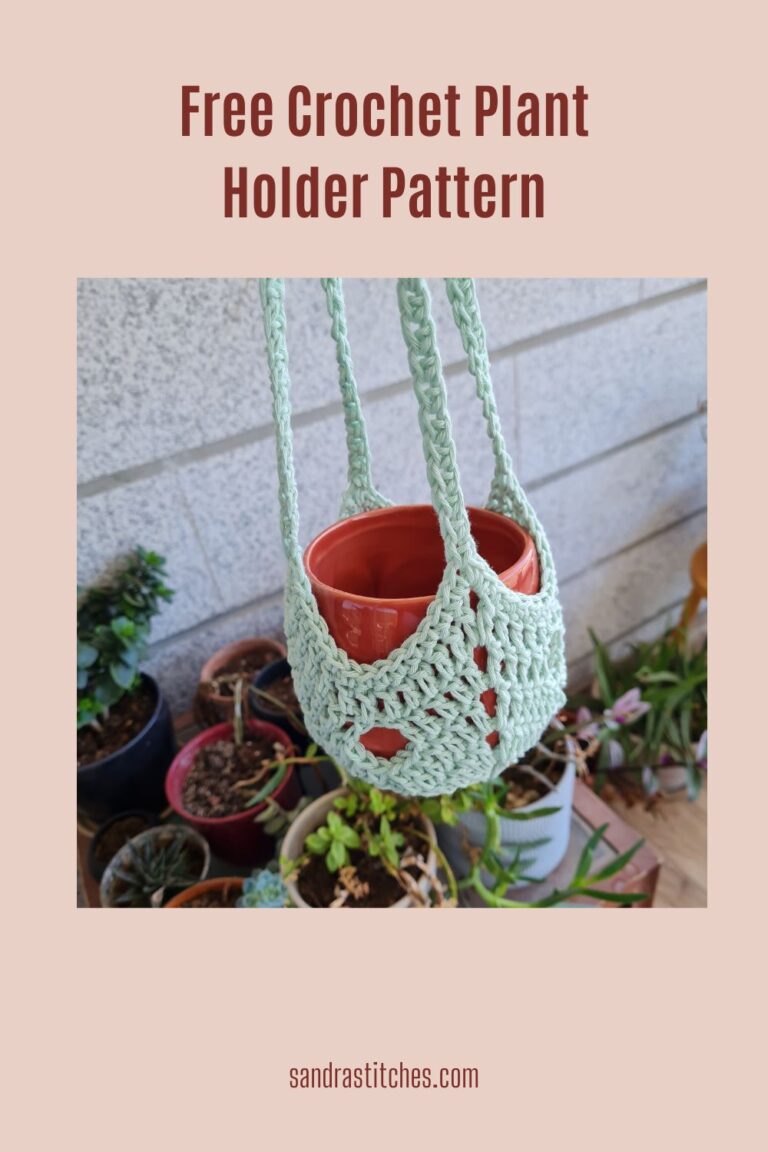
Pin it for later 👇
** Some of the links in this post may include affiliate links. Making a purchase through one of these links pays me a small referral fee at no added cost to you. These small fees add up and help me keep the blog running. View our Disclosure and Privacy Policy for more information.
Before you get started…
Check out my Favorite items and tools
Yarn Needles on Amazon
Bamboo Hooks on Amazon
Colorful Bobby pins as crochet markers on Amazon
Why Cotton Yarn for the Crochet Plant Holder Pattern?
Using cotton yarn for your crochet plant holder is not only a practical choice but also an essential one.
When it comes to plant care, moisture management is key, and cotton yarn proves to be the best choice. Unlike synthetic fibers, cotton has excellent absorbency, allowing it to wick away excess moisture from the plant’s pot and soil.
This helps prevent the risk of overwatering and ensures optimal plant health.
Additionally, cotton is a natural and breathable material, providing proper air circulation around the plant’s roots, and reducing the chances of root rot.
Give your plants the best care they deserve with the gentle touch of cotton.
Pattern Designed By: Sandra Stitches This pattern is copyright protected; it is unlawful to distribute this pattern in any form (free, sale or trade).
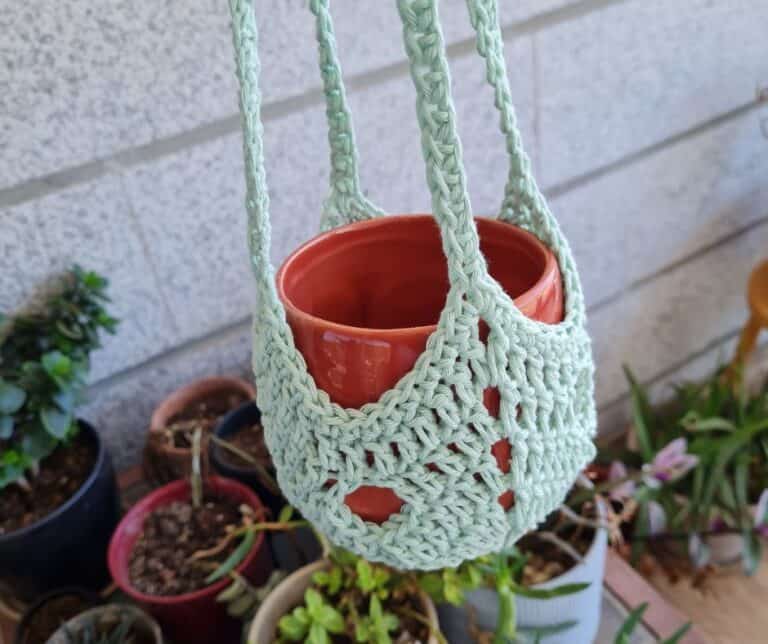
Get your Ad-Free version on Ravelry
Let’s get to the pattern, shall we?
Difficulty
Beginner
Materials
Drops Paris 100% cotton yarn, 50gr, 75 mtr, 82yrds in color 71 one skein, Light Mint Green #21
Hook: US Size H-8 (5 mm)
- Yarn Needle, Scissors, Measuring Tape
Gauge
- Not relevant
Sizes
- 18” circumference
Stitch Key
- Ch = Chain
- Sc = Single Crochet
- St = Stitch
- DC = Double Crochet
- Sl st = Slip stitch
- DEC = Decrease row
Notes
- The pattern is worked in rounds and in one piece
- Ch3 at the beginning of the row does count as 1st stitch, but Ch1 at the beginning of the row does not count as a stitch
- You can work this pattern with one color or multiple as you wish- I used one color
- Remember If changing colors make sure to have a changing technique and weave your ends in.
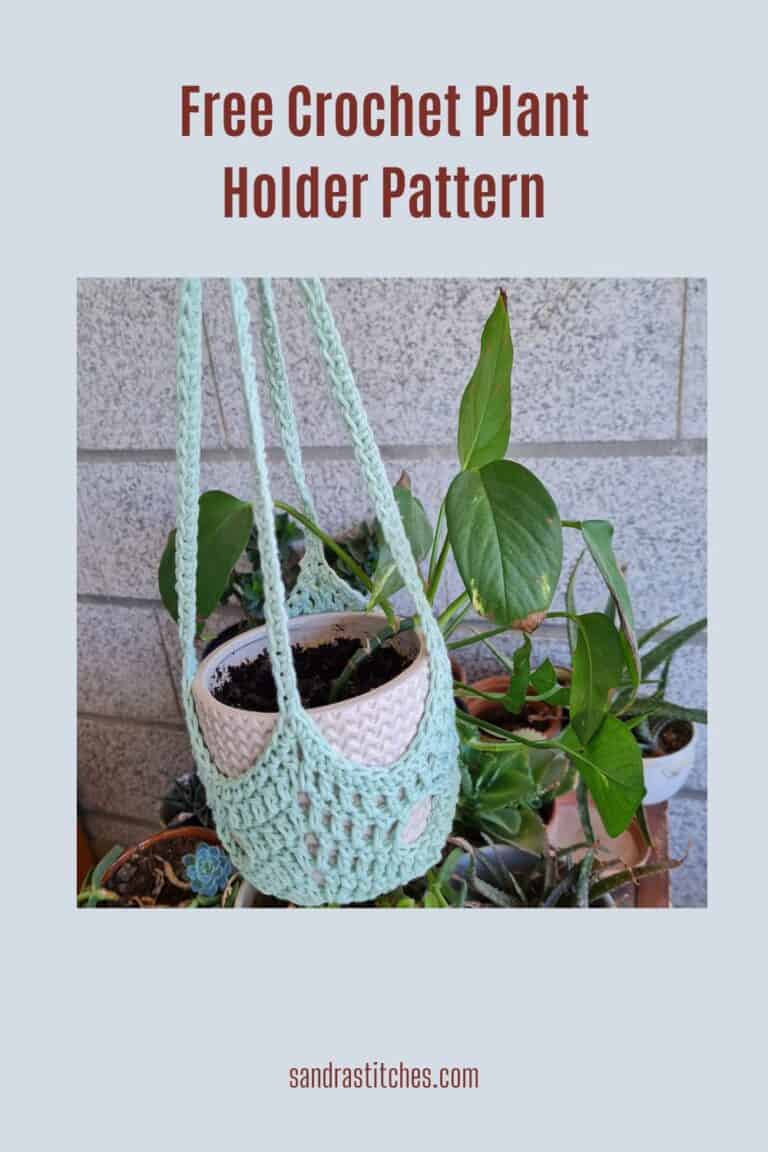
Want to save this post for later? Pin it!
What about the instructions?
Instructions
The Body
Chain 4 and Sl st to form a circle
Row 1: into circle Ch3+Dc2, Ch2 , Dc3, Ch2, Dc3, Ch2, Dc3, Ch2, Sl st to 1st Ch of Ch3 from beginning, Slst to next Ch2 space
Row 2: Ch3,(Dc1+ Ch2+ Dc2 in Ch2 space), Dc1 in next 3 st, (Dc2+Ch2+Dc2) in Ch2 space, Dc1 in next 3 st, (Dc2+Ch2+Dc2) in Ch2 space, Dc1 in next 3 st, (Dc2+Ch2+Dc2) in Ch2 space, Dc1 in next 3 st , Sl st to 1st Ch of Ch3 from the beginning,
Next Row 3: Ch3, Dc1 in next st, (Dc2+ Ch2+ Dc2 in Ch2 space), *[Dc1 in next 7 st, (Dc2+Ch2+Dc2) in Ch2 space]* repeat around, Sl st to 1st Ch of Ch3 from the beginning,
Row 4: Ch3, Dc1 in next 3 st,(Dc2+ Ch2+ Dc2 in Ch2 space), *[Dc1 in next 11 st, (Dc2+Ch2+Dc2) in Ch2 space]* repeat around, Sl st to 1st Ch of Ch3 from the beginning,
Let’s continue….
Row 5: DEC Ch3, Dc1 in next 5 st,(Dc1+ Ch2+ Dc1) in Ch2 space), Dc1 in next 6 st, skip 3 st, Dc1 in next 6 st, (Dc1+Ch2+Dc1) in Ch2 space, Dc1 in next 6 st, skip 3 st, Dc1 in next 6 st, (Dc1+Ch2+Dc1) in Ch2 space, Dc1 in next 6 st, skip 3 st, Dc1 in next 6 st, (Dc1+Ch2+Dc1) in Ch2 space, Dc1 in next 6 st, skip 3 st, Slst to Ch3 from the beginning.
Work Row 6: DEC Sl st next 2 st, Ch3, Dc1 in next 3 st,(Dc1+ Ch2+ Dc1) in Ch2 space), Dc1 in next 4 st, skip 6 st, Dc1 in next 4 st, (Dc1+Ch2+Dc1) in Ch2 space, Dc1 in next 4 st, skip 6 st, Dc1 in next 4 st, (Dc1+Ch2+Dc1) in Ch2 space, Dc1 in next4 st, skip 6 st, Dc1 in next 4 st, (Dc1+Ch2+Dc1) in Ch2 space, Dc1 in next 4 st, skip 6 st, Slst to Ch3 from the beginning.
Row 7: Ch3, Dc1 in next 4 st,(Dc1+ Ch2+ Dc1 in Ch2 space), *[Dc1 in next 10 st, (Dc1+Ch2+Dc1) in Ch2 space]* repeat around , Sl st to 1st Ch of Ch3 from beginning,
Last Row 8: Ch1 Sc1 in 1st st from hook, ,Sc1 in next 5st, (Sc1+ Ch2+ Sc1 in Ch2 space), *[Sc1 in next 12st, (Sc1+Ch2+Sc1) in Ch2 space]* repeat around , Sl st to 1st Sc from beginning.
Weave in yarn and cut
Finishing Touches
The Straps
Introduce yarn to one corner, Ch 40, Sc1on each Ch down to work, Sc1 in next 12 st to next corner and repeat on 4 corners, Slst to 1st Sc from beginning
Cut your yarn and weave in the ends.
You can add beads to the straps, make them longer or attach a metal ring
Free ways to share and support me
- Favorite this pattern on Ravelry
- PIN on Pinterest
- Share in your story on Instagram and on Facebook
- Thank you so much! 🙂
My Latest Video
Pin it for later 👇
Click Here to share your finished project in our community!
Interested in a professional Paperback Crochet Planner?
Check out my Planner on Amazon
Before you leave 🙂
Did you try this pattern?
Share a picture
Tag me on Instagram
@sandrastitchesil
Questions?
Ask and share in our
FREE Facebook Group
Want to know more about me? This is my story
DISCLOSURE
AMAZON ASSOCIATES: Sandra Stitches is a participant in the Amazon Services LLC Associates Program, an affiliate advertising program designed to provide a means for sites to earn advertising fees by advertising and linking to Amazon.com.
This post contains links to products that I use and recommend, If you purchase any using my links I get a very small fee at no ad to you! Thank you for supporting my small biz!
You may also like:


6 thoughts on “Crochet Plant Holder Pattern”