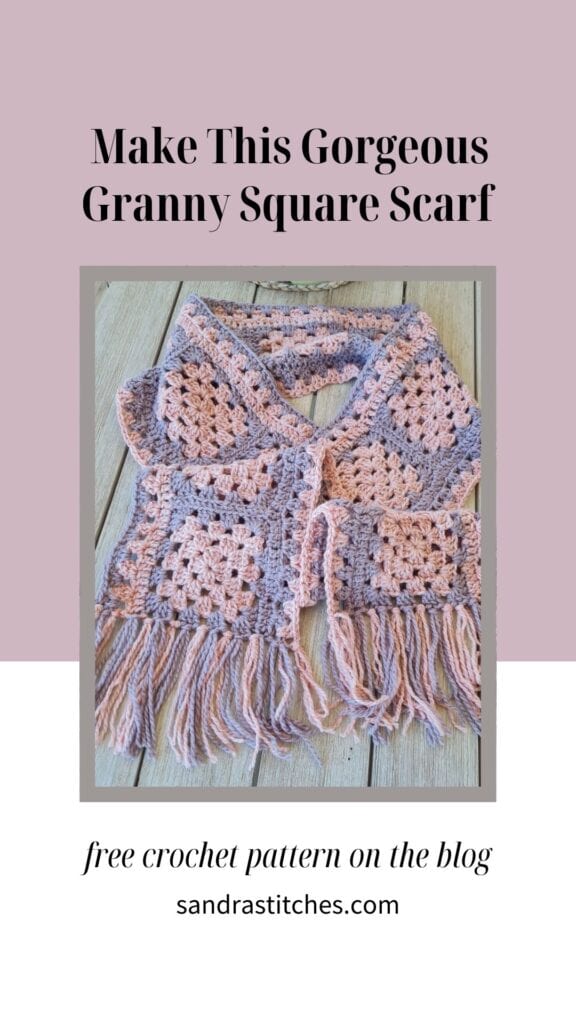
Free Crochet Pattern: Cozy Granny Square Scarf for All Skill Levels- I have a fun pattern that’ll make you fall in love with these squares all over again.
This scarf is super simple to make and it’s the perfect excuse to dig through that yarn stash you’ve been hoarding (we all do it!).
Never made a granny square before? No worries – I’ll guide you through every single step. Trust me, once you get going, you won’t want to stop!
Grab whatever colors make you happy and your favorite hook – let’s make something awesome together!
Are you with me?
There are 2  ways to get this pattern:

Option 1: You can purchase the individual pattern as an easy-to-read, print-friendly PDF  from HERE

Option 2: Scroll down to get the written instructions for this pattern for free
Do you want to save this post for later? Go ahead and PIN IT!
You will find instructions in the free pattern and video tutorial below ⬇️
** Some of the links in this post may include affiliate links. Purchasing one of these links pays me a small referral fee at no added cost to you. These small fees add up and help me keep the blog running. View our Disclosure and Privacy Policy for more information.
The Timeless Magic of Granny Squares
A granny square – that iconic crochet motif that’s been warming hearts and homes for generations!
What makes them so special? Maybe it’s how a simple combination of chains, double crochets, and spaces can create endless possibilities. From cozy blankets passed down through families to funky modern fashion pieces, granny squares have proven they’re anything but old-fashioned.
The best part about granny squares is how they bring crocheters together. Whether you’re a complete beginner figuring out your first square or a seasoned pro experimenting with complex color combinations, there’s something magical about creating these little pieces of joy, one round at a time.
They’re perfect for social crafting too – just imagine a bunch of friends sitting around, hooks in hand, chatting away while their squares grow into something beautiful.
And let’s talk about that satisfying feeling when all your squares finally come together into a finished project. It’s like putting together a puzzle where every piece is handmade with love..
Before you get started, check out my Favorite Crochet Tools (affiliate)
Yarn Winder – a perfect crochet accessories
Neck Stretcher – to keep you without neck and back pain
Gauge Ruler – so you always get the right size
Pattern Designed By: Sandra Stitches This pattern is copyright protected; it is unlawful to distribute this pattern in any form (free, sale or trade).
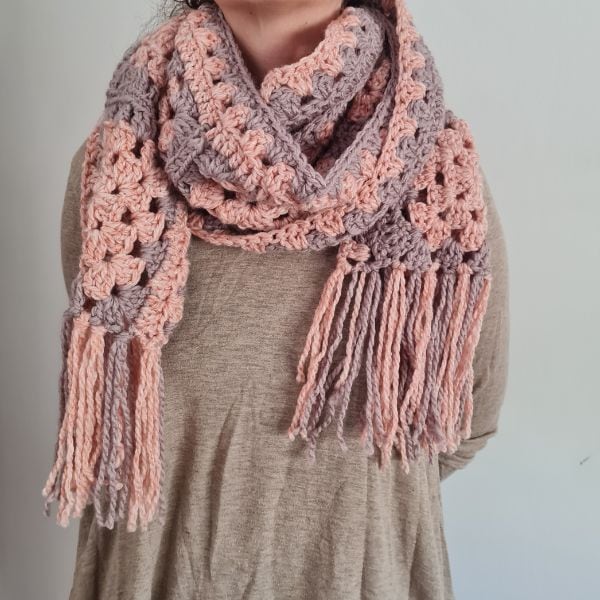
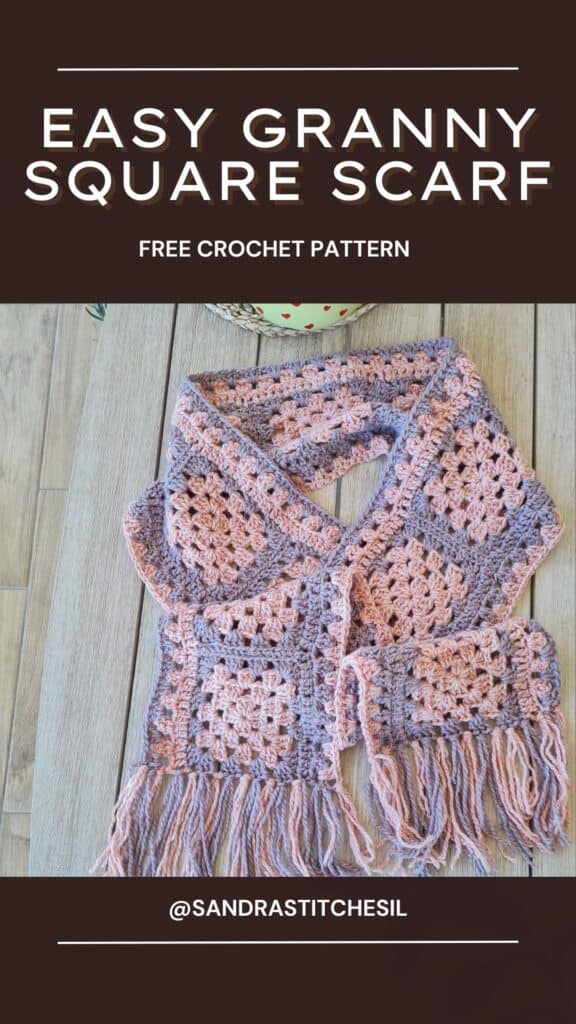
Let’s get to the pattern, shall we? Making the Rose Granny Scarf

Materials I used
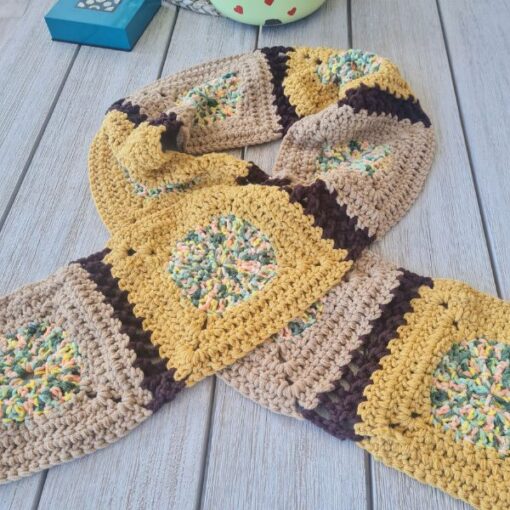
This is the yarn I had at hand – do not forget I make a sample for you to learn- so be creative and choose the yarn you love. Feel it before starting your project.
I know there are a million different yarn choices out there that also depend on where you live, so just be creative!
Kartopu, Melange Wool – Color A 100 gr, 80 % Acrylic,20% wool, 170 m, (pink) ( 2 skeins)
Kartopu, Melange Wool Color B 100 gr, 80 % Acrylic,20% wool, 170 m, (purple) ( 2 skeins)
Or any weight #4 yarn of your choice
Hook: US SizeH-8 (5 mm) )
Yarn Needle, Scissors, Measuring Tape
Gauge
- 12 st X 4 rounds ( 4” X 4”)
Sizes
- Can be modified as you wish by adding more rounds to the squares, and more squares
- This sample is: 87” long X 9” wide without fringe
Stitch Key
- Ch = Chain
- Sc = Single Crochet
- St = Stitch
- Dc = Double Crochet
- Hdc = Half Double Crochet
- Slst = Slip Stitch
Notes
- This pattern uses US terminology
- he pattern is worked in rounds
- Ch3 does count as st at the beginning of each row
- You can work this pattern with one color or multiple as you wish- I used two colors
- This pattern is worked with 12 identical granny squares joined together ( joining instructions below)
- If changing colors make sure to have a changing technique and weave your ends in.
Instructions
A Granny Square- Make 12 – each square 4 rounds
Color A
Round 1: Make a magic ring (or ch 4 and join with a sl st to form a ring). Ch 3 (counts as first dc here and throughout), 2 dc into the ring, *[ch 2, 3 dc into the ring]* repeat from * to * 2 more times. Ch 2 and sl st to the top of the beginning ch 3 to join. Pull the magic ring tight or weave in the yarn tail to secure the center.
Round 2: Sl st in the next 2 dc and into the ch-2 corner space. ch 3, dc 2 in the same ch-2 space, ch 2, dc 3 in same ch-2 space, *[ch 1, (dc3+ch2+dc3) in next ch-2 space]* repeat from * to * until you reach the beginning corner, ch1 , sl st to the top of the beginning ch 3 to join.
Round 3: Sl st in the next 2 dc and into the ch-2 corner space. ch 3, dc 2 in the same ch-2 space, ch 2, dc 3 in same ch-2 space, *[ch 1, dc 3 in next ch-1 space, ch1, (dc3+ch2+dc3) in next ch-2 space ]*repeat from * to * until you reach the beginning corner, ch1, sl st to the top of the beginning ch 3 to join.
Change to color B
Round 4: You can continue adding more rounds to make your square as large as you want by using these general rules: • Continue the pattern, increasing the ch-1 spaces between the 3-dc groups by 1 in each round. For example, in Round 4, you would have (dc 3+ ch 2 + dc 3) in the next ch-2 space, ch 1, 3 dc in the next ch-1 space, ch 1, 3 dc in the next ch-1 space repeat from until you reach the beginning corner. After each corner, continue to add ch-1 spaces to separate the 3-dc groups in each side of the square. Secure yarn, cut and weave in ends
Love This Pattern? There’s More Where That Came From!
You will discover my complete collection of crochet patterns, tutorials, and resources, both free and premium all in one convenient place.
I know you’ll find something to inspire your next project🙃
All Things Crochet Start Here →
Construction
Lay squares facing right side up forming a long row, (scarf) join squares to each other on one side using the Slst method on two middle stitch loops
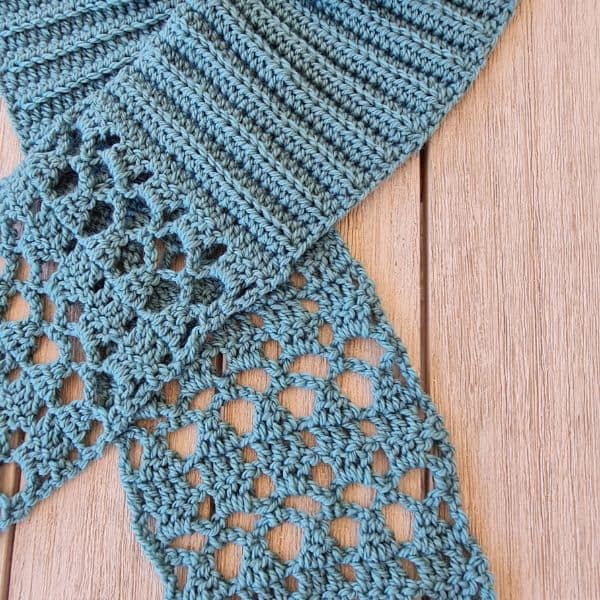
Sides
Work the same on both sides: Color A
Row 1: Lay work right side up, starting at the corner of the length side, ch 3 on 1st st, dc 1 on each next st and across and on the ch-1 spaces between each dc cluster, place 1dc on the joining points of squares, to the end of the scarf, turn
Row 2: Ch3 (counts as 1st st, skip 2 st, dc 3 in next st, *[ skip 2 st, dc 3 in next]* rep from *to* to end of the row, finish with dc 1 on last st, turn
Change to color B
Row 3: Ch3 (counts as 1st st, dc 2 in next space between dc clusters, dc 3 in next space across to end of row, finish with dc 1 on last st
Finishing
Cut your yarn and weave in the ends.
You can add tassels or fringe as I did.
Enjoy!
Do you want to save this post for later? Pin it!
Want more scarf patterns?
DISCLOSURE
AMAZON ASSOCIATES: Sandra Stitches is a participant in the Amazon Services LLC Associates Program, an affiliate advertising program designed to provide a means for sites to earn advertising fees by advertising and linking to Amazon.com.
This post contains links to products that I use and recommend, If you purchase any using my links I get a very small fee at no ad to you! Thank you for supporting my small biz!


