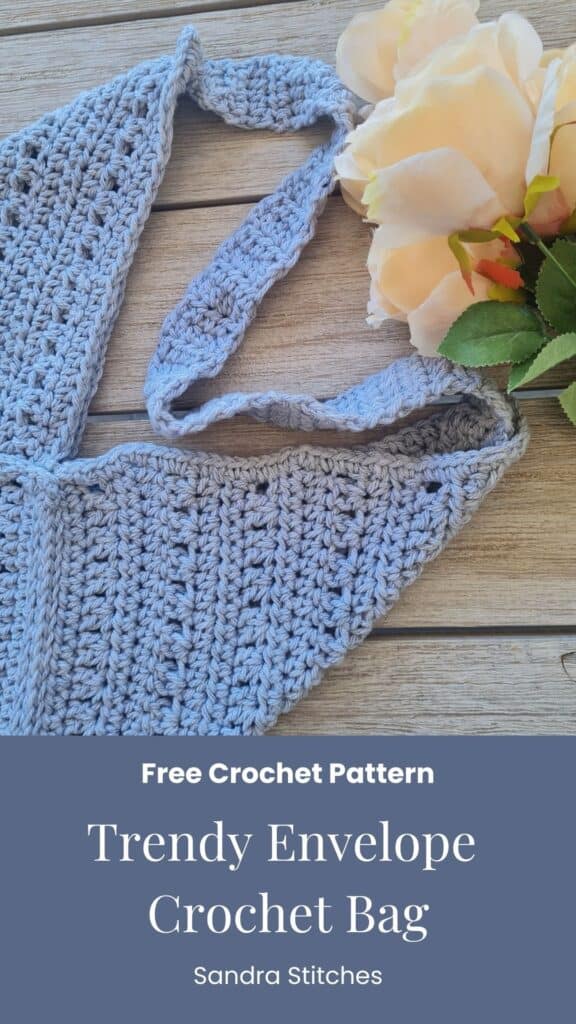
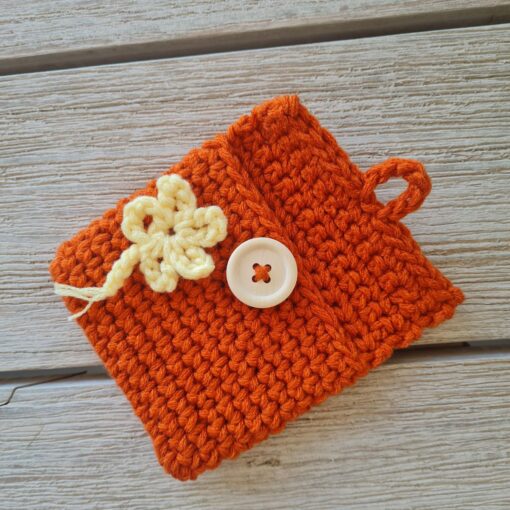
Hey crochet friends! Can we talk about this super cute envelope crochet bag for a second? 😍 I’m so excited to share the pattern for Belle with you all today – it’s been my go-to project lately and I just know you’re going to love making it too!
You know those patterns that just work? The ones that look fancy but aren’t actually complicated?
That’s exactly what we’ve got here! Belle is this adorable envelope-style bag that’s perfect for pretty much everything – running to the coffee shop, meeting friends for lunch, or just carrying your current WIP (because let’s be real, we always have one!).
I made this one in this gorgeous gray yarn that goes with literally everything, but honestly? You could make it in any color and it would look amazing.
The texture on this bag is everything – it’s got this super satisfying stitch pattern that looks way more complicated than it actually is (don’t worry, I’ll spill all the secrets!).
Ready to make your own? Grab your hook and your favorite yarn, and let’s get started!
I’ll break down everything you need to know – from the yarn I used to every single stitch. Trust me, if you can make a granny square, you can totally handle this bag!
Are you with me?
There are 2  ways to get this pattern:

Option 1: You can purchase the individual pattern as an easy-to-read, print-friendly PDF  from Ravelry

Option 2: Scroll down to get the written instructions for this pattern for free
Want to save this post for later? Go ahead and PIN IT!
You will find instructions in the free pattern below ⬇️
** Some of the links in this post may include affiliate links. Purchasing one of these links pays me a small referral fee at no added cost to you. These small fees add up and help me keep the blog running. View our Disclosure and Privacy Policy for more information.
Before you get started, check out my Favorite Crochet Tools (affiliate)
Yarn Winder – a perfect crochet accessories
Neck Stretcher – to keep you without neck and back pain
Gauge Ruler – so you always get the right size
Pattern Designed By: Sandra Stitches This pattern is copyright protected; it is unlawful to distribute this pattern in any form (free, sale or trade).
Let’s get to the pattern, shall we? Making the Belle Bag

Materials I used
This is the yarn I had at hand – do not forget I make a sample for you to learn- so be creative and choose the yarn you love. Feel it before starting your project.
I know there are a million different yarn choices out there that also depend on where you live, so just be creative!
Hayfield Bonus Chunky Extra Value 100gr 100% Acrylic, 150 yards ( 1.5 skeins)
Or any weight #5 yarn of your choice
Hook: US Size (6 mm)
Yarn Needle, Scissors, Measuring Tape
Gauge
- 10 st x 7 rows ( 4” X 4”)
Sizes
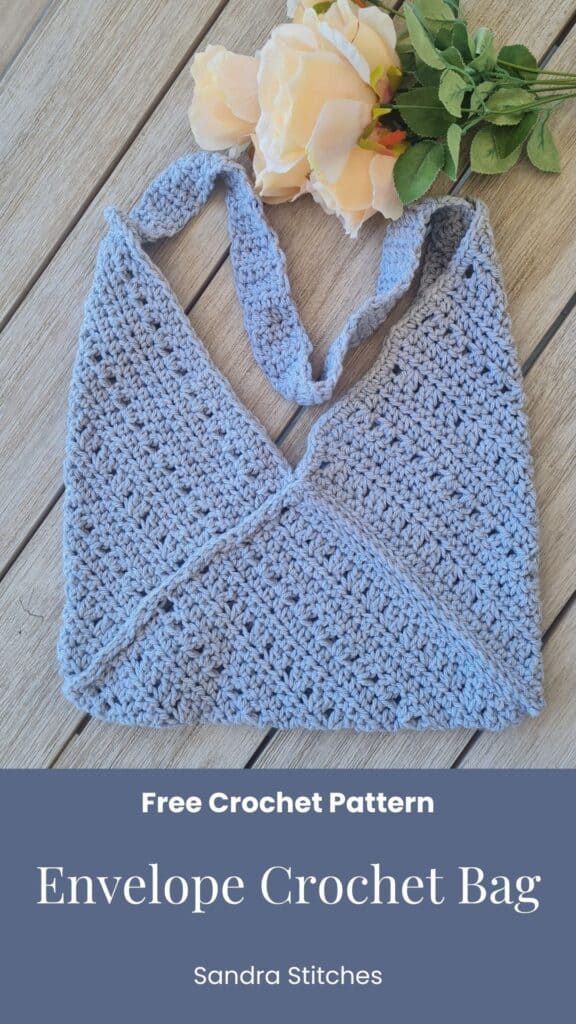
- One size – measure depends on your yarn choice. This sample measures 3 squares of 11” each. The Final bag measures: 15” wide X 15 “ tall without the handle
Stitch Key
- Ch = Chain
- Sc = Single Crochet
- St = Stitch
- Dc = Double Crochet
- Hdc = Half Double Crochet
Notes
- This pattern is written in US terminology
- This pattern is worked in rows
- This pattern has four parts: three exact same squares and a handle
- Handle length is up to your choice.
- Ch 1 at the beginning of the row does not count as st
- This pattern calls for multiples of 3 +2
Instructions
We will work on three identical squares
Foundation chain: 24+2
R1: Sc1 in 2nd Ch from hook, Sc1 in next Ch, and across to end of the row, turn work( 25 st)
R2: Ch1 and turn your work, Hdc1 in 1st st from hook, Hdc1 in next st, Hdc1 in every st across to end of the row, turn work ( 25 st)
R3: Ch 5 (counts as 1 dc +Ch 2) skip 2 st, Vst (Dc1+Ch1+Dc1) in next st *[skip 2 st, Vst in next st]* repeat from * to * to last 3 st, skip 2 st, finish with Dc1 in last st. ( 25 st)
R4: Ch1 and turn your work, Sc in 1st st from hook, Sc in next st, Sc in every (make sure you work the Ch1 paces too) st across to end of row. ( 25 st)
R5: Ch1 and turn your work, Hdc in 1st st from hook, Hdc in next st, Hdc in every st across to end of row ( 25 st)
R6: Ch 5 (counts as 1 Dc +Ch 2) skip 2 st, Vst (Dc1+Ch1+Dc1) in next st *[skip 2 st, Vst in next st]* repeat from * to * to last 3 st, skip 2 st, finish with Dc1 in last st. ( 25 st)
Repeat R4-6 four more times, Finish with a repeat of R4 (Sc row)
Make sure you have a square, if you need to add rows due to different yarn weights, repeat the pattern until you measure a square.
Add an Sc row to the remaining 2 parts of the square for a more finished look
Work two more squares exactly the same.
Handle:
You can decide how wide and long it will be, I worked 5 stitches and 42 rows
R1: Ch6 , Sc1 in 2nd st from hook, Sc1 in next st and across to end of row
R2: Ch1 and turn your work, Sc1 in 1st st from hook, Sc1 in next st, and across to end of row
Repeat row 2 at least 42 rows
Love This Pattern? There’s More Where That Came From!
You will discover my complete collection of crochet patterns, tutorials, and resources, both free and premium all in one convenient place.
I know you’ll find something to inspire your next project🙃
All Things Crochet Start Here →
Finishing
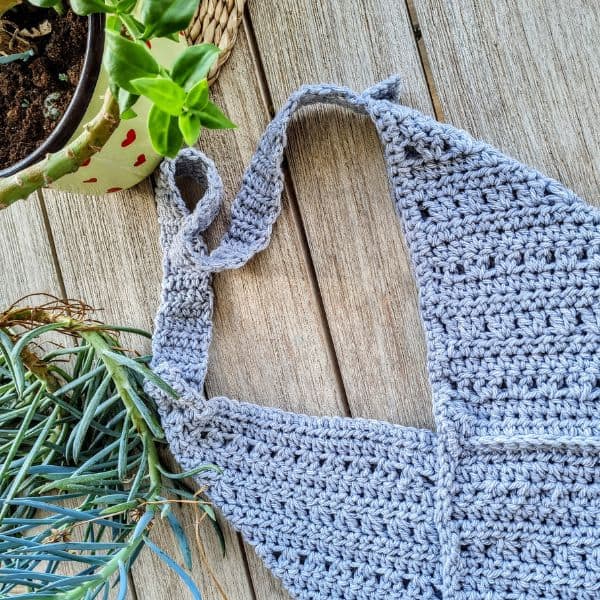
Lay three squares folded as shown in the photo right side up.
Use the slip stitch method to join all parts
Slip stitch join method
Insert hook in the middle leg of stitch in both squares you are joining, pull through, and finish the stitch, repeat on each st until end.
Join all parts.
When you have the finished envelope shape, join the handle on the sides of the bag leaving a small triangle on both sides.
Secure your yarn, cut, and weave in your ends.
Do you want to save this post for later? Pin it!
Want two exclusive crochet patterns every month plus a crochet and wellness workbook?
That is what the V-Stitch Club is , $5 a month, and in 18 months not one single member has cancelled
Join my email list for weekly tutorials and honest crochet chat from my kitchen in Israel
Browse my pattern shop
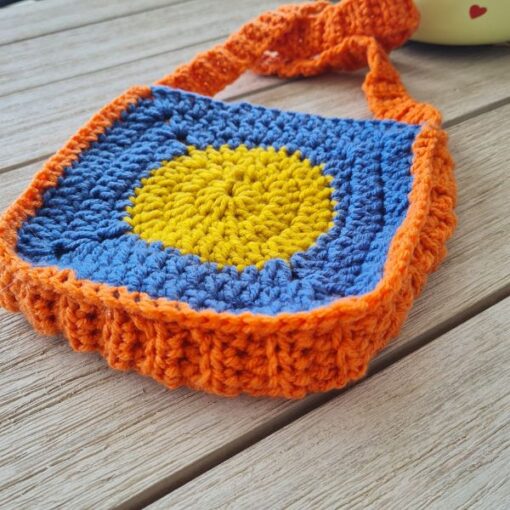
Want more bag patterns?
DISCLOSURE
AMAZON ASSOCIATES: Sandra Stitches is a participant in the Amazon Services LLC Associates Program, an affiliate advertising program designed to provide a means for sites to earn advertising fees by advertising and linking to Amazon.com.
This post contains links to products that I use and recommend, If you purchase any using my links I get a very small fee at no ad to you! Thank you for supporting my small biz!
