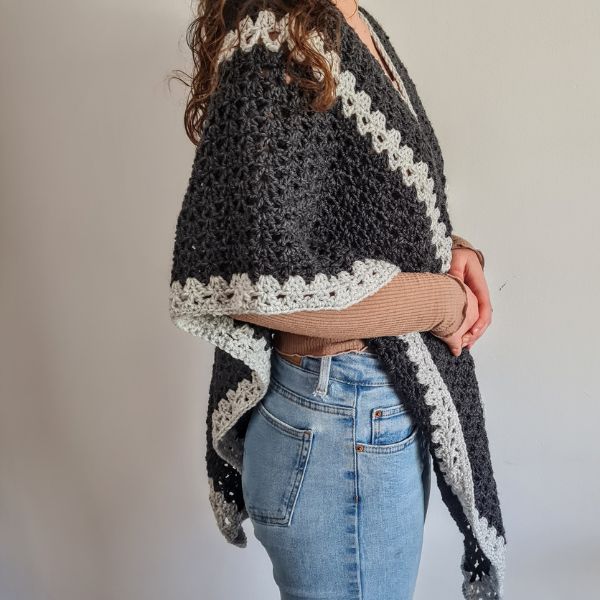
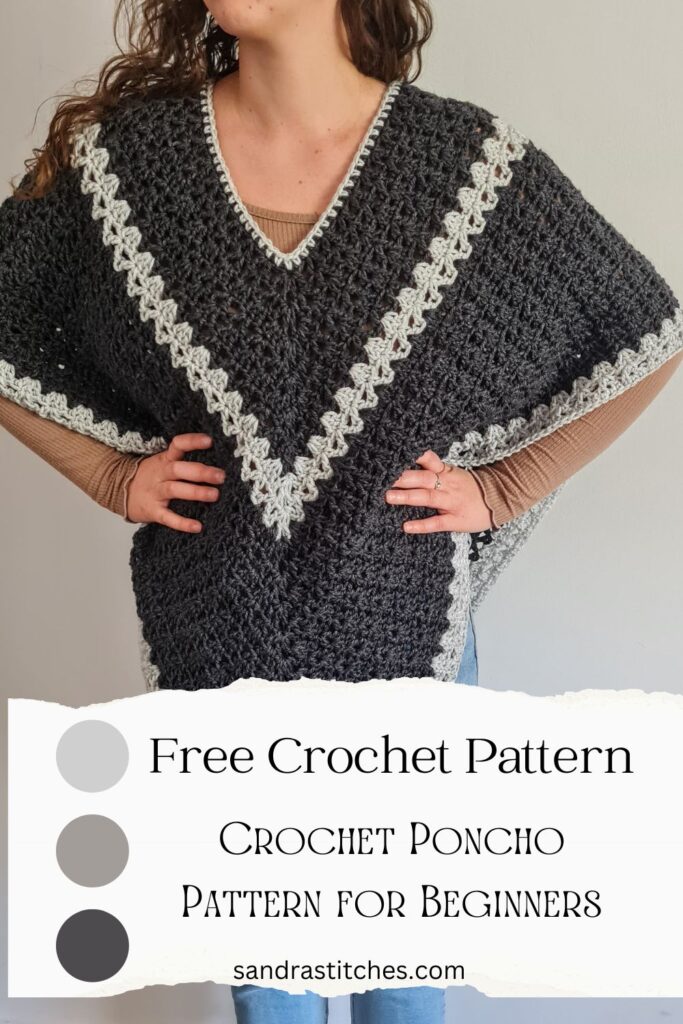
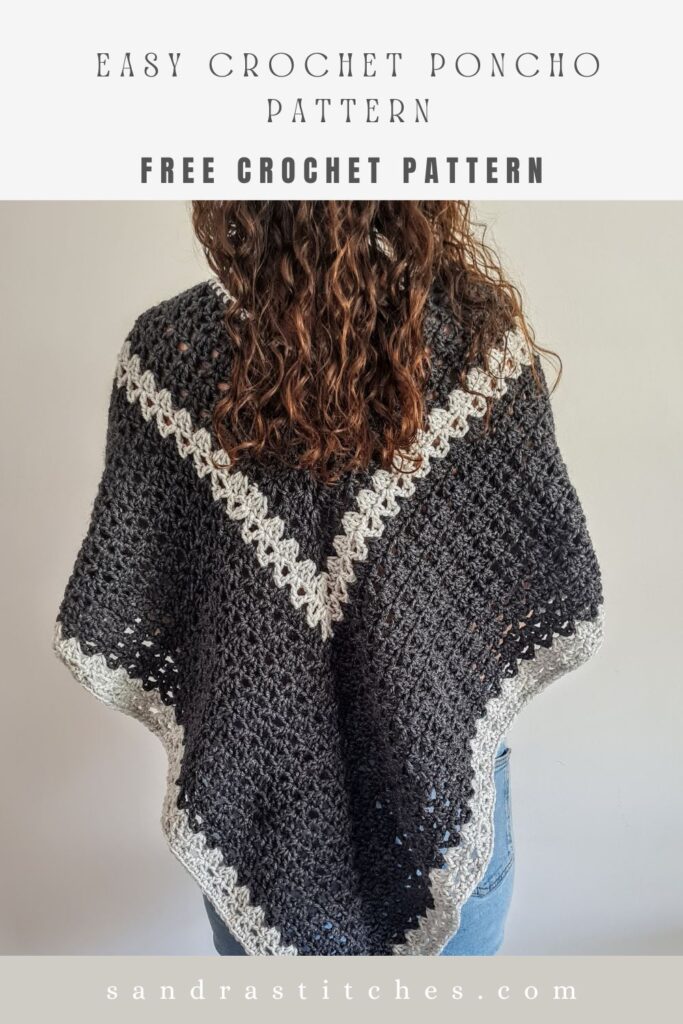
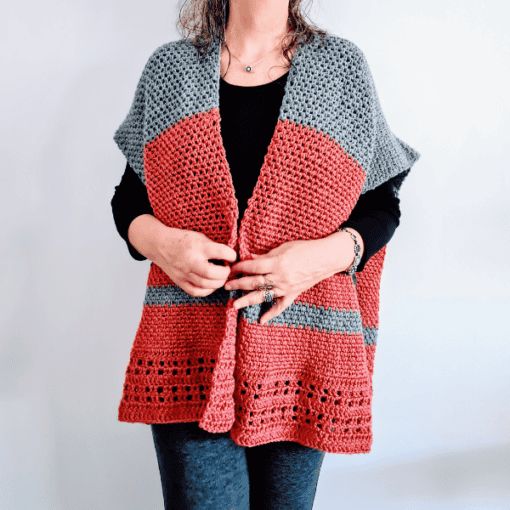
Poncho Time! Are you a crochet poncho kind of lady? If yes this crochet poncho pattern for beginners is perfect for you!
Ponchos are my favorite! easy, quick and so cozy!
They also remind me of my homeland Argentina, so I am a bit biased!
I wear my ponchos at home, love the feeling that I have my hands free and my back warm. This pattern is designed for beginner level and advanced , it is very customizable in colors!
I called it the Grey Day because of my color choice- but imagine it in pink. or orange? maybe blues…
Are you with me?
Find the free pattern below or purchase the ad-free PDF version of this pattern on Ravelry. The PDF is designed for printing and this way you can support me! Thank you!
What is the best stitch for a crochet Poncho pattern?
Choosing the right stitch for your crochet poncho depends on several factors as your desired fabric look and drape, and your skill level
for a more dense and warm: Single crochet (sc) or half double crochet (hdc) create a denser fabric good for cooler weather.
If you are after Lighter and draper: Double crochet (dc) or treble crochet (tr) create a looser, more drapey fabric for warmer weather or a more flowy look.
The Grey Day Paoncho Pattern uses the V stitch which is a simple yet very textured stitch , great for beginners.
For a more textured poncho (requires some experience):
- Moss stitch: Creates a beautiful textured fabric with a bumpy surface.
- Popcorn stitch: Creates a fun and playful look with raised popcorn-like clusters.
- Cable stitch: Adds a sophisticated and textured look with twisted stitches.
** Some of the links in this post may include affiliate links. Making a purchase through one of these links pays me a small referral fee at no added cost to you. These small fees add up and help me keep the blog running. View our Disclosure and Privacy Policy for more information.
What are the crochet poncho sizes?
This sample is: 28” high from the V to the bottom and 35” wide, Size M/L for women
Here is a size chart you can learn from- to adapt this pattern to your size choice.
| Size | Bust Measurement (inches) | Height (inches) |
|---|---|---|
| S | 32-34 | 18 |
| M | 36-38 | 20 |
| L | 40-42 | 22 |
| XL | 44-46 | 24 |
| 2XL | 48-50 | 26 |
| 3XL | 52-54 | 28 |
Before you get started, check out my Favorite Crochet Tools (affiliate)
Yarn Winder – a perfect crochet accessories
Neck Stretcher – to keep you without neck and back pain
Gauge Ruler – so you always get the right size
Pattern Designed By: Sandra Stitches This pattern is copyright protected; it is unlawful to distribute this pattern in any form (free, sale or trade).
How to work the Classic V stitch?
The V-stitch is having a major moment, and for good reason. This easy-to-learn stitch is a true classic that unlocks a world of creative possibilities.
Even beginners who can handle chains and double crochets can join the fun! The beauty of the V-stitch lies in its amazing simplicity. While it creates a stunning textured look with depth and detail, it’s surprisingly quick to master.
- Crochet a chain that is a multiple of 3 stitches.
- (Dc + ch 1 +dc 1) in 4th ch from hook.
- skip 2 ch
- In the next chain work (dc, ch 1, dc). This is the V-stitch. continue until the last 2 chains. End with skip 1ch, dc into the last ch.
Let’s get to the pattern, shall we?
Difficulty
Intermediate
Materials
- Alize Burkum Klasik 100 gr, 100 % Acrylic, 210 m, Color 195 (dark gray) ( 3 Skeins)
- Alize Burkum Klasik 100 gr, 100 % Acrylic, 210 m, Color 208 (light gray) ( 1 Skein)
- Hook: US Size J-10 (6 mm)
- Yarn Needle, Scissors, Measuring Tape
Gauge
- Not relevant
Sizes
- Can be modified as you wish by adding more rounds
- This sample is: 28” high from the V to the bottom and 35” wide, Size M/L for women
Stitch Key
- Ch = Chain,
- Sc = Single Crochet
- St = Stitch
- Dc = Double Crochet
Specialty Stitches
Vst = V stitch ( dc 1+ ch 1 + dc 1) in same st
Notes
- The pattern is worked in rounds
- Ch3 does count as st at the beginning of each row
- This pattern uses pattern repeats.
- Do not turn work at the end of each round
- You can work this pattern with one color or multiple as you wish- I used two solid colors
- If changing colors make sure to have a changing technique and weave your ends in.
- You can decide on the width and length of the Poncho by adding rounds
- The 72 foundation chain does not change with size. Always start with 72 chains.
Instructions
Chain 72 and Slst to close a circle. Make sure your chain is not twisted
Round 1: Ch1, Sc1 in 1st ch, Sc1 in next and around to end of the round, Slst to Ch1 to close the round, do not turn work
In round 2 we will mark the two points where the poncho shape will become.
Round 2: (Ch4+ Dc1+ Ch2 + Vst) in 1st Sc from prev round, Skip 1 st, Vst in next, skip 1st, Vst in next up to 18 Vst without counting the first two V stitches to mark the point, (Vst+Ch2+Vst) in next Sc st from prev round, skip 1st, Vst in next and around to a total of 18, close the round by Slst to top chain of ch3 at beginning of round to close the round.
You should have 18 V stitches between each point.
Round 3: (Inc) SlSt to ch1 space on 1st Vst from prev row, Vst in Ch1 space, (Vst+ch2+Vst) in next Ch1 space, this makes the point and increases on each round, and we will repeat this pattern on each round always working a Vst+Ch2+ Vst in the Ch2 space of point, continue Vst on each Ch2 space around until you reach the 1st Vst from the next point, Vst in Ch1 space, (Vst, Ch2, Vst) in Ch2 space, continue with Vst on each Ch1 space to end or round, Slst to 1st Dc to close the round.
Each round you will finish in a different stitch- not in the point- this is because we are increasing, and it is OK.
Round 4: (inc) Slst to Ch1 space of Vst, Ch3+Dc2 in Ch1 space, Dc3 in next Ch1 space around until
you reach a point, Then Dc3 in 1st Vst of point, (Vst, Ch2, Vst) in Ch2 space, and continue with Dc3 on every Ch1 space of Vst from prev round, repeat at next point, Slst to top of 3rd Ch of Ch3 at beginning of round.
Rounds 3+4 are the repeat pattern of the poncho each round is an increase round.
This sample has 24 rounds you can change colors where you wish I did at round 7+8 and at rounds 23+24
Finishing
Sc1 around the neckline with the second color for a more finished look.
Cut your yarn and weave in the ends.
Enjoy!
Want to save this post for later? Pin it!
Did you try this Pattern? Share a picture
Tag me on Instagram
@sandrastitchesil
Want more crochet Poncho and Shrug patterns?
DISCLOSURE
AMAZON ASSOCIATES: Sandra Stitches is a participant in the Amazon Services LLC Associates Program, an affiliate advertising program designed to provide a means for sites to earn advertising fees by advertising and linking to Amazon.com.
This post contains links to products that I use and recommend, If you purchase any using my links I get a very small fee at no ad to you! Thank you for supporting my small biz!


4 thoughts on “Crochet Poncho Pattern for Beginners – The Grey Day Poncho”
Hello
What size wool is used for this poncho as shown…is it a bulky 5 or 6??
The pattern does not specify…only the needle size not the yarn size.
Please let me know as it would be very helpful.
Thank you
Susan
Hello Susan!
Thank you for asking!
For this poncho sample I used weigth #4 yarn- acrylic 100%
Hope this helps!
Sandra
I believe there is a typo in the pattern. I am currently making it using a similar yarn and hook, and have had to frog it several times. In round 2 it says to skip 1 sc between V stitches, and about 5-6 rounds I could tell it was already not right, too ruffle and not sitting flat. I started again with doing an inc only on round 4, but it was still too ruffly. Your initial description of the V stitch says to leave 2 sc between V stitches. I’ve started a 3rd time leaving 2 stitches between the Vstitch and keeping the increases as written and it is coming out much better and looks like your picture. . The starting 72 sc also doesn’t work if you want 18 V stitches on either side of the points. I don’t know if your pattern on Ravelry is any different. I’m an advanced crocheter with 30+ yrs experience, so, it’s like I’m new at this. It’s a lovely poncho design and I’m excited to continue it, now that I have that bug worked out.
Hi Sherri! Thank you for your imput! I will go over it again and take care of the typos.