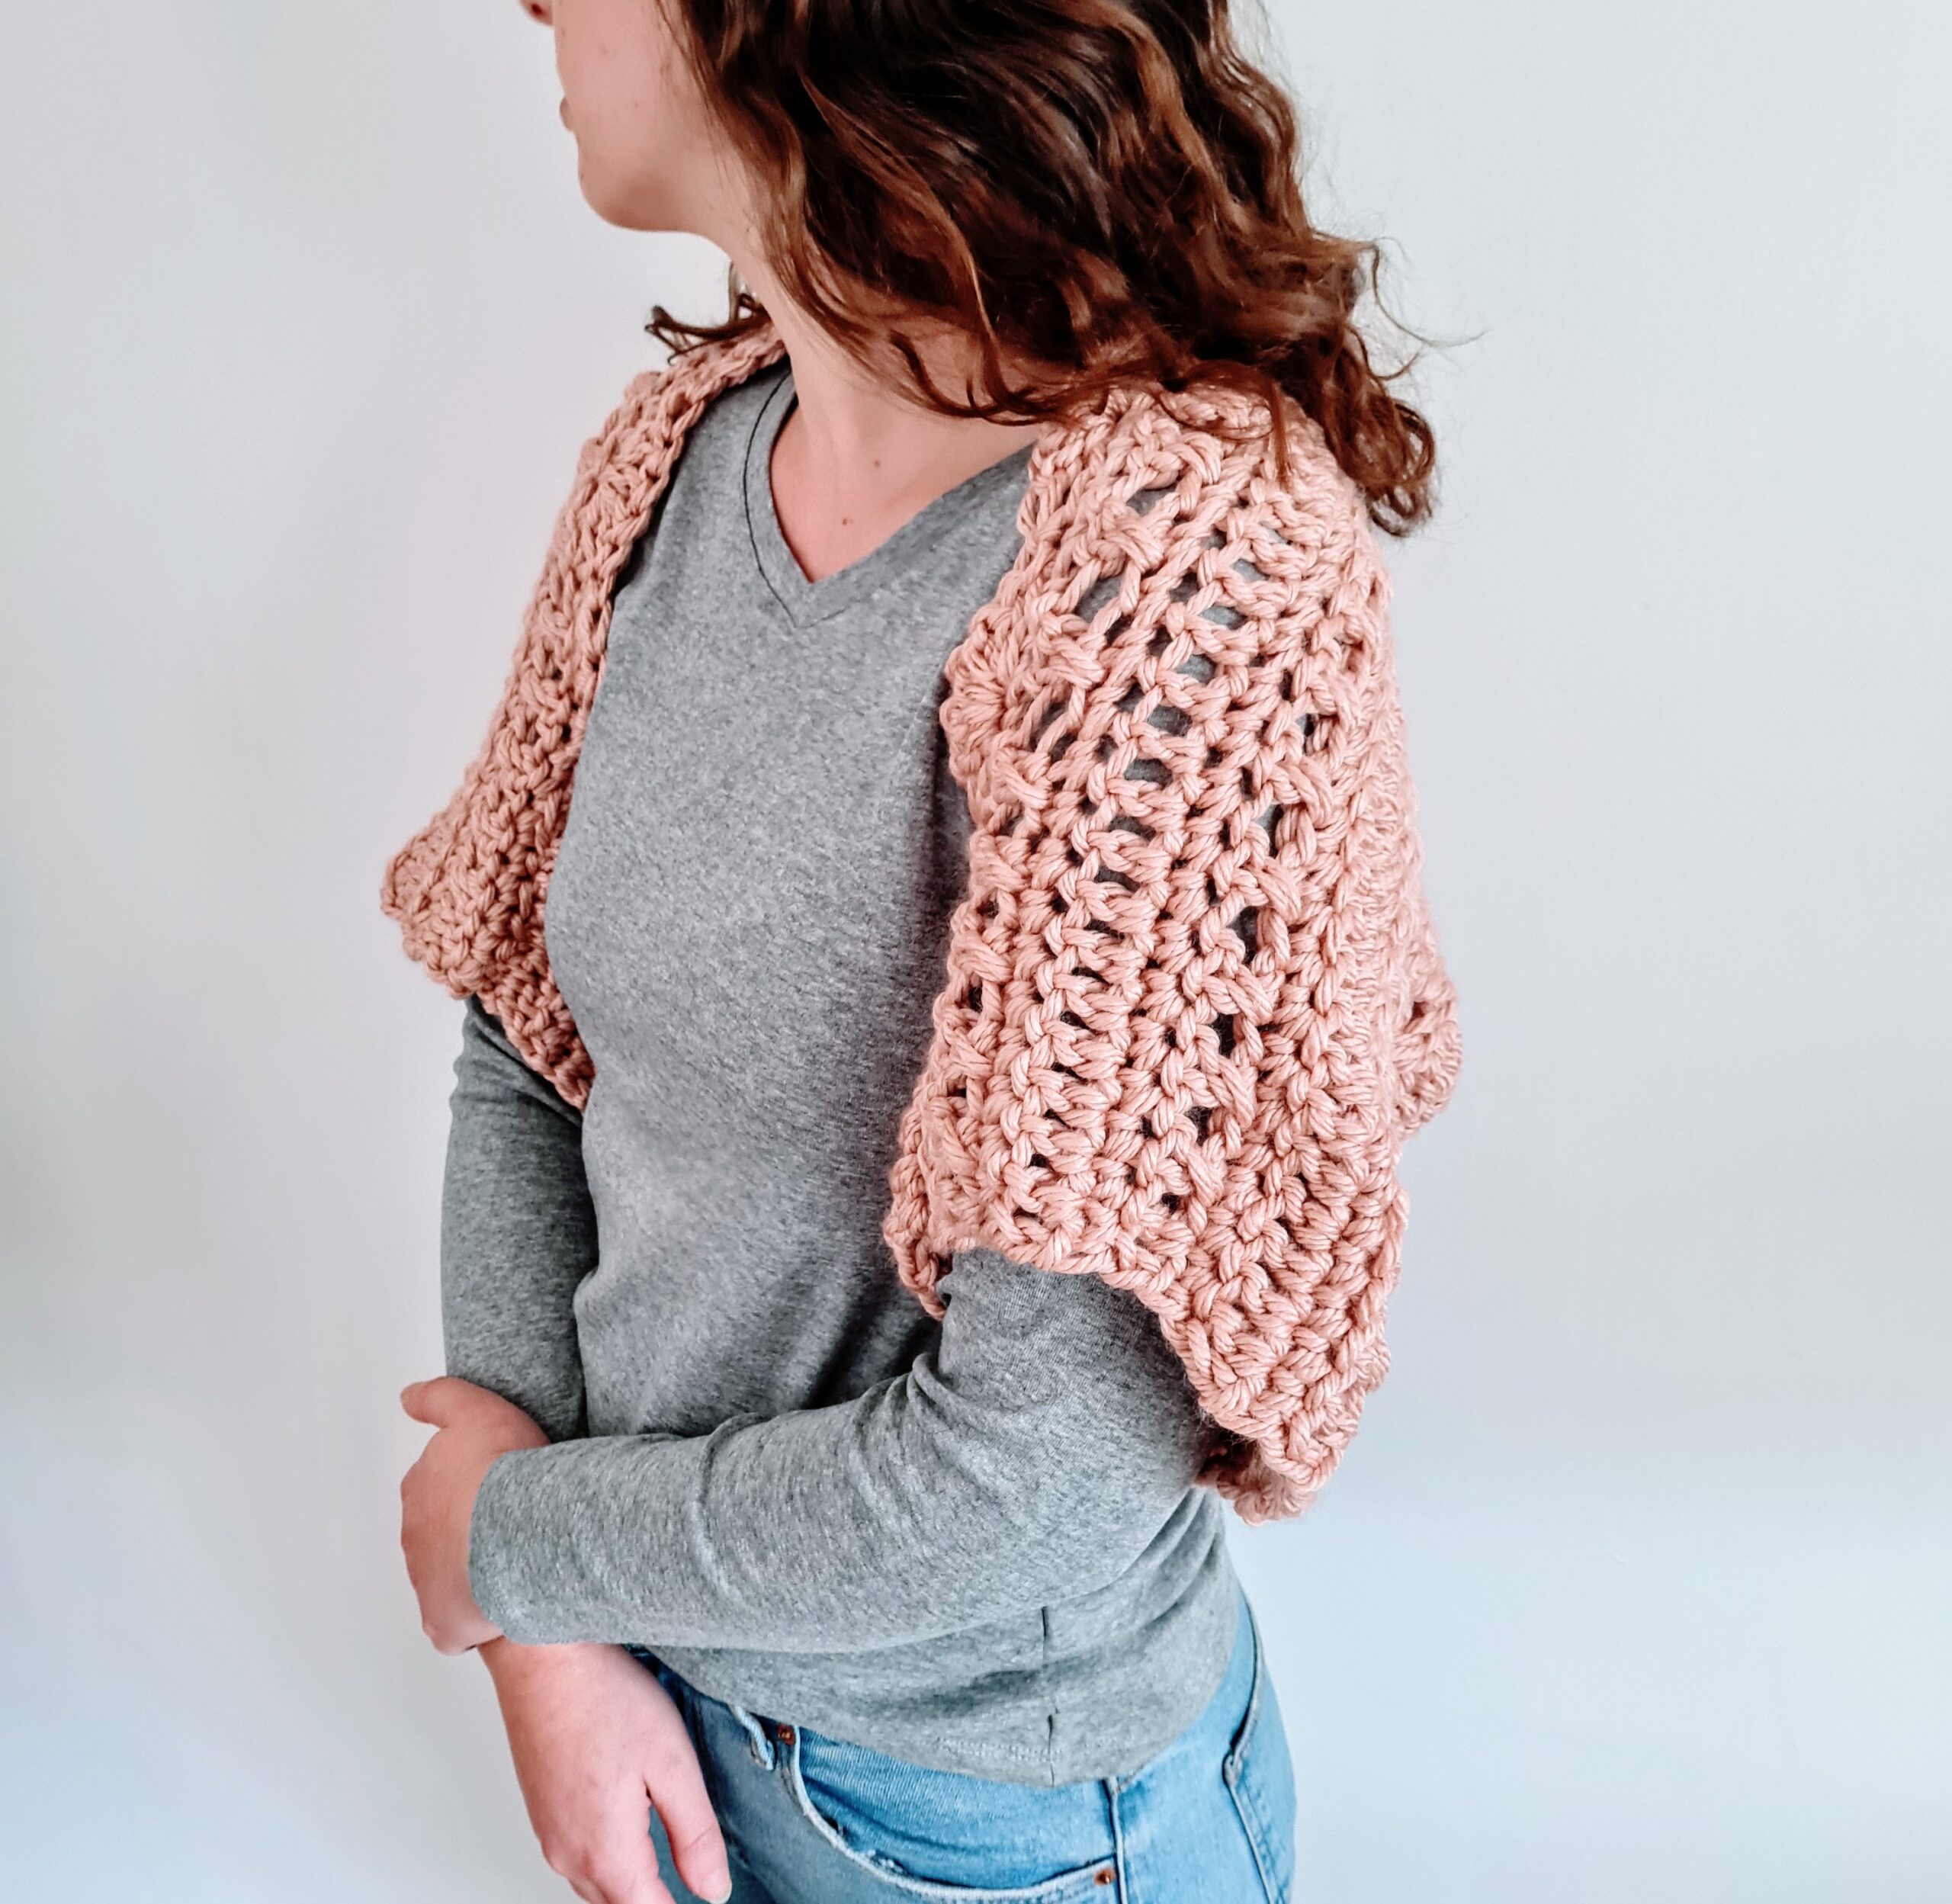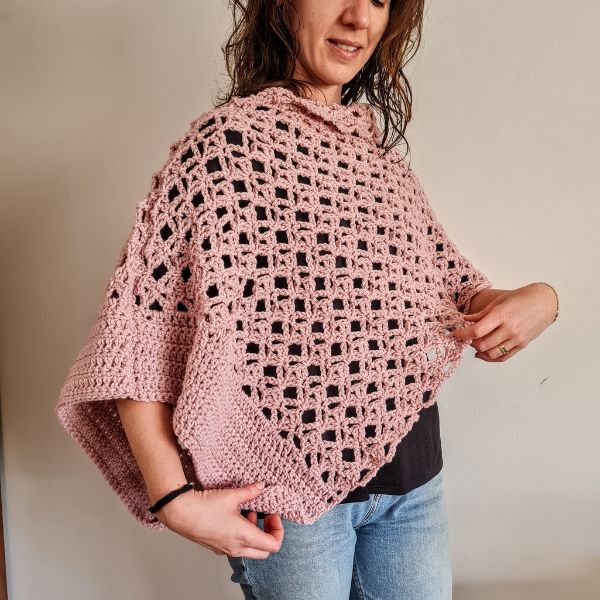
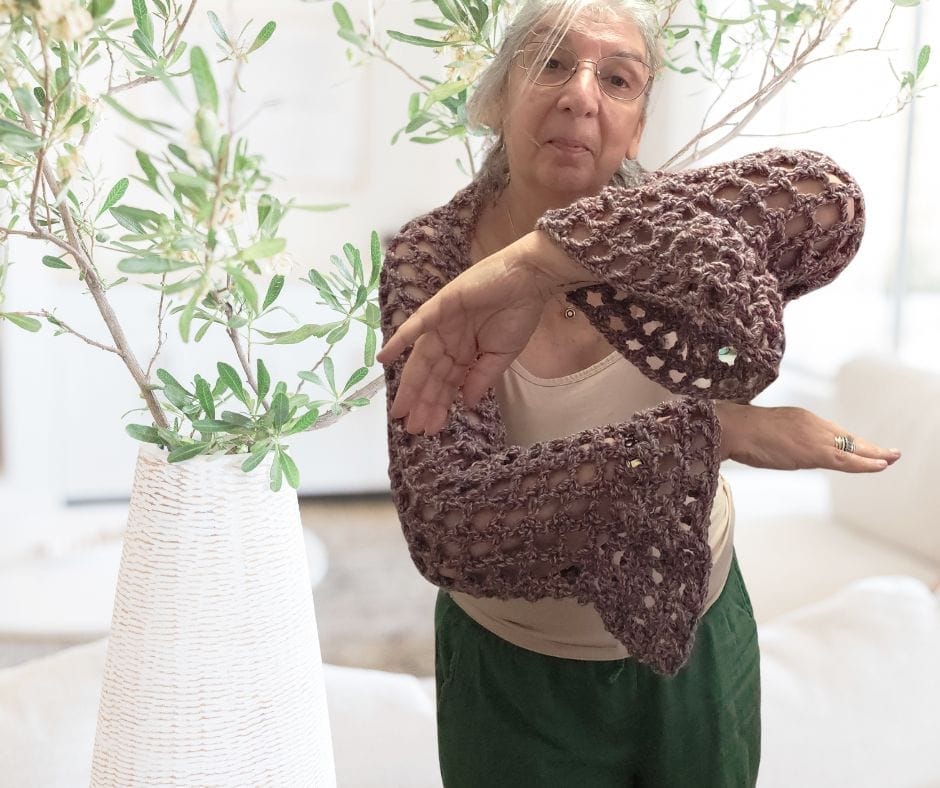
f you can chain and repeat one simple stitch, you can make this mesh shrug.
It is one of those projects that reminds you crochet does not need to be complicated to feel beautiful
The whole thing is worked flat as one long rectangle in a single repeating stitch called the Y stitch, then folded in half and seamed at the sides to form the sleeves.
There is no fiddly shaping, no increasing and decreasing across a sweater back, no pattern math to keep track of. You build a rectangle until it is the right length, fold it, and stitch up two short seams.
What lifts it above the usual rectangle shrug are the two finishing touches: soft bell sleeves that flare out at the cuff, and a row of little crocheted pompoms along the back hem.
It is worked in a bulky yarn on a 6mm hook, so it grows quickly and feels light and airy rather than heavy, which makes it a lovely layer for cool mornings, over dressed evenings, and that frosty blast of air conditioning we all know too well.
If you have been away from your hook for a while, or you are still building your confidence with garments, this is exactly the kind of make that reminds you how capable you are.
One stitch, one rectangle, and a finished piece you will actually reach for.
Let me walk you through all of it, including the free written pattern.
How to Get the Ad-free PDF of this Design
Prefer to crochet without the screen? You can get the ad free, printable Mulberry Mesh Shrug pattern as a PDF in my shop, formatted clean and tidy so you can keep it beside you while you work, mark it up, and come back to it any time. Get the printable PDF on Payhip.
No time to make it Today? Save to Pinterest!
Click your favorite image, below, and save to your Pinterest board or share with friends
What makes this mesh shrug different
Most rectangle shrugs stop at the rectangle. This one keeps three things working together that you do not often see in one beginner friendly make.
First, the fabric itself. The body is built entirely on the Y stitch, an open, lacy stitch that creates that breathable mesh look.
It is far simpler than it appears, just a treble, a chain, and a double crochet worked back into the same post, repeated across. Once your hands learn the rhythm you will find it almost meditative.
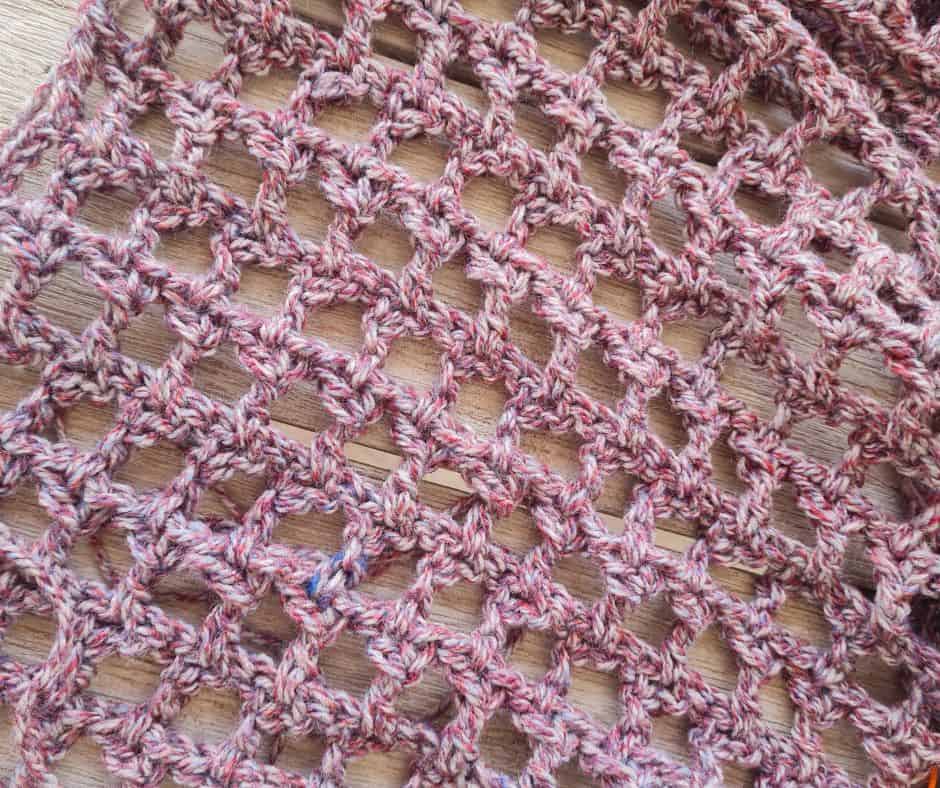
Second, the bell sleeves. After the body is seamed, you work a few rounds off each cuff edge with one increase round followed by two straight rounds. That single increase is all it takes to give the cuffs their gentle flare. It is a small, satisfying detail that makes the shrug look considered rather than plain.
Third, the pompom back hem. A row of tiny crocheted pompoms runs along the bottom edge of the back only, so they never sit up against your neck. They add movement and a little playfulness, and they are worked right into the edging, so there is nothing to glue or sew on afterward.
None of these three things is hard. Together they are what make people ask where you got it.
What is a mesh shrug?
A mesh shrug is a light, open weave shoulder layer made from a stitch that leaves deliberate little gaps in the fabric.
Because the fabric is open rather than solid, a mesh shrug stays breathable and drapey, which is why it works as a warm weather cover up as happily as a cool weather layer.
This one is worked as a single rectangle and then seamed into shape, which is the simplest possible construction for a crocheted garment.
Who this shrug is for
If you can crochet a treble and a double crochet, you can make this. It is a genuinely good first garment because there is no risk of getting the fit wrong partway through.
You work the rectangle to your own measurements, trying it against your body as you go, so the shrug fits you rather than the other way around. It is also a kind project for the maker.
The repeat is gentle and rhythmic, the kind of stitching that lets your shoulders drop and your mind settle after a long day.
If this style speaks to you, my Easy Crochet Shrug is another simple rectangle build worth a look, a lovely one to compare against this mesh version
What you will need
- Bulky weight yarn, between weight 4 and weight 5, about 320 meters total (I used 2 skeins, 100g each)
- 6mm hook for the main fabric and sleeves
- 5mm hook for the pompoms
- Yarn or tapestry needle for seaming and weaving in ends
- Stitch markers
- Scissors
** Some of the links in this post may include affiliate links. Purchasing from one of these links pays me a small referral fee at no added cost to you. These small fees add up and help me keep the blog running. View our Disclosure and Privacy Policy for more information.
A few handy tools I reach for on a make like this:
Yarn Winder – a perfect crochet accessory
Steamer for Clothes – Portable, ideal for crochet projects
Blocking Mat – 12.5″ for all your squares
A few things to know before you start
This pattern is written in US terms. The shrug is worked flat, side to side, in long horizontal rows, and the foundation chain runs the full width, from one sleeve cuff all the way to the other.
Sandra’s tip: Gauge is not strict here, but length is. Your row count depends on your tension and your hook, so work to the measurements rather than counting rows. Aim for the body to measure about 17 inches tall, and try it against your shoulders as you go.
How to crochet the Mulberry Mesh Shrug
Finished size: 17 inches tall by 60 inches wide, before folding.
Stitch key (US terms)
- ch: chain
- dc: double crochet
- tr: treble crochet
- sc: single crochet
- sl st: slip stitch
- Y st: Y stitch (see special stitch below)
- ch-1 sp / ch-2 sp: chain one space and chain two space
Special stitch: the Y stitch (Y st)
- Treble crochet (tr) into the next stitch or chain.
- Chain 1.
- Double crochet (dc) into the center of the treble you just made, into the middle of that tr post.
That’s one Y stitch. It makes a little Y shape, with the chain 1 sitting in the fork.
Notes
- This pattern is written in US terms.
- The shrug is worked flat, side to side, in long horizontal rows.
- The foundation chain runs the full width, from one sleeve cuff to the other. Aim for roughly 60 to 65 inches before you start Row 1.
- Foundation chain is a multiple of 3, plus 2.
The body
Foundation: Chain a multiple of 3 + 2, long enough to measure about 60 to 65 inches (cuff to cuff).
Row 1: Y st in the 6th ch from the hook. *Skip next 2 ch, Y st in next ch. Repeat from * across until 2 ch remain. Skip next ch, tr in last ch. Turn.
Row 2 (repeat row): Ch 4 (counts as first tr, now and throughout). Y st in each ch-1 sp across to the last ch-1 sp. Then work 1 tr into the top of the turning chain. Just a single treble here, not a Y stitch. Turn.
Repeat Row 2 until the piece measures about 17 inches tall (roughly 12 rows for me, but yours depends on your tension and hook). Fasten off.
Sandra’s tip: Each Row 2 is bookended by a single treble. The ch-4 at the start counts as one, and one plain treble at the end. That keeps the side edges clean.
Construction
Thread your needle and seam from the outer edge across to your marker, working all the way along that section. Do the same on the other side. Those two seams close your sleeves, and the open part in the center is where it sits across your shoulders and back.
Lay your finished rectangle flat and fold it in half lengthwise, bringing the top long edge down to meet the bottom long edge. The fold becomes the shoulder line.
From each side, count 16 Y stitches in toward the center and place a stitch marker. This is where you’ll seam to form your sleeves.
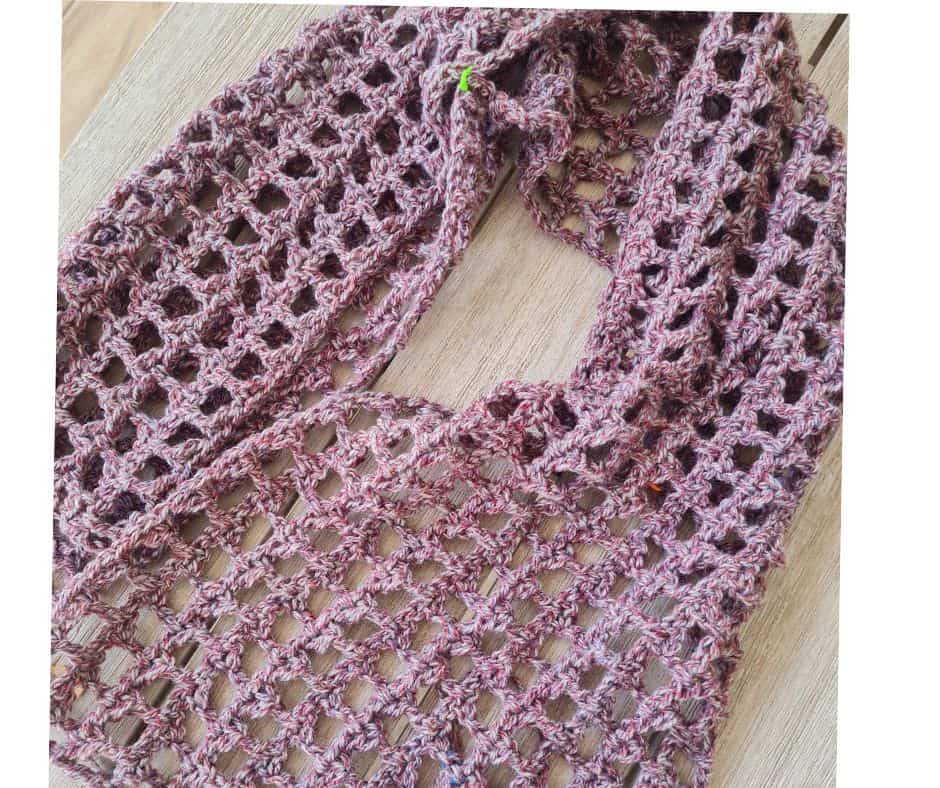
Sandra’s tip: Before you stitch anything down, hold it up against your body and check the fit. Every body is different, so adjust the count if you want a longer or shorter sleeve. In my sample, 16 Y stitches in from each side was the sweet spot.
Bell sleeves
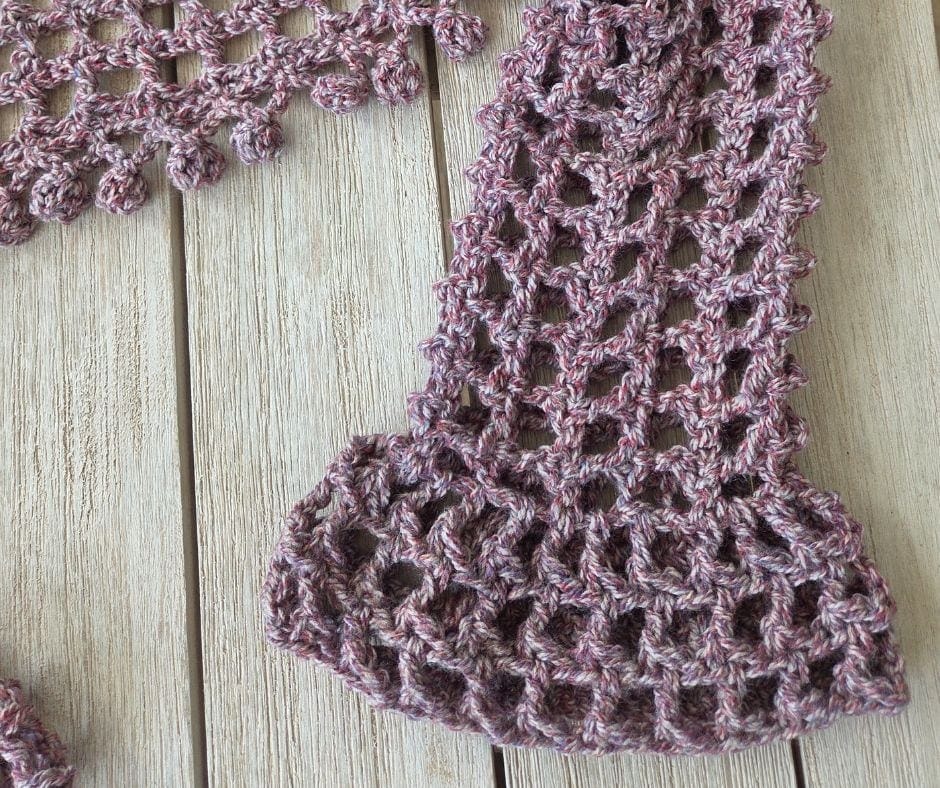
The sleeves are worked in the round off the cuff edge. The flare comes from one increase round followed by two straight rounds. Stay on your 6mm hook.
Connect your yarn at the cuff edge of one sleeve.
Round 1 (increase round): Work around with no chains between the stitches. Y st on top of each Y st, and a Y st into each ch-2 space between them. So it runs: Y st on the Y st, Y st in the space, Y st on the next Y st, Y st in the next space, all the way around. This roughly doubles your Y stitches and starts the bell.
Round 2: Y st on top of each Y st around. No increasing.
Round 3: Same as Round 2. Y st on top of each Y st around.
Fasten off and weave in your ends. Work all three rounds the same way on the second sleeve.
Finishing the body opening
You’ll have one large opening for your shoulders and back. Work a round of single crochet all the way around it to firm up the edge, hold the shape, and give it a clean finished look.
Working around the opening: 1 sc into the top of each Y stitch, then 2 sc into each space between the Y stitches. Carry on like that all the way around. 1 sc on the Y stitch, 2 sc in the gap, and so on.
When you get back to where you started, join with a sl st to your first sc. Fasten off and weave in your ends.
Pompoms along the back hem
Switch to your 5mm hook. The pompoms go only along the bottom edge of the back, so they’re not sitting up against your neck.
Join your yarn at one end of the bottom back edge and work across:
*Ch 6, 2 dc in the 3rd ch from the hook, ch 3, 2 dc on top of the last dc, sl st into the 3rd ch from the hook (the same chain where you just made the 2 dc), ch 3, skip 2 sts, sc 1 in next st. Repeat from * across, ending with 1 sc in the last stitch.
In my sample this gave me 19 pompoms.
If you love these little pompoms as much as I do, you will want to see them again on my One Rectangle V-Stitch Poncho, same playful trim, different shape
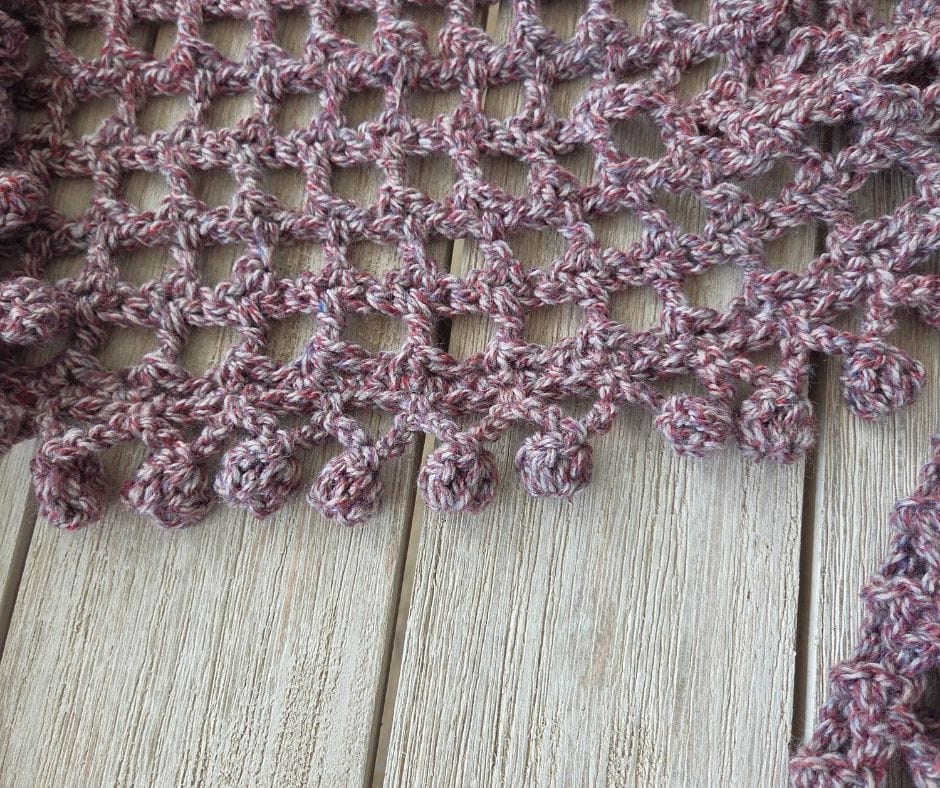
Weave in all your ends, and you’re done. A mesh shrug with bell sleeves and a pompom back hem
You made it!
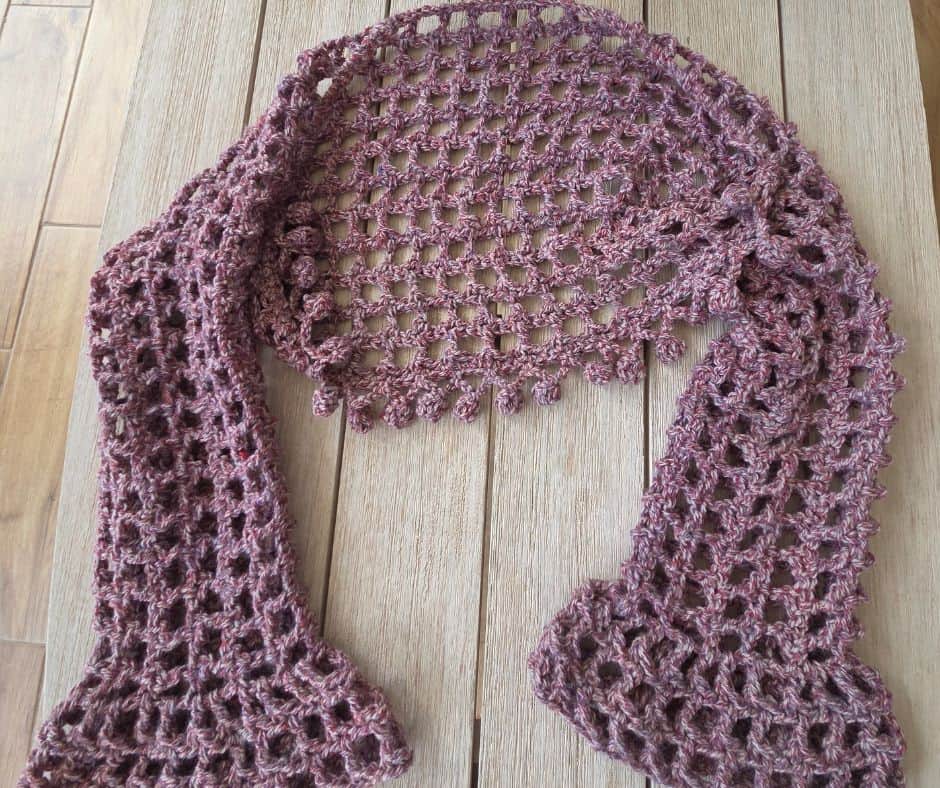
Take a moment with this one. There is something quietly wonderful about holding up a finished garment you built from a single rectangle and one repeating stitch. Wear it over a summer dress, throw it on for a cool evening on the porch, or keep it by the door for that walk when the air turns. I would love to see yours.
© Sandra Regev, Sandra Stitches. This is an original Sandra Regev pattern. Please do not redistribute it for free, sale, or trade. You are welcome to sell finished items made from it with credit to this shop.
Keep making with me
If you enjoyed this project, there is a whole collection waiting for you on my site.
Free patterns, tutorials, and a growing library of projects that are designed to feel achievable and enjoyable, not overwhelming.
Start here : All Things Crochet Start Here →
A quiet place to keep crocheting
If projects like this one are your kind of calm, you might love the V-Stitch Club.
It is my little corner of the internet for women who crochet for the joy and the quiet of it, with new patterns, gentle company, and the steady rhythm of always having something beautiful on the hook.
And if you are not on my email list yet, that is the best place to keep up with new free patterns. When you join, I will send you my free printable Row Tracker, the very thing that keeps me from losing my place mid round.
Join the newsletter and get your free Row Tracker →
We also have a warm, friendly Facebook group with monthly challenges, lives, and lots of finished project sharing. Come and show us your slippers. Seeing your makes is one of my favorite parts of all this.
Frequently asked questions
Can a complete beginner make this mesh shrug?
Yes. If you can chain, treble crochet, and double crochet, you have everything you need. The body is one stitch repeated across a rectangle, and the construction is just folding and seaming two short seams. There is no shaping to get wrong.
What yarn should I use for a mesh shrug?
A bulky yarn between weight 4 and weight 5 works beautifully here and keeps the fabric light and airy on a 6mm hook. You will need about 320 meters total. Choose a fiber that feels good against your skin, since a shrug sits right on your shoulders.
How do the bell sleeves work?
After you seam the sleeves closed, you work three rounds off each cuff edge. The first round is an increase round that roughly doubles your stitches, and that is what creates the gentle bell flare. The two rounds after it are worked straight, with no further increasing.
Can I leave the pompoms off?
Absolutely. The pompoms are a finishing touch along the back hem only, so the shrug is complete and wearable without them. Leave them off for a simpler look, or work them for a little movement and charm.
Is a mesh shrug warm enough, or is it just for summer?
Because the fabric is open, it is light and breathable, which makes it lovely over a summer dress or for cool evenings. The bulky yarn still gives it enough substance to take the chill off, so it carries you across the seasons as a layering piece rather than a heavy sweater.
How do I make it bigger or smaller?
Work your foundation chain longer or shorter to change the width from cuff to cuff, and add or remove repeats of Row 2 to change the height. Because you try it against your body as you go, you can fit it to yourself without any sizing math.
Where can I get an ad free printable version?
The clean, printable PDF is available in my Payhip shop, formatted so you can keep it beside you and mark it up as you work.
**This is an original Sandra Regev pattern: Owner /Designer of Sandra Stitches. This pattern may not be redistributed for free, sale, or trade, but finished products can be sold with credit to this shop – enjoy!
Did you try this Pattern? Share a picture
Tag me on Instagram
@sandrastitchesil
You’ve Got Your Pattern, Now What?
- PIN FOR LATER – Don’t lose this pattern. Save it to your Pinterest account so you can quickly come back to it later.
- SHARE YOUR WORK – Share your in-progress and finished projects on Facebook or Instagram and use the hashtag #sandrastitchesil
- SHOW OFF – Create a project on Ravelry to inspire and share your thoughts with others who might be interested in this project.
Questions?
Ask and share in our
FREE Facebook Group
DISCLOSURE
AMAZON ASSOCIATES: Sandra Stitches is a participant in the Amazon Services LLC Associates Program, an affiliate advertising program designed to provide a means for sites to earn advertising fees by advertising and linking to Amazon.com.
This post contains links to products that I use and recommend. If you purchase any using my links, I get a very small fee at no ad to you! Thank you for supporting my small biz!

Sandra Regev is the designer behind Sandra Stitches, sharing crochet patterns and wellness-inspired content for anyone who finds calm in making something with their hands