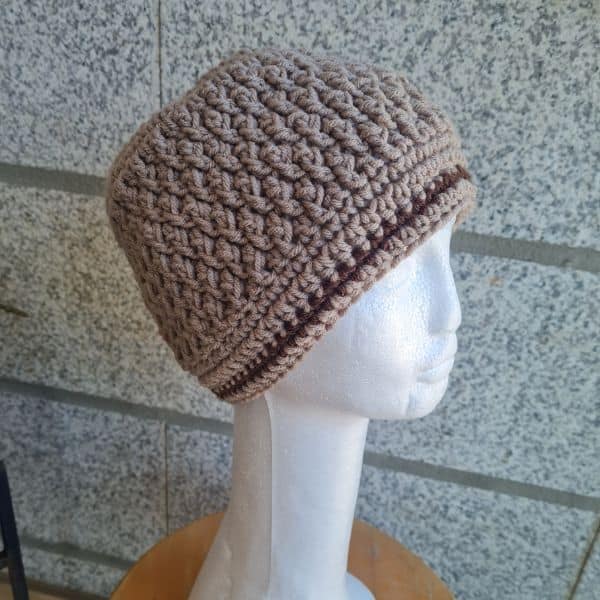
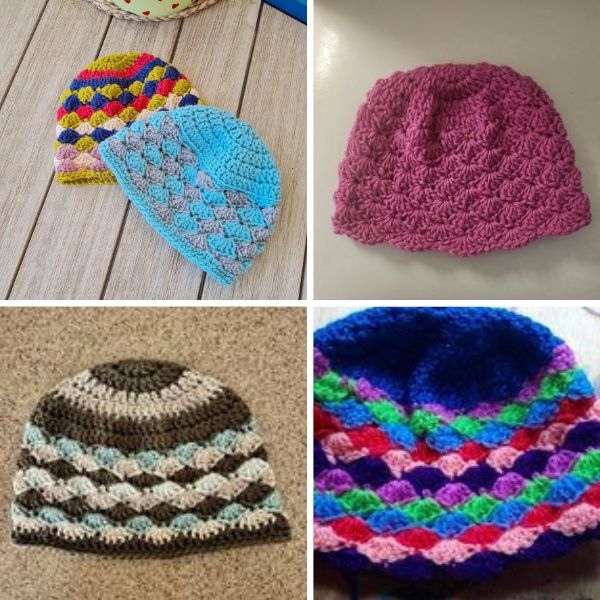
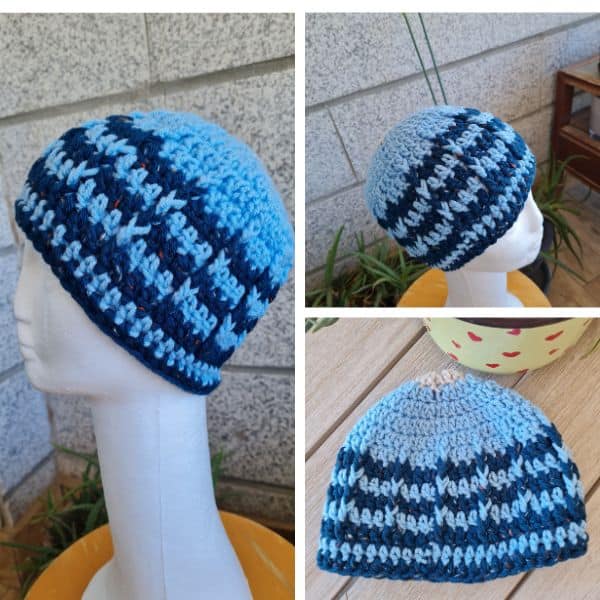
Try this textured Crochet Beanie Free Pattern – Ridgeline next time you want to gift your friends a cozy hat!
The Perfect Gift for Him
Imagine this: your guy is braving a chilly wind, wishing he had something warm and stylish to shield him from the cold.
A textured crochet beanie is just the thing! It’s not just a hat; it’s a comfy, cool solution to winter woes.
A textured crochet beanie is super versatile and can be worn in all sorts of situations. It makes a fantastic gift for birthdays, holidays, or even just because. If you’re looking for something special, this beanie might be the answer.
Are you with me?
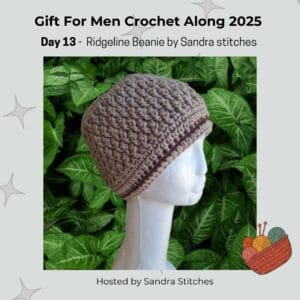
This pattern is part of the 2025 Gift for Men CAL Scroll down for details 👇

There are 2  ways to get this pattern:

Option 1: You can purchase the individual pattern as an easy-to-read,ad free print-friendly PDF  from HERE

Option 2: Scroll down to get the written instructions for this pattern for free
Do you want to save this post for later? Go ahead and PIN IT!

You will find instructions in the free pattern below ⬇️
** Some of the links in this post may include affiliate links. Purchasing one of these links pays me a small referral fee at no added cost to you. These small fees add up and help me keep the blog running. View our Disclosure and Privacy Policy for more information.

Why a Textured Crochet Beanie Makes the Ideal Gift for Men
Gifting something handmade shows you care. A crochet beanie says, “I put thought and effort into this.” That makes it way more unique than something store-bought.
Warmth and Comfort
When winter hits, a warm hat is a must-have. Yarns like merino wool or a cozy acrylic blend trap heat and keep heads snug. The right yarn makes all the difference.
Style and Versatility
A textured beanie can add a lot to an outfit. Think about a classic cable stitch beanie paired with a leather jacket. Or a ribbed beanie with a casual sweater.
Color matters too. Dark shades like navy, charcoal, or forest green work with nearly everything a man owns. These colors are safe bets that can be stylish.
Practicality and Durability
Beanies aren’t just for show. Guys can wear them hiking, snowboarding, or just walking the dog. A well-made crochet beanie can handle a lot of wear and tear. With proper care, it can last for years.
Before you get started, check out my Favorite Crochet Tools (affiliate)
Yarn Winder – a perfect crochet accessories
Neck Stretcher – to keep you without neck and back pain
Gauge Ruler – so you always get the right size
Pattern Designed By: Sandra Stitches This pattern is copyright protected; it is unlawful to distribute this pattern in any form (free, sale or trade).
Let’s get to the pattern, shall we? Making the Ridgeline Beanie

Materials I used
This is the yarn I had at hand – do not forget I make a sample for you to learn- so be creative and choose the yarn you love. Feel it before starting your project.
I know there are a million different yarn choices out there that also depend on where you live, so just be creative!
Ice Yarns Saver (aran #4), 100% Dralon Acrylic, 200gr, 330mt a skein, for this sample I used 75gr in color beige and some dark brown ( optional)
Or any weight #4 yarn of your choice
Hook: US Size (5 mm)
Yarn Needle, Scissors, Measuring Tape
Gauge
- 11 st X 10 rounds
Sizes
This sample is 8” in height X 23” in circumference
Stitch Key
- Ch = Chain
- Sc = Single Crochet
- St = Stitch
- Dc = Double Crochet
- Hdc = Half Double Crochet
- INC = Increase round
- Yo = Yarn over
- Slst = Slip stitch
Specialty Stitches
FpDc = Front Post Double Crochet [Yo, insert hook under the post of next st, yo, draw up a loop (3 loops on hook), yo, draw through 2 loops on hook (2 loops on hook), yo, draw through last 2 loops on hook]
Alpine st = Will be explained in the pattren
Notes
- This pattern is worked in rounds
- This pattern uses rounds of repeat
- Ch1 does not count as 1st DC at the beginning of the round
- Ch 3 does count as stitch at the beginning of round
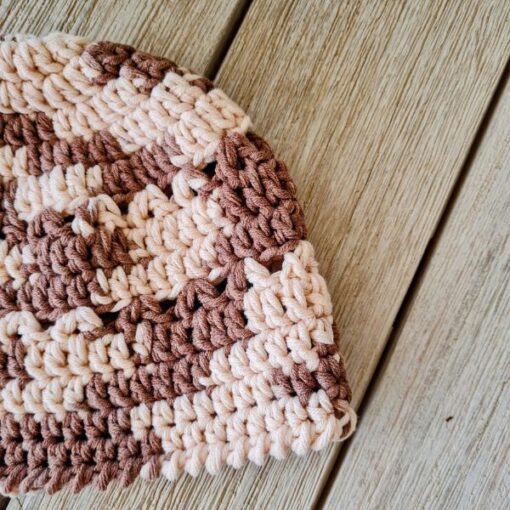
- You can work this pattern with one color or multiple as you wish. I used two colors
Instructions
Ch 4 and Sl st to first ch to form a circle
(or use the magic circle)
Round 1:Ch1 hdc 12 in Ch space( the circle), Slst to 1st hdc (12 st)
Round 2:Inc Ch1, hdc 2 in 1st st from hook, hdc 2 in next and around to end of round, Slst to 1st hdc (24 st)
Round 3: Inc Ch1, hdc 1 in 1st st from hook, *[hdc 2 in next, hdc 1 in next st]* repeat from * to * to end or round,Slst to 1st hdc (36 st)
Round 4: Inc Ch1, hdc 1 in 1st st from hook, *[hdc 1 in next st, hdc 2 in next, hdc 1 in next]* repeat from * to * to end or round,Slst to 1st hdc (48 st)
Round 5: Inc Ch1, hdc 1 in 1st from hook, *[hdc 1 in next st, hdc 1 in next st, hdc 2 in next st, hdc 1 in next]* repeat from * to * to end or round,Slst to 1st hdc (60 st)
Round 6: Ch 1, sc 1 in 1st st from hook, sc 1 in next st and around to the end of the round, Slst to 1st st (60 st)
Round 7: Ch 1, dc 1 in 1st st from hook, dc 1 in next st and around to the end of the round, Slst to 1st st (60 st)
Now we start the Alpine stitch pattern
Round 8: Ch 1, dc 1 in 1st st from hook, Fpdc 1 in next st , *dc 1 in next, Fpdc 1 in next, repeat from * to the end of the round, Slst to 1st st (60 st)
Round 9: Ch 1, Fpdc 1 in 1st st from hook, dc 1 in next st, *Fpdc 1 in next, dc 1 in next, repeat from * to the end of the round, Slst to 1st st (60 st)
Rounds 10 13: Repeat rounds 8+9
Round 14: Ch 1, dc 1 in 1st st from hook, Fpdc 1 in next st , *dc 1 in next, Fpdc 1 in next, repeat from * to the end of the round, Slst to 1st st (60 st)
Round 15: Ch 1, sc 1 in 1st st from hook, sc 1 in next st and around to the end of the round, Slst to 1st st (60 st)
Round 16: Ch 1, hdc 1 in 1st st from hook, hdc 1 in next st, and around to the end of the round, Slst to 1st st (60 st)
Here, I changed color to dark brown ( optional)
Round 17: Ch 1, sc 1 in 1st st from hook, sc 1 in next st and around to the end of the round, Slst to 1st st (60 st)
Changed back to color beige
Round 18: Ch 1, sc 1 in 1st st from hook, sc 1 in next st and around to the end of the round, Slst to 1st st (60 st)
Love This Pattern? There’s More Where That Came From!
You will discover my complete collection of crochet patterns, tutorials, and resources, both free and premium all in one convenient place.
I know you’ll find something to inspire your next project🙃
All Things Crochet Start Here →
Finishing
Secure the yarn, weave in the ends, and cut the yarn.
The Ridgeline Beanie is part of the Gift For Men CAL hosted by me 🙂
The Cal will run every day from March 9th, 2025 – to March 17th 2025. Every day, you can follow a new free crochet pattern. Follow the main post HERE
Do you want to save this post for later? Pin it!

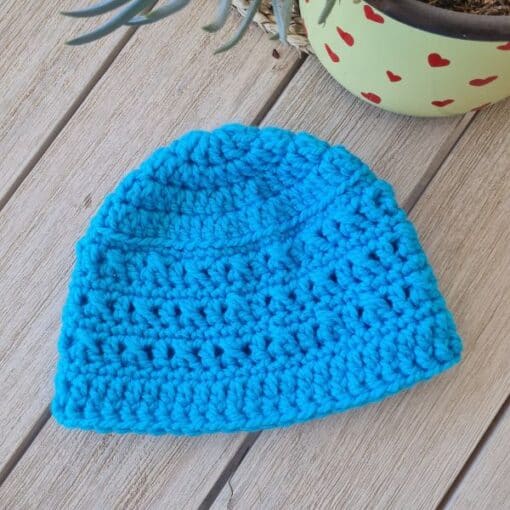
Want more hat patterns?
DISCLOSURE
AMAZON ASSOCIATES: Sandra Stitches is a participant in the Amazon Services LLC Associates Program, an affiliate advertising program designed to provide a means for sites to earn advertising fees by advertising and linking to Amazon.com.
This post contains links to products that I use and recommend, If you purchase any using my links I get a very small fee at no ad to you! Thank you for supporting my small biz!

