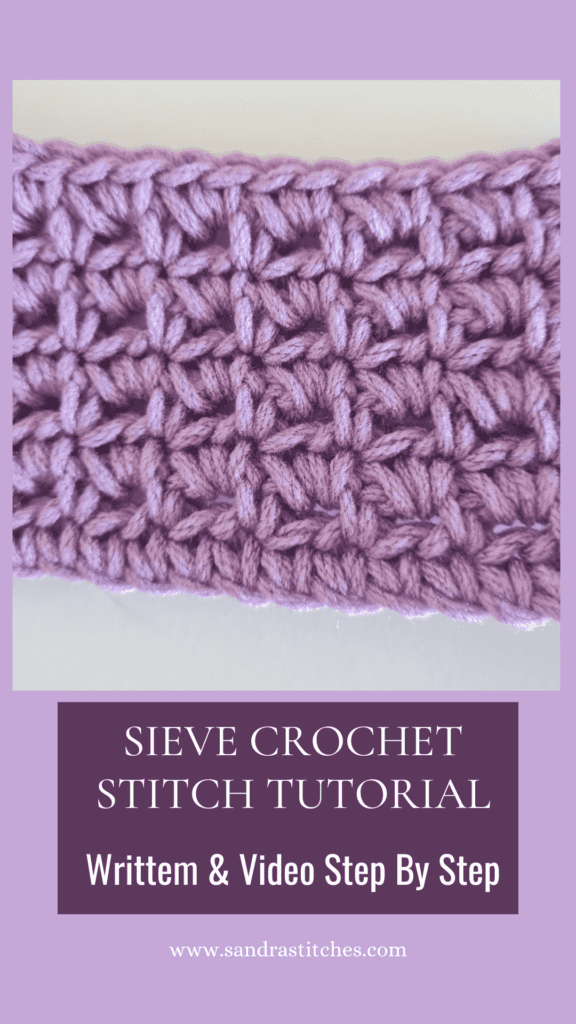
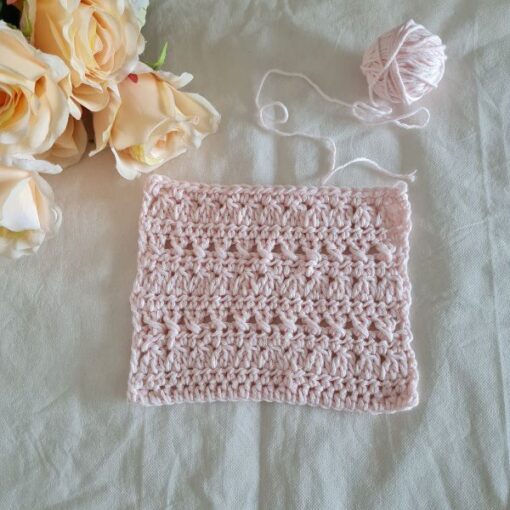
The Sieve Stitch is one of the most satisfying stitches for beginners, a clean square patterns that build up quickly and look genuinely beautiful in the finished fabric.
It uses a simple two-row repeat of single crochets and chain spaces, and you only need an even number of chains to start.
I filmed this with a 5mm hook and any weight yarn you have on hand.
It also happens to be Section 2 of my Stitch Sampler Blanket series , if you are following along, grab the free tracker here
Be creative!
🧶 Making the Stitch Sampler Blanket with me? Download the free printable tracker and follow along week by week
Do you want to save this post for later? Pin it 👇
Getting Started: Materials and Foundation Chain
Essential Materials: Hook Size and Yarn Weight
Before you start, gather your materials:
- A 5 mm crochet hook
- Any weight of yarn you have on hand
Calculating the Foundation Chain: Multiples of Two
To begin, ensure your foundation chain is an even number. This means your project’s length should be calculated in multiples of two.
Creating the Foundation Row: Single Crochet Across
- Chain multiples of two for your starting row.
- Skip the loop on the hook.
- Insert your hook into the second chain.
- Complete one single crochet in each chain across the row.
This foundation sets you up for the delightful Sieve Stitch!
Before you get started…
Check out my Favorite items and tools
Rechargeable LED night reading light on Amazon
Bamboo Hooks on Amazon
Colorful Bobby pins as crochet markers on Amazon
Row 1: The First Repeat
Step-by-Step Instructions: Single Crochet and Chain One Spaces
Now we implement the two-row repeat technique. In this first repeat:
- Chain one (this does not count as a stitch).
- Work a single crochet in the first stitch.
- Chain one and skip the next stitch.
- Work one single crochet into the following stitch.
- Repeat this process until the end.
Finish the row with one single crochet.
Troubleshooting Common Mistakes in Row 1
- Ensure you always finish with a single crochet in the last stitch.
- Count your single crochets regularly to avoid losing stitches.
Row 2: Completing the Two-Row Repeat
Working into Chain One Space: Two Single Crochet per Space
In the second row of our repeat:
- Chain one (this again does not count as a stitch).
- Skip the first single crochet.
- Work two single crochets into each chain one space across the row.
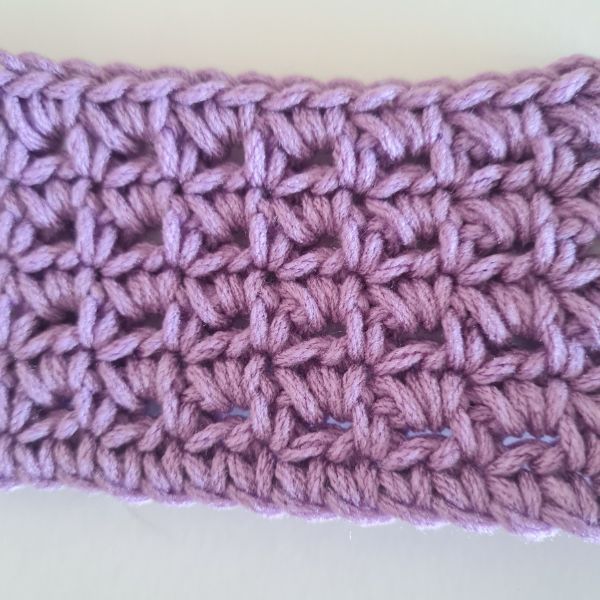
Creating the Characteristic Square Texture
As you work through this row, you will see the formation of the unique squares that define the Sieve Stitch.
Finishing Row 2: Maintaining Stitch Count Consistency
Remember to finish with a single crochet in the last stitch at the end of the row to keep your stitch count consistent.
Repeating the Pattern: Building Your Project
Multiple Repeat Sequences: Achieving Desired Length
Continue to alternate between Row 1 and Row 2 until your project reaches the desired length.
Maintaining Tension for Uniform Texture
Keep an eye on your yarn tension. Consistent tension is crucial for the textured look you desire.
Adapting the Pattern
Feel free to customize the stitch by changing yarn colors or combining with other stitches for unique effects.
Want two exclusive crochet patterns every month, plus a crochet and wellness workbook? Join the V-Stitch Club, it’s $5 a month
Or join my email list for weekly tutorials, honest pattern reviews, and the occasional note from my kitchen in Israel
Tips and Inspiration
Securing Your Ends: Neat and Professional Finish
Once you finish your project, secure the ends neatly for a polished look.
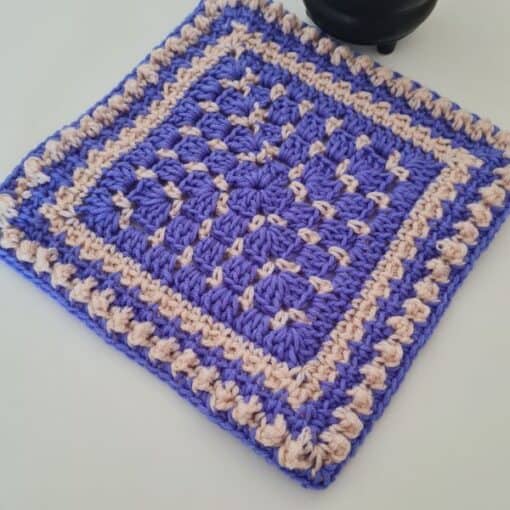
Project Ideas: Garments, Accessories, and Home Decor
Consider using the Sieve Stitch for:
- Crochet tops
- Scarves
- Blankets
- Home decor items like pillow covers
Love This Pattern? There’s More Where That Came From!
You will discover my complete collection of crochet patterns, tutorials, and resources, both free and premium all in one convenient place.
I know you’ll find something to inspire your next project🙃
All Things Crochet Start Here →
Sharing Your Creations:
Connect with fellow crafters by sharing your Sieve Stitch creations in our online community.
Want more stitch tutorials:
Click here to share your finished project with our community!
A new stitch step
- When learning a new stitch, try several yarn weights and hook sizes to understand how the stitch works and looks.
- Use light yarn colors to get the stitch to form the right shape.
- Make several swatches before starting a new project
Stay Calm and Crochet!😎
Sandra
Interested in a professional Paperback Crochet Planner?
DISCLOSURE
AMAZON ASSOCIATES: Sandra Stitches is a participant in the Amazon Services LLC Associates Program, an affiliate advertising program designed to provide a means for sites to earn advertising fees by advertising and linking to Amazon.com.
This post contains links to products that I use and recommend, If you purchase any using my links I get a very small fee at no ad to you! Thank you for supporting my small biz!
