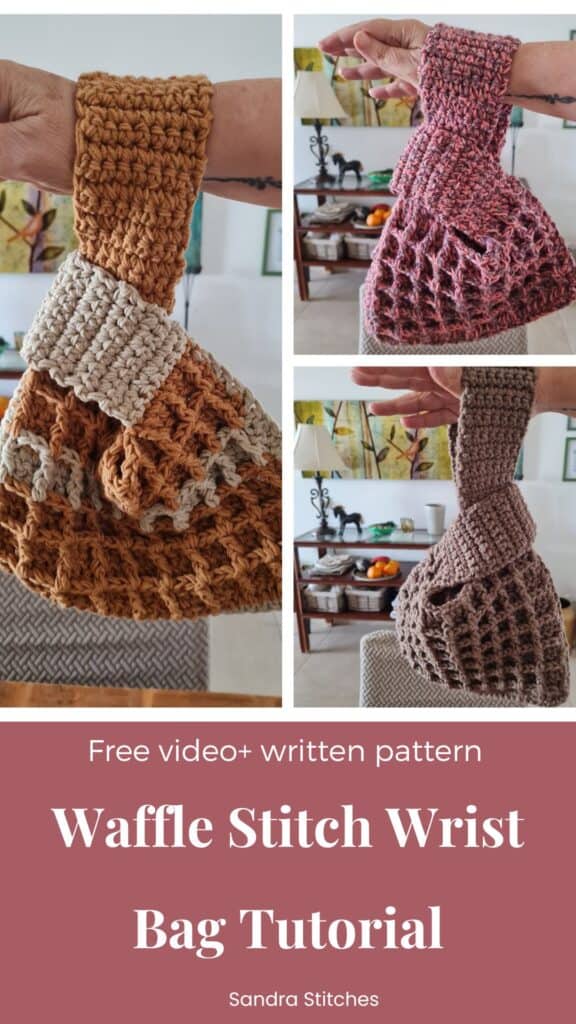
If you’ve been looking for a crochet bag that looks expensive, feels satisfying to make, and actually gets compliments every time you carry it, this is the one.
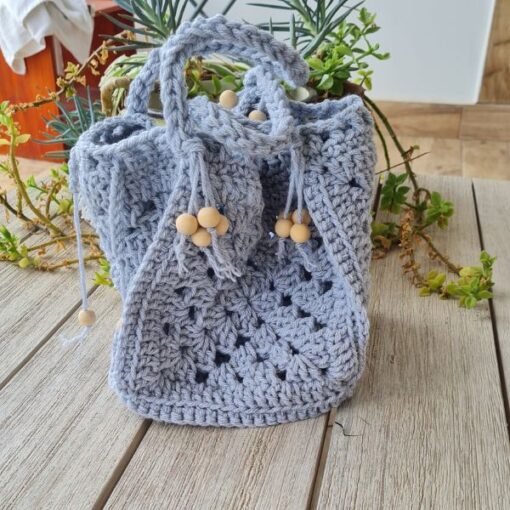
This waffle stitch Japanese knot bag combines two of the most beautiful things in crochet: the deeply textured waffle stitch and the elegant, practical shape of the Japanese knot bag. The result is a wrist bag that looks boutique, works for every occasion, and comes together far more easily than it looks.
And yes! it’s easy level. I promise
How to Get the Ad-free PDF of this Design
The pattern instructions are available below, but you can get the formatted, printable, ad-free PDF for just a few dollars in our shop and support my business, thank you!!!
No time to make it Today? Save to Pinterest!
Click your favorite image, below, and save to your Pinterest board or share with friends
What is a Japanese Knot Bag?
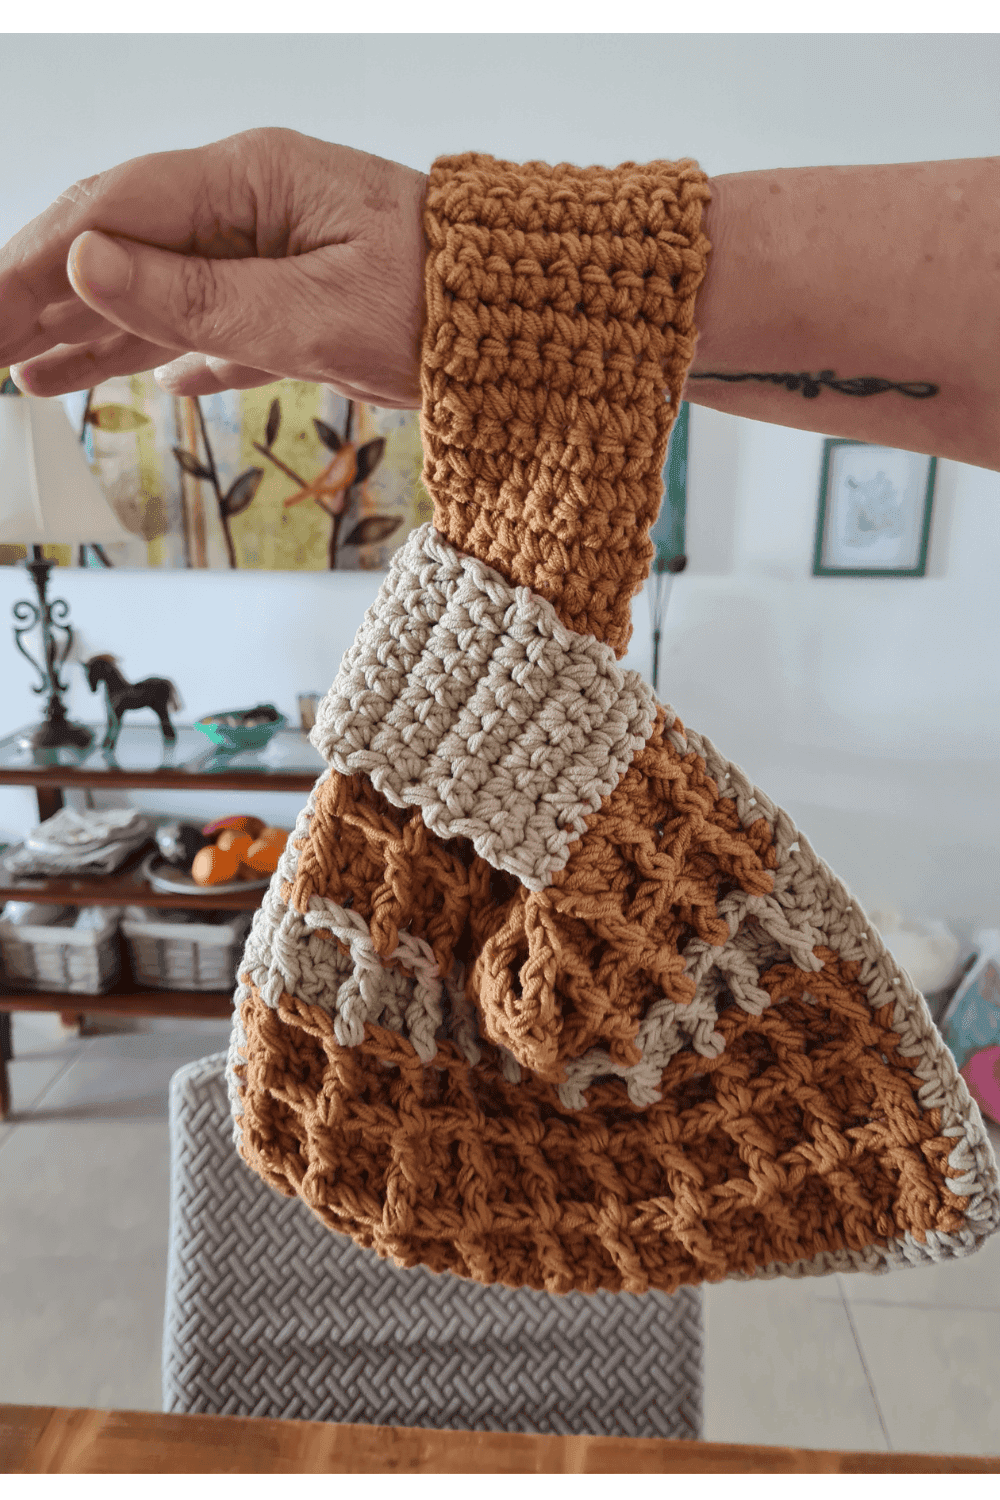
A Japanese knot bag has two handles of different lengths. You loop the longer handle through the shorter one to close the bag, no zipper, no buttons, no fuss. It sits on your wrist, it holds your essentials, and it has a quiet, elegant look that never goes out of style.
In 2026, the Japanese knot bag is officially having a moment. It’s been named one of the standout crochet accessory trends of the year and for good reason. It’s the kind of bag you’ll still love three years from now.
Why the Waffle Stitch?
The waffle stitch creates a raised, grid-like texture that looks incredibly detailed but is actually built from just two basic stitches: double crochet and front post double crochet. Once you get the rhythm, it’s deeply satisfying to work up.
For a bag, the waffle stitch is perfect. It creates a sturdy, structured fabric with beautiful dimension , and it photographs beautifully, which never hurts.go up a hook size.
** Some of the links in this post may include affiliate links. Purchasing from one of these links pays me a small referral fee at no added cost to you. These small fees add up and help me keep the blog running. View our Disclosure and Privacy Policy for more information.
Before you get started, check out my newest favorite finds!
Yarn Winder – a perfect crochet accessory
Steamer for Clothes – Portable, ideal for crochet projects
Blocking Mat – 12.5″ for all your squares
What You’ll Need
- Worsted weight yarn (size 4) 2 strands held together throughout
- 5.5mm crochet hook
- Scissors and a tapestry needle
- Basic crochet knowledge: chains and double crochet
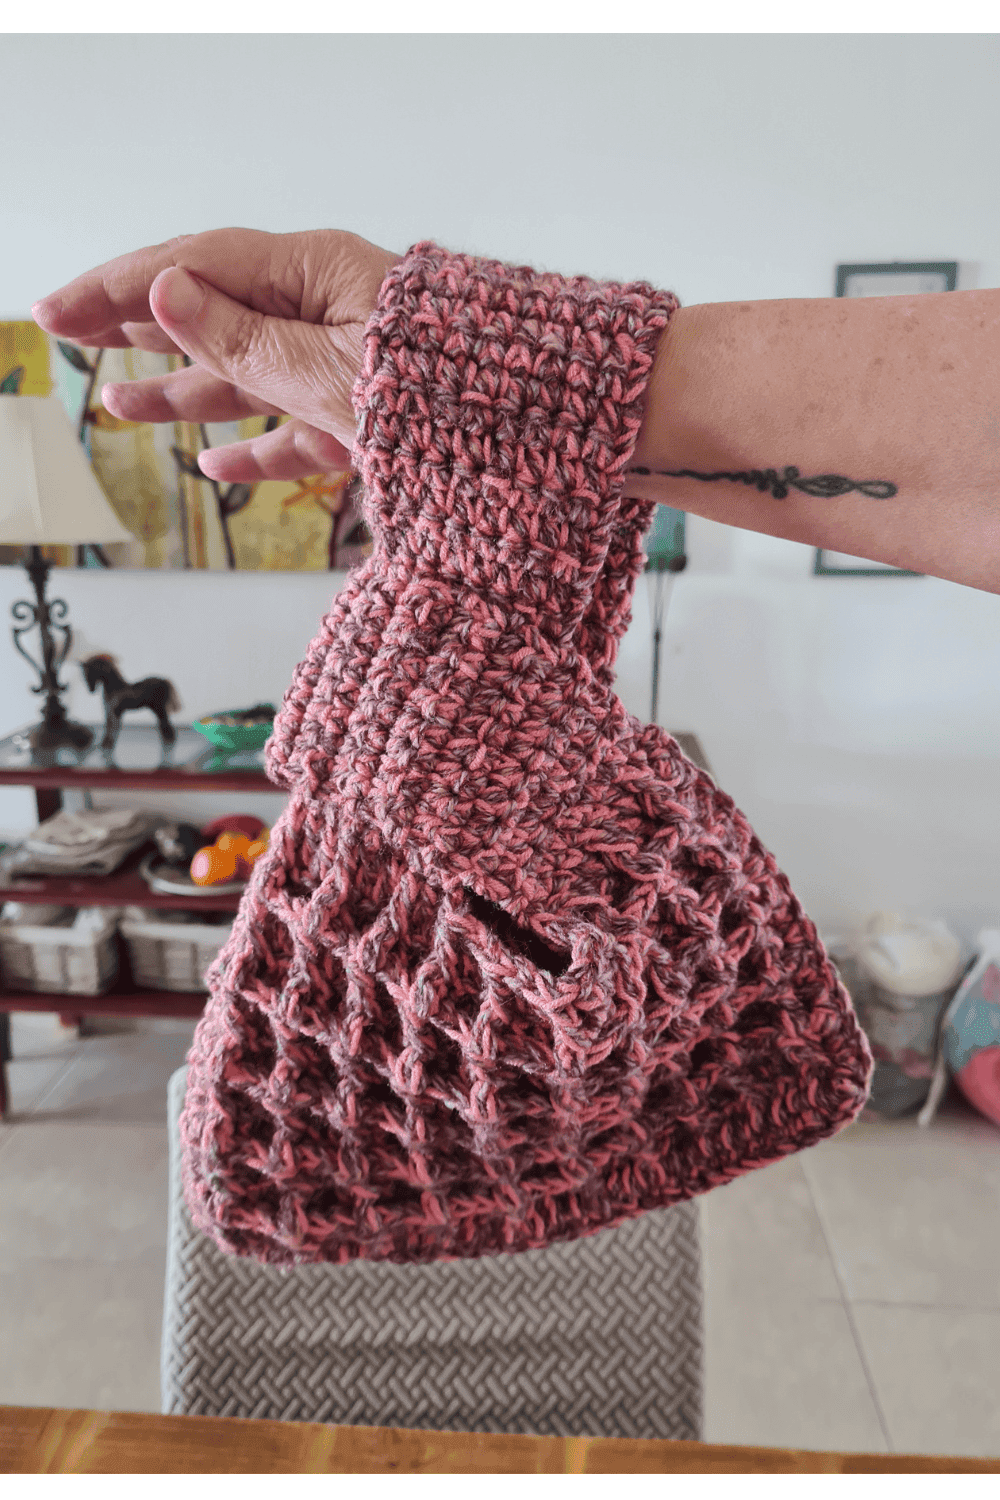
About the yarn: Holding two strands together gives the bag its structure and that lovely chunky texture. Any size 4 yarn works. The sample in the video uses a dusty rose variegated yarn that makes the waffle texture absolutely glow, but this bag is stunning in any colour.
Tips Before You Start
Use stitch markers. The waffle stitch has a 3-stitch repeat and it’s easy to lose your place in the round. A stitch marker at the beginning of each round saves so much frustration.
Don’t skip the gauge swatch. I know, I know. But the waffle stitch uses more yarn than a standard stitch, and the bag needs to hold its shape. Ten minutes with a swatch saves you from a bag that’s too floppy or too stiff.
Tension matters more than usual. The waffle texture only pops with consistent tension. If your front post double crochets feel tight, try going up half a hook size.
Variegated yarn is your friend here. The waffle stitch’s raised texture catches light differently at each angle, and variegated yarn amplifies that effect beautifully. Solid colours also look gorgeous the texture does all the work.
💡 Sandra’s tip: Before you fold and seam, lay your rectangle flat and check the size against yourself. Hold it up to your body. It is much easier to add or remove a few rows now than after you have finished the border.
Free Crochet Japanese Knot Waffle stitch Bag
Difficulty
Easy
Materials
- 100% Acrylic or Cotton yarn, two strands, worsted weight, a solid + variegated
- Hook: US Size (5.5 mm)
Yarn Needle, Scissors, Measuring Tape,
Love This Pattern? There’s More Where That Came From!
You will discover my complete collection of crochet patterns,
tutorials, and resources, both free and premium, all in one convenient place.
I know you’ll find something to inspire your next project🙃
Instructions
The size depends on the yarn weight and hook size
The Body (Make 2 Rectangles)
Chain 32.
Row 1 (Foundation Row): Work one double crochet (dc) in the 3rd chain from the hook and in each chain across. The initial two chains do not count as a stitch. You should have 30 stitches.
Row 2 (First Waffle Repeat):
- Turn and work 1 dc in the first stitch. I recommend using a “stuck single crochet” for a straighter edge).
- Work a front post double crochet (fpdc) around the post of the second stitch.
- Work 1 regular dc in each of the next two stitches.
- Repeat: 1 fpdc, 2 dc all the way across until the end of the row.
- Finish: Work 1 fpdc followed by 1 regular dc in the last stitch (on top of the turning chain).
Row 3 (Second Waffle Repeat):
- Turn and work 1 dc in the first stitch.
- Work 1 regular dc in the next stitch (this was the fpdc from the previous row).
- Work 2 fpdc around the next two stitches (these were the regular dcs from the previous row).
- Repeat: 1 regular dc, 2 fpdc across the row.
- Finish: Work 2 regular dcs at the end of the row.
Total Rows: Continue repeating Row 2 and Row 3 for a total of 12 rows for the bag body
Handles and Assembly
- Handles: On the second rectangle, handles are worked on both sides. A longer on one side and a shorter on the opposite side, each handle is worked with 9 single crochet stitches across
Row 1 – : Sc 1 in the 1st st from the hook, sc 1 in next 7 stitches across, turn work
Repeat as many rows you wish I did 46 rows for the longer and 26 rows for the shorter
- Joining: Place the two rectangles together , wrong side in, and join them by working a single crochet round around the edges to connect the pieces.
- Function: The Japanese knot style is achieved by threading the longer handle through the shorter one to close the bag
Love What You See?
If my patterns and tutorials brighten your day, you can now support me with a tiny virtual coffee on Ko-fi! ☕
Every little bit helps me keep creating and sharing more cozy crochet magic💛
The Finished Bag
Once you’ve finished, you’ll have a structured wrist bag with:
- A beautiful waffle texture all around
- Two asymmetrical handles that loop together to close
- Enough room for your phone, keys, cards, and lip balm
- A handmade look that gets noticed
This bag also makes an incredible gift. Make it in someone’s favourite colour and you have something that looks like it came from a boutique — because in a way, it did.
**This is an original Sandra Regev pattern: Owner /Designer of Sandra Stitches. This pattern may not be redistributed for free, sale, or trade, but finished products can be sold with credit to this shop – enjoy!
If crochet supports your well-being, you’re not alone
Join the V-Stitch Club and create cozy handmade socks while caring for yourself
Looking for more crochet bag patterns👇
Check out all these, you will find one!
Did you try this Pattern? Share a picture
Tag me on Instagram
@sandrastitchesil
You’ve Got Your Pattern, Now What?
- PIN FOR LATER – Don’t lose this pattern. Save it to your Pinterest account so you can quickly come back to it later.
- SHARE YOUR WORK – Share your in-progress and finished projects on Facebook or Instagram and use the hashtag #sandrastitchesil
- SHOW OFF – Create a project on Ravelry to inspire and share your thoughts with others who might be interested in this project.
Questions?
Ask and share in our
FREE Facebook Group
DISCLOSURE
AMAZON ASSOCIATES: Sandra Stitches is a participant in the Amazon Services LLC Associates Program, an affiliate advertising program designed to provide a means for sites to earn advertising fees by advertising and linking to Amazon.com.
This post contains links to products that I use and recommend. If you purchase any using my links, I get a very small fee at no ad to you! Thank you for supporting my small biz!

