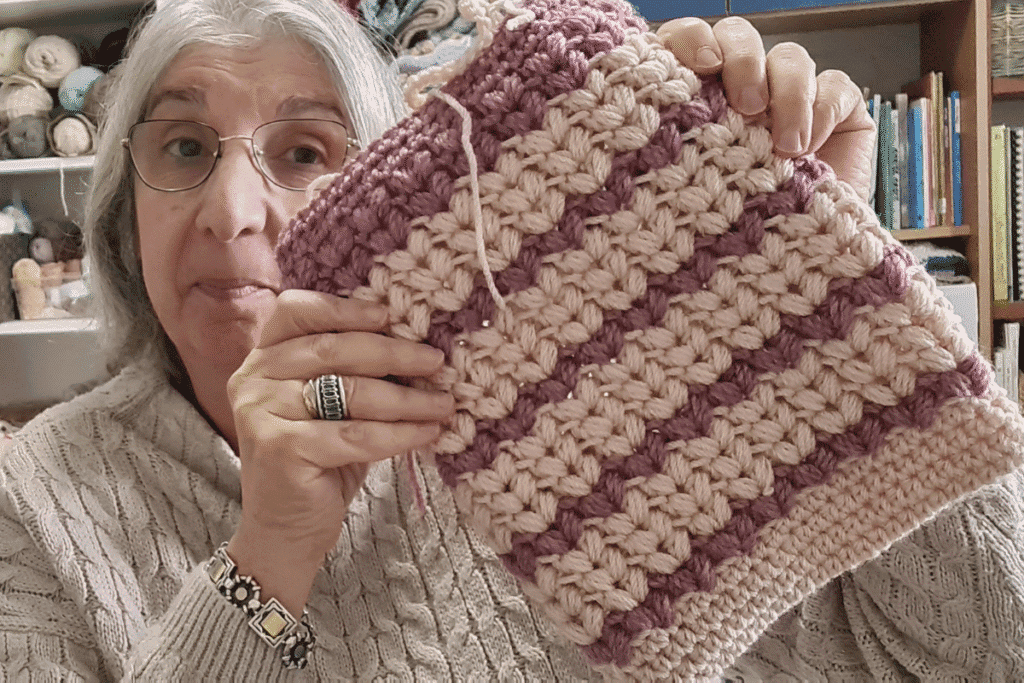
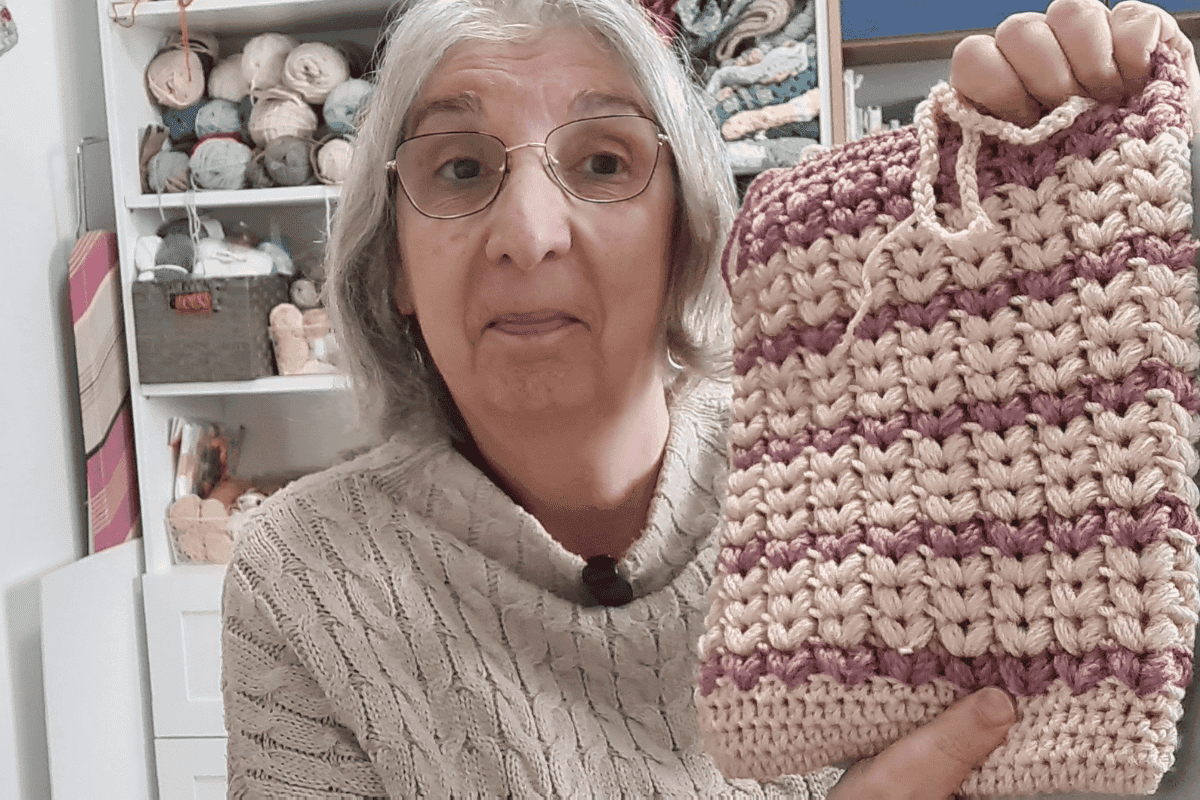
I made this for myself. That is where this whole thing started.
It was close to Valentine’s Day and I decided that this year, I am going to love myself a little more. No waiting for someone to give me something nice. I am going to make myself something beautiful.
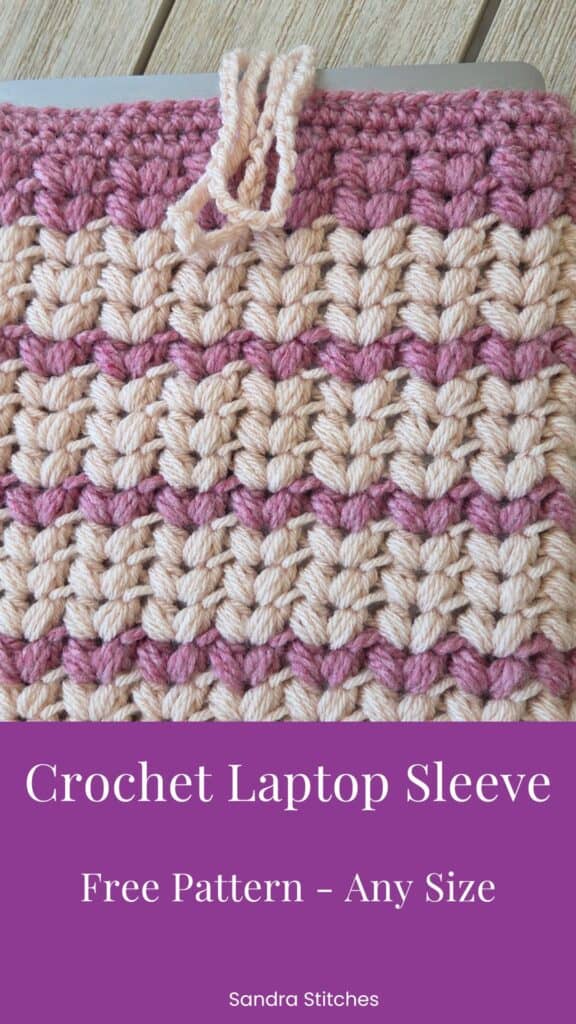
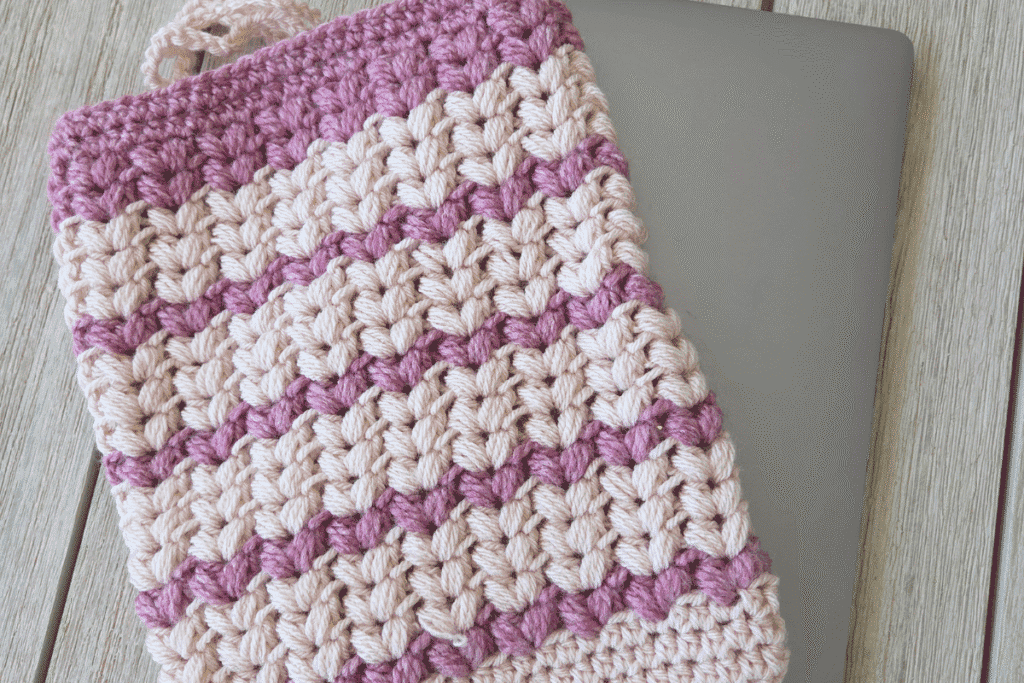
And so I did a crochet laptop sleeve in the most beautiful pink and cream, with little puff stitches that look like tiny hearts. I carried my laptop to my classes in it for the first time and honestly, I smiled every time I took it out.
You can make this too. This crochet laptop sleeve fits any size laptop because you start with your own measurements. I will give you everything you need at the end of this post.
Why I Used Acrylic Yarn (And Why That Is Fine)
I know some people will ask why acrylic and not cotton? Cotton is safer for electronics, yes. But I do not use my laptop at home. I use it when I teach.
I teach elderly people digital skills twice or three times a week and I take it to class in this sleeve. So for me, acrylic in weight 4 works perfectly. It is soft, it stretches just enough, and look at that colour.
If you use your laptop constantly at a desk and keep it in the sleeve all day, cotton might be a better choice for you. But for carrying it back and forth? This is absolutely fine.
I used two yarns, both weight 4 / worsted:
King Cole Big Value Chunky (pink) — also weight 4, not actually chunky despite the name
Signet Deluxe Chunky (cream / light) — from Wool Warehouse UK
Do you want to save this post for later? Go ahead and PIN IT!
How to Measure Your Laptop for a Custom Fit
This is the part that makes your sleeve fit perfectly instead of being too loose or too tight.
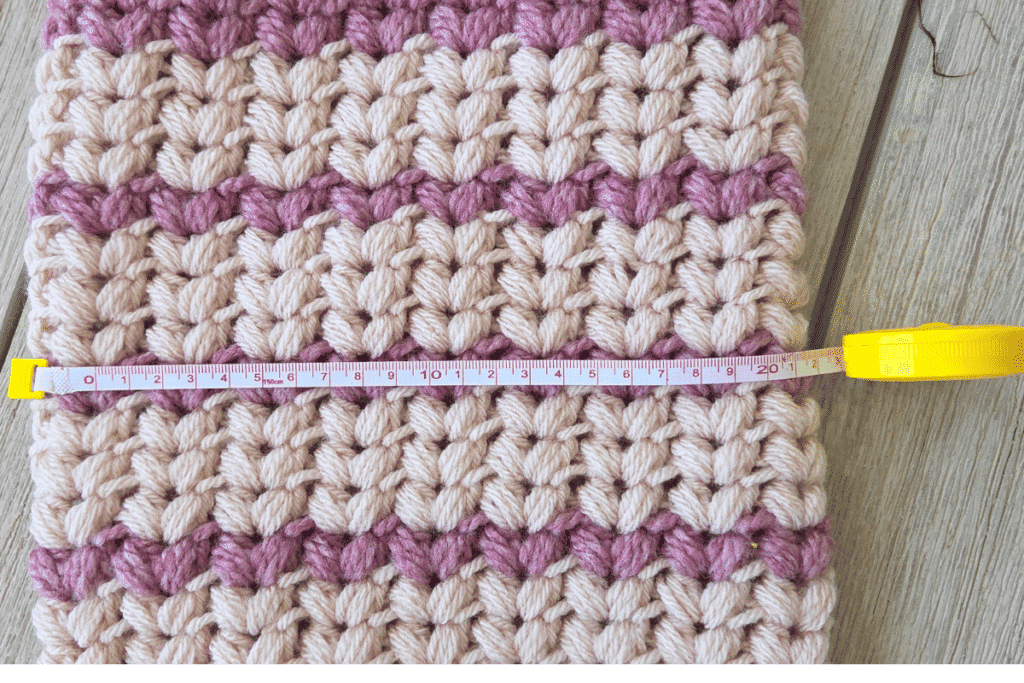
My laptop is 21.5 cm wide and 31 cm long (8.5 inches x 12 inches). Because I used acrylic yarn which stretches, I did not add extra ease , I knew the yarn would give me a little room anyway.
Here is what you do:
- Measure the width of your laptop (side to side)
- Measure the length (top to bottom)
- Because you are working in the round, you need width x 2 for your total circumference
My circumference was 17 inches (8.5 x 2). Then I made a gauge swatch to figure out how many stitches I needed.
Understanding Your Gauge Swatch
I know, I know. Nobody loves making a gauge swatch. But for a laptop sleeve it really matters you need this to fit your actual laptop.
With my 4mm hook and weight 4 yarn, I had 11 stitches per 4 inches. I calculated from there to get the right starting chain.
You do the same with your yarn and hook, measure 4 inches of your swatch and count your stitches. Then calculate how many you need for your total circumference.
** Some of the links in this post may include affiliate links. Purchasing from one of these links pays me a small referral fee at no added cost to you. These small fees add up and help me keep the blog running. View our Disclosure and Privacy Policy for more information.
Crochet Laptop Sleeve Pattern Any Size, Free Instructions
Materials
- Weight 4 / worsted yarn in two colours (or one, your choice)
- 4mm crochet hook
- Stitch markers
- Button for closure (optional)
How to Make the Puff Stitch
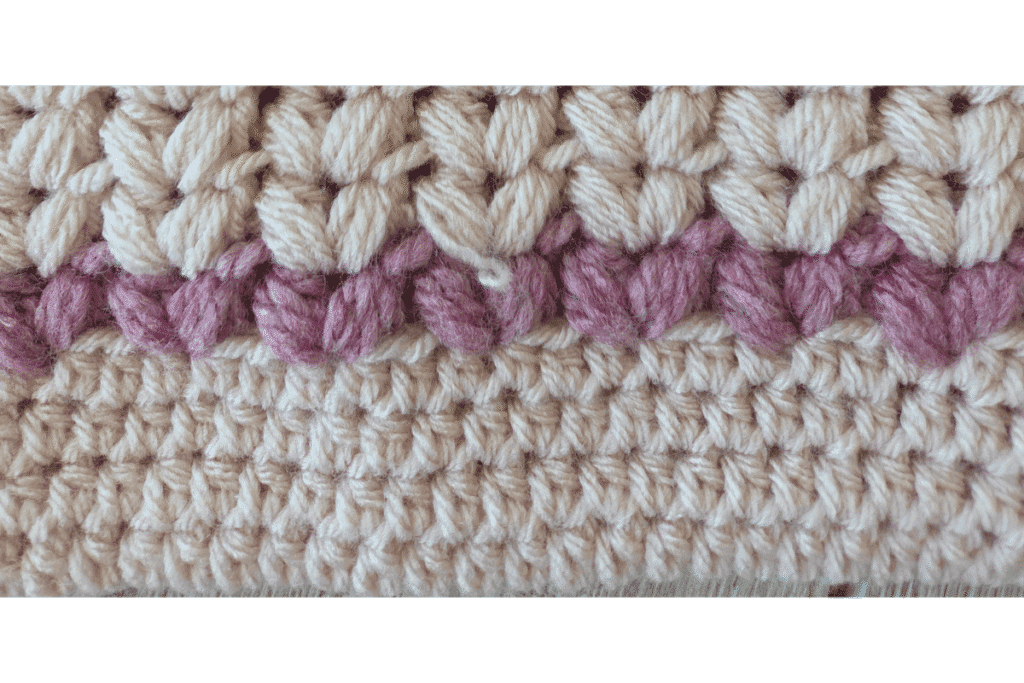
This is a half-puff / V-puff stitch — two puff stitches together that create a little heart shape. It sounds complicated and it is not. Once you do the first round, you will see exactly where everything goes.
For each puff: Yarn over, insert hook, pull up a loop , yarn over, insert hook in the same stitch, pull up a loop , yarn over, insert hook in the same stitch, pull up a loop. You now have 7 loops on your hook. Yarn over and pull through all 7.
One V-puff unit = puff stitch, chain 1, puff stitch in the same stitch.
The Instructions
Chain 27 (or your calculated number based on your gauge swatch), plus 1 turning chain.
Work in the round from the start: crochet across one side of your chain, then continue along the other side so you have a tube. You will have 54 stitches total around (or double your chain number).
Use stitch markers to mark the beginning and end of your round, especially for the first two rounds. Even if you have been crocheting for years — use them. There is nothing wrong with stitch markers and they will save you from losing your place.
Rounds 1–4: Base
Work 4 rounds of half double crochet (HDC), one stitch in each stitch around. This creates a solid, sturdy base for the sleeve.
Rounds 5 onwards: Puff Stitch Section
Round 5 (first puff round): Chain 2 to start. In the same stitch: work your first puff, chain 1, work your second puff. Skip 2 stitches. Repeat around. Join.
Round 6 and all following puff rounds: You are now working into the chain-1 spaces from the previous round. In each chain-1 space: work one puff, chain 1, one puff. Continue around for as many rounds as you need to reach your laptop’s length.
It goes quickly once you get into the rhythm. The rule is: two puffs in each chain-1 space, no chain between them, chain 1 after the pair.
Final 2 Rounds:
Work 2 rounds of half double crochet, one stitch in each stitch around. This tightens everything back together and gives the top of the sleeve a clean, neat edge.
Closure:
I simply chained a short length to wrap around a button. Nothing fancy — just a small chain loop on one side and a button sewn on the other. This also keeps the top open slightly, which is good for any electronic device that needs a little air.
Before you get started, check out my newest favorite finds!
Yarn Winder – a perfect crochet accessory
Steamer for Clothes – Portable, ideal for crochet projects
Blocking Mat – 12.5″ for all your squares
A Note on Mistakes
I made a mistake on one round — forgot one of the puffs and only noticed when I was already on the next round. Normally I would have frogged back and fixed it. This time I did not, because this was for me and I decided it was fine.
This is important. If you are making something for yourself, your standards can be a little more relaxed. If you are making for gifting, go back and fix it. Both of those things are true at the same time.
Love This Pattern? There’s More Where That Came From!
You will discover my complete collection of crochet patterns,
tutorials, and resources, both free and premium, all in one convenient place.
I know you’ll find something to inspire your next project🙃
Why Puff Stitches Are Worth It
I know some people are a little afraid of puff stitches.
They look big and complicated and yes, they eat yarn. In my first-ever free crochet along in the Facebook group we did a scarf with puff stitches and some members were very worried about it. But once you do a few, once your hands understand the motion , it just becomes a rhythm.
Yarn over three times, seven loops, pull through. That is it. You get used to it faster than you think.
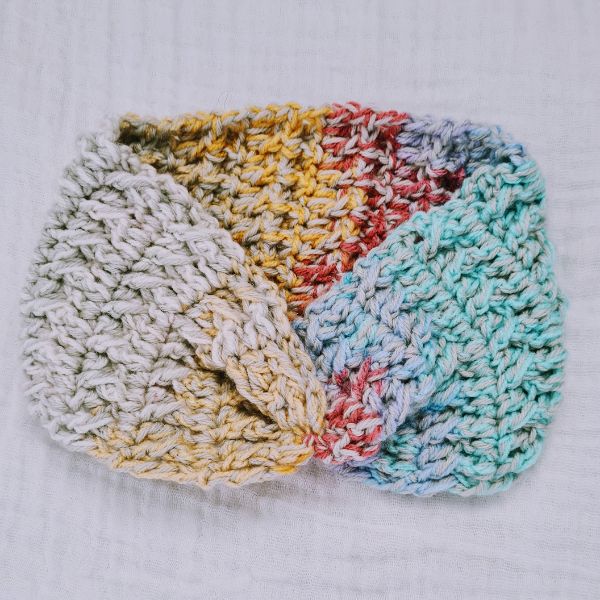
And the texture you get is absolutely worth it. Look at it. Squishy, dimensional, beautiful. Nothing flat about it.
This Is a For-Yourself Project
I want to say something before I finish. You do not need permission to make something just for you. Not for gifting, not for a pattern launch, not for a photo. Just because you wanted to make it and you will use it and it makes you happy.
I am doing more of that this year. Less designing-to-design, more making-what-I-actually-want-to-wear-and-use. It is relaxing in a completely different way. There is no pressure. Nobody is waiting for it. It is yours.
Make yourself something beautiful. You are allowed.
What You Will Need — Quick Summary
- Weight 4 worsted yarn in 1 or 2 colours
- 4mm hook
- Stitch markers
- Button + short chain for closure
- Your laptop measurements
Measure → swatch → calculate → chain → work in the round. That is the whole process. You can do this.
Like this project? Save it to Pinterest and come back to it whenever you need a quick, satisfying make.
More projects you might love:
Join the email list for new tutorials every week 👇
If you want two exclusive crochet patterns every month that are never sold and never made free anywhere else, come and join the V-Stitch Club. It is five dollars a month and you can cancel any time. The link is below.
Save this post. Every time you make a new bag you will want to come back to it.
**This is an original Sandra Regev pattern: Owner /Designer of Sandra Stitches. This pattern may not be redistributed for free, sale, or trade, but finished products can be sold with credit to this shop – enjoy!
Looking for more tutorials 👇
Did you try this Pattern? Share a picture
Tag me on Instagram
@sandrastitchesil
Questions?
Ask and share in our
FREE Facebook Group
DISCLOSURE
AMAZON ASSOCIATES: Sandra Stitches is a participant in the Amazon Services LLC Associates Program, an affiliate advertising program designed to provide a means for sites to earn advertising fees by advertising and linking to Amazon.com.
