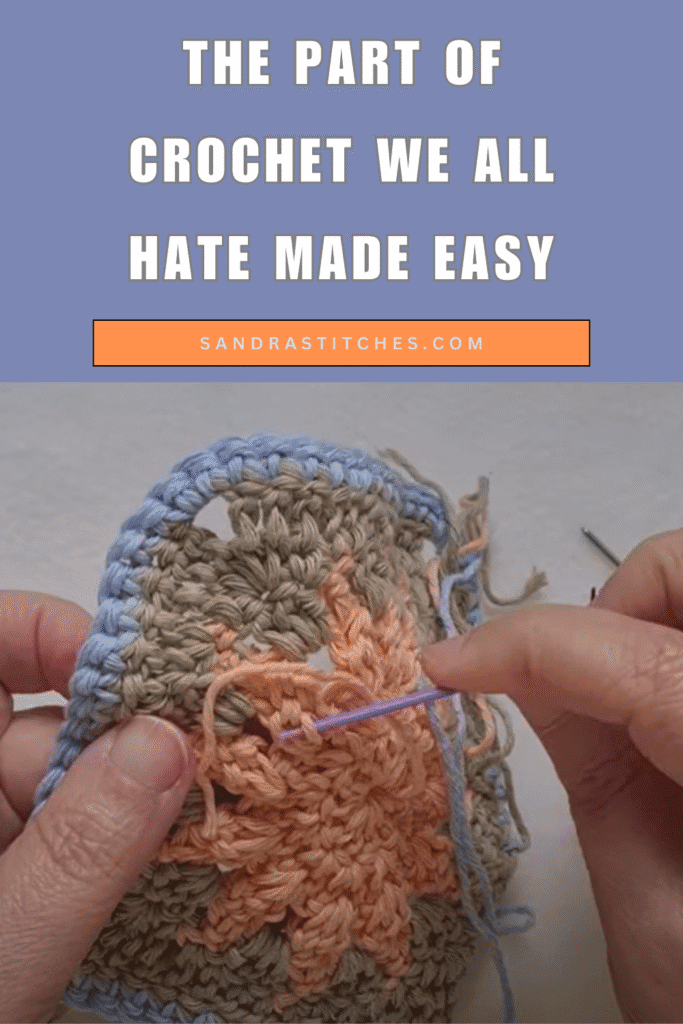
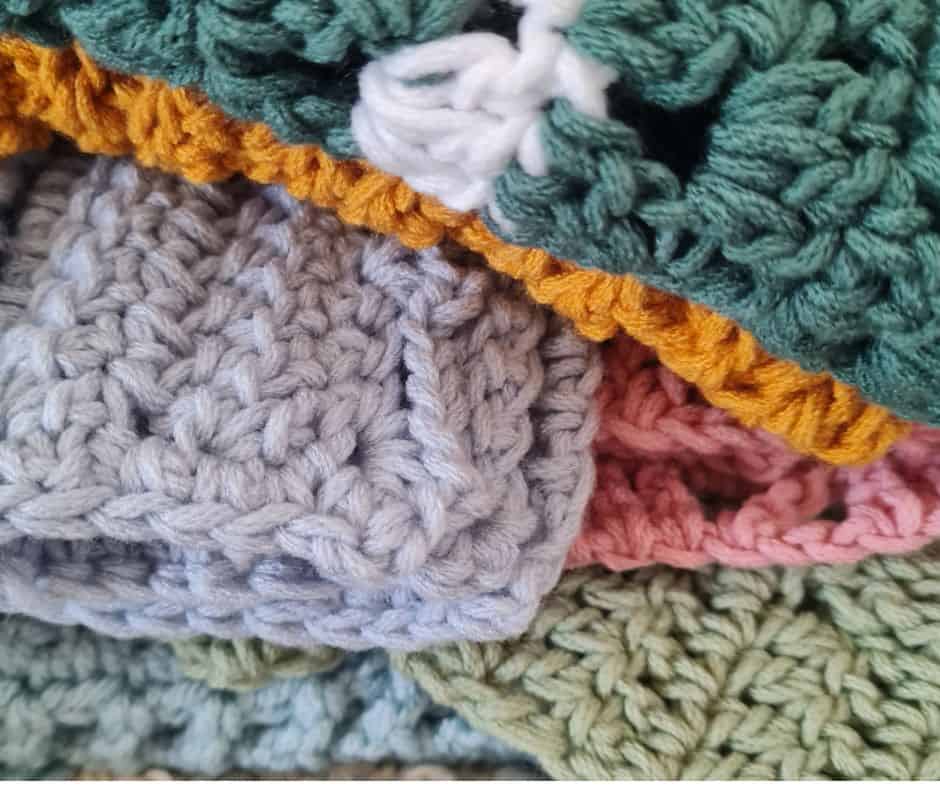
You pour your heart into a crochet project. You finish the last stitch. And then , puff all those loose ends staring back at you.
Weaving in ends is probably the most dreaded part of crochet, but it is also one of the most important.
Done right, it makes your work look polished and last for years. Done wrong, it unravels in the wash.
In this tutorial, I will show you three reliable methods for weaving in ends, plus which needle to use and why it matters more than you think.
Why Weaving In Ends Matters
Here is the thing, weaving in ends is not just about beauty, although the difference is dramatic.
A project with loose tails looks unfinished, even if every stitch is perfect.
But weaving in ends properly is also about durability. If you use your project regularly, wash it, and live with it for years, poorly secured tails will eventually work themselves loose and unravel.
Both reasons matter. Beauty and durability together.
No time to make it Today? Save to Pinterest!
Click your favorite image, below, and save to your Pinterest board or share with friends
What You Need
- Your finished crochet project with tails to weave in
- A tapestry needle (see below — the type really matters)
- Sharp scissors
Choosing the Right Needle
Not all tapestry needles are the same, and the one you choose can make weaving in ends much easier or surprisingly frustrating.
Plastic needle
The most common type, usually included in crochet kits. It works, but it tends to catch and split yarn as you weave. Not my first choice.
Straight metal needle
Better than plastic, and a good option for heavyweight yarns, chunky projects, amigurumi, or chenille.
The rounded tip and weight can make it feel clunky in lighter fabrics, though.
Curved metal needle (tapestry needle with a bent tip)
This is the one I recommend. The curved tip gives you direction as you move through the fabric, and it tapers from wider to narrower toward the point, which means it slides smoothly between stitches without splitting yarn. Once you try this type, you will not want to go back.
Sandra’s tip: Always leave a longer tail than you think you need. The more yarn you have to work with, the more securely you can weave it in — and longer tails are much less likely to unravel over time.

The 3 Methods for Weaving In Ends
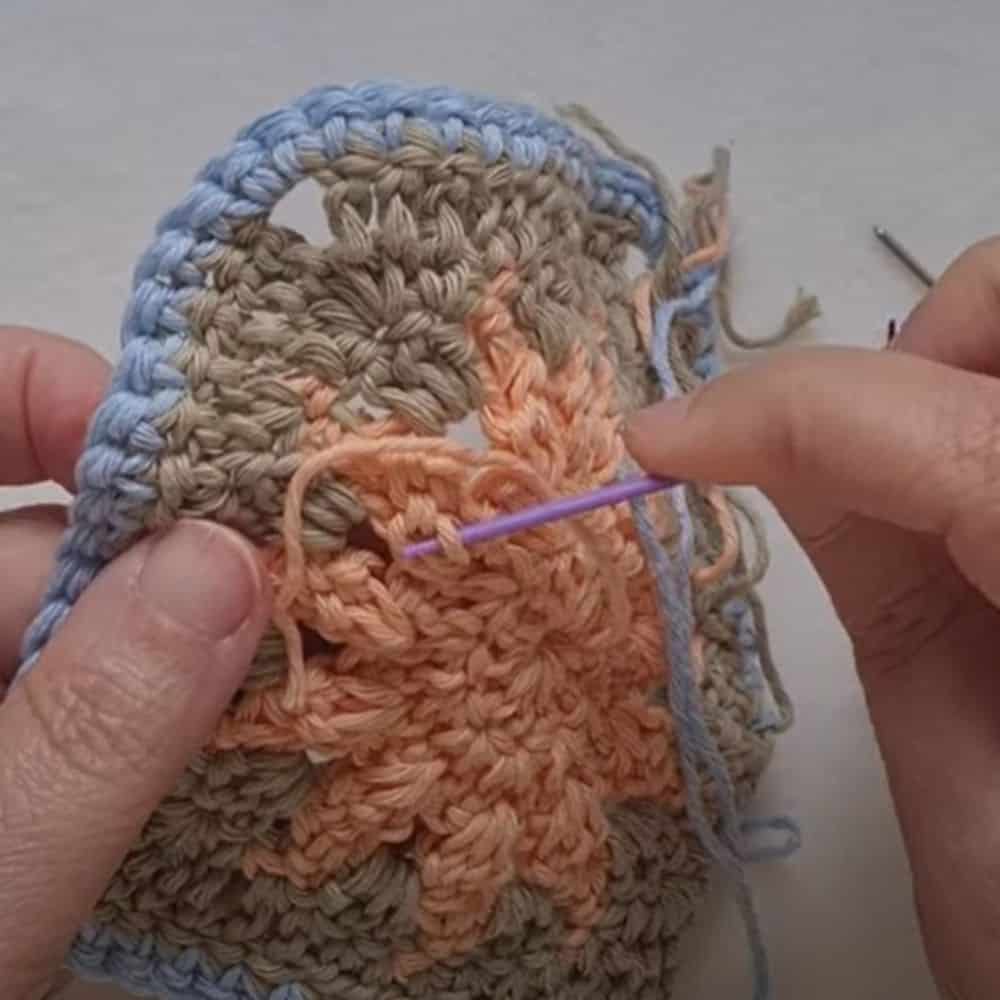
Method 1: The Rule of Three (weave in any direction)
This is the most versatile method and works on almost any crochet fabric.
- Thread your tail through the needle and work on the wrong side of your project.
- Match your yarn color so you weave the tail through stitches of the same color so it stays invisible.
- Insert the needle and weave through several stitches in one direction. That is one pass.
- Change direction and weave back through different stitches. That is two.
- Change direction once more and weave back again, picking new stitches each time. That is three.
- Trim the tail very close to the fabric. Because it has been secured in three different directions through different stitches, it will not budge — even in the washing machine.
The key: Never weave in and out of the same stitches each time. Change direction and pick different stitches. That is what locks the tail in place.
Love This Freebie? There’s More Where That Came From!
You will discover my complete collection of crochet patterns,
tutorials, and resources, both free and premium, all in one convenient place.
I know you’ll find something to inspire your next project🙃
Method 2: Along the Construction Lines
This method follows the natural structure of your stitches and is especially satisfying because the tail almost disappears completely into the fabric.
- Thread your tail and find the line of stitches that runs in the same direction as your tail: for example, along the start of a round, or along a row of puff stitches.
- Weave the needle all the way through those stitches, following their direction as far as your tail allows.
- Now go back, but skip the last stitch you entered. Weave back through the others.
- Skip the last stitch again and go back one more time. Three passes total.
- Trim and you are done. This tail is going nowhere.
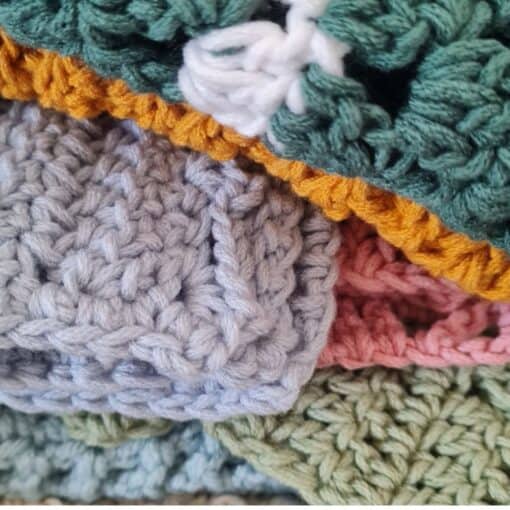
This method works beautifully on cotton yarns, rows, and any project with clear construction lines like bags, blanket squares, or flat panels.
Method 3: Securing a Magic Circle (for beanies and circular projects)
If you start projects with a magic circle like beanies, granny squares, or amigurumi, you know the problem.
The circle can loosen over time, and the top of your beanie starts to open up. This method prevents that.
- Before you weave in, tie one or two secure knots very close to the fabric at the base of the magic circle. This anchors it physically, not just through weaving.
- Then thread your needle and weave the remaining tail in as usual around the circle and through the nearby stitches.
- The knots, plus the weaving together, give the center total security. No amount of use or washing will open that circle.
Important: Work on the back (wrong) side of your project throughout. And always match your yarn color to the stitches you are weaving through — this keeps everything invisible from the front.
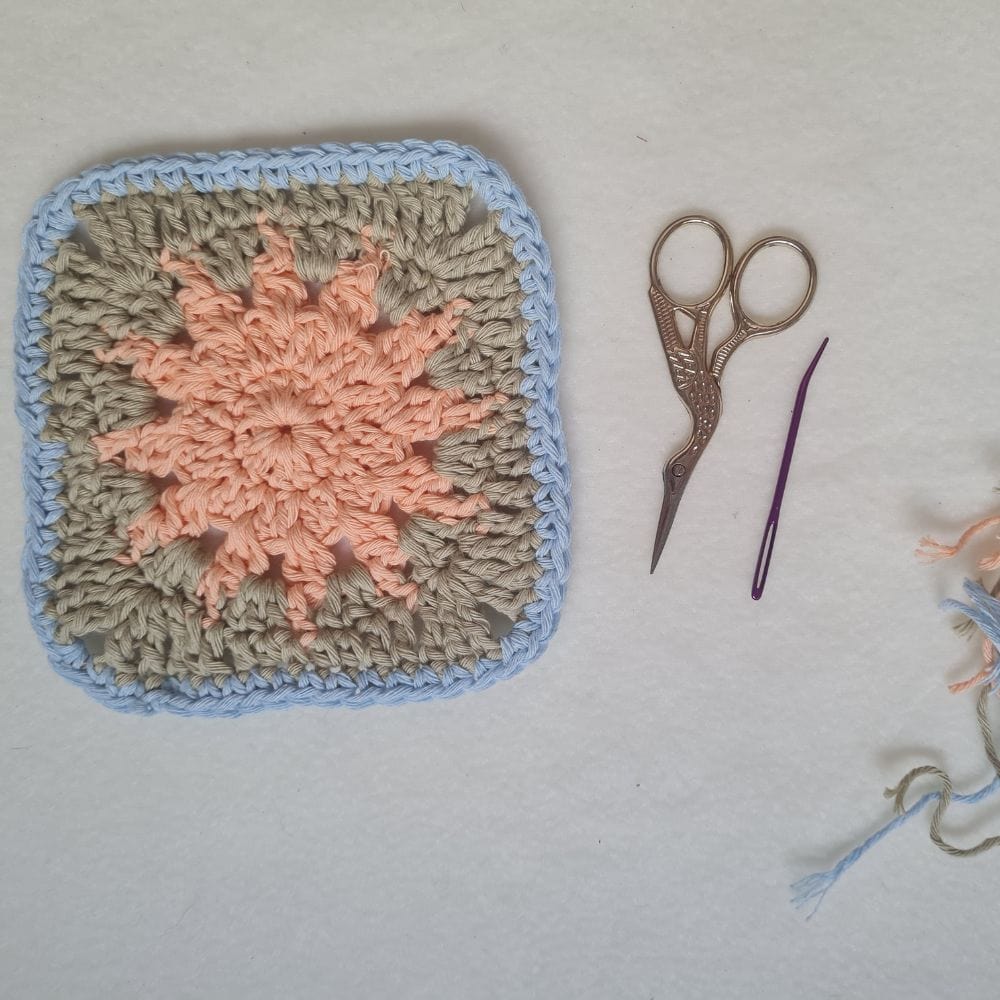
Before and After
The difference between a project with loose tails and one with all ends properly woven in is remarkable.
From the front, you see nothing, no tails, no bumps, no evidence of where yarns began or ended. Just clean, beautiful crochet.
And from the back? The weaving is hidden between the stitches. You cannot see it. You cannot feel it. It is just there, quietly holding everything together.
What to Make Next
Now that your finishing technique is solid, put it to work on a new project. Here are some to try next:
- How to Crochet a V-Stitch Cardigan
- Easy Crochet Market Bag for Beginners
- Crochet Granny Square Tutorial (Perfect for Blankets)
Did you try this Pattern? Share a picture
Tag me on Instagram
@sandrastitchesil
You’ve Got Your Pattern, Now What?
- PIN FOR LATER – Don’t lose this pattern. Save it to your Pinterest account so you can quickly come back to it later.
- SHARE YOUR WORK – Share your in-progress and finished projects on Facebook or Instagram and use the hashtag #sandrastitchesil
- SHOW OFF – Create a project on Ravelry to inspire and share your thoughts with others who might be interested in this project.
Or join the V-Stitch Club $5/month, 2 exclusive patterns every month, never free anywhere else. Learn more →


One thought on “How to Weave In Ends in Crochet (3 Methods That Actually Hold)”
Sandra, this is one of the most useful crochet blog posts I have ever seen. Thank you!