Welcome to the enchanting world of crochet, where creativity meets simplicity.
If you’re looking to add a new texture to your crochet projects, the Crunch Stitch might just become your new favorite.
Thanks to its versatile nature, this stitch is perfect for creating various projects ranging from cozy blankets to stylish hats.
Let’s dive into the details of how you can get started with this beautiful stitch in just a few simple steps.
Watch the video below for a step-by-step tutorial
Be creative!
What Makes the Crunch Stitch Special?
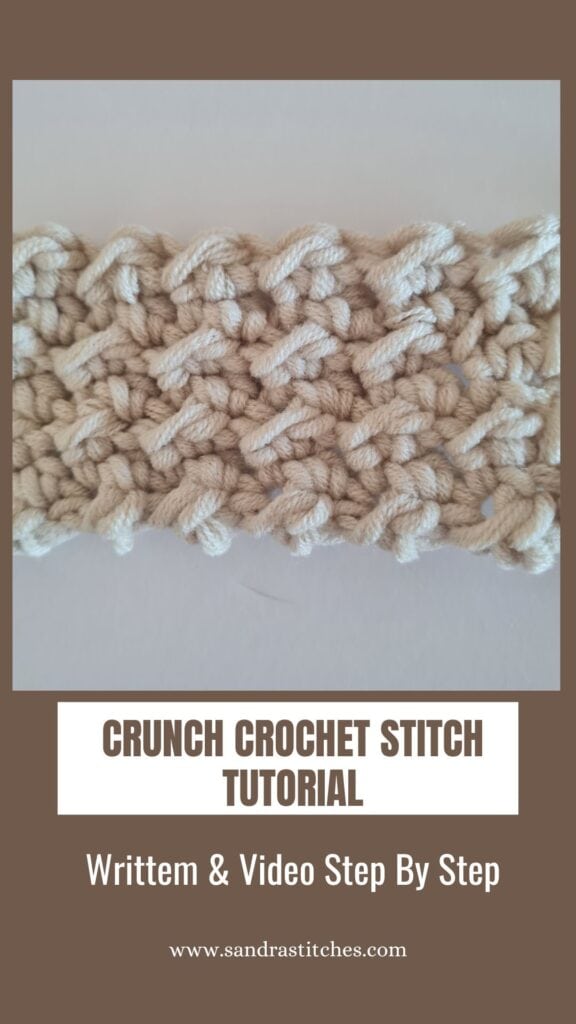
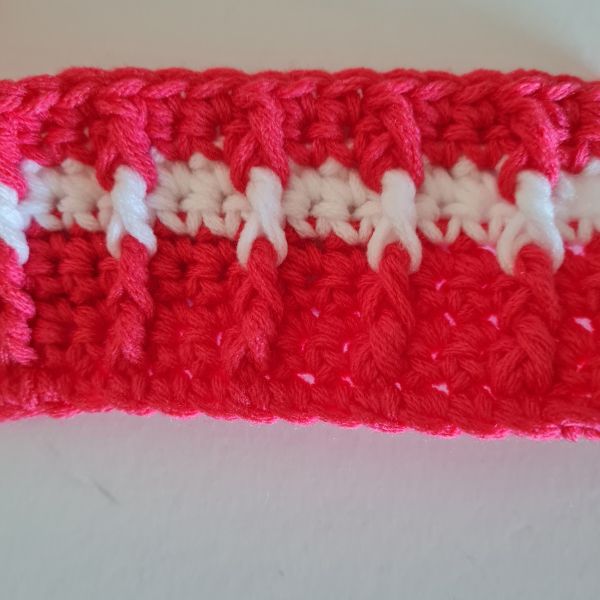
The Crunch Stitch stands out due to its incredible texture and ease of execution.
It’s a one-row repeat stitch pattern, which means you can quickly pick up the rhythm, making it beginner-friendly.
Both sides look the same, offering a polished finish for projects like baby blankets, washcloths, or even tops.
The stitch pattern brings out bold texture when used with bulky yarn, adding a chunkiness that’s sure to catch the eye.
The form you have selected does not exist.
Do you want to save this post for later? Pin it 👇
Getting Started: Materials You’ll Need
Before we jump into the step-by-step process, ensure you have the right materials:
- Yarn: Opt for a bulky yarn to enhance the texture of the Crunch Stitch.
- Hook: A 6 mm crochet hook works well with bulky yarn.
- Yarn Needle: For weaving in ends.
If you’re ready, grab your materials, and let’s get crocheting!
** Some of the links in this post may include affiliate links. Making a purchase through one of these links pays me a small referral fee at no added cost to you. These small fees add up and help me keep the blog running. View our Disclosure and Privacy Policy for more information.
Step-by-Step Crunch Stitch Tutorial
Foundation Chain
Start by making a foundation chain in multiples of two. This even number setup lays the foundation of your project, adjusting to the desired width or length.
Row One: Establishing the Pattern
- Begin: Skip the first chain from the hook.
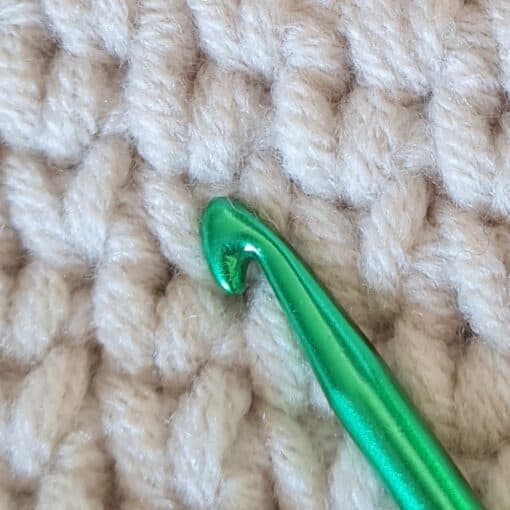
- Slip Stitch: Insert your hook into the second chain, and make a slip stitch.
- Half Double Crochet: In the next chain, work a half double crochet.
- Repeat: Continue alternating slip stitches and half double crochets across the row.
This initial row may feel a bit rocky due to the slip stitches, but don’t worry—it smooths out beautifully after a few rows.
Transition to Row Two
- Chain Two: Turn your work after completing the first row. Chain two; this will act as your first half double crochet for the new row.
- Slip Stitch: Make a slip stitch on top of the next half double crochet from the previous row.
- Repeat Pattern: Continue with one half double crochet on top of each slip stitch and one slip stitch atop each half double crochet.
The pattern is simple: on top of a half double crochet, work a slip stitch and vice versa.
Before you get started…
Check out my Favorite items and tools
Rechargeable LED night reading light on Amazon
Bamboo Hooks on Amazon
Colorful Bobby pins as crochet markers on Amazon
Crochet Crunch Stitch Video Tutorial
Love This Pattern? There’s More Where That Came From!
You will discover my complete collection of crochet patterns, tutorials, and resources, both free and premium all in one convenient place.
I know you’ll find something to inspire your next project🙃
All Things Crochet Start Here →
Consistency is Key
Keep building row after row, repeating the sequence. Remember, starting and ending with slip stitches will maintain the even flow of your project. As you progress, the stitch pattern not only becomes easier but also more uniform thanks to its simplicity.
Tips for Success
- Bulky Yarn Preference: The Crunch Stitch tends to look best with bulkier yarns. They highlight the trait texture, making it more pronounced.
- Yarn Splitting: Be mindful of yarn splitting when executing the stitch. A firmer yarn twist can prevent this.
Want more stitch tutorials:
Click here to share your finished project with our community!
A new stitch steps
- When learning a new stitch, try several yarn weights and hook sizes to understand how the stitch works and looks.
- Use light yarn colors to get the stitch to form the right shape.
- Make several swatches before starting a new project
Stay Calm and Crochet!😎
Sandra
Interested in a professional Paperback Crochet Planner?
DISCLOSURE
AMAZON ASSOCIATES: Sandra Stitches is a participant in the Amazon Services LLC Associates Program, an affiliate advertising program designed to provide a means for sites to earn advertising fees by advertising and linking to Amazon.com.
This post contains links to products that I use and recommend, If you purchase any using my links I get a very small fee at no ad to you! Thank you for supporting my small biz!
