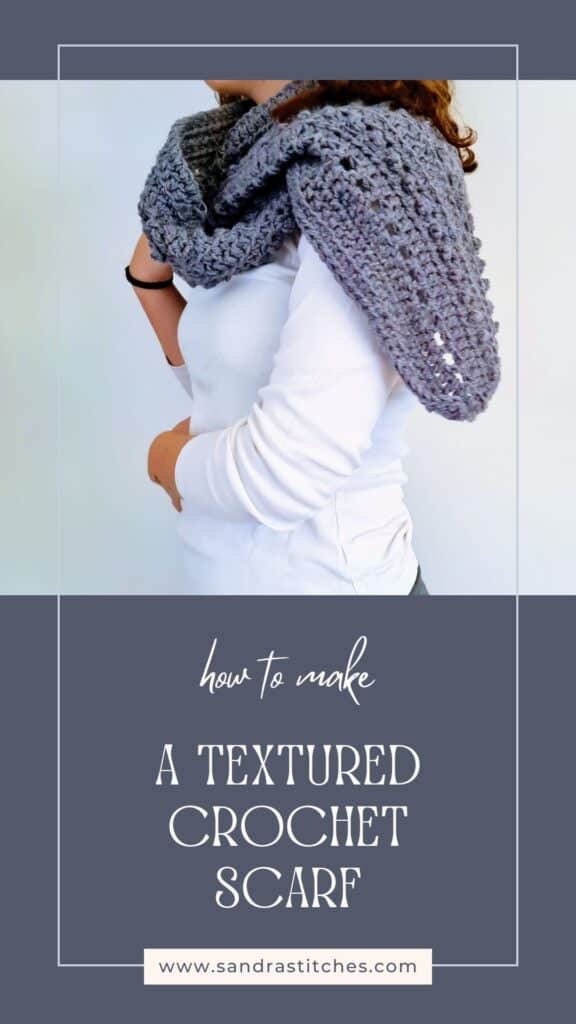
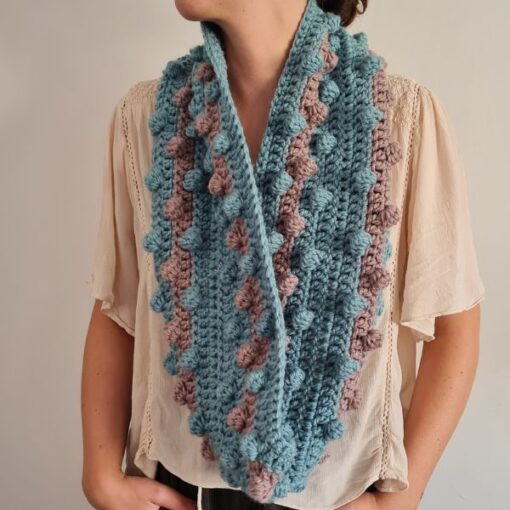
Winter Textured Crochet Scarf Pattern – High Winds is your next crochet project for you!
As the chill of winter sets in, there’s no better way to stay cozy than with a beautifully textured crochet scarf.
The High Winds scarf pattern is designed to capture the essence of winter with its cozy texture and warmth, making it perfect for braving the cold. Keep in mind that this pattern offers a rewarding project that combines ease with style.
With its versatile design, you can customize it to fit your personal taste, from choosing vibrant colors to experimenting with different yarn weights.
This scarf is not just a winter accessory; it’s a statement piece that adds a touch of handmade charm to any outfit.
Are you with me?
There are 2  ways to get this pattern:

Option 1: You can purchase the individual pattern as an easy-to-read, print-friendly PDF  from HERE

Option 2: Scroll down to get the written instructions for this pattern for free
Do you want to save this post for later? Go ahead and PIN IT!

You will find instructions in the free pattern below ⬇️
** Some of the links in this post may include affiliate links. Purchasing one of these links pays me a small referral fee at no added cost to you. These small fees add up and help me keep the blog running. View our Disclosure and Privacy Policy for more information.
I love my long crochet scarves
Crochet scarves have made a huge comeback lately, especially those super long ones that you can wrap around your neck a few times.
They’re perfect for those chilly days when you need something cozy but don’t want to commit to a bulky winter coat.
What’s cool is how versatile they are—you can dress them up or down, and they work with pretty much any outfit.
Plus, if you’re into making stuff yourself, they’re a great beginner project since you’re basically just doing the same stitch over and over.
The repetitive motion is actually pretty relaxing once you get into it, and before you know it, you’ve got this gorgeous handmade accessory that’ll last for years.
Before you get started, check out my Favorite Crochet Tools (affiliate)
Yarn Winder – a perfect crochet accessory
Neck Stretcher – to keep you without neck and back pain
Gauge Ruler – so you always get the right size
Pattern Designed By: Sandra Stitches This pattern is copyright protected; it is unlawful to distribute this pattern in any form (free, sale or trade).
How long does it typically take to complete the Winter Textured Crochet Scarf Pattern?
The time it takes to complete a crochet scarf, including the Winter Textured Crochet Scarf Pattern, can vary significantly based on several factors, such as the complexity of the pattern, the skill level of the crocheter, and the materials used.
Generally, simple crochet scarves can be completed in a few hours to a few days.
For instance, some chunky patterns can be finished in under two hours, while more intricate or longer scarves might take several hours or even days to complete
The Winter Textured Crochet Scarf Pattern involves more complex stitches and a longer length, it could take longer, potentially ranging from 8 to 16 hours or more, depending on the individual’s speed and experience
Let’s get to the pattern, shall we? Making the High Winds Scarf

Materials I used
This is the yarn I had at hand – do not forget I make a sample for you to learn- so be creative and choose the yarn you love. Feel it before starting your project.
I know there are a million different yarn choices out there that also depend on where you live, so just be creative!
King Cole Limited edition DK 100% recycled- I used two strands to make it bulky yarn- so I used 3 skeins, but if you use aran or bulky weight yarn 2.5 skeins will do!
Hook: US Size 5mm
Yarn Needle, Scissors, Measuring Tape
Sizes
- This sample is: Length: 200cm 78.74” Width: 24 cm 9.45”
Stitch Key
- Ch = Chain
- Sc = Single Crochet
- St = Stitch
- Dc = Double Crochet
- Hdc = Half Double Crochet
- Tr = Treble Crochet
Specialty Stitches
Spuff st – watch video 👇
Sc 1( or SlSt ) in next st, Tr 1 in next
Notes
- This pattern uses US terminology
- The pattern is worked in rows
- Ch 1 at the beginning of the row does not count as st
- Ch 3 at the beginning of the row does count as st
- This pattern uses pattern repeats.
- You can work this pattern with one color or multiple as you wish- I used one solid color
Instructions
Foundation chain: ch 180 +1 st
R1: Hdc 1 in 2nd ch from hook, hdc 1 in every ch across to end of row, ch 1 and turn your work.
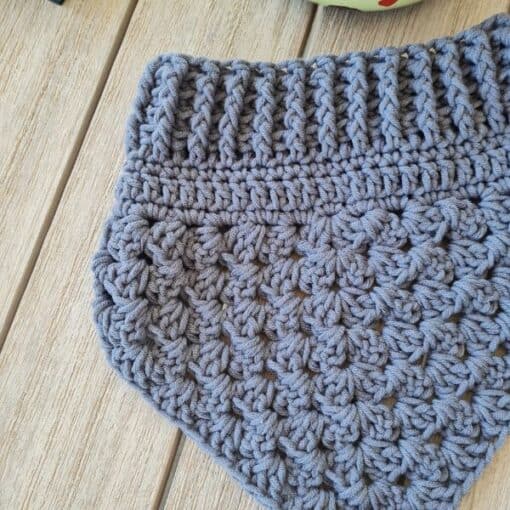
R2 + 3:Hdc 1 in 1st st from hook, now we will make a special HDC – if you look at your stitch you see the V top of the stitch- look at the loop beneath the V it is called the 3rd loop. It is in front of the stitch- this is where you will yo and make your Hdc- so it makes the fabric more textured and reveals a line on each row- now 3rd loop hdc on each stitch from the prev row to the end.
R4: Ch 4 ( counts as 1st st+ch space,) dc in 3rd st from hook, ch1, skip 1, dc1, and so on across to end or row- You should have windows all across; turn
R5: Ch 1 and hdc in 1st st from hook, hdc 1 in ch space, hdc 1 on dc from prev row, hdc 1 in ch space and so on 1 hdc in every st across to end of row. Count your stitches to ensure you have the same amount from the start. turn work
R6: Now we will make the sPUFF st. It is very simple: ch1, sc in first st from hook, tr in next st, sc in next st, tr in next st, sc in next ,and so on across to the end of row- 1 tr, 1sc. This gives us the simple puff stitch- finish with a sc turn work
R7: Ch1, hdc in 1st st from hook on top of sc from prev row, hdc in next st (on top of tr from prev row, and so on across to end of row. 1 hdc on top of each st from the prev row.
Now, we repeat rows
R8+9: Repeat rows 2+3
R10: Repeat row 6
R11:ch1, hdc in 1st st from hook on top of sc from prev row, hdc in next st (on top of tr from prev row, and so on across to end of row. 1 hdc on top of each st from the prev row.
R12: Ch 4 counts as 1st st+ch space, dc in 3rd st from hook, ch1, sk 1, dc1 and so on across to end or row- You should have windows all across
R13: Ch 1 and hdc in 1st st from hook, hdc in ch space, hdc on dc from prev row, hdc in ch space and so on 1 hdc in every st across to end of row. Count your stitches to ensure you have the same amount from the start. turn work
R14+15: Repeat rows 2+3
R16: Ch1, hdc in 1st st from hook and hdc in every ch across to end of row
Love This Pattern? There’s More Where That Came From!
You will discover my complete collection of crochet patterns, tutorials, and resources, both free and premium, all in one convenient place.
I know you’ll find something to inspire your next project🙃
All Things Crochet Start Here →
Do you want to save this post for later? Pin it!

Want more scarf patterns?
DISCLOSURE
AMAZON ASSOCIATES: Sandra Stitches is a participant in the Amazon Services LLC Associates Program, an affiliate advertising program designed to provide a means for sites to earn advertising fees by advertising and linking to Amazon.com.
This post contains links to products that I use and recommend, If you purchase any using my links I get a very small fee at no ad to you! Thank you for supporting my small biz!


