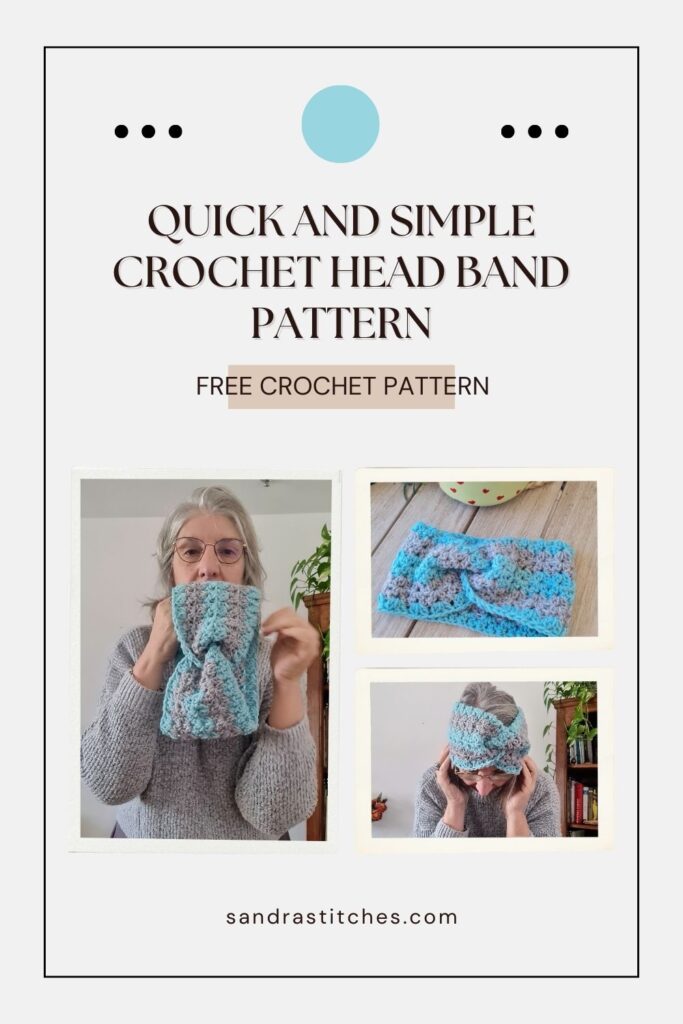
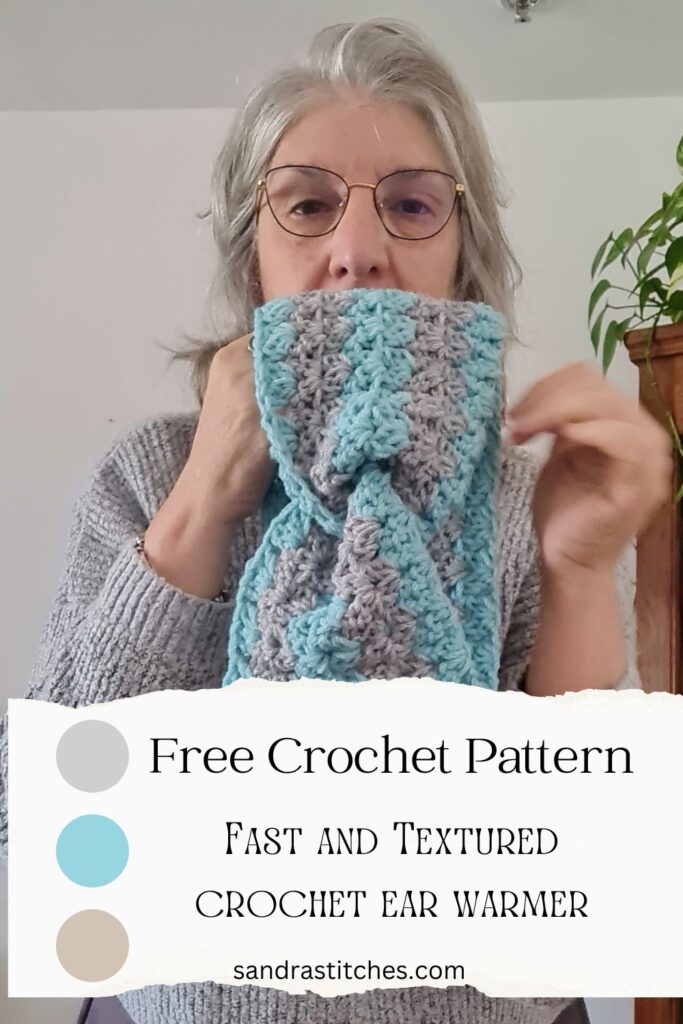
Hello my crochet friend! Today I have this amazing super fast and textured crochet ear warmer pattern for you! The Puff Puff Ear Warmer / Headband
Woow so many words to describe an hour of work for a crochet headband that is so cozy it keeps your ears wam.
When you think of keeping your head and ears from the wind and rain, keep in mind a good wide crochet ear warmer is a real gift! And this free pattern is just for that
Are you with me on this one?
This pattern is part of the Twist and Tops Crochet Headbands Series Crochet Along – Scroll down for details 🔽
Find the free pattern below or purchase the ad-free PDF version of this pattern on Ravelry. The PDF is designed for printing and this way you can support me! Thank you!
What can I tell you about this Fast and Textured Crochet Ear Warmer pattern?
- When looking for a quick crochet project you can finish in an hour- this one crochet ear warmer free pattern is here for you!
- The stitch I used for this design is the puff V stitch, an awesome stitch that gives your ear warmer so much texture
- Loving multi-color accessories? we have here two colors but I can imagine this crochet ear warmer pattern made with five rainbow style…
** Some of the links in this post may include affiliate links. Purchasing one of these links pays me a small referral fee at no added cost to you. These small fees add up and help me keep the blog running. View our Disclosure and Privacy Policy for more information.
Before you get started, check out my newest favorite finds! (affiliate)
Yarn Winder – a perfect crochet accessories
Neck Stretcher – to keep you without neck and back pain
Gauge Ruler – so you always get the right size
Crochet Ear Warmers: The Perfect Project for Beginners
Total beginners will find this super fast and texture crochet headband pattern to be a great way to start a fun new DIY hobby, while more experienced crocheters can use it as a quick project to use up stash yarn. Plus they make great homemade, handcrafted gifts for teachers, co-workers, neighbors, and anyone else on your list! No one will know you worked up these cute, cozy ear warmers in under an hour! Amazing yes?
Pattern Designed By: Sandra Stitches This pattern is copyright protected; it is unlawful to distribute this pattern in any form (free, sale, or trade).
What size should my textured ear warmer be?
If you’re making your crochet ear warmer or headband as a gift, be sure to pay attention to the size of the receiver. How wide an ear warmer or headband should be will also depend on the pattern itself and your preference, but around 3-4 inches (7-10 cm) is a good starting point. Make sure it covers the ears and you are good to go!
Let’s get to the pattern, shall we? A fast and textured ear warmer crochet pattern
Difficulty
Easy, Beginner
Materials
- Cygnet Chunky, 100gr 100% Superior Acrylic, 156 m, color light blue(A) and grey (B), I used 33gr or any #4 yarn
- Hook: US Size H-8 (5 mm)
- Yarn Needle, Scissors, Measuring Tape
Gauge
- 10 st X 5 rows
Sizes
- This sample is: 22” in circumference X 6” in width
Stitch Key
- Ch = Chain
- St = Stitch
- Dc = Double Crochet
- Yo = Yarn over
Specialty Stitches
Dc2tog = Yo, insert hook into stitch indicated, pull up a loop, yo, draw through 2 loops (first leg made), yo, insert hook into next stitch indicated, draw up a loop, yo, pull through 2 loops (second leg made), yo, pull through all 3 loops on hook.
Puff V st = ( Dc2tog, ch 1, Dc2tog ) in same spot
Notes
- The pattern is worked in rows
- Ch2 does count as st at the beginning of each row
- This is a one row repeat pattern
- You can work this pattern with one color or multiple as you wish- I used two colors
- If changing colors make sure to have a changing technique and weave your ends in. Watch this video
Instructions
Start with color A
Chain 66+2
Row 1: Puff V St in 4th ch from hook, *skip 2 ch , Puff V st in next ch, repeat from * to end of row, finish with dc 1 in last ch , Change to color B and turn
Row 2: Ch 2 (counts as 1st st), Puff V st in ch 1 space of next puff v st from prev row, repeat across to end of row, finish with dc 1 in lasr st
Row 3: Repeat row 2
Now change to color A
Row 4+5: repeat row2
Change color back to B
Row 6+7: repeat row 2
Change color back to B
Row 8: repeat row 2
Finishing
Fold two sides of the rectangle as shown in the image, the wrong side out.
Sew all parts together.
Secure, cut your yarn, and weave in the ends.
Switch sides of the headband- right side out!
Enjoy!
The Twist and Tops Headband Series Crochet Along
Check the main post HERE
Want to save this post for later? Pin it!
Did you try this Pattern? Share a picture
Tag me on Instagram
@sandrastitchesil
Want more crochet headband ideas?
Questions?
Ask and share in our
FREE Facebook Group
DISCLOSURE
AMAZON ASSOCIATES: Sandra Stitches is a participant in the Amazon Services LLC Associates Program, an affiliate advertising program designed to provide a means for sites to earn advertising fees by advertising and linking to Amazon.com.
This post contains links to products that I use and recommend, If you purchase any using my links I get a very small fee at no ad to you! Thank you for supporting my small biz!

