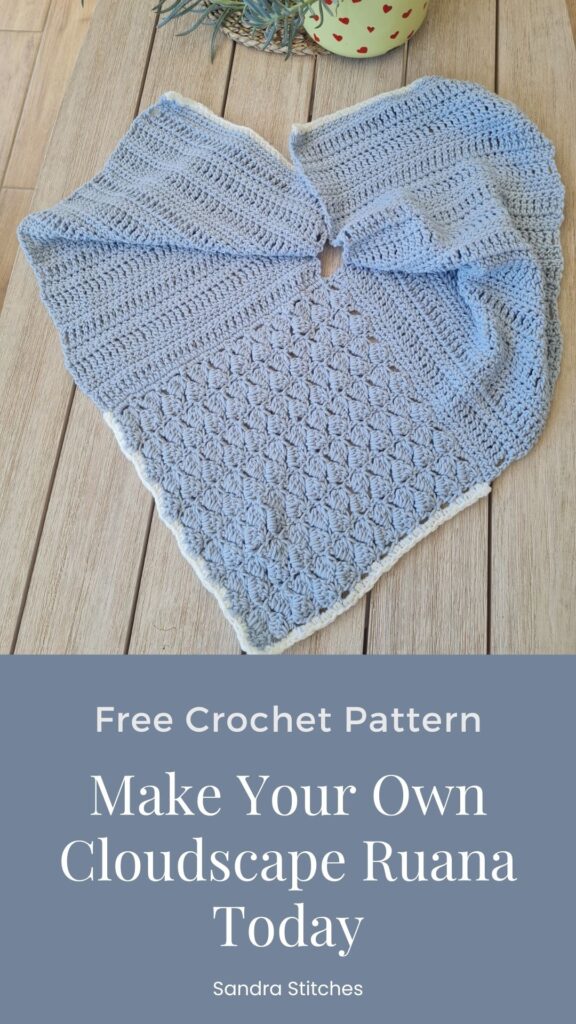
If you’ve been looking for a crochet ruana pattern that feels soft, light, and easy to sink into after a long day, this one is such a joy to make.
I wanted something that drapes beautifully without being heavy, and the mix of simple ribbing with those soft little clusters creates that perfect “cozy but airy” feeling.
It’s the kind of project you can pick up anytime, when you want a calming rhythm, when you need a break, or when you just feel like working on something pretty.
And once it’s done, it becomes one of those layers you reach for constantly.
Below you’ll find all the details before you start: yarn notes, how the construction works, and a quick overview of what to expect as you stitch your way through it
Are you with me?
How to Get the Ad-free PDF of this Design
The pattern instructions are available below, but you can get the formatted, printable, ad-free PDF for just a few dollars in our shop and support my business, thank you!!!
No time to make it Today? Save to Pinterest!
Click your favorite image, below, and save to your Pinterest board or share with friends
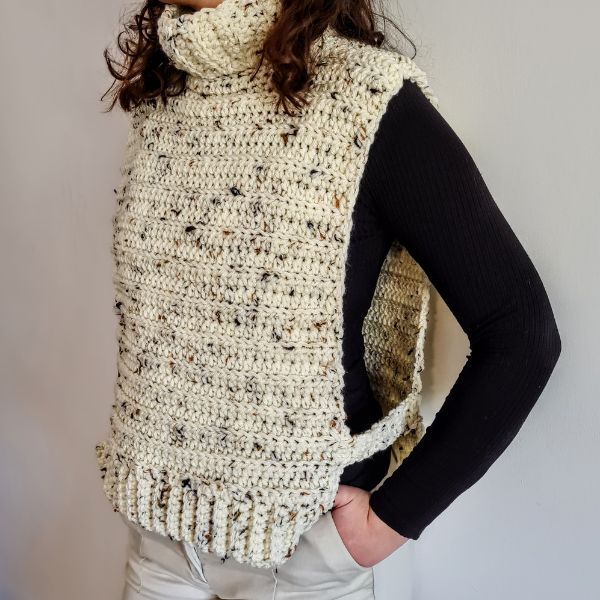
How to Wear and Style Your New Ruana
This ruana is the kind of piece you end up keeping by the door because you just reach for it all the time.
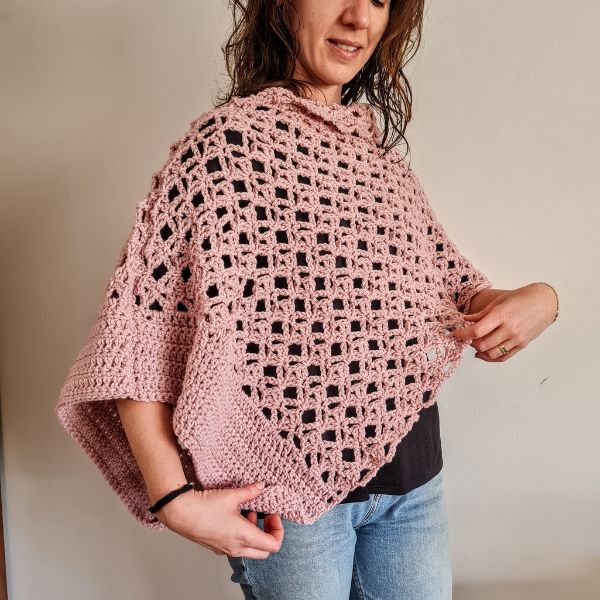
It drapes nicely over anything: jeans, leggings, dresses, whatever you love wearing.
Leave it open for that breezy, effortless vibe, or add a belt if you want a little shape.
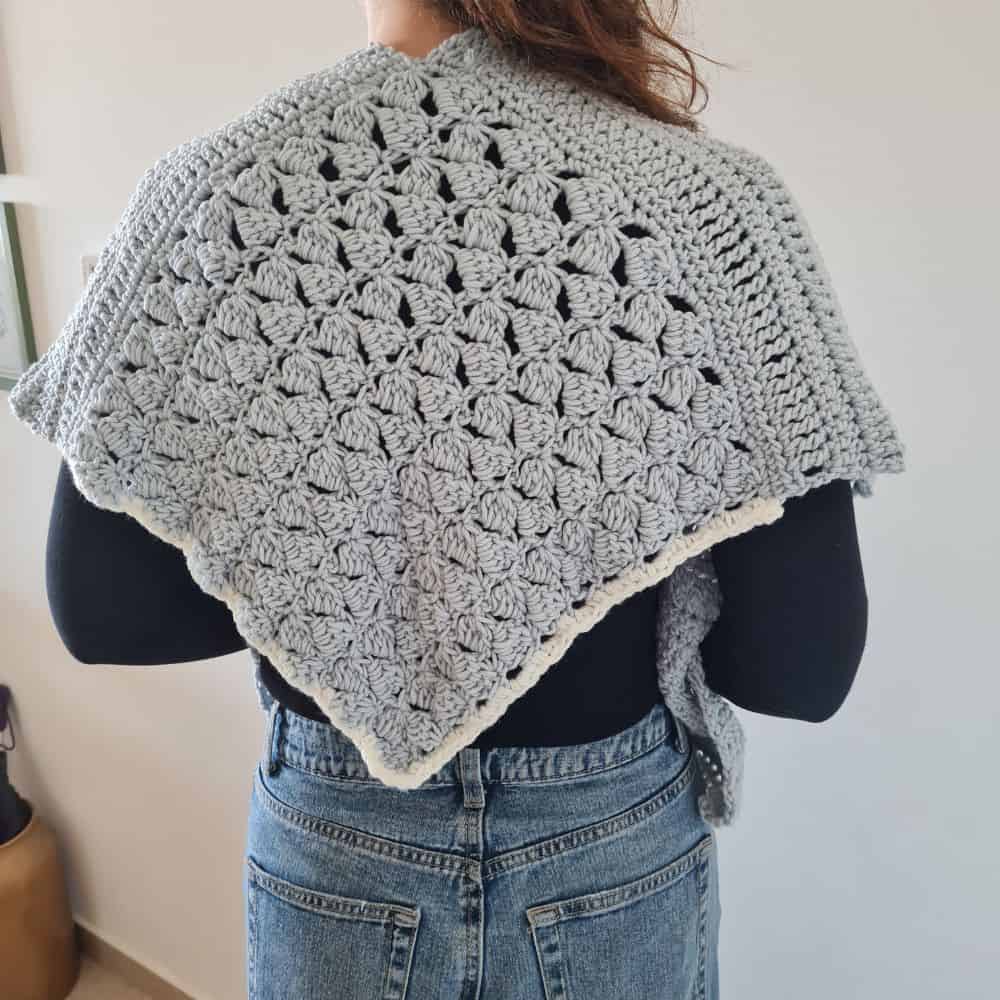
And that soft V-point in the back? It adds such a pretty line without you having to do anything extra.
Light, cozy, easy to throw on… it’s a simple everyday layer that still feels special.
** Some of the links in this post may include affiliate links. Purchasing from one of these links pays me a small referral fee at no added cost to you. These small fees add up and help me keep the blog running. View our Disclosure and Privacy Policy for more information.
Before you get started, check out my newest favorite finds!
Yarn Winder – a perfect crochet accessory
Steamer for Clothes – Portable, ideal for crochet projects
Blocking Mat – 12.5″ for all your squares
Why You’ll Love Making This Ruana
This is one of those projects that just feels good on the hook.
The ribbing gives you a nice, steady rhythm, and the textured section adds that soft, cozy look without making things complicated.
After a few rows, you’ll find yourself settling right into it, so perfect for a quiet evening or when you just want something calming to work on.
And the best part? It’s super flexible. Want it longer? Wider? Shorter? You can easily adjust it without messing up the flow. It’s a very forgiving, very “make-it-your-own” kind of project.
Let’s get to the pattern, shall we? Making the Poncho / Ruana
Difficulty
Intermediate
Materials
100% Acrylic, 100gr (2 Skeins), weight #4 yarn, approx 830 yards in light blue and some in white
Hook: US Size (6 mm)
Yarn Needle, Scissors, Measuring Tape, Hot glue gun
Gauge
- 11 st X 7 rows ( 4” X 4” long panels
- 13 st X 7 rows (4” X 4” side saddle st)
Finished Size
This sample is 13” X 36”
Stitch Key
- Ch = Chain
- Sc = Single Crochet
- St = Stitch
- Dc = Double Crochet
- Yo = Yarn Over
- Tr = Treble Crochet
Specialty Stitches
Side Saddle St = Will be explained in the instructions
Watch the video tutorial for this stitch
Notes
- This pattern uses US terminology
- The pattern is worked in rows
- Ch 1 at the beginning of the row does not count as st
- Ch 3 at the beginning of the row does count as st
- Ch 4 at the beginning of the row does count as Tr st
- This pattern uses pattern repeats.
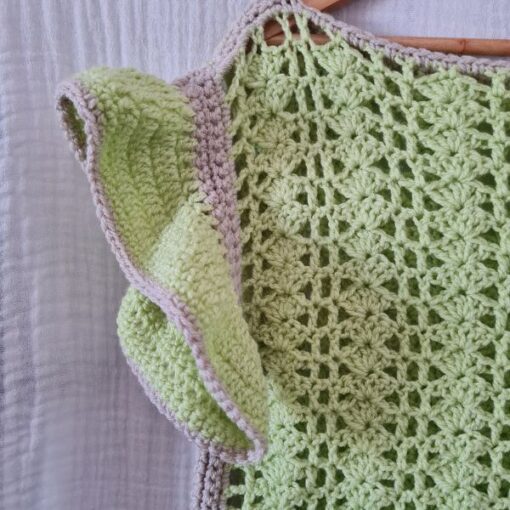
- You can work this pattern with one color or multiple, as you wish- I used two solid colors
- If changing color,s make sure to have a changing technique and weave your ends in.
- The Side Saddle St calls for multiples of 5+2
- This pattern consists of one square worked with the Side Saddle st and two side panels worked with the pattern repeats
Love This Pattern? There’s More Where That Came From!
You will discover my complete collection of crochet patterns,
tutorials, and resources, both free and premium, all in one convenient place.
I know you’ll find something to inspire your next project🙃
Instructions
We will start with the Side Saddle Square, which is the back of this piece
Chain 35+ 2
Row 1: Sc 1 in 2nd ch from hook, ch 3, Dc4tog working next 4 chains, ch 1, sc 1 in next st, * ch 3, Dc4Tog in next 4 ch, ch 1, sc 1 in next st, repeat from * to end, finish with sc 1 in last ch, turn
Row 2: Ch 5, sc 1 on the top of the dc cluster, *ch 3, Dc4Tog in the next ch 3 space, ch 1, sc 1 on top of the next dc cluster st, repeat from * to end, finish with Dc4Tog in the final ch 3 space and dc 1 in the last sc from prev row, turn
Row 3: Ch1, skip 1st dc st, sc 1 into the top of the cluster st, *ch 3, work a dc4Tog into the next ch 3 space, ch 1, sc 1 into the top of the next cluster st, repeat from * to end of the row, finish with a sc 1 into the ch 5 space, turn
Row 4- 21: repeat rows 2+3
If you want a larger square, ch more multiples of 5+2 and work more rows

Now we will work on one side of the square, continuing for the length of the panel
Panel 1
Row 22: Ch 1, sc 1in 1st st and across to a total of 36 stitches. turn (36)
Row 23: Ch 4, Tr 1 in next st and across to the end of the row. turn (36)
Row 24: Ch 1, sc 1 in 1st st, sc 1 across to the end of the row, turn
Row 25: Ch 1, hdc 1 in 1st st and across to the end of the row. turn (36)
Rows: 23-25 are the repeat pattern for the side panel
I worked a total of 12 repeats. You can make it longer by adding repeats of rows 23-25
Last row: change to color white and work a sc row across
Secure yarn and weave in ends
Panel 2
Introduce yarn on the next side saddle st square side to form a triangle.
Row 1: Ch 1, sc 1in 1st st and across to a total of 36 stitches. turn (36)
Row 2: Ch 4, Tr 1 in next st and across to the end of the row. turn (36)
Row 3: Ch 1, sc 1 in 1st st, sc 1 across to the end of the row, turn
Row 4: Ch 1, hdc 1 in 1st st and across to the end of the row. turn (36)
Rows 2-4 are the repeat pattern for the side panel
I worked a total of 12 repeats. You can make it longer by adding repeats of rows 2-4
Last row: change to color white and work a sc row across
Finishing
Cut your yarn and weave in the ends.
Block your ruana
Optional: Add fringe or tassels

I hope this ruana brings you the same calm, cozy feeling it brought me while designing it. There’s something really special about watching such a simple stitch combo turn into a piece you’ll reach for again and again.
If you make it, I’d truly love to see your version, your colors, your style, your little touches. Share it with me on social or tag me so I don’t miss it.
**This is an original Sandra Regev pattern: Owner /Designer of Sandra Stitches. This pattern may not be redistributed for free, sale, or trade, but finished products can be sold with credit to this shop – enjoy!
Looking for more crochet ponchos and shrug patterns👇
Check out all these, you will find one!
Did you try this Pattern? Share a picture
Tag me on Instagram
@sandrastitchesil
You’ve Got Your Pattern, Now What?
- PIN FOR LATER – Don’t lose this pattern. Save it to your Pinterest account so you can quickly come back to it later.
- SHARE YOUR WORK – Share your in-progress and finished projects on Facebook or Instagram and use the hashtag #sandrastitchesil
- SHOW OFF – Create a project on Ravelry to inspire and share your thoughts with others who might be interested in this project.
Questions?
Ask and share in our
FREE Facebook Group
DISCLOSURE
AMAZON ASSOCIATES: Sandra Stitches is a participant in the Amazon Services LLC Associates Program, an affiliate advertising program designed to provide a means for sites to earn advertising fees by advertising and linking to Amazon.com.
This post contains links to products that I use and recommend. If you purchase any using my links, I get a very small fee at no ad to you! Thank you for supporting my small biz!


