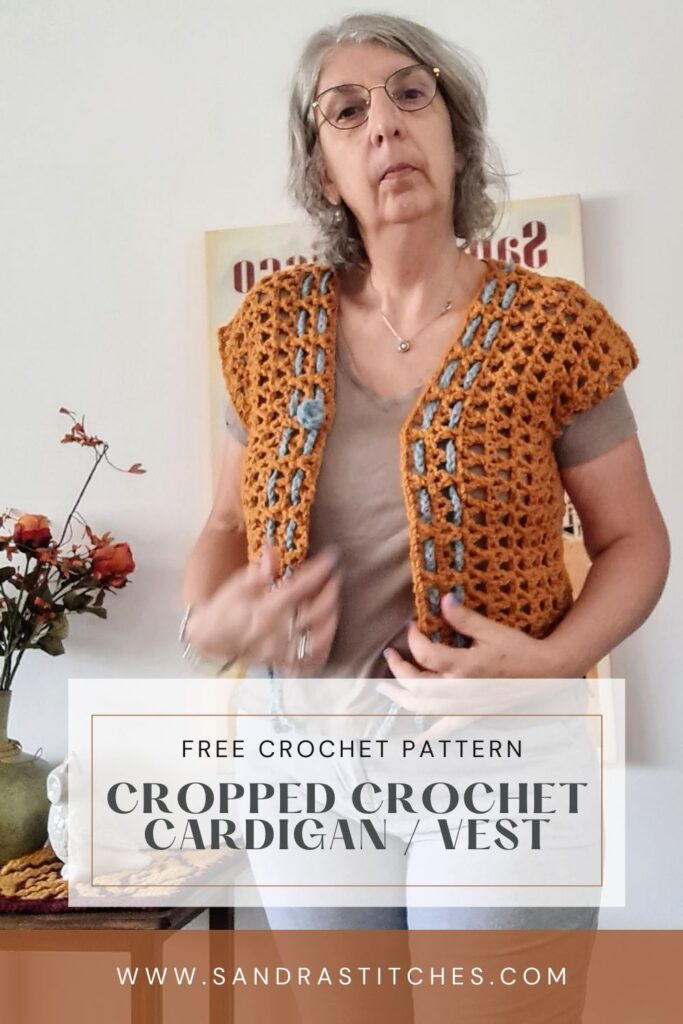
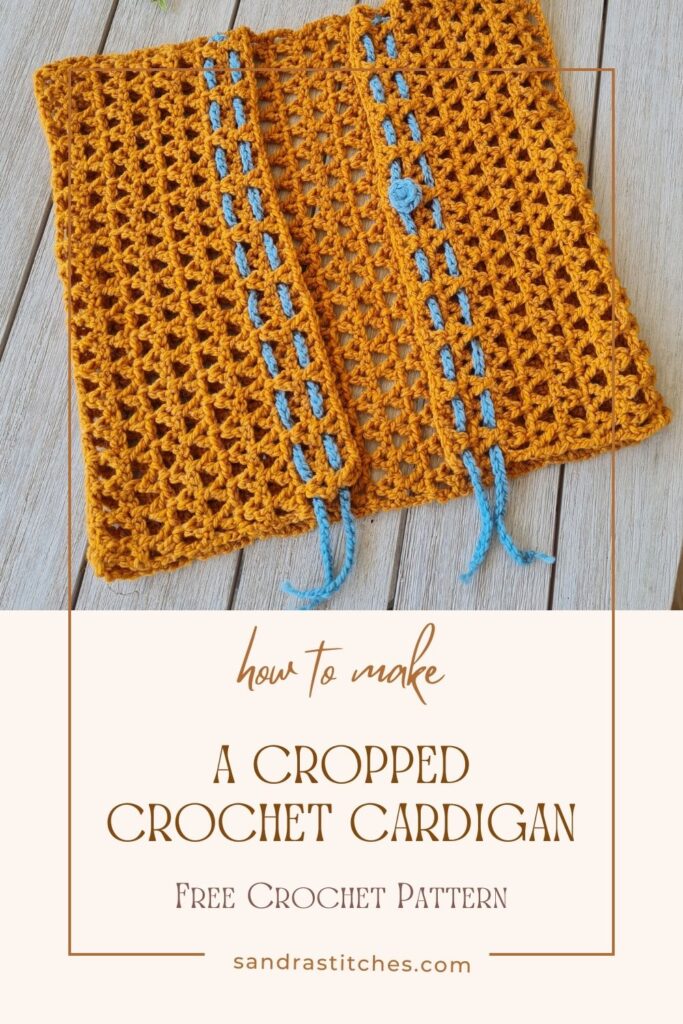
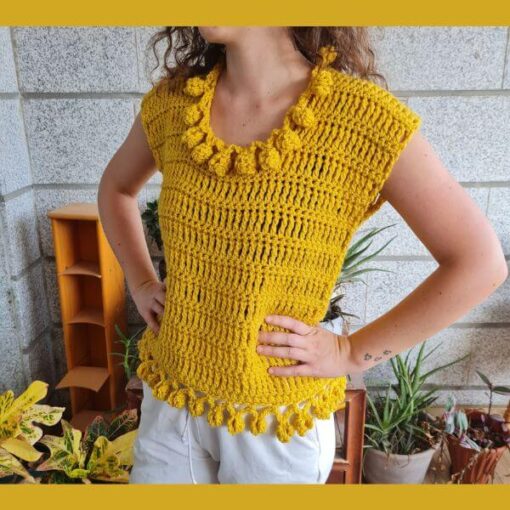
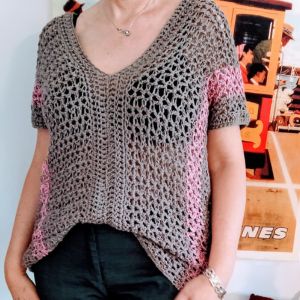
A cropped crochet cardigan pattern immediately comes to mind when thinking of spring or autumn! why? because it is so easy to make, and is the perfect clothing item to take with you when the weather changes!
This free crochet pattern for a cropped cardigan can be worked on a weekend and does not require lots of yarn.
I used a blended acrylic/wool yarn but use any yarn you love (just make sure to gauge 🙂
Are you with me?
Find the free crochet cropped vest pattern below.
There are 2  ways to get this pattern:

Option 1: You can purchase the individual pattern as an easy-to-read, ad-free, print-friendly PDF  from Ravelry

Option 2: Scroll down to get the written instructions for this pattern for free
As far as crochet cardigan patterns go, this one is very straightforward. Even if you’re a garment beginner, this cropped cardi is a really doable option.
Rectangles joined on the sides!
** Some of the links in this post may include affiliate links. Purchasing one of these links pays me a small referral fee at no added cost to you. These small fees add up and help me keep the blog running. View our Disclosure and Privacy Policy for more information.
How To Modify Your Cardigan
There are lots of ways to easily adjust this pattern to ensure it fits your body and creative vision. Here are a few ideas:
- Make it more cropped: Start with fewer chains at the beginning as we work the rectangles horizontally
- Make it longer: Similarly, add additional chais in the starting section until you’re happy with the length,
Before you get started, check out my Favorite Crochet Tools (affiliate)
Yarn Winder – a perfect crochet accessories
Neck Stretcher – to keep you without neck and back pain
Gauge Ruler – so you always get the right size
Pattern Designed By: Sandra Stitches This pattern is copyright protected; it is unlawful to distribute this pattern in any form (free, sale or trade).
▶️ Add this pattern to your Ravelry favorites here.
Let’s get to the pattern, shall we? Making a Cropped Crochet Cardigan
Difficulty

Materials

- Kartopu, Melange Wool 100 gr, 80 % Acrylic,20% wool, 170 m, Color K1854 (pumpkin) ( 2 Skeins)
- Kartopu, Melange Wool 100 gr, 80 % Acrylic,20% wool, 170 m, Color light blue (a small amount)
- or any weight #5 yarn of your choice
- Hook: US Size H-8(5 mm)
- Yarn Needle, Scissors, Measuring Tape
Gauge
- 13 st X 3.5 rows
Sizes
- Can be modified as you wish this sample is 18” in height X 20” in width, Size M/L
Stitch Key
- Ch = Chain
- St = Stitch
- Dc = Double Crochet
- Tr = Treble Crochet
- Hdc = Half Double Crochet
- SlSt = Slip stitch
Specialty Stitch & Technique Key
Y st: Tr in next st, Ch1, Dc in center of last Tr
Notes
- The pattern is worked in rows
- Ch 4 does count as st at beginning of each row
- This pattern uses pattern repeats.
- This pattern is worked in 3 panels joined together- two front panels and one back panel
- You can work this pattern with one color or multiple as you wish- I used one color for the cardigan and an accent color for the buttons and stripes
- You can decide on the width and length of the Cardigan by adding chains and rows
- This pattern calls for multiples of 3+2
Instructions
Front Panel, make two identical– Chain 62
Row 1: Yst in 6th Ch from hook, *[skip next 2 Ch, Y st in next Ch]* repeat from *to * across to last 2 Ch, skip next Ch, Tr in last Ch, turn
Row 2: Ch 4 (counts as 1st Tr), Y st in each Ch1 space of each Yst across to last Ch1 space, Tr 1 on top of turning Ch, Turn
Row 3-8: repeat row 2
Fasten off, cut yarn, and weave in ends.
Back Panel – Chain 62
Row 1: Yst in 6th Ch from hook, *[skip next 2 Ch, Y st in next Ch]* repeat from *to * across to last 2 Ch, skip next Ch, Tr in last Ch, turn
Row 2: Ch 4 (counts as 1st Tr), Y st in each Ch1 space of each Yst across to last Ch1 space, Tr 1 on top of turning Ch, Turn
Row 3-19: repeat row 2
Fasten off, cut yarn and weave in ends.
Construction
Lay the back panel right side facing up, lay the front panels on top wrong side facing up, and align to the sides.
You should have a space of 5 rows in the middle.
Sew both front panels on the shoulders to the back panel.
Skip 7 rows from shoulders down to form the sleeves and sew panels to the bottom on both sides.
Finishing
Sc1 in every st of the neck hole, Sc2 when you reach the V on the front and back.
Cut your yarn and weave in the ends.
You can add tassels, fringe, or beads.
Fasten off, cut yarn and weave in ends.
I recommend blocking the finished Cardigan before wearing it!
Enjoy!
Want to save this post for later? Pin it!
Did you try this Pattern? Share a picture
Tag me on Instagram
@sandrastitchesil
P.S. Do you love crochet vests? Share in the comments below and let’s build a supportive community of crocheters who love to learn and grow together!
Want more crochet poncho patterns?
DISCLOSURE
AMAZON ASSOCIATES: Sandra Stitches is a participant in the Amazon Services LLC Associates Program, an affiliate advertising program designed to provide a means for sites to earn advertising fees by advertising and linking to Amazon.com.
This post contains links to products that I use and recommend, If you purchase any using my links I get a very small fee at no ad to you! Thank you for supporting my small biz!

