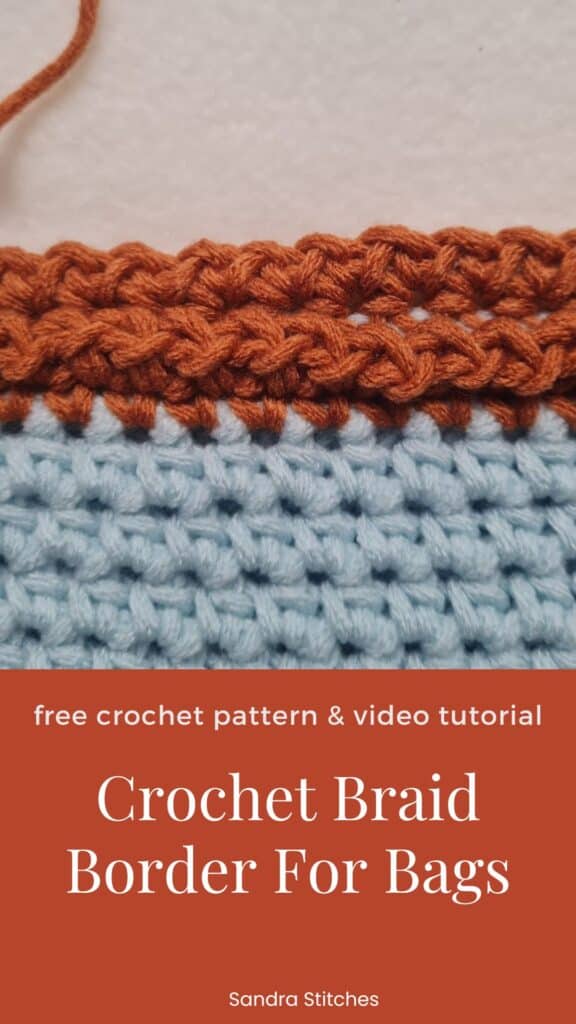
If you want a border that looks impressive but takes almost no skill to make, this is the one.
The braided crochet border uses just two things: a slip stitch and a chain.
That is the entire stitch repeat. The trick that makes it look so neat and professional is going down one hook size for the border round.
That one small change tightens everything up and creates a clean braided line along the top of your bag that looks like you spent a lot more time on it than you did.
The free written pattern is at the bottom of this post👇
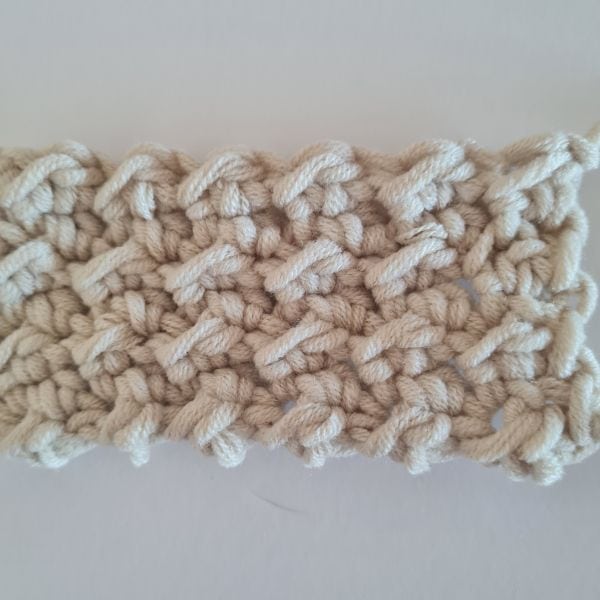
What Is a Crochet Braided Border?
The braided border is a simple slip stitch edging that creates a neat, rope-like line along the edge of your crochet project.
It works on any bag you have already made using any yarn weight, any hook size, any shape.
What makes it look braided is the combination of a loose slip stitch and a chain one worked into every stitch around the bag.
The slip stitches sit on top of the edge and link together in a way that mimics a braid. Using a smaller hook than you used for the bag is what gives it structure instead of a floppy, loose edge.
Do you want to save this post for later? Go ahead and PIN IT!
What You Need
Your finished crochet bag in any size or stitch.
The same yarn you used for your bag, in a matching or contrasting color. Contrasting colors make every stitch visible while you learn.
The same hook you used for your bag for the foundation round.
One hook size smaller than your regular hook for the braided border round.
Tapestry needle for weaving in ends.
** Some of the links in this post may include affiliate links. Purchasing from one of these links pays me a small referral fee at no added cost to you. These small fees add up and help me keep the blog running. View our Disclosure and Privacy Policy for more information.
How to Crochet a Braided Border for Bags
Step 1: Work the Foundation Round
Join your yarn to any stitch along the top edge of your bag with a slip stitch using your regular hook. Chain one. Single crochet evenly around the entire top edge, one single crochet per stitch along the top and bottom, one single crochet per row along the sides.
Slip stitch to join. Do not fasten off. Switch to your smaller hook.
Step 2: Work the Braided Border
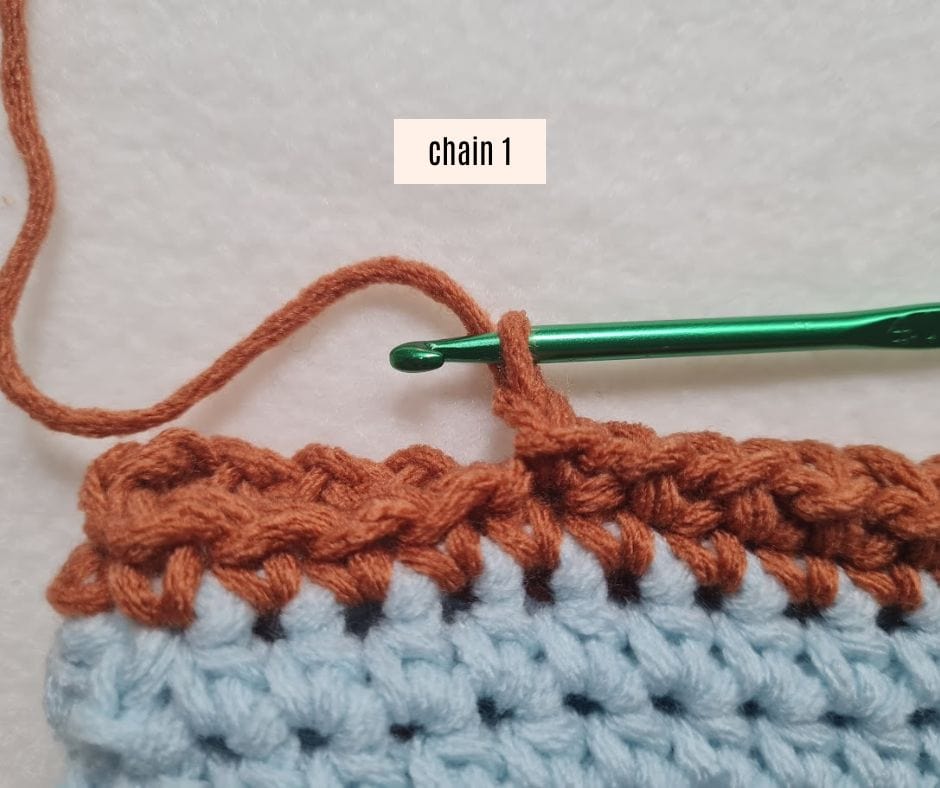
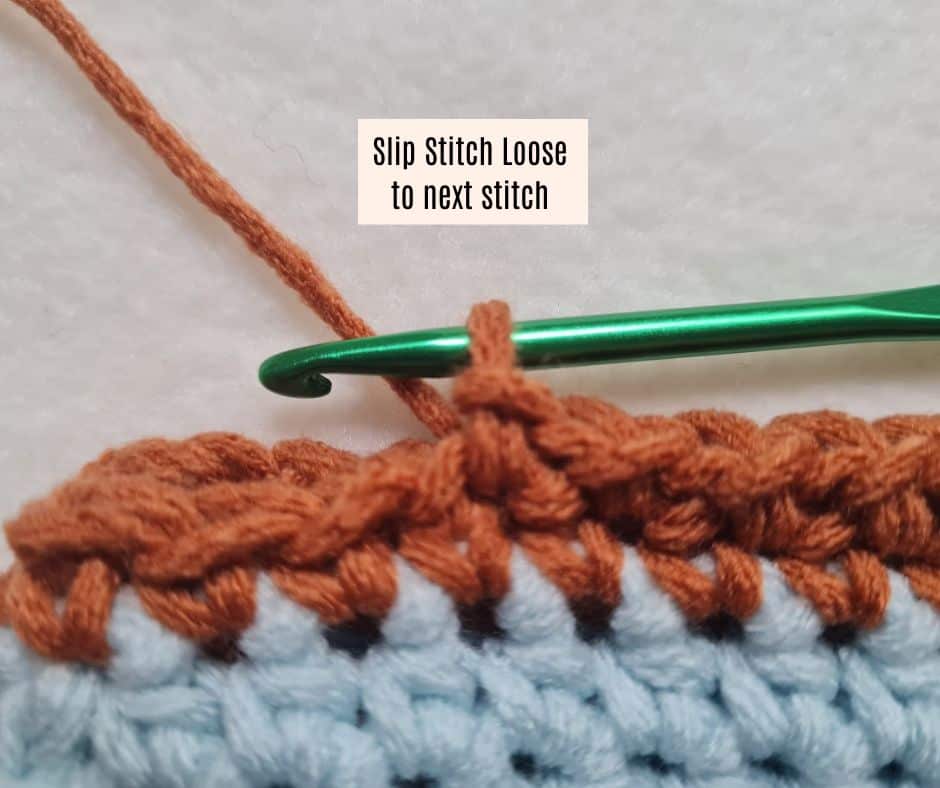
With your smaller hook, slip stitch loosely into the next stitch. Keep the slip stitch relaxed , not tight. Chain one. Repeat all the way around , slip stitch loosely into next stitch, chain one, all the way around.
When you reach the end, slip stitch to join. Fasten off. Weave in your ends.
That braided line along the top of your bag is just slip stitches and chains worked with a smaller hook. Nothing complicated.
Before you get started, check out my newest favorite finds!
Yarn Winder – a perfect crochet accessory
Steamer for Clothes – Portable, ideal for crochet projects
Blocking Mat – 12.5″ for all your squares
Tips for a Perfect Braided Border
Keep your slip stitches loose. The word loose here is important. You want the slip stitch to sit on top of the edge, not pull into it. If you crochet tightly by nature, make a conscious effort to relax your tension on every slip stitch.
Use a contrasting color the first time. You will be able to see every stitch clearly and your hands will learn the rhythm much faster.
Work into every stitch. Do not skip any stitches. One slip stitch and one chain into every single stitch around the bag gives the border its even, consistent braided look.
Love This Pattern? There’s More Where That Came From!
You will discover my complete collection of crochet patterns,
tutorials, and resources, both free and premium, all in one convenient place.
I know you’ll find something to inspire your next project🙃
Free Crochet Braided Border Pattern
Materials: Same yarn weight you used for your bag, in matching or contrasting color Same hook size you used for your bag One hook size smaller than your regular hook. Tapestry needle Finished crochet bag
Abbreviations (US terms): SC = single crochet SL ST = slip stitch CH = chain
Foundation Round: Using your regular hook, join yarn to any stitch with SL ST. CH 1. SC evenly around entire top edge of bag. SL ST to join. Do not fasten off. Switch to a smaller hook.
Braided Border Round: Using a smaller hook, SL ST loosely into the next stitch. CH 1. Repeat all the way around, SL ST loosely, CH 1 into every stitch. SL ST to join. Fasten off. Weave in ends.
What to Make Next
This is the second border in my crochet bag borders series. If you missed the picot border tutorial, that link is below. The V-stitch stitch border is coming next, completely different look, just as beginner friendly.
If you want two exclusive crochet patterns every month that are never sold and never made free anywhere else, join the V-Stitch Club for five dollars a month. Link below.
Save this post for later. You will want to come back to it the next time you finish a bag.
**This is an original Sandra Regev pattern: Owner /Designer of Sandra Stitches. This pattern may not be redistributed for free, sale, or trade, but finished products can be sold with credit to this shop – enjoy!
Looking for more tutorials 👇
Did you try this Pattern? Share a picture
Tag me on Instagram
@sandrastitchesil
Questions?
Ask and share in our
FREE Facebook Group
DISCLOSURE
AMAZON ASSOCIATES: Sandra Stitches is a participant in the Amazon Services LLC Associates Program, an affiliate advertising program designed to provide a means for sites to earn advertising fees by advertising and linking to Amazon.com.


