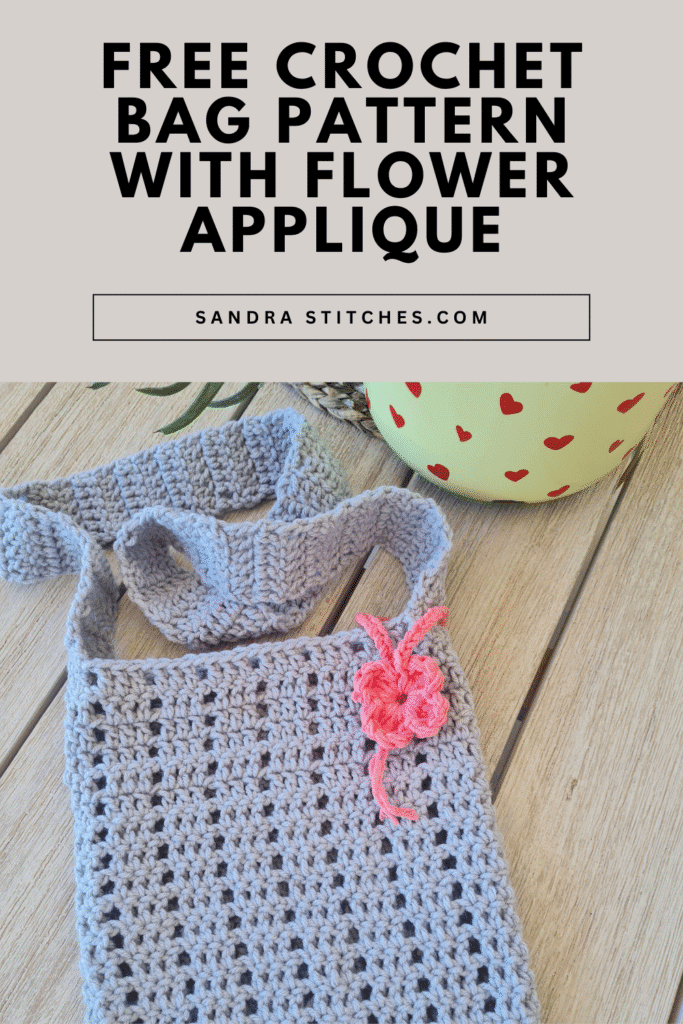
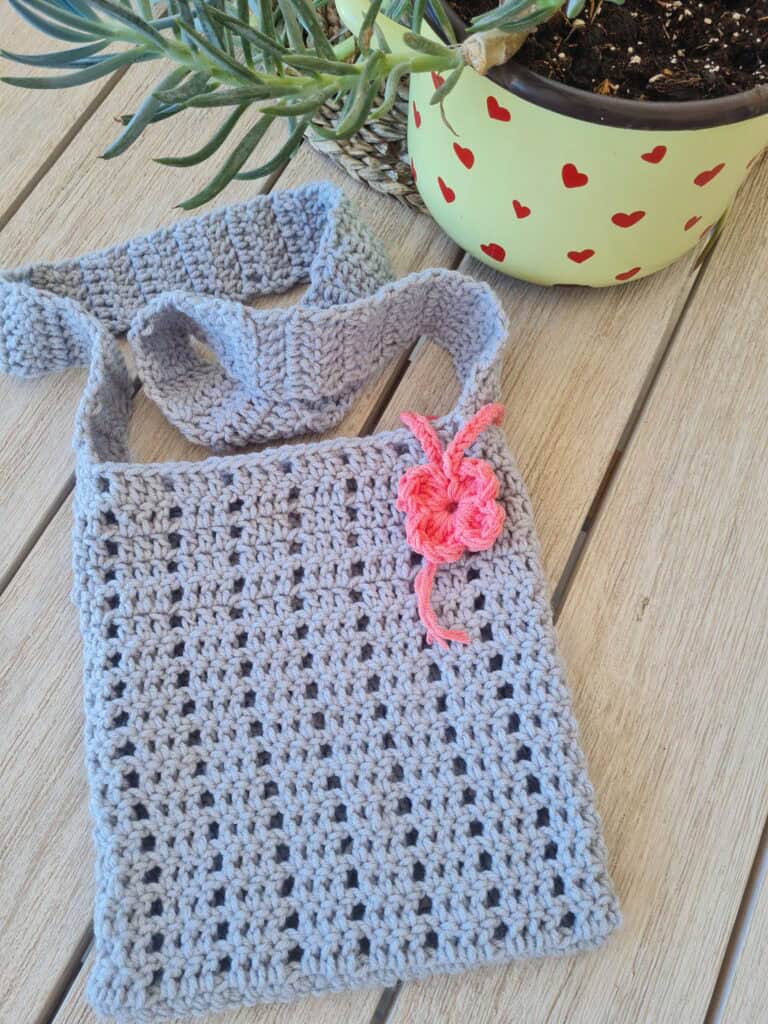
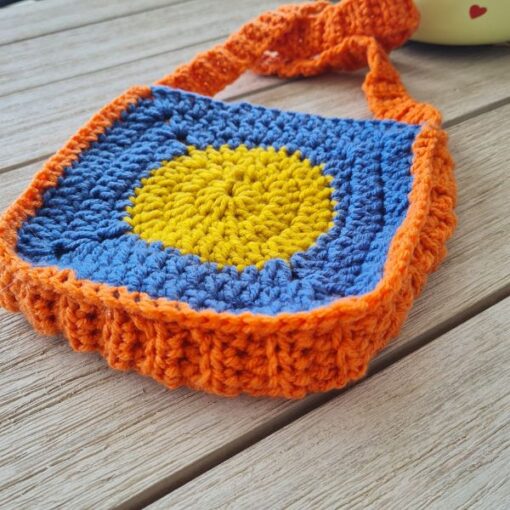
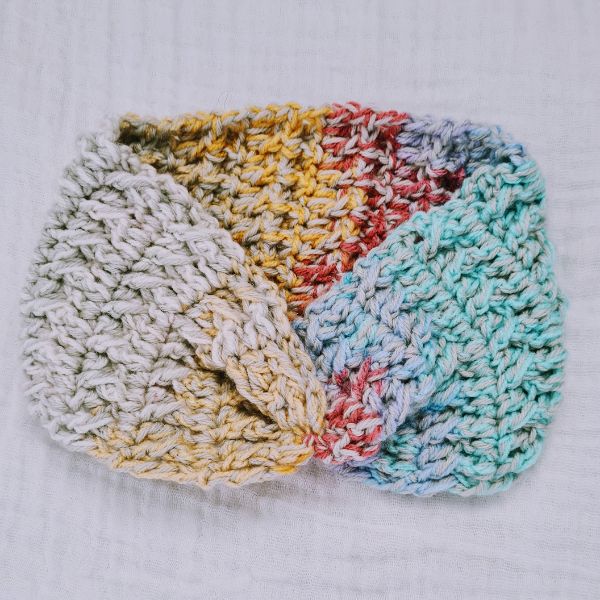
If you are looking for an easy crochet bag pattern with a beautiful flower applique, you are in the right place.
This free crochet bag pattern is perfect for beginners and includes full step by step written instructions, a materials list, and a video tutorial to guide you through every single step.
This bag is practical, beautiful, and makes a wonderful gift. The flower applique gives it a handmade charm that you simply cannot find in any store. Once you finish it you will want to make one in every color.
In this post you will find the complete free written pattern for the bag and the flower applique, a full materials list, beginner tips, and answers to the most common questions. The video tutorial is also embedded below if you prefer to follow along visually
Are you with me?
How to Get the Ad-free PDF of this Design
The pattern instructions are available below, but you can get the formatted, printable, ad-free PDF for just a few dollars in our shop and support my business, thank you!!!
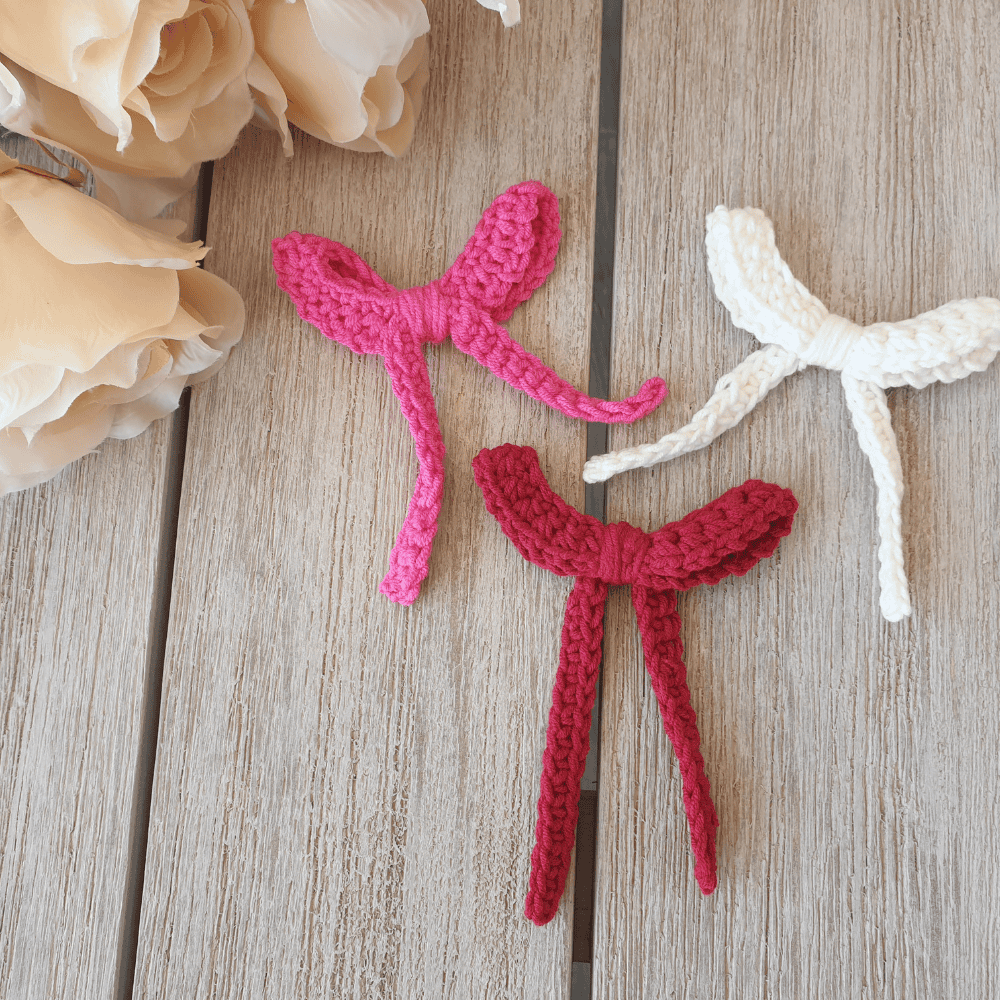
No time to make it Today? Save to Pinterest!
Click your favorite image, below, and save to your Pinterest board or share with friends
What You Need to Make This Crochet Bag
This bag can be made using any yarn.
The sample bag was made using worsted weight (#4) acrylic yarn and a 4 mm hook.
If you choose a different yarn, use the hook size recommended on your yarn label, or the hook size that creates a fabric you like.
Because yarn and hook choices vary, your finished bag size may be different.
If size is important to you, measure your bag as you work and adjust the number of rounds or the strap length as needed.
Yarn Needle, Scissors, Measuring Tape, Stitch Markers
** Some of the links in this post may include affiliate links. Purchasing from one of these links pays me a small referral fee at no added cost to you. These small fees add up and help me keep the blog running. View our Disclosure and Privacy Policy for more information.
Before you get started, check out my newest favorite finds!
Yarn Winder – a perfect crochet accessory
Steamer for Clothes – Portable, ideal for crochet projects
Blocking Mat – 12.5″ for all your squares
How to Read This Free Crochet Pattern
This pattern uses US terminology
The bag is worked in the round, then the strap is worked flat in rows.
The base is worked around the foundation chain.
Chain-1 spaces are decorative and are counted as stitches.
Stitch markers are strongly recommended to mark the beginning stitches
The flower appliqué is added later. The flower pattern is included ..
Let’s get to the pattern, shall we? Making the Crochet Bag with a Flower
Difficulty
Easy
Finished Size
Bag (without strap): 10 in (25.5 cm) high × 8.5 in (21.5 cm) wide
Strap length (sample): 35 in (89 cm)
(Strap length is adjustable.)
Stitch Key
- ch – chain
- sc – single crochet
- dc – double crochet
- sl st – slip stitch
- Tr – treble crochet
- sk – skip
Love This Pattern? There’s More Where That Came From!
You will discover my complete collection of crochet patterns,
tutorials, and resources, both free and premium, all in one convenient place.
I know you’ll find something to inspire your next project🙃
Foundation
Ch 32.
Round 1
Working into the back bumps of the foundation chain, sc in the 2nd ch from the hook and in each ch across (31 sc).
Do not turn.
Rotate your work and sc in each remaining chain on the opposite side of the foundation chain (31 sc). Join with a sl st to the first sc.
Total: 62 sc
Round 2 (Base Round)
Ch 1and sc in each st around (62 sc). Join with a sl st to the first sc.
This completes the base of the bag.
Round 3
Ch 1 (does not count as a stitch). Place a stitch marker in the first sc. Sc in each st around.
Join with a sl st to the first sc.
Total: 62 sc
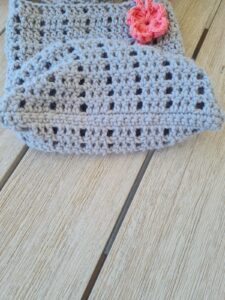
BODY PATTERN
Round 4 (Pattern Setup Round)
Ch 2 (counts as first dc). Dc in the next 2 sts. *Sk 1 st, ch 1, dc in the next 3 sts*; repeat from * to * until you reach the center of the long side of the bag (31 sts).
Side panel:
Dc in the next 3 sts (do not skip and do not ch 1). * Sk 1 st, ch 1, dc in the next 3 sts*; repeat from * to * until the end of the round. Dc in the last 3 sts. Join with a sl st to the top of the beginning ch-2.
You will now have:
- 6 consecutive DC on each side of the bag
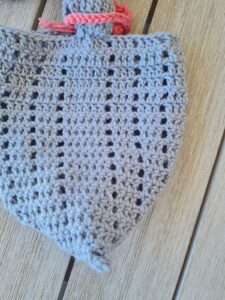
Pattern Repeat Rounds
Repeat Round 4 for a total of 17 rounds, maintaining this structure in every round:
- Side Panel: 6 dc worked in a row
- Front Panel: (dc in next 3 sts, ch 1, sk 1) repeated 6 times
- Side Panel: 6 dc
- Back Panel: (dc in next 3 sts, ch 1, sk 1) repeated 6 times
Do not fasten off after the final round.
THE STRAP
Strap Setup
At the end of the last round:
Ch 2, turn. Dc in each of the next 6 sts only (the
side panel stitches). Leave the remaining stitches of the round unworked.
Strap Rows
Row 1: Ch 2 (counts as first dc), turn.
Dc in the next 5 sts.
Total: 6 dc
Repeat Row 1 until the strap reaches your desired length. (Sample strap length: 35 inches.)
Tip: Try the bag on or measure against your body before attaching the strap.
Attaching the Strap
Without fastening off, align the end of the strap with the 6 dc side panel on the opposite side of the bag.
Make sure the strap is not twisted.
Sl st through both the strap stitches and the corresponding bag stitches across all 6 sts.
Fasten off and weave in all ends.
Love What You See?
If my patterns and tutorials brighten your day, you can now support me with a tiny virtual coffee on Ko-fi! ☕
Every little bit helps me keep creating and sharing more cozy crochet magic💛
Finishing
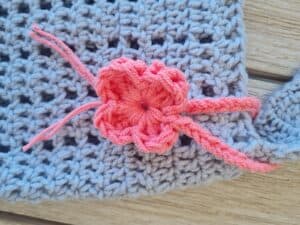
How to Crochet the Flower Applique
This bag is finished with a flower appliqué.
Flower Appliqué (5 Petals)
- Make a slipknot, ch 5, and sl st to the first ch to form a ring.
- Ch 1 (does not count as a stitch), 1 sc into the ring.
- Work 4 tr into the ring, then 1 sc to finish the first petal.
- Repeat for petals 2–4: 4 tr + 1 sc each.
Tip: Move stitches around the ring to evenly space the petals.
- For the 5th petal: 4 tr only, no sc. ( in the photo there are only 4 petals)
- Sl st to the first sc to close the flower. secure.
How to Attach the Flower Applique to Your Crochet Bag
Ch 30, attach the applique to the bag and Slst to the back of the flower to close the chain, knot the ends to
Tips for Beginner Crocheters
Making your first crochet bag is easier than you think. Here are a few tips to help you get the best results with this pattern.
Watch your tension. The most common mistake beginners make with bags is crocheting too loosely. A bag needs structure to hold its shape. Try to keep your stitches firm and even throughout. If your bag feels floppy when you finish, your tension was too loose, try going down to a 3.5mm hook
Count your stitches at the end of every row. Do not skip this step. One missed stitch or one extra stitch will change the shape of your bag and you may not notice until several rows later. Use a stitch marker at the beginning of each round to help you keep track.
Do not panic if your bag curls at the base. This is completely normal with worsted weight yarn in the first few rows. Keep going and block your finished bag by dampening it lightly and laying it flat to dry. The shape will even out beautifully.
Weave in your ends as you go. Do not leave all your ends until the end. With a bag that has a flower applique you will have multiple yarn ends to deal with. Weaving them in as you finish each section saves you a frustrating hour at the end.
Your flower applique is easier than it looks. Make it separately before attaching it to the bag. Lay it flat, pin it in position, and sew it on with a yarn needle using the same yarn color. Take your time with the attachment — this is the detail that makes your bag look truly handmade and special.
Frequently Asked Questions
What yarn is best for a crochet bag? Worsted-weight yarn is the best choice for a crochet bag because it creates a firm, structured fabric that holds its shape well. Cotton or cotton-blend worsted-weight yarn is especially good for bags as it is durable and easy to clean.
Can a beginner make this crochet bag? Yes, this pattern is designed specifically for beginners and uses only basic crochet stitches that are easy to learn. If you can chain, single crochet, and slip stitch, you have everything you need to make this bag successfully.
How long does this crochet bag take to make? Most crocheters finish this bag in approximately 4 to 6 hours, depending on their speed and experience level. You can easily split the project across two or three comfortable crafting sessions.
Can I make this bag bigger or smaller? Yes, you can adjust the size of this bag by changing your hook size or yarn weight, or by adding more foundation chains at the beginning. A larger hook and bulkier yarn will give you a bigger bag, while a smaller hook and lighter yarn will give you a smaller, more delicate result.
What does US crochet terminology mean? This pattern is written using US crochet terminology, which is the standard used in the United States and many international crochet publications. If you are used to UK terminology please note that a US single crochet is called a double crochet in UK terminology, so always check which system a pattern uses before you begin.
**This is an original Sandra Regev pattern: Owner /Designer of Sandra Stitches. This pattern may not be redistributed for free, sale, or trade, but finished products can be sold with credit to this shop – enjoy!
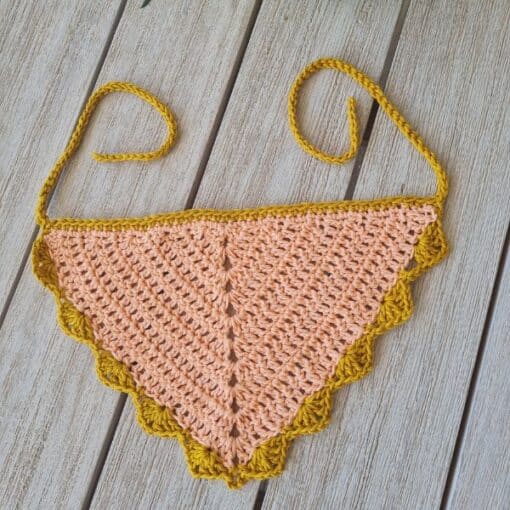
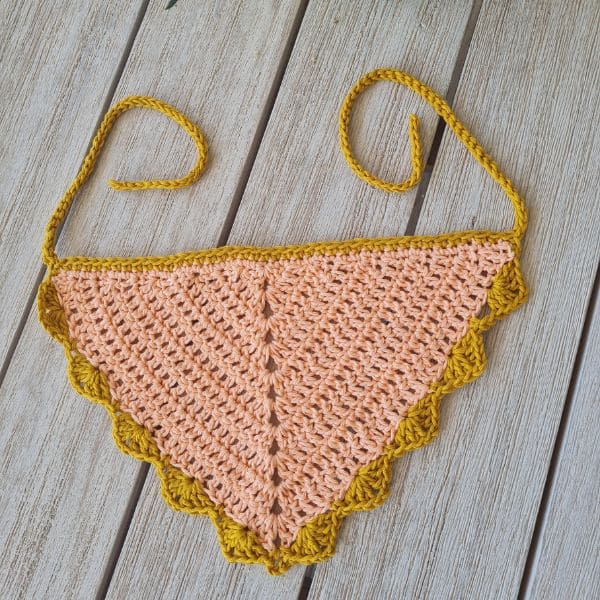
Looking for more crochet bag patterns👇
Check out all these, you will find one!
Did you try this Pattern? Share a picture
Tag me on Instagram
@sandrastitchesil
You’ve Got Your Pattern, Now What?
- PIN FOR LATER – Don’t lose this pattern. Save it to your Pinterest account so you can quickly come back to it later.
- SHARE YOUR WORK – Share your in-progress and finished projects on Facebook or Instagram and use the hashtag #sandrastitchesil
- SHOW OFF – Create a project on Ravelry to inspire and share your thoughts with others who might be interested in this project.
Questions?
Ask and share in our
FREE Facebook Group
DISCLOSURE
AMAZON ASSOCIATES: Sandra Stitches is a participant in the Amazon Services LLC Associates Program, an affiliate advertising program designed to provide a means for sites to earn advertising fees by advertising and linking to Amazon.com.
This post contains links to products that I use and recommend. If you purchase any using my links, I get a very small fee at no ad to you! Thank you for supporting my small biz!

