There is something uniquely satisfying about a handmade accessory that fits right in your hand.
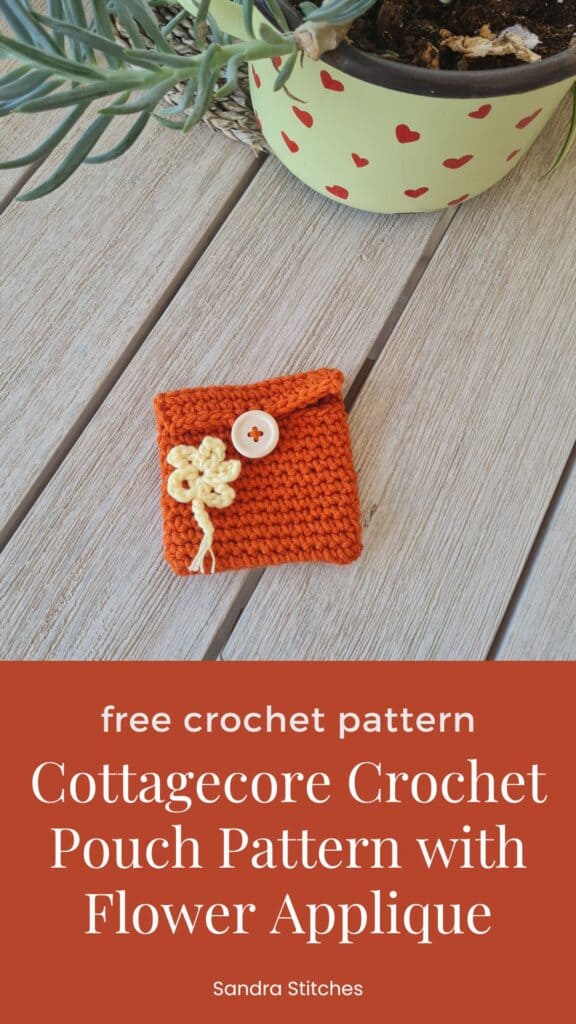
This crochet pocket pouch features a vintage-inspired floral applique and a rustic wooden button, making it a must-have for anyone loving the cottagecore aesthetic.
While this is the perfect crochet coin purse, it’s also the ideal size for your AirPods, lip balm, or a stash of hair ties!
In this guide, we’ll walk through the step-by-step process of creating this textured orange pouch as a perfect stash-buster for your favorite worsted-weight yarn
Are you with me?
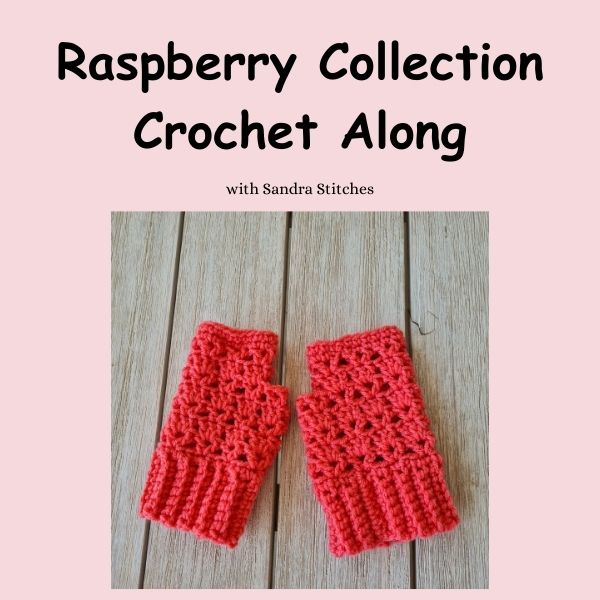
This pattern is part of the March Makers Madness 2026 Blog Hop + Bundle – all details below👇
How to Get the Ad-free PDF of this Design
The pattern instructions are available below, but you can get the formatted, printable, ad-free PDF for just a few dollars in our shop and support my business, thank you!!!
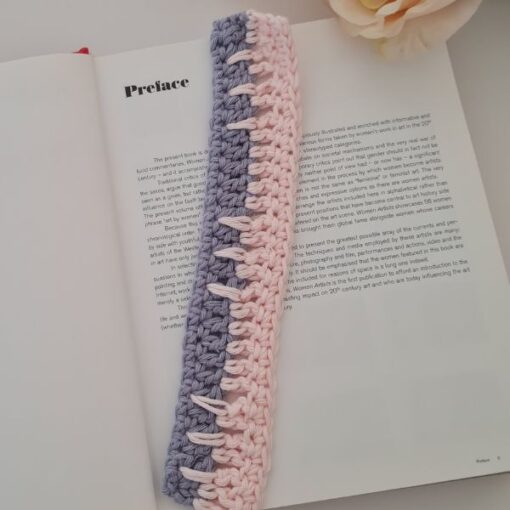
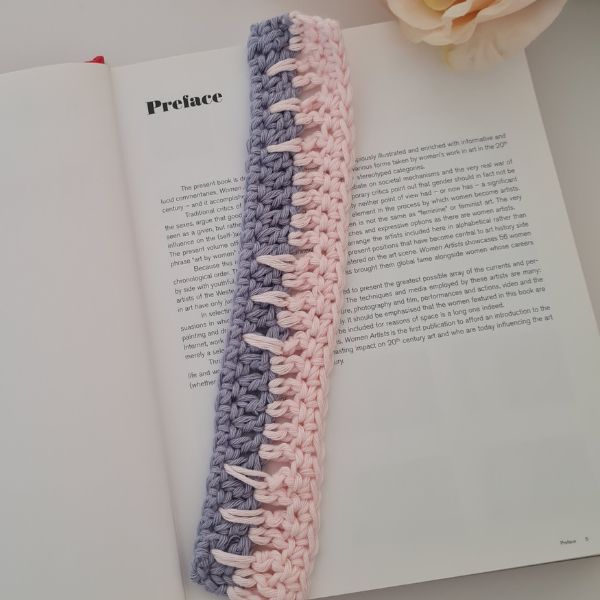
No time to make it Today? Save to Pinterest!
Click your favorite image, below, and save to your Pinterest board or share with friends
Why This Little Pouch is My New Favorite Project
I’m a huge fan of projects that you can actually finish in one sitting, and honestly, this little pouch has become my go-to for just about everything.
In the world of “slow fashion” and organized living, having a few of these tucked into your bag is a total game-changer.
This easy crochet pouch pattern isn’t just about looking cute (though that burnt orange color is everything!). I
It’s about creating a functional, zero-waste solution for all those tiny things that usually get lost at the bottom of your purse.
Whether you use it as a crochet earbud case, a handmade gift card holder, or even a “worry stone” bag, it’s a perfect example of how mindful crafting fits into our modern lives.
Plus, using the yarn under (YU) technique gives it that sturdy, professional ‘X’ stitch texture that makes it feel way more expensive than a simple scrap-yarn project!
** Some of the links in this post may include affiliate links. Purchasing from one of these links pays me a small referral fee at no added cost to you. These small fees add up and help me keep the blog running. View our Disclosure and Privacy Policy for more information.
Before you get started, check out my newest favorite finds!
Yarn Winder – a perfect crochet accessory
Steamer for Clothes – Portable, ideal for crochet projects
Blocking Mat – 12.5″ for all your squares

Let’s get to the pattern, shall we? Making the Pouch
Difficulty
Easy
Materials & Tools Needed
To achieve the same look as the photo, I recommend using a sturdy yarn that holds its shape.
Yarn: Medium Weight (#4) Yarn. (I used a burnt orange for the body and a pale yellow for the flower).
Hook: 4 mm (G) crochet hook.
Button: One medium-sized wooden button.
Yarn Needle, Scissors, Measuring Tape, Hot glue gun
Finished Size
4″ X 4″ when folded
Stitch Key
- Abbreviations (US Terms)
- ch: chain
- sc: single crochet
- sl st: slip stitch
- st(s): stitch(es)
- rnd: round
- YO: yarn over
- YU: yarn under (Note: Using Yarn Under creates that beautiful, tight ‘X’ stitch texture seen in the photos!)
Watch my latest video
Notes
- This pattern is written in US terminology
- This pattern is worked in rows and rounds
- Ch 1 does not count as st
Love This Pattern? There’s More Where That Came From!
You will discover my complete collection of crochet patterns,
tutorials, and resources, both free and premium, all in one convenient place.
I know you’ll find something to inspire your next project🙃
Step-by-Step Crochet Pouch Pattern
1. The Foundation & Base
We start by working on both sides of the foundation chain to create a seamless bottom.
- Foundation: Ch 14.
- Row 1: Starting in the 2nd ch from the hook, work 1 sc in each ch across. (13 sc)
- Forming the Base: Do not turn. Flip the work upside down. Working along the opposite side of the foundation chain, work 1 sc into the bottom of each stitch (the unworked loops of the chain). (13 sc)
- Join: Sl st into the first sc to join.
- Total Count: You now have 26 sts total (13 \times 2) worked in a continuous round.
2. Building the Pocket Depth
- Rnds 1–11: Ch 1, work 1 sc YU (Yarn Under) in each st around. Sl st to join each rnd. (26 sts)
- Tip: The Yarn Under technique gives the pouch a more “woven” look and denser fabric.
3. The Pocket Closure Flap
Now we transition from rounds to rows to create the top flap.
- Setup: Ch 1, work sc YU in only half of the stitches (13 sts). Turn.
- Rows 1–6: Ch 1, sc YU in each st across. Turn. (13 sts)
4. The Buttonhole Row (Final Row)
- Row 7: Ch 1, sc YU in the first 6 sts.
- The Loop: Ch 5, sl st into the next st.
- Finish: Continue sc YU in remaining sts to the end of the row.
- Fasten off.
The Floral Appliqué & Finishing
Crocheting the Flower
- Center: With contrasting color, ch 4. Sl st into the first ch to form a ring.
- Petals: Ch 6, sl st into the ring, repeat 5 times total.
- Stem: Ch 4. Fasten off, leaving a tail.
Final Assembly
Weave in Ends: Secure all yarn tails inside the pouch.
Attach Button: Sew the button onto the front center of the pouch, aligning it with the ch-5 loop on the flap.
Attach the Flower: Use a tapestry needle to sew the flower onto the flap, or for a quicker finish, use a small dab of hot glue.
Make a new one in a different color!


Tips for Success
Customizing Sizes: To make a wider pouch, simply increase your starting foundation chain. Just remember to work the flap over exactly half of your total stitches!
Tension Matters: Keep your Yarn Under (YU) stitches consistent to ensure the pouch doesn’t lean to one side.
**This is an original Sandra Regev pattern: Owner /Designer of Sandra Stitches. This pattern may not be redistributed for free, sale, or trade, but finished products can be sold with credit to this shop – enjoy!
Looking for more crochet accessories patterns👇
Did you try this Pattern? Share a picture
Tag me on Instagram
@sandrastitchesil
You’ve Got Your Pattern, Now What?
- PIN FOR LATER – Don’t lose this pattern. Please save it to your Pinterest account so you can quickly come back to it later.
- SHARE YOUR WORK – Share your in-progress and finished projects on Facebook or Instagram and use the hashtag #sandrastitchesil
- SHOW OFF – Create a project on Ravelry to inspire and share your thoughts with others who might be interested in this project.
Questions?
Ask and share in our
FREE Facebook Group
DISCLOSURE
AMAZON ASSOCIATES: Sandra Stitches is a participant in the Amazon Services LLC Associates Program, an affiliate advertising program designed to provide a means for sites to earn advertising fees by advertising and linking to Amazon.com.
This post contains links to products that I use and recommend. If you purchase any using my links, I get a very small fee at no ad to you! Thank you for supporting my small biz!

