✦ Quick answer To crochet a V-stitch winter skirt in chunky yarn: measure your hip circumference, chain to that measurement, work 2–3 rows of half double crochet for the waistband, then switch to V-stitch rounds until your desired length.
Add an elastic waistband and a sheer lining underneath for coverage. No written pattern required just your measurements and a gauge swatch.
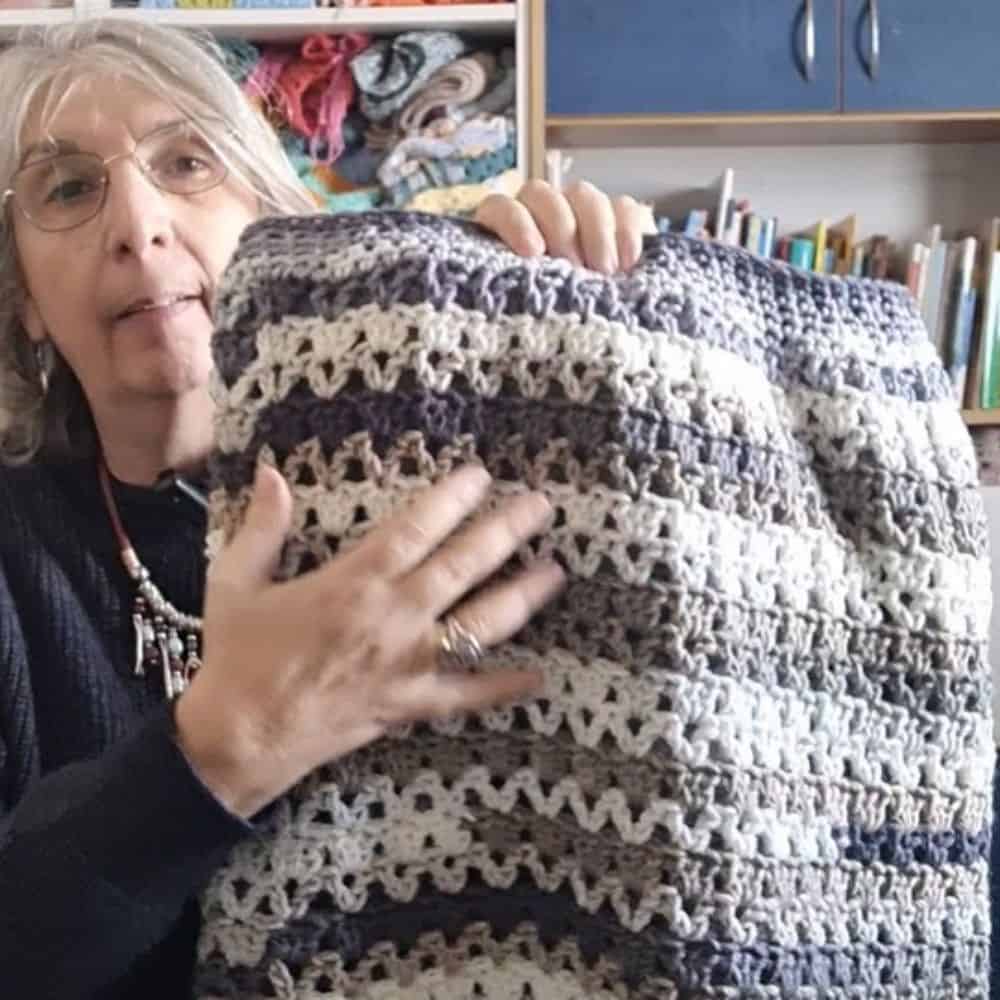
I wanted a crochet skirt I could actually wear in winter, not too long, not too short, in colours that go with everything.
Chunky yarn. V-stitch. and no pattern, because I wanted it to fit my body, not a generic size.
This post walks you through exactly how I made it, including the five times I frogged the whole thing and what finally worked.
What You Need to Crochet a Chunky V-Stitch Skirt
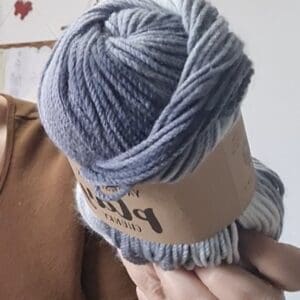
- Chunky yarn — I used Yarn Smith Play Chunky in two shades: grey/white tones and a grey/brown/olive mix. You need 2 skeins of each for a knee-length skirt.
- Crochet hook — size to match your chunky yarn, plus one size smaller for the waistband
- Measuring tape
- Elastic band — 2.5 cm wide, cut to your waist measurement minus a few centimetres
- Lining fabric or existing slip skirt — any lightweight, sheer fabric in a neutral colour
- Tapestry needle and scissors
- Sewing needle and thread (for attaching the lining)
Sandra’s tip on yarn colours: I combined two shades from the same yarn brand a grey/white and grey/brown/olive. Because they share the same neutral base, mixing them looks intentional and beautiful rather than mismatched.
When combining yarns, always make sure they share at least one colour in common.
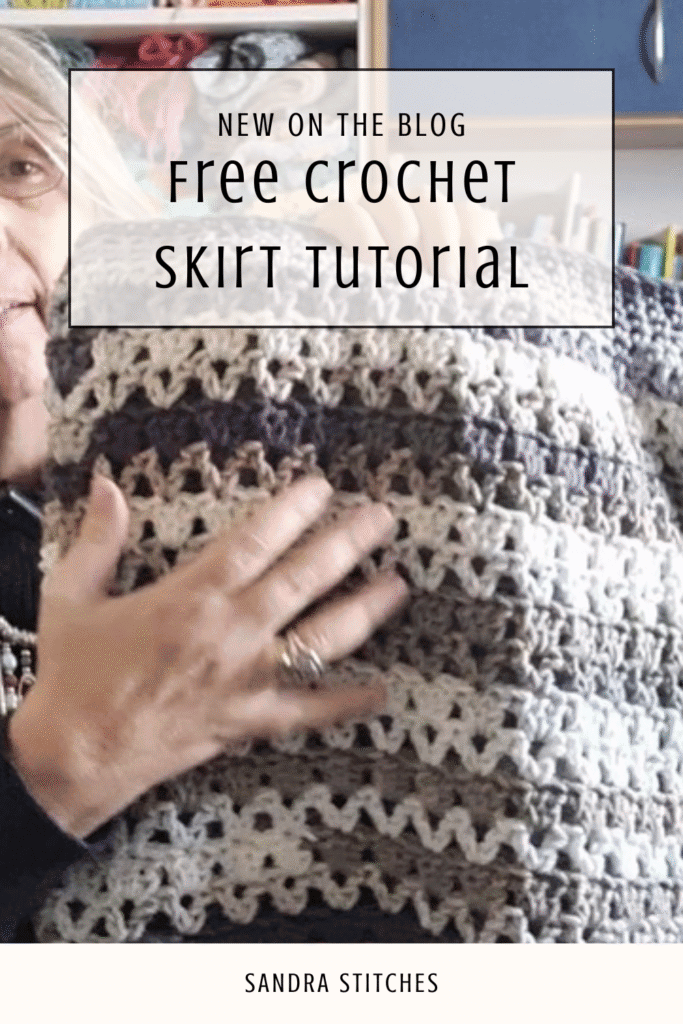
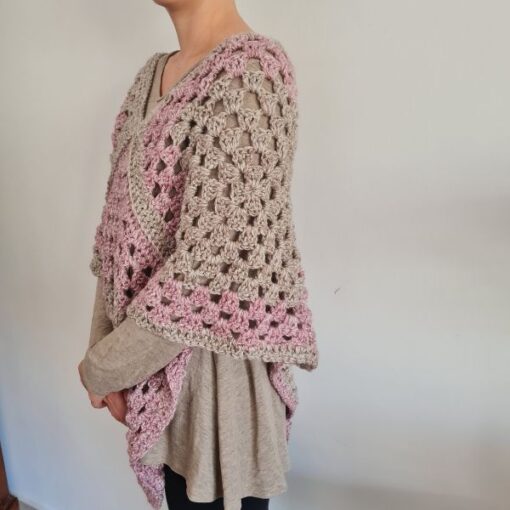
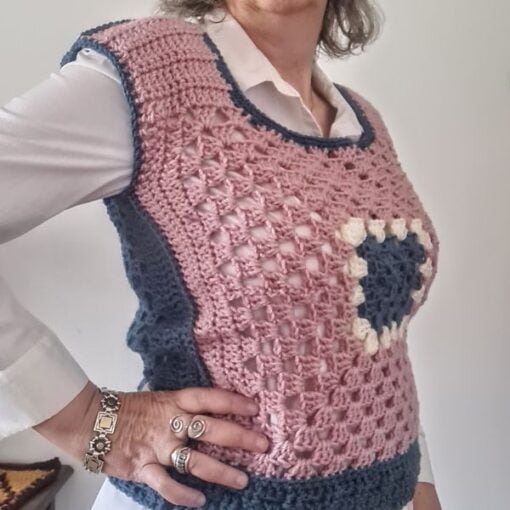
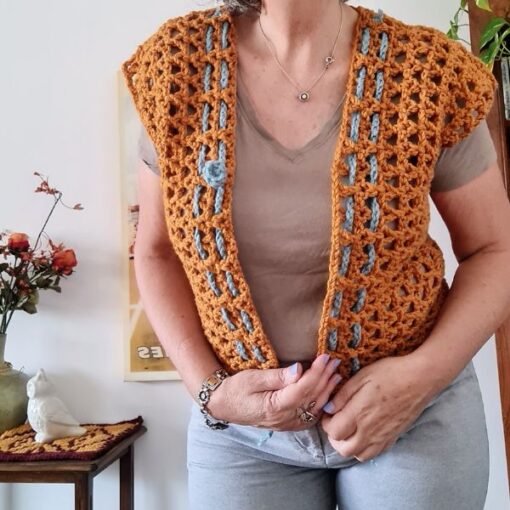
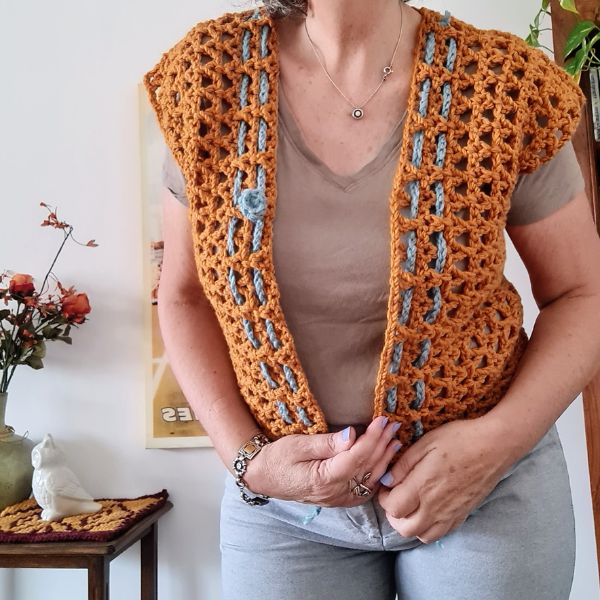
No time to make it Today? Save to Pinterest!
Click your favorite image, below, and save to your Pinterest board or share with friends
Taking Your Measurements
Instead of following a written pattern, I worked from an existing skirt that fits me perfectly. This is the most reliable method when you want a garment to actually fit your body.
Measure the circumference of your hips at the widest point. My measurement was 34 inches (approximately 86 cm). This becomes your foundation chain or your starting round count — the body of the skirt starts at hip width and works downward, so you never have to worry about increasing for your hips mid-project.
Why start at the hip and work down?
Starting at the waist and increasing for hips is the more traditional construction, but it requires precise increases that are easy to get wrong. Starting at the hip measurement and working straight down removes that variable entirely. The waistband is added separately at the end — either crocheted on or sewn as a separate fabric piece with built-in elastic.
How to Crochet the Skirt — Step by Step
Step 1 — Work your foundation
Chain to your hip circumference measurement. Join with a slip stitch to form a ring, checking that it is not twisted. Alternatively, if you prefer, you can work flat and seam at the end.
Step 2 — Waistband rows
Using a hook one size smaller than your main hook, work 2–3 rows of half double crochet. Going down one hook size creates a firmer, more structured fabric for the waistband — exactly what you need to hold the elastic and keep the skirt from sliding down.
Step 3 — The V-stitch body
Switch back to your main hook size and begin your V-stitch rounds. Work down from the hip toward the hem. The V-stitch creates a beautiful open texture that gives the skirt lovely drape and movement. Important: because V-stitch is an open stitch, you will need a lining fabric underneath for coverage. Plan for this from the start.
Continue
Step 4 — Measure as you go
Hold the skirt against your body every few rounds. I worked approximately 11–12 rounds per skein panel (what I call a “skin”), and each panel measured around 8 inches in length. Two panels = roughly 16 inches total before blocking. Remember that chunky V-stitch fabric will grow in length when blocked — sometimes by several centimetres.
Step 5 — Attach the waistband
There are two approaches. You can crochet a separate waistband and join it to the top, or you can use an existing fabric waistband. I repurposed an old grey maxi skirt — I cut it to the right length, which gave me a waistband with built-in elastic already attached. This saved hours and the result looks completely professional.
Step 6 — Line the skirt
Because V-stitch has gaps, a lining is essential. I used the bottom of the same grey skirt I cut for the waistband — so the lining and waistband are from the same fabric, in the same colour. I attached it by hand sewing with a matching grey thread. If you have a regular sewing machine this step is faster, but hand sewing works perfectly well.
Step 7 — Block the finished skirt
Wet blocking opens the V-stitches, evens out the fabric, and adds length. Lay the skirt flat, pin to measurements, and allow to dry completely. Expect the skirt to gain at least 2–4 cm in length after blocking.e.
Love This Freebie? There’s More Where That Came From!
You will discover my complete collection of crochet patterns,
tutorials, and resources, both free and premium, all in one convenient place.
I know you’ll find something to inspire your next project🙃
What I Learned from Frogging It Five Times
I want to be honest with you — this skirt did not come together easily. I frogged (unravelled) the whole thing five times before I found a construction approach that worked.
The first four attempts all started at the waist and increased outward for the hips. The problem was that my increases kept growing too fast — the skirt was getting enormous. Even following a video tutorial did not help, because increase calculations that work for one body shape do not always translate to another.
The solution was to flip the construction entirely. Starting at the hip — the widest measurement — and working straight down means no increases at all. The waistband, which is narrower, gets handled separately with elastic. This is simpler, faster, and far more forgiving.
If you are struggling with a crochet garment that keeps going wrong, try a different construction direction before giving up. Sometimes the pattern is fine — the approach just does not suit the project.els.
Combining Two Yarn Colours
I did not have quite enough of either colour to complete the full skirt, so I combined both skeins throughout. The grey/white yarn forms the main body, and I added a few rows of the grey/brown/olive at the lower edge and around the waistband.
Because all the tones sit within the same neutral family — greys, creams, warm browns — the colour transition is seamless. You cannot tell where one yarn ends and the other begins. This is a useful technique any time you are running low on a colour or want to use up partial skeins.ject throughout. And always match your yarn color to the stitches you are weaving through — this keeps everything invisible from the front.
How to Line a Crochet Skirt
Lining is the step most people skip and then regret. Here is what I recommend:
A sheer or semi-sheer fabric in a neutral colour (grey, cream, black) works best under a neutral-toned V-stitch skirt
Use an existing slip, slip skirt, or lightweight skirt as your lining — this gives you a finished edge and often an elastic waistband already built in
Cut to 2–3 cm shorter than your crochet skirt so the lining does not peep below the hem
Use a matching thread colour and hand sew around the waistband with small, even stitches
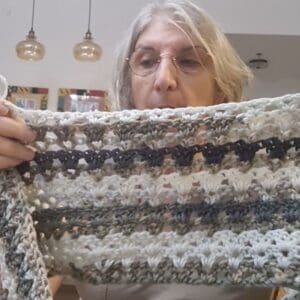
The Finished Result
The skirt is knee-length, warm, and comfortable. The V-stitch gives it beautiful movement and texture. The grey lining underneath means it is completely wearable — no adjusting, no worrying about what is visible through the stitches.
I can move freely, sit comfortably, and the elastic waistband means it fits perfectly without any fuss. The line from working in the round is visible on one side — I simply position it at the back or side. That is one of those perfectly normal things about working in rounds that everyone encounters.
It will get even better after a proper wet block, which I have not done yet as of filming — but I already love it as it is.
Did you try this Pattern? Share a picture
Tag me on Instagram
@sandrastitchesil
Frequently Asked Questions
Can you crochet a skirt with chunky yarn?
Yes — chunky yarn makes a beautiful winter crochet skirt. It works up quickly, feels warm, and the V-stitch creates an open drape that is very flattering. You will need a fabric lining underneath for coverage. Allow extra yarn for a lining-less length or a hem border.
What stitch is best for a crochet skirt?
The V-stitch is one of the most popular for crochet skirts — it creates an elegant, slightly open fabric with natural drape. For a winter version in chunky yarn, V-stitch gives warmth and texture while keeping the project quick to make. Half double crochet at the waistband adds structure.
How do you add an elastic waistband to a crochet skirt?
Work 3–4 rows of half double crochet at the top of the skirt using a slightly smaller hook. Thread elastic through the rows, or sew a fabric waistband with built-in elastic directly onto the crochet body. I recommend using an existing skirt waistband — it already has everything done and saves a lot of time.
How do you line a crochet skirt?
Use a lightweight existing slip or skirt as your lining. Cut to the right length, then hand sew or machine sew it to the inside waistband. A neutral sheer fabric in grey, cream, or black works beautifully under a V-stitch skirt in neutral tones.
Do I need to block a crochet skirt?
Yes. wet blocking a crochet skirt opens the stitches, evens the fabric, and adds length. For a chunky yarn V-stitch skirt, expect to gain 2–4 cm in length after blocking. Always block before deciding the skirt is too short.
You’ve Got Your Pattern, Now What?
- PIN FOR LATER – Don’t lose this pattern. Save it to your Pinterest account so you can quickly come back to it later.
- SHARE YOUR WORK – Share your in-progress and finished projects on Facebook or Instagram and use the hashtag #sandrastitchesil
- SHOW OFF – Create a project on Ravelry to inspire and share your thoughts with others who might be interested in this project.
Or join the V-Stitch Club | $5/month. Two exclusive patterns every month, a monthly wellness and crochet workbook, and a private community. Every pattern stays exclusive forever. Learn more →
