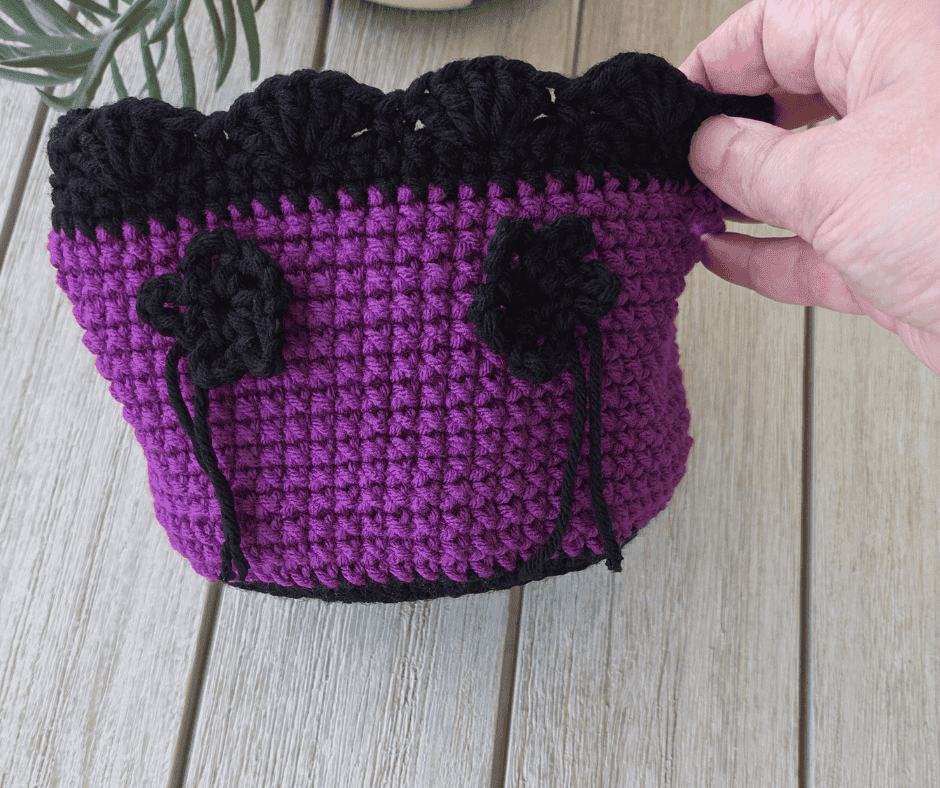
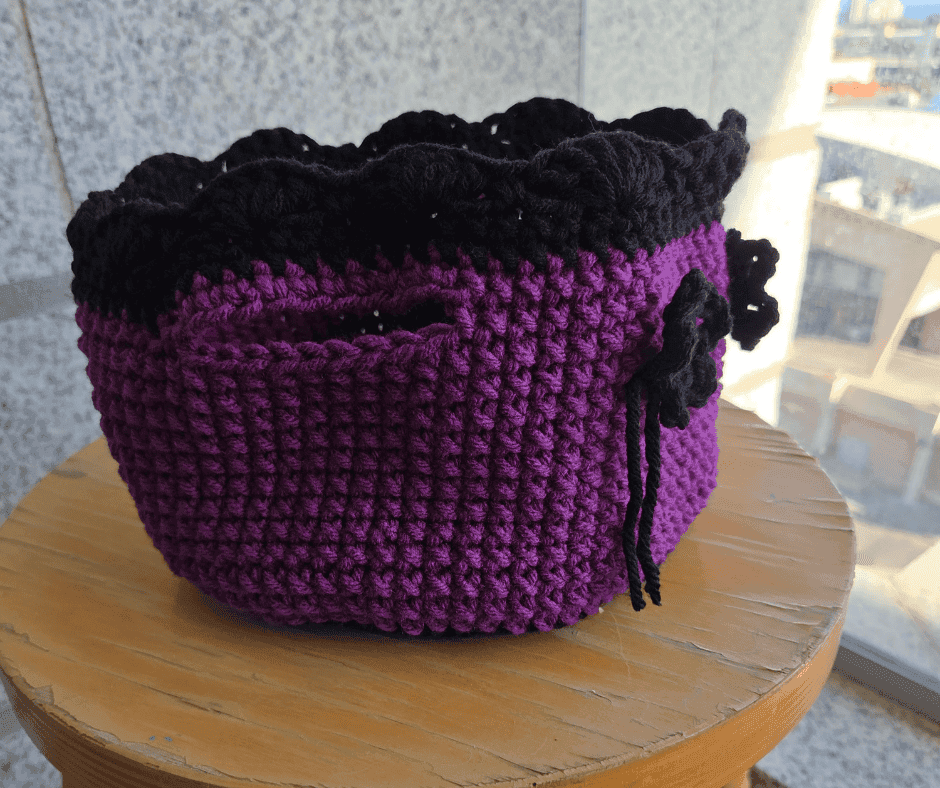
This trick or treat basket crochet pattern is a simple single crochet basket worked in two colors, finished with a small crochet flower, and easy enough for a beginner to finish in an evening. It was made for the 2026 Halloween CAL with CAL Central, but the shape and stitches stay exactly the same no matter what colors you pick.
Quick answer: this trick or treat basket crochet pattern is a rounds-based single crochet basket with two folded handles and a small flower embellishment, made with worsted weight yarn and a 5mm hook, and it works in any color combination for any season.
I have to tell you something a little funny first. I don’t celebrate Halloween. Never have.
So when CAL Central asked me to join this year’s hop, I sat with my yarn for a minute and thought, what do I actually make here.
I didn’t want a basket that only works one week a year and then sits in a drawer.
So I made it in black and purple because that’s what the hop asked for, but the whole time I was crocheting I kept thinking about how it would look in cream and green, or red and white for Christmas, or just one solid color for every day.
That’s really the point of this one. Make it exactly as written for the hop, or make it your own.
All info about the 2026 Halloween CAL with CAL Central Below👇
Find the free pattern below or purchase the ad-free PDF version of this pattern HERE The PDF is designed for printing, and this way, you can support me! Thank you🩷
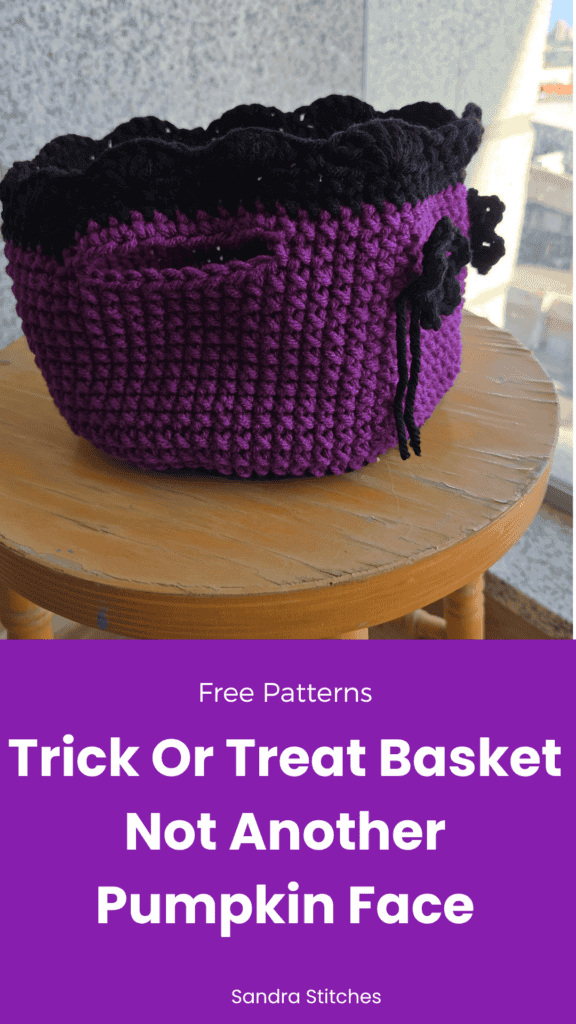
Do you want to save this post for later? Go ahead and PIN IT!
What You’ll Need
- 100% Acrylic or cotton yarn, weight #4, in two colors (I used black and purple for the hop)
- US size 5mm hook
- Yarn needle
- Scissors
- Measuring tape
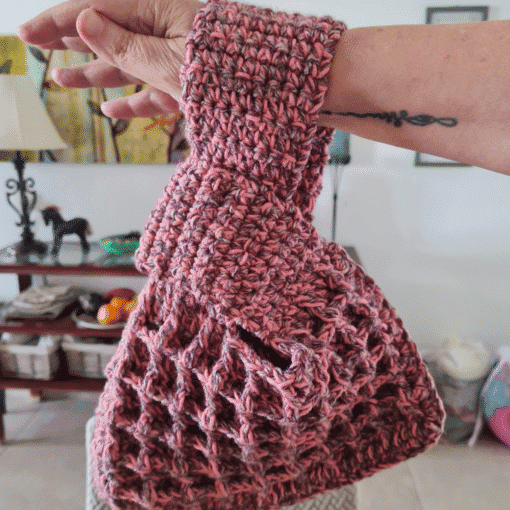
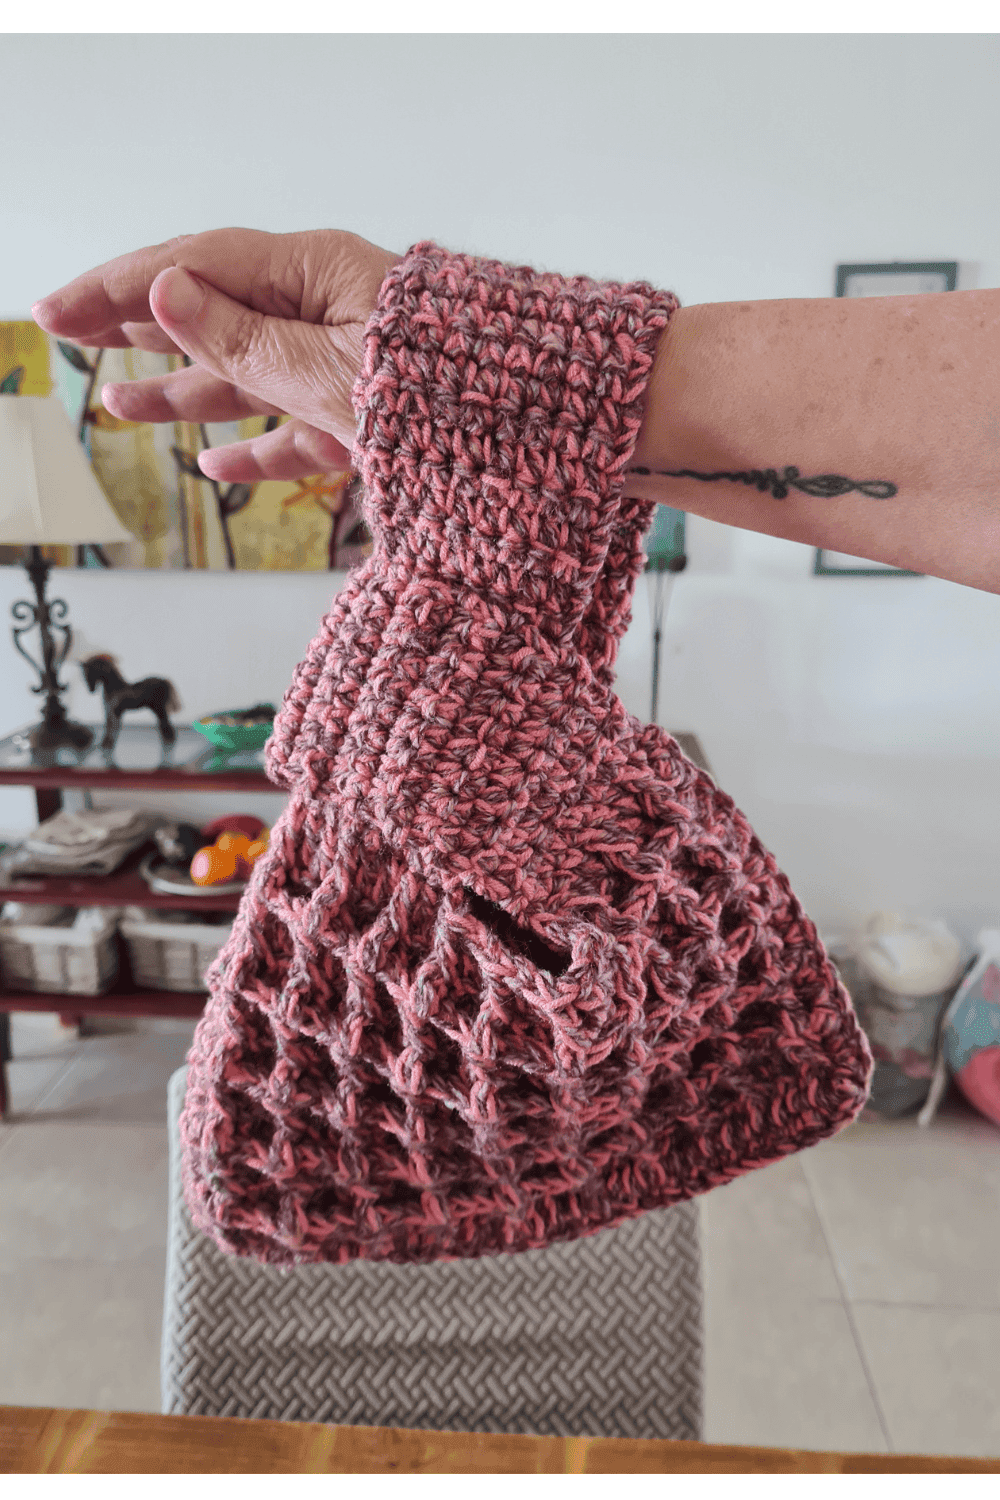
If you like basket and bag shapes like this one, my waffle stitch Japanese knot bag is another good project to try next, a little more advanced but the same easy, rounds based logic.
Sizes
This sample measures 6.5 inches wide by 5.5 inches tall.
** Some of the links in this post may include affiliate links. Purchasing from one of these links pays me a small referral fee at no added cost to you. These small fees add up and help me keep the blog running. View our Disclosure and Privacy Policy for more information.
Stitch Key
- Ch = Chain
- St = Stitch
- Hdc = Half Double Crochet
- Sc = Single Crochet
- Yusc = Yarn under single crochet (this is the stitch that gives the basket its tight, textured look)
- Inc = Increase round
- Blosc = Back loop only single crochet
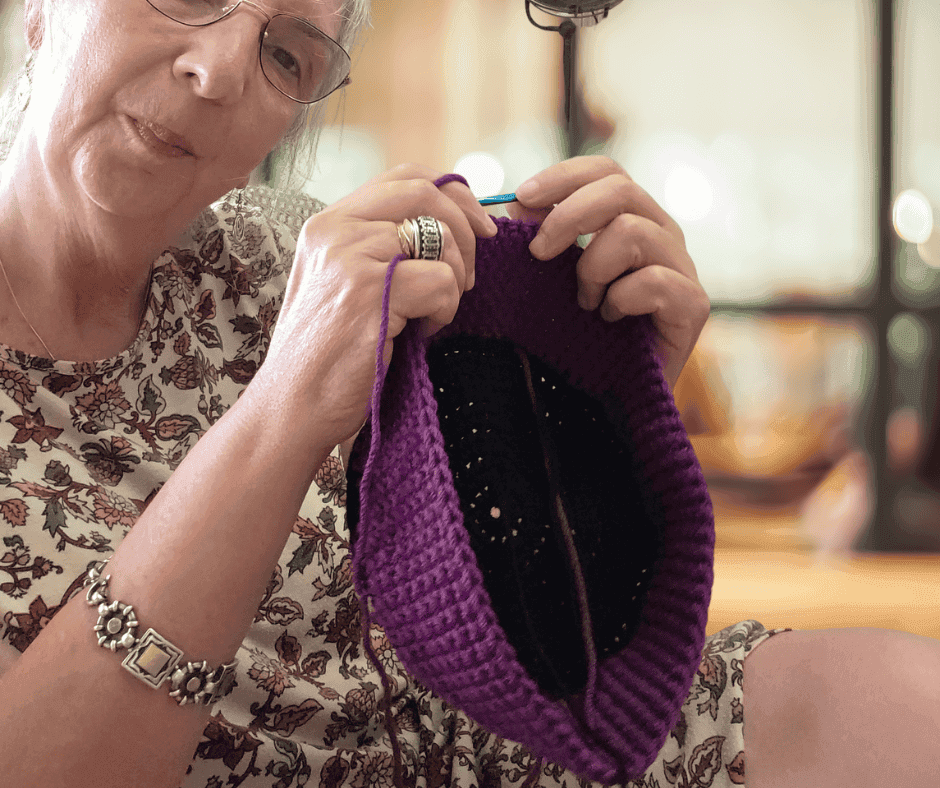
Sandra’s Tip :The Yusc stitch is the one that makes this basket look special in photos. Instead of going under both loops like a regular single crochet, you’re catching it a little differently, and it pulls the stitches into a tight X shape across the whole body of the basket. If you’ve never tried it before, this is a good small project to learn it on. It’s only used on straight rounds, no shaping to worry about while you’re getting used to it.
Notes
- The pattern is worked in rounds.
- Ch 1 does not count as a stitch at the beginning of a round.
- You can use one color for the whole basket, or split it like I did. Nothing about the stitch count changes either way.
Before you get started, check out my newest favorite finds!
Yarn Winder – a perfect crochet accessory
Steamer for Clothes – Portable ideal for crochet projects
Blocking Mat – 12.5″ for all your squares
Let’s get to the pattern, shall we? Making The Trick or Treat Basket
The base (start with black)
Chain 4, slip stitch to first chain to form a circle, or use the magic circle method.
Round 1: Ch 2, dc 11 more into the circle, slip stitch to ch 3 to close (12)
Round 2 (inc): Ch 2, dc 1 in same st, dc 2 in next st and around, slip stitch to ch 2 to close (24)
Round 3 (inc): Ch 2, *dc 2 in next st, dc 1 in next st, repeat from * around, slip stitch to ch 2 to close (36)
Round 4 (inc): Ch 2, dc 1 in next st, *dc 2 in next st, dc 1 in next 2 sts, repeat from * around, slip stitch to ch 2 to close (48)
Round 5 (inc): Ch 2, dc 1 in next 2 sts, *dc 2 in next st, dc 1 in next 3 sts, repeat from * around, slip stitch to ch 2 to close (60)
The body (change color)
Round 6: Ch 1, blosc 1 in first st from hook, blosc 1 in next and around, slip stitch to first st (60)
Round 7: Ch 1, Yusc 1 in first st from hook, *Yusc 1 in next, repeat from * around, end with Yusc in last st, slip stitch to first st to close (60)
Rounds 8 to 12: Repeat round 7
Form the handles
Round 13: Ch 1, Yusc 1 in first st from hook, *Yusc 1 in next 25 sts, ch 12, skip 10 sts, Yusc in next 25 sts , ch 12, skip 10, Slst to 1st Yusc to close (60)
Change color
Round 14: Ch 1, Yusc 1 in first st from hook, *Yusc 1 in every st, sc 10 in ch 12 space, continue Yusc in next sts until you reach the next ch 12 space, sc 10 in that space, finish round with Yusc 1 in every st, slip stitch to first st to close
Round 15: Ch 1, sc 1 in first st, *skip 2 sts, dc 5 in next st, skip 2 sts, sc 1 in next st, repeat from * around, finish with slip stitch to first st
Finishing
Weave in all ends.
Crocheting the Flower
- Center: With contrasting color, ch 4. Slip stitch into the first chain to form a ring.
- Petals: Ch 6, slip stitch into the ring. Repeat 5 times total.
- Stem: Ch 4. Fasten off, leaving a tail for sewing.
Sew the flower on wherever you like, then fill your basket with candy (or whatever it is you’re collecting this season).
FAQ
Can I make this in colors other than black and purple?
Yes, completely. The pattern doesn’t change at all, just the yarn you pick. This is genuinely a year round basket shape.
Do I need to know the Yusc stitch before starting?
No prior experience needed. It’s used consistently through the body rounds so you’ll get comfortable with it fast.
Is this basket sturdy enough to actually hold candy?
Yes. The base rounds are worked in regular double crochet which keeps the bottom firm, and the Yusc body holds its shape well once it’s filled.
Can I skip the flower?
Of course. The basket stands on its own without it if you’d rather keep it plain.
How long does this take to make?
It’s a fast, single evening project for most confident beginners.
A video tutorial for this pattern isn’t ready yet, it may come later this year. For now, the written pattern above has everything you need.
How the 2026 Halloween CAL Works
| From August 10, 2026 through September 24, 2026, every Monday and Thursday we’ll share a free crochet pattern for a Halloween-themed project. These patterns include decorations, toys, costume elements, and more. |
Forbidden Fiber Co., Furls, GlassEyesOnline, Knitter’s Relief Balm, LennyMudPottery, Underground Crafter, and Unicorn have generously provided us with fabulous prizes for our end-of-CAL giveaway. Don’t forget to enter the giveaway in this post on Underground Crafter by 11:59 pm Eastern on Sunday, September 27, 2026!
How To Join the 2025 Halloween CAL
- You can join in by crocheting the patterns as you have time.
- Share your progress and post pictures of your finished projects. Tag your projects and posts #CALCentralCrochet on all social media.
- If you’d like to chat with other crocheters, join the CAL Central Crochet Facebook group, or visit this thread in the CAL Central Ravelry group.
- By the end of the CAL, you’ll have up to 14 spooky Halloween projects.
👉Visit Underground Crafter to learn more about the prizes, enter the end-of-CAL giveaway, and to get links to each Halloween CAL pattern as it is released.
**This is an original Sandra Regev pattern: Owner /Designer of Sandra Stitches. This pattern may not be redistributed for free, sale, or trade, but finished products can be sold with credit to this shop – enjoy!
A quiet place to keep crocheting
If projects like this one are your kind of calm, you might love the V-Stitch Club.
It is my little corner of the internet for women who crochet for the joy and the quiet of it, with new patterns, gentle company, and the steady rhythm of always having something beautiful on the hook.
Share Your Make! 📸
Did you make the Spiral Butterfly Wall Hanging? I would absolutely love to see it!
- Tag me on Instagram @sandrastitchesil
- Share in our free Facebook group: Crochet & Stories with Sandra
- Use the hashtag #CIJMakeAlong2026 so the whole community can find you
Be Part of The Tribe!
Come share your finished Ridgeline Beanie in my free Facebook group. Join Crochet & Stories with Sandra Stitches.
DISCLOSURE
AMAZON ASSOCIATES: Sandra Stitches is a participant in the Amazon Services LLC Associates Program, an affiliate advertising program designed to provide a means for sites to earn advertising fees by advertising and linking to Amazon.com.
This post contains links to products that I use and recommend. If you purchase any using my links, I get a very small fee at no ad to you! Thank you for supporting my small biz!

Hi my crochet friend!
Crochet has followed me from Argentina to Israel and through every crossroads since. Now I design calm, achievable crochet, made to feel possible.
Come find free patterns, tutorials, and the V-Stitch Club right here on the blog.

2 thoughts on “Trick or Treat Basket Crochet Pattern (Made for Any Season) Midnigth”
The numbers don’t add up in round 13. *Yusc 1 in next 25 sts, ch 12, skip 10 sts, repeat from * =70 stitches, and there are 60 after the base is done and the sides are worked.
Hi Andrea! The numbers are OK it was just the wording on the instructions that were a bit comfusing- I change it so it is more clear. Please go back ti the pattern and check, Hope it helps Sandra