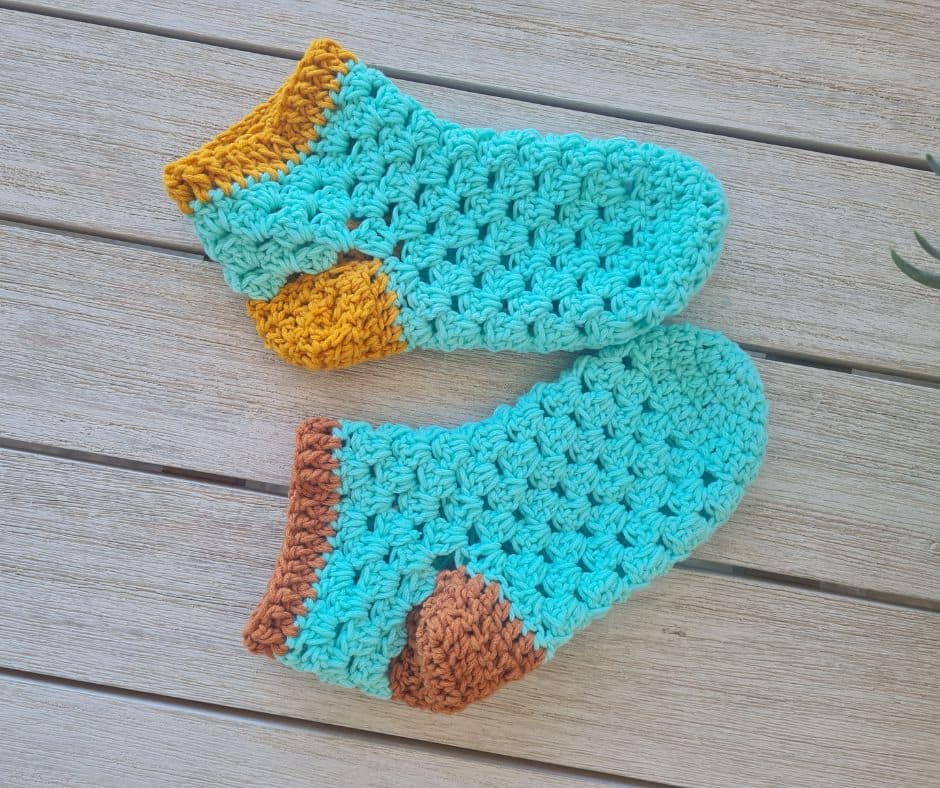
Can a beginner crochet granny slippers?
Yes, and these are about the friendliest pair you will ever make.
You work them in one piece from the toe, in the round, using only the granny stitch and the double crochet. There are no separate squares to sew together and no increases or decreases to puzzle over once the toe is shaped.
If you can make a granny cluster, you can make these slippers.
A pair takes most people about an hour and a half to two hours once they find the rhythm, and they are endlessly forgiving, because you simply try them on as you go and add or remove a round until they fit.
I designed these to be the slippers I reach for on the first chilly evening of the year. Soft, roomy, a little bit cheerful in two colors. And honestly, they are the project I hand to anyone who tells me they are “not good enough” at crochet yet.
You are. Let me show you.
How to Get the Ad-free PDF of this Design
The pattern instructions are available below, but you can get the formatted, printable, ad-free PDF for just a few dollars in our shop and support my business, thank you!!!
No time to make it Today? Save to Pinterest!
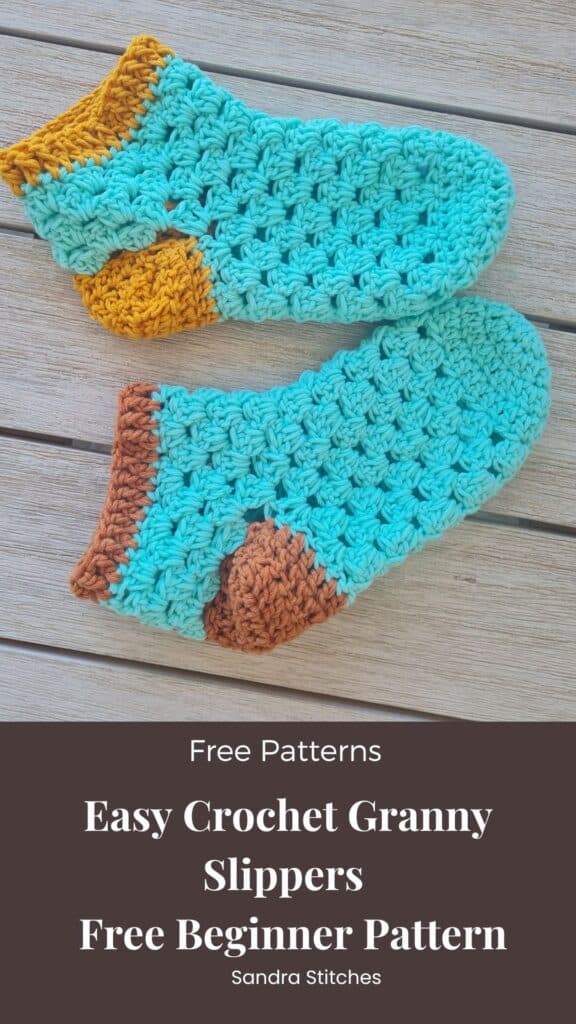
Click your favorite image, below, and save to your Pinterest board or share with friends
Why these granny slippers are perfect for beginners
Most granny slipper patterns ask you to crochet six or twelve separate squares and then sew them all together into a slipper shape. That is lovely, but for a newer crocheter it is a lot of counting, a lot of seaming, and a lot of chances to feel like it is going wrong.
These are different. You start at the toe with a simple magic circle, work your way down the foot in cozy rows of granny stitch, add a little folded rectangle for the heel, and finish with a soft cuff. The only sewing is two tidy seams at the heel. No squares. No diagram to decode. Just one piece that grows in your hands.
The other gift here is that there are no increases or decreases to manage along the foot. Once your toe is shaped in the first three rounds, every round after is the same comfortable motion. That is what makes them so relaxing to work, the kind of project you can pick up in front of the television and feel your shoulders drop.
If you enjoyed working the toe on these, you might love my Toe Up Crochet Socks too, they use that same comfortable in the round approach, just a bit longer.
What is the granny stitch?
The granny stitch is simply a cluster of three double crochet worked into the same space, with a small gap before the next cluster. It is the same stitch that built every granny square blanket you have ever loved, only here we work it round and round instead of in a square. It creates that classic, slightly open texture that is soft underfoot and quick to grow.
If you fall for this stitch the way I did, my Crochet Hexagon Granny Slipper Socks put it to work in a slightly different shape, and they make a lovely matching gift set with this pair
What yarn is best for crochet slippers?
For slippers you wear and wash all winter, reach for a worsted weight (category 4) 100% acrylic yarn. Acrylic is soft, hard wearing, and happy to go in the washing machine, which matters for something that lives on your feet. I would gently steer you away from wool blends here, since wool usually needs hand washing and these slippers will be worn often.
This is also the perfect home for your scrap yarn. One winter I made pair after pair for my family entirely from oddments, all of them bright and mismatched, and they were the most loved gifts of the year.
The little tools that make this easier
You truly only need yarn, a hook, a needle, and scissors for these. But if you crochet often, two small things make life nicer:
- A good 5.5 mm hook that feels comfortable in your hand over a long evening of stitching.
- A way to keep track of your rounds, so you do not lose your place when life interrupts. I use a simple project tracker for this and it has saved me more times than I can count. My Crochet Project Tracker on Amazon →
What you will need
Scissors
Worsted weight (category 4) 100% acrylic yarn, in two colors, one color, or your favorite scrap yarn (a main color for the body and a contrast color for the heel and cuff)
5.5 mm crochet hook (go down to 5 mm if you crochet loosely and want a firmer slipper)
Tapestry needle
** Some of the links in this post may include affiliate links. Purchasing from one of these links pays me a small referral fee at no added cost to you. These small fees add up and help me keep the blog running. View our Disclosure and Privacy Policy for more information.
Before you get started, check out my newest favorite finds!
Yarn Winder – a perfect crochet accessory
Steamer for Clothes – Portable, ideal for crochet projects
Blocking Mat – 12.5″ for all your squares
Skill level:
Beginner
Time:
About an hour and a half to two hours for a pair, once you are comfortable
Stitches used:
magic circle, chain, double crochet, granny stitch (3 dc cluster), front post double crochet, slip stitch
Notes
- This pattern is written in US terminology
- This pattern is worked in rounds
- Ch 2 does count as st at the beginning of each round
- Ch1 at the beginning of the row does not count as a stitch
- This pattern is for one crochet slipper make 2
- I used two solid colors – you can change colors at different rounds as you wish
A few tips before you start
Every foot is different, so please treat my round and row counts as my counts, not strict rules. The whole pattern is built to be measured against the foot as you go, which is exactly why it is so beginner friendly. Hold it up, try it on, add or remove a round. There is no wrong answer, only a comfortable slipper.
Sandra’s tip: these are meant to be loose and cozy, not fitted like a sock. If you are between sizes, go roomier. Slippers should feel like a hug for your feet.
Watch the full video tutorial
Sometimes a stitch is far easier to see than to read, and that is especially true for the heel seam and the soft front post cuff. Here is the whole thing, start to finish. Pour something warm and crochet along with me at your own pace.
The full written pattern is right below, so you can work from the video, from the text, or keep both open side by side.
Crochet granny slippers pattern (US terms)
Make two.
Abbreviations: ch chain, dc double crochet, sl st slip stitch, st(s) stitch(es), sp space, fpdc front post double crochet, rnd round.
Toe
Begin with a magic circle. If you prefer, chain 4 and slip stitch to the first chain to form a ring.
Rnd 1: Ch 2 (this does not count as a stitch), work 12 dc into the circle. Pull the tail to close the circle. Sl st to the first dc to join. (12 dc)
Rnd 2: Ch 2 (does not count). Work [1 dc in next st, 2 dc in next st] around. Sl st to the first dc to join. (18 dc)
The piece will start to cup and curl. That is exactly what we want, it is forming the toe.
Rnd 3: Ch 2 (does not count). Work [1 dc in next st, 2 dc in next st] around. Sl st to the first dc to join. (27 dc)
Sandra’s tip: on an increase round, start with a single dc and always finish on the increase. If you end on a single dc, you have skipped a stitch somewhere, so it is worth a quick count.
Foot
Rnd 4: Ch 2 (does not count). Work 1 dc in each st around. Sl st to the first dc to join. (27 dc)
Now we move into the granny stitch.
First granny round: Ch 2 (this one counts as your first dc), 2 dc in the same stitch (first cluster made), then skip 2 sts, 3 dc in next st around. Skip the last 2 sts and sl st to the top of the beginning ch 2 to join. (9 clusters)
Following granny rounds: Ch 2 and turn. Work one cluster of 3 dc into each space between the clusters around. Sl st to join.
Repeat the following granny round until you have 10 granny rounds in total (counting that first one), or until the foot reaches the point where your instep begins. Add or remove rounds to fit. Fasten off the main color.
Sandra’s tip: this is the part you measure against the foot. Hold it up as you go. More rounds for a longer foot, fewer for a shorter one.
Heel
Join your contrast color at one cluster. Working across the top of the foot, work 1 dc in each stitch across 5 clusters (15 dc). Leave the remaining 4 clusters unworked, as they form the opening your foot slides into.
Sandra’s tip: a wider foot may want 6 clusters here instead of 5. Hold the slipper to the foot and decide before you carry on.
Now work the heel as a small rectangle, back and forth:
Row 1: Ch 1, turn. Work 1 dc in each st across. (15 dc)
Rows 2 to 6: Ch 1, turn. Work 1 dc in each st across. (15 dc)
Work 6 rows in total. Fasten off, leaving a long tail for sewing.
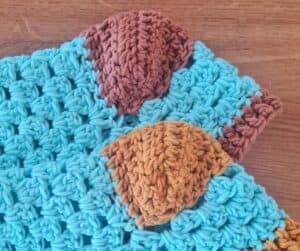
Seam the heel: fold the rectangle so the two side edges meet, with the wrong side facing you. Thread the long tail on your tapestry needle. To keep the heel softly rounded rather than pointed, sew into the second stitch in from each edge so the corner tucks gently inside as you join. Sew the seam closed and weave in the end securely. Do the same on the other corner. Turn right side out and the heel will sit round and snug.
Leg
Rejoin your yarn (main or contrast, your choice) to work around the opening.
Work granny clusters all the way around: a cluster of 3 dc in each space between the existing clusters, and across the seamed heel section work skip 2 sts, 3 dc in next st. Sl st to join. Ch 2, turn, and carry on working clusters in the spaces.
Work 5 granny rounds in total for a low slipper, or keep going for a taller, sock like slipper. Fasten off.
Cuff
Join your contrast color anywhere around the top.
Rnd 1: Work 1 dc in each st around. Sl st to the first dc to join.
Rnd 2 (front post round): Ch 2 (counts as your first dc). Work a front post dc around each stitch: yarn over, insert your hook from the front to the back and to the front again around the post of the next stitch, pull up a loop and finish the dc. Continue around. Sl st to the top of the beginning ch 2 to join.
For a taller cuff, add more dc rounds before the front post round. Fasten off and weave in all your ends.
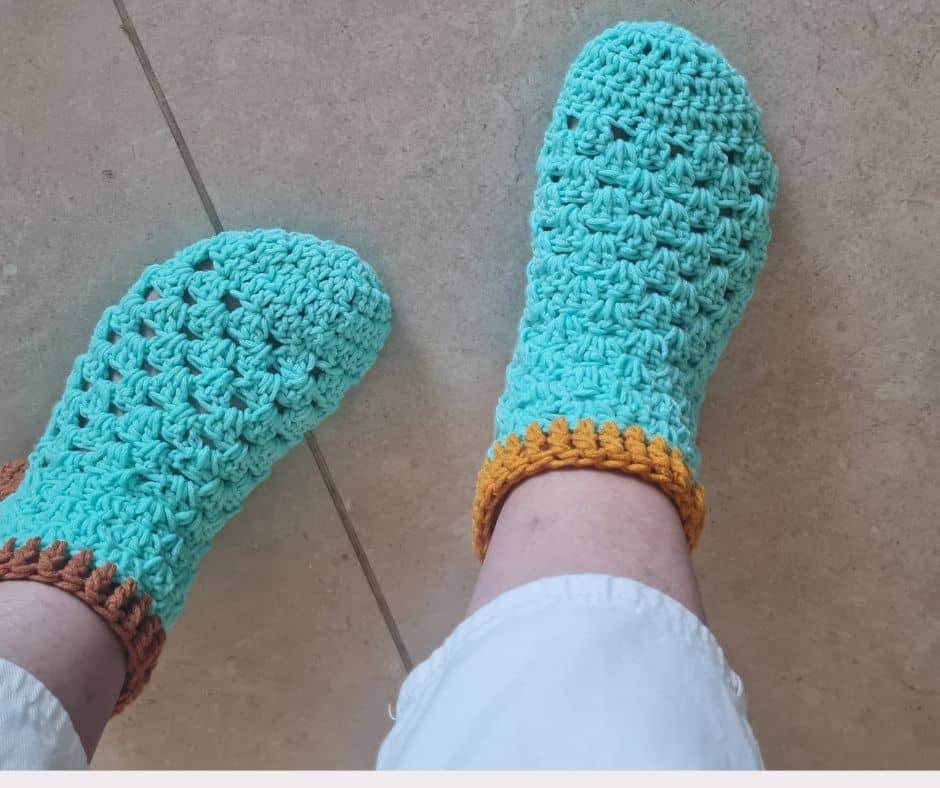
Make a second slipper to match, and you are done.
Love This Pattern? There’s More Where That Came From!
If you enjoyed this project, you might like my V Stitch Club.
It is a small monthly space with calm crochet patterns and simple creative time built into it.
You will also find free patterns on my newsletter and you are welcome in our Facebook group to share your work
You made slippers!
Look at that. A real cozy wearable pair of slippers that came entirely from your own two hands.
If you share them, I would love to see them
And if you are not on my email list yet, that is the best place to keep up with new free patterns. When you join, I will send you my free printable Row Tracker, the very thing that keeps me from losing my place mid round.
Join the newsletter and get your free Row Tracker →
We also have a warm, friendly Facebook group with challenges, and lots of finished project sharing. Come and show us your slippers. Seeing your makes is one of my favorite parts of all this.
Frequently asked questions
How long does it take to crochet a pair of granny slippers? Once you are comfortable with the granny stitch, a pair takes most people about an hour and a half to two hours. If you are brand new, give yourself longer and do not rush. The point is the calm, not the clock.
Can a complete beginner make these slippers? Yes. If you can work a double crochet and a basic granny cluster, you have everything you need. There are no separate squares to sew and no increases or decreases along the foot, which removes the parts beginners usually find tricky.
What size hook should I use for crochet slippers? I use a 5.5 mm hook with worsted weight acrylic for a soft, loose slipper. If you crochet loosely or want a firmer, denser fabric, drop down to a 5 mm hook.
How do I make these slippers fit my foot? Try the slipper on as you go. Add more granny rounds along the foot to make it longer, or fewer to make it shorter. For a wider foot, work the heel across 6 clusters instead of 5. For a taller slipper, add more rounds to the leg and cuff.
What yarn should I use for crochet slippers? A worsted weight (category 4) 100% acrylic is ideal, because it is soft, durable, and machine washable. Scrap yarn works beautifully here too, which makes these a wonderful way to use up your stash.
Do I have to sew anything? Only the heel, which is two small seams. There are no squares to join. Everything else is worked in one piece in the round.
Can I wash crochet slippers? If you use 100% acrylic yarn, yes, you can usually machine wash and even tumble dry them. If you choose a wool or wool blend, you will need to hand wash instead.
**This is an original Sandra Regev pattern: Owner /Designer of Sandra Stitches. This pattern may not be redistributed for free, sale, or trade, but finished products can be sold with credit to this shop – enjoy!
Looking for more crochet accessories patterns👇
Check out all these, you will find one!
Did you try this Pattern? Share a picture
Tag me on Instagram
@sandrastitchesil
- PIN FOR LATER – Don’t lose this pattern. Save it to your Pinterest account so you can quickly come back to it later.
- SHARE YOUR WORK – Share your in-progress and finished projects on Facebook or Instagram and use the hashtag #sandrastitchesil
- SHOW OFF – Create a project on Ravelry to inspire and share your thoughts with others who might be interested in this project.
Questions?
Ask and share in our
FREE Facebook Group
DISCLOSURE
AMAZON ASSOCIATES: Sandra Stitches is a participant in the Amazon Services LLC Associates Program, an affiliate advertising program designed to provide a means for sites to earn advertising fees by advertising and linking to Amazon.com.
This post contains links to products that I use and recommend. If you purchase any using my links, I get a very small fee at no ad to you! Thank you for supporting my small biz!

Crochet has followed Sandra from Argentina to Israel and through every crossroads since. Now she designs calm, achievable crochet, made to feel possible. Xoxo, Sandra