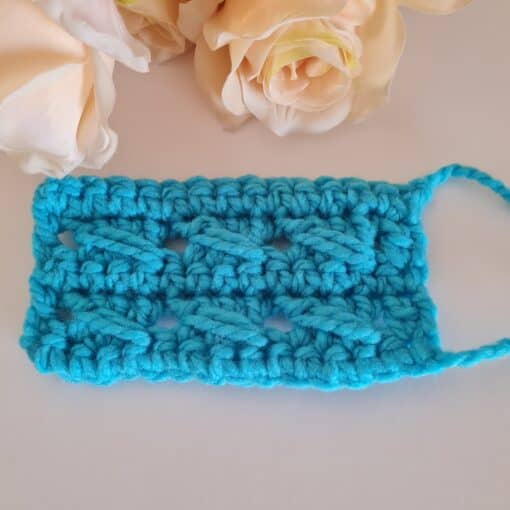
Blankets, scarves, or even garments, the Waffle Stitch adds an eye-catching texture that feels as good as it looks. In this tutorial, we’ll break down the Waffle Stitch step by step, so grab your yarn and hook, and let’s get started.
The great thing about this stitch is how it manages to look intricate while being simple to learn. With its pleasant texture resembling waffles, it’s ideal for projects where you want depth and dimension. Let’s walk through it together!
What You’ll Need
Before we dive in, make sure you have the right tools and materials. Here’s what works best for this tutorial:
- Yarn: The Waffle Stitch works well with most yarns. For this tutorial, a Berry Crushed yarn (a slightly bulky aran weight) is used to enhance the texture.
- Hook: A 6mm crochet hook is recommended for this stitch.
- Other Supplies: Scissors and a yarn needle for finishing.
Once you’ve got your materials ready, let’s dive into the steps.
Do you want to save this post for later? Go ahead and PIN IT!

Getting Started: Foundations for the Waffle Stitch
The Waffle Stitch is worked in multiples of 3 plus 2 chains. Adjust the number of chains based on the dimensions of your project—whether it’s a blanket, scarf, or something else entirely.
- Start With a Slip Knot: Create your slip knot and chain in multiples of 3. Add 2 extra chains at the end for the foundation. For example, if making a sample, you could chain 15 (multiple of 3) plus 2 additional chains.
- Foundation Row: Begin by working one double crochet into the third chain from the hook. The first skipped two chains count as your first double crochet. Continue crocheting one double crochet across the entire row. This creates the foundation row for the waffle texture.
At the end of the foundation row, you should have a neat row of double crochets.
The Key to Texture: Mastering Front Post Double Crochet
The Waffle Stitch gets its signature texture using front post double crochets (FPDC). If you’re not familiar with this technique, here’s a quick guide:
- Yarn over, insert your hook around the post (the vertical bar) of the previous row’s stitch (from front to back to front).
- Pull the yarn through as you would for a normal double crochet and finish the stitch.
This might seem tricky at first, but with practice, it’ll feel like second nature!
Creating the Waffle Pattern
Once your foundation row is complete, the Waffle Stitch follows a two-row repeat. Here’s how to build the pattern:
Row 2: Establishing the Texture
- Chain 3 to Start: The chain 3 counts as your first double crochet. Turn your work.
- Add Post Stitches: Work two front post double crochets around the next two stitches. Next, make one regular double crochet into the following stitch. This is your repeat pattern: two front post double crochets, followed by one regular double crochet.
- Finish the Row: At the end of the row, you’ll finish with two front post double crochets and one regular double crochet into the turning chain.
You’ll see the raised waffle-like pattern start to emerge as you complete this row.
Row 3: Flipping the Pattern
- Chain 3 and Turn: Again, the chain 3 acts as the first double crochet.
- Alternate the Stitching: This row switches it up—start with two regular double crochets into the first two stitches. Then, work a front post double crochet. The pattern for this row becomes two regular double crochets, followed by one front post double crochet.
- End With Regular Stitches: Finish this row with three regular double crochets.
Repeat Rows 2 and 3
That’s all there is to it! Simply repeat rows 2 and 3 to grow your project. The combination of front post stitches and regular stitches creates the signature waffle-like squares.
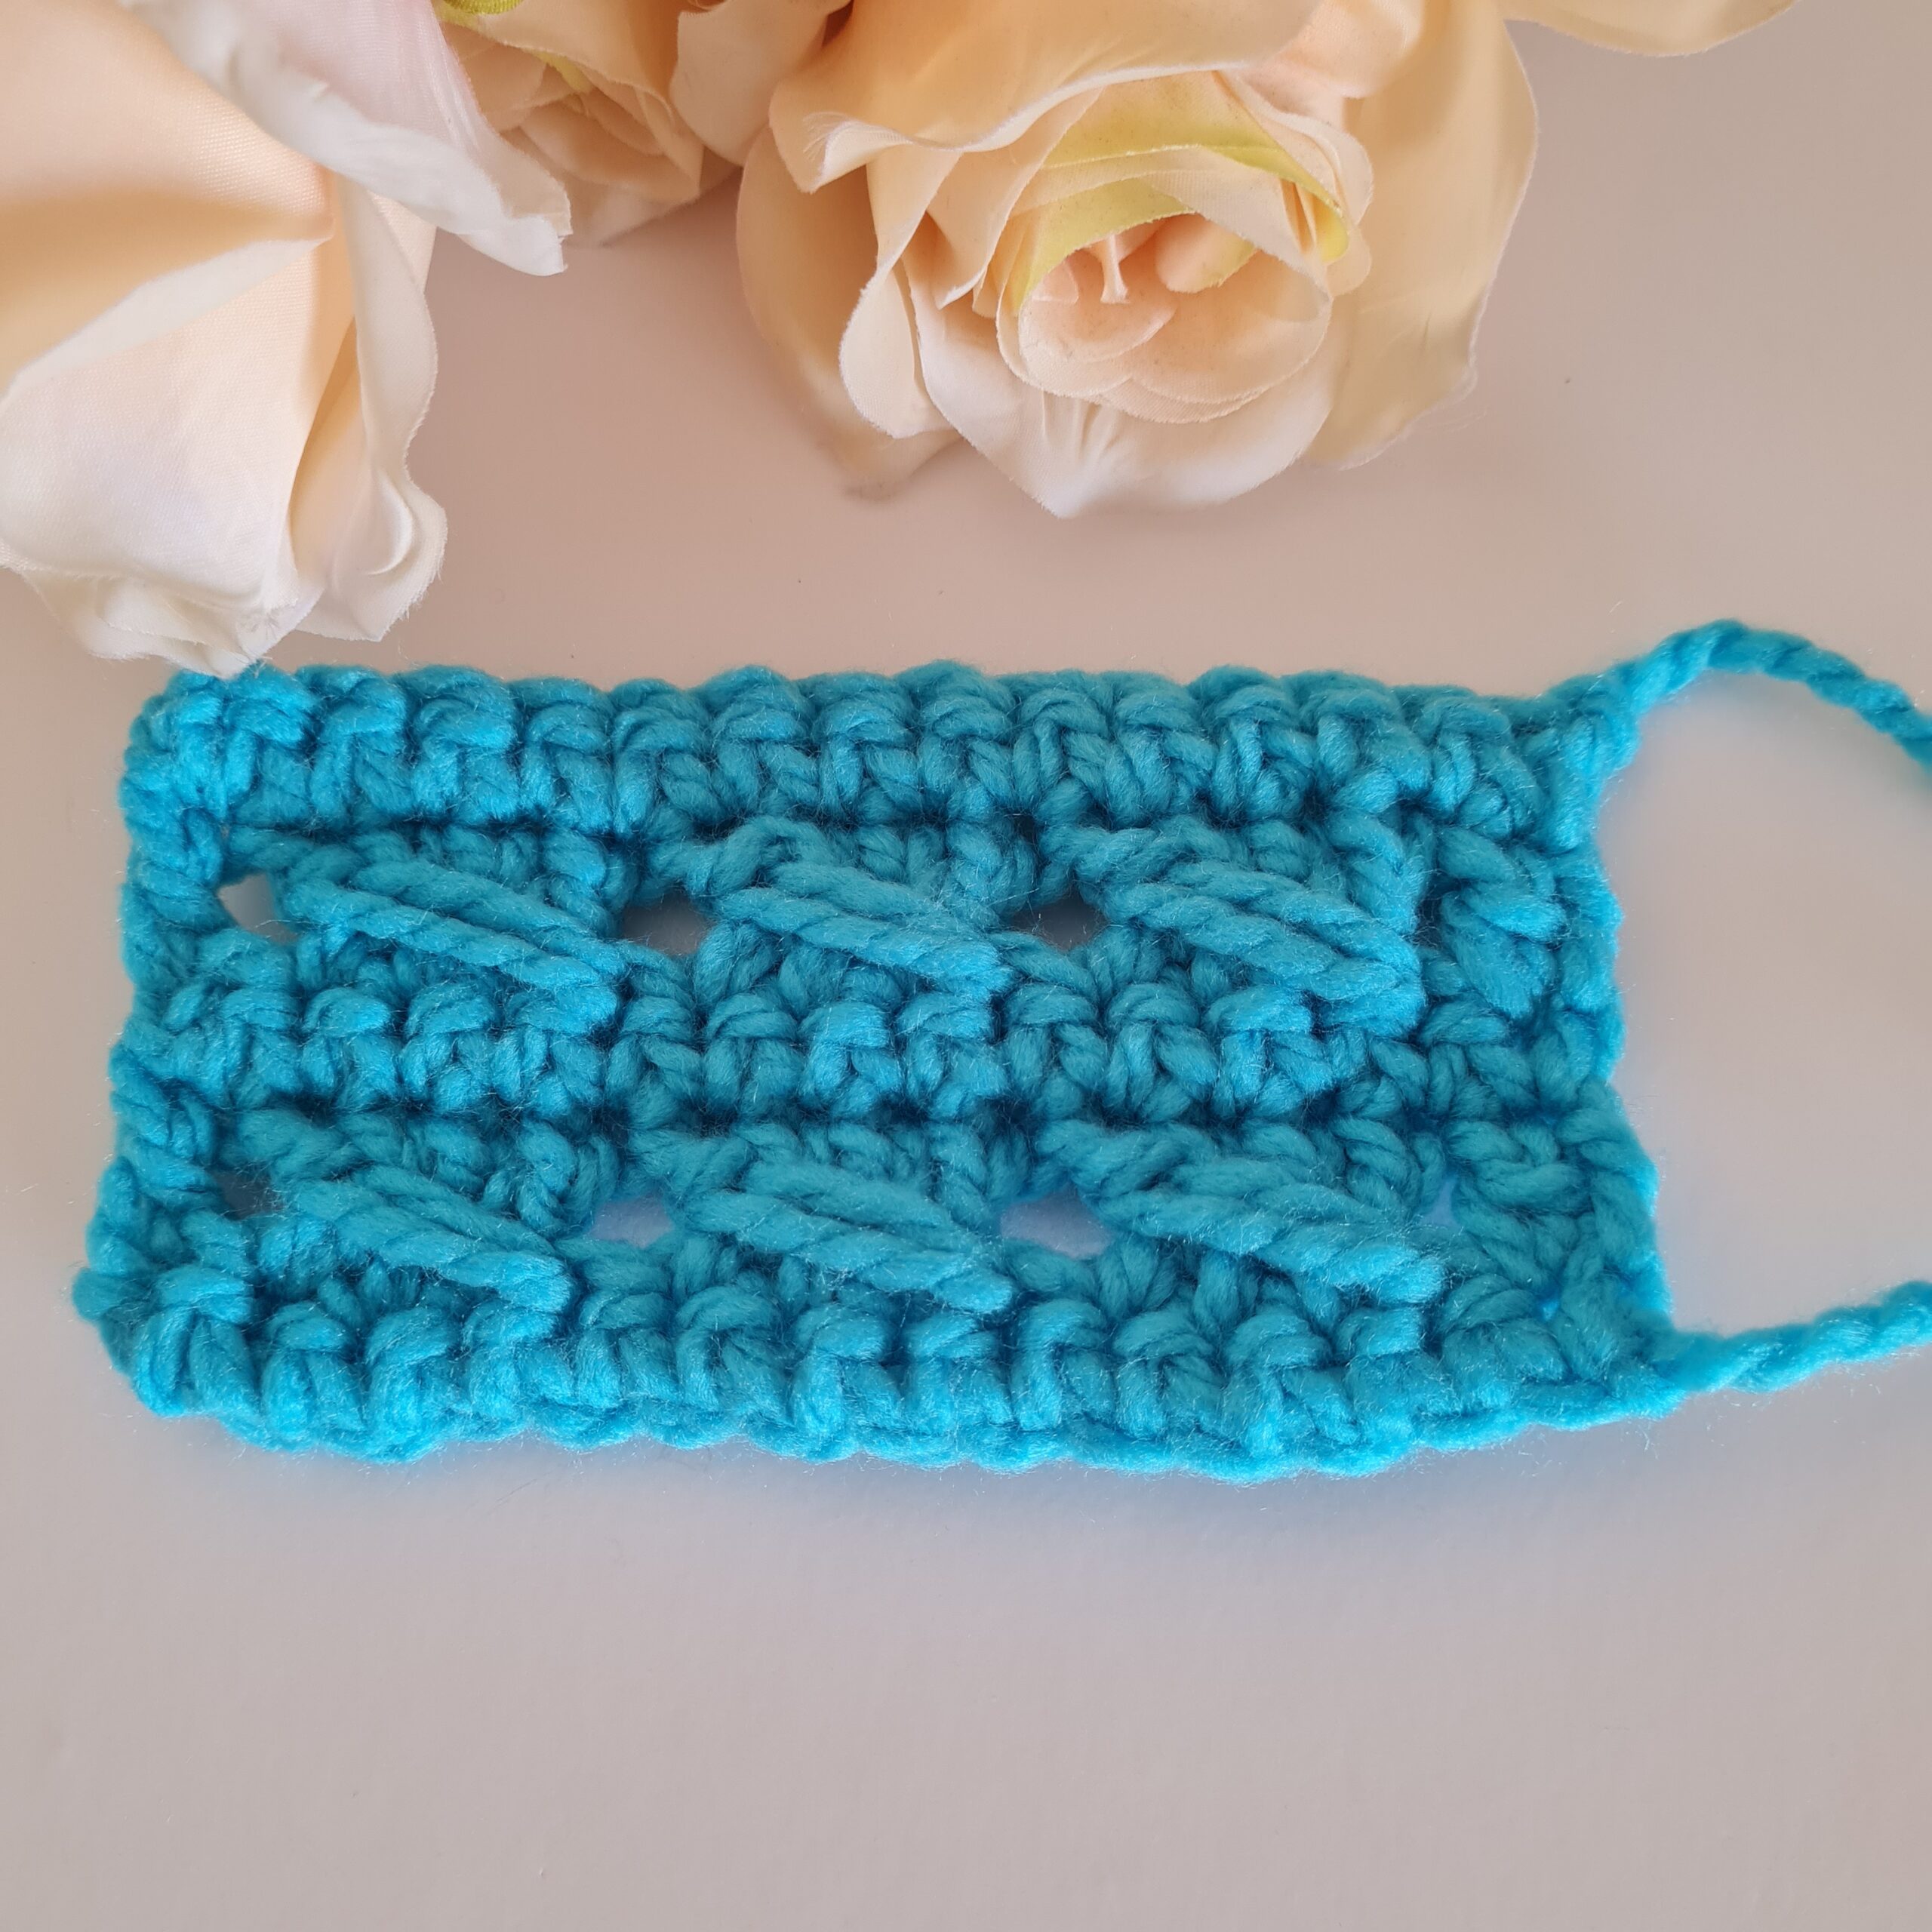
Crochet Waffle Stitch Tutorial
Love This Pattern? There’s More Where That Came From!
You will discover my complete collection of crochet patterns, tutorials, and resources, both free and premium all in one convenient place.
I know you’ll find something to inspire your next project🙃
All Things Crochet Start Here →
Pro Tips for the Waffle Stitch
- Avoid Busy Yarn Colors: While it’s tempting to use multicolored or variegated yarns, solid colors or subtle self-striping yarns work best. Variegated yarns can overpower the texture of the stitch.
- Watch Your Tension: Consistent tension is key for this stitch. If your front post stitches feel too tight, adjust your grip or hook size for a smoother finish.
- Row Tracking: If you’re working a large project, keep track of your rows with a notebook or row counter to maintain the waffle pattern.
Perfect Projects for the Waffle Stitch
This stitch works beautifully for a variety of projects. Here are a few ideas to inspire you:
- Cozy Blankets: The texture adds warmth and charm to any throw.
- Scarves and Cowls: The stitch is perfect for creating a snug, stylish winter accessory.
- Dishcloths or Washcloths: The raised texture is ideal for practical, everyday items.
- Sweaters or Cardigans: Give your garments a touch of dimensional flair.
The versatility of the Waffle Stitch means you can adapt it to any crochet project where a bit of texture is needed.
Wrap-Up
And that’s it! The Waffle Stitch is a beautiful and surprisingly simple pattern that can elevate your crochet projects. With a little practice, you’ll master this stitch and start incorporating it into all kinds of creations.
Do you have a project in mind for the Waffle Stitch? Share your ideas or finished works with the crochet community! And don’t forget to explore more tutorials and resources to keep expanding your crochet skills.
Happy crocheting, and see you in the next tutorial!
Be creative!
** Some of the links in this post may include affiliate links. Making a purchase through one of these links pays me a small referral fee at no added cost to you. These small fees add up and help me keep the blog running. View our Disclosure and Privacy Policy for more information.
Before you get started…
Check out my Favorite items and tools
Rechargeable LED night reading light on Amazon
Bamboo Hooks on Amazon
Colorful Bobby pins as crochet markers on Amazon
Do you want to save this post for later? Pin it!
Free ways to share and support me
- Favorite this pattern on Ravelry
- PIN on Pinterest
- Share in your story on Instagram
Click Here to share your finished project in our community!
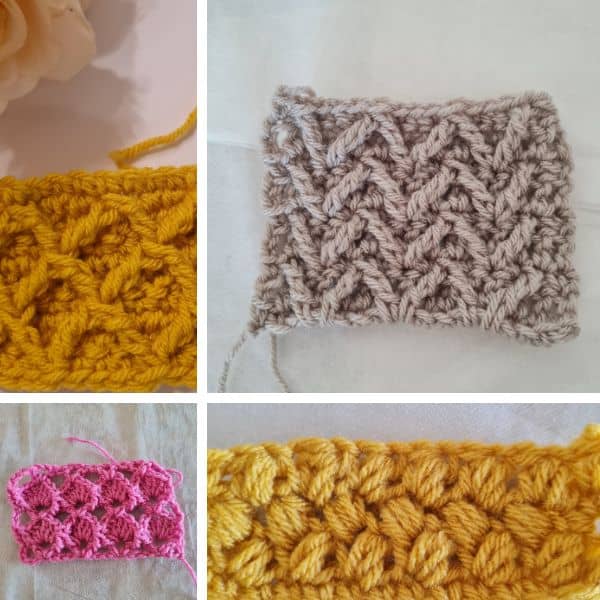
A new stitch steps
- When learning a new stitch, try several yarn weights and hook sizes to understand how the stitch works and looks.
- Use light yarn colors to get the right formation of the stitch.
- Make several swatches before starting a new project
Stay Calm and Crochet!😎
Sandra
Want to know more about me? This is my story
DISCLOSURE
AMAZON ASSOCIATES: Sandra Stitches is a participant in the Amazon Services LLC Associates Program, an affiliate advertising program designed to provide a means for sites to earn advertising fees by advertising and linking to Amazon.com.
This post contains links to products that I use and recommend, If you purchase any using my links I get a very small fee at no ad to you! Thank you for supporting my small biz!

