If you have ever finished crocheting a bag and thought it looks fine, but something is missing, this is the tutorial for you.
A picot border is the answer. It takes less than 20 minutes, uses the same yarn you already have, and completely transforms the edge of any crochet bag from unfinished to polished. I am going to show you exactly how to do it, step by step, even if you have never done a border before in your life.
The free written pattern is at the bottom of this post. Watch the video tutorial above first, then use the written pattern as your reference while you work.
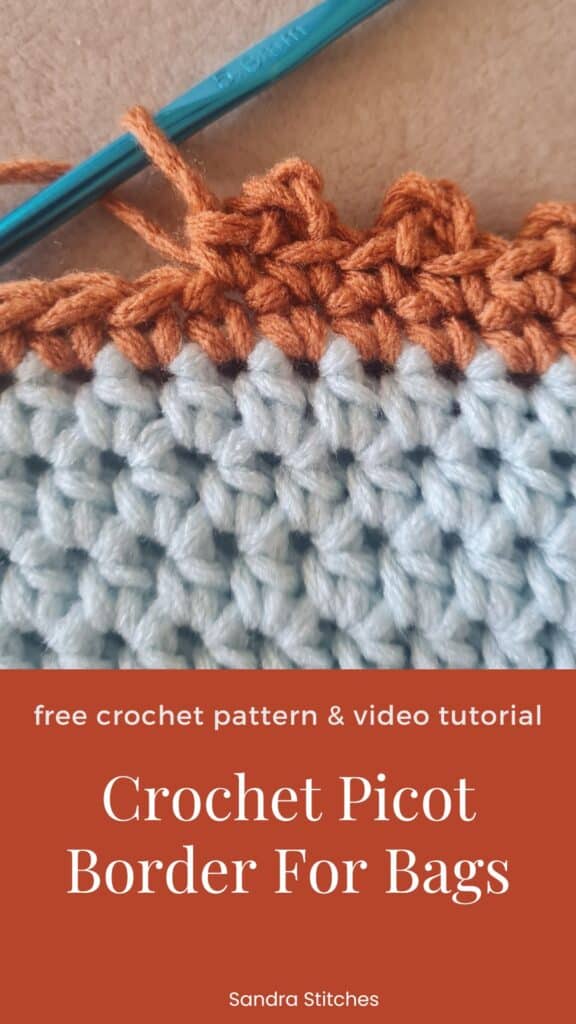
What Is a Crochet Picot Border?
A picot border is a decorative edging made up of tiny loops called picots that sit along the edge of your crochet project. Each picot is made with just a chain and a slip stitch, so there is no new technique to learn. If you can chain and slip stitch, you can do this border.
The picot border works on any crochet project including bags, scarves, blankets and dishcloths.
But it looks especially beautiful on bags because those little bumps add a handmade, finished look that makes your bag look like it came from a boutique, not a craft room.
Do you want to save this post for later? Go ahead and PIN IT!
What You Need
Before we start, gather these three things:
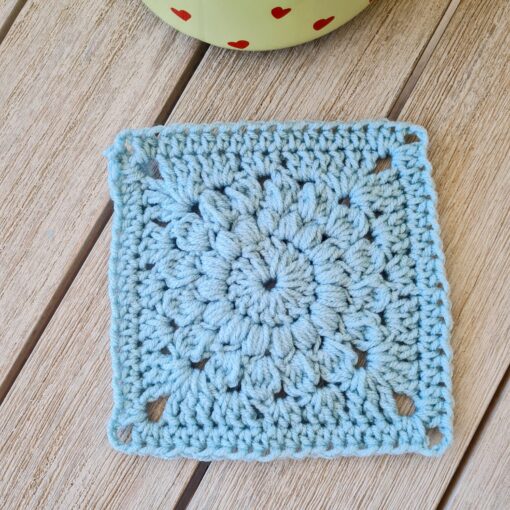
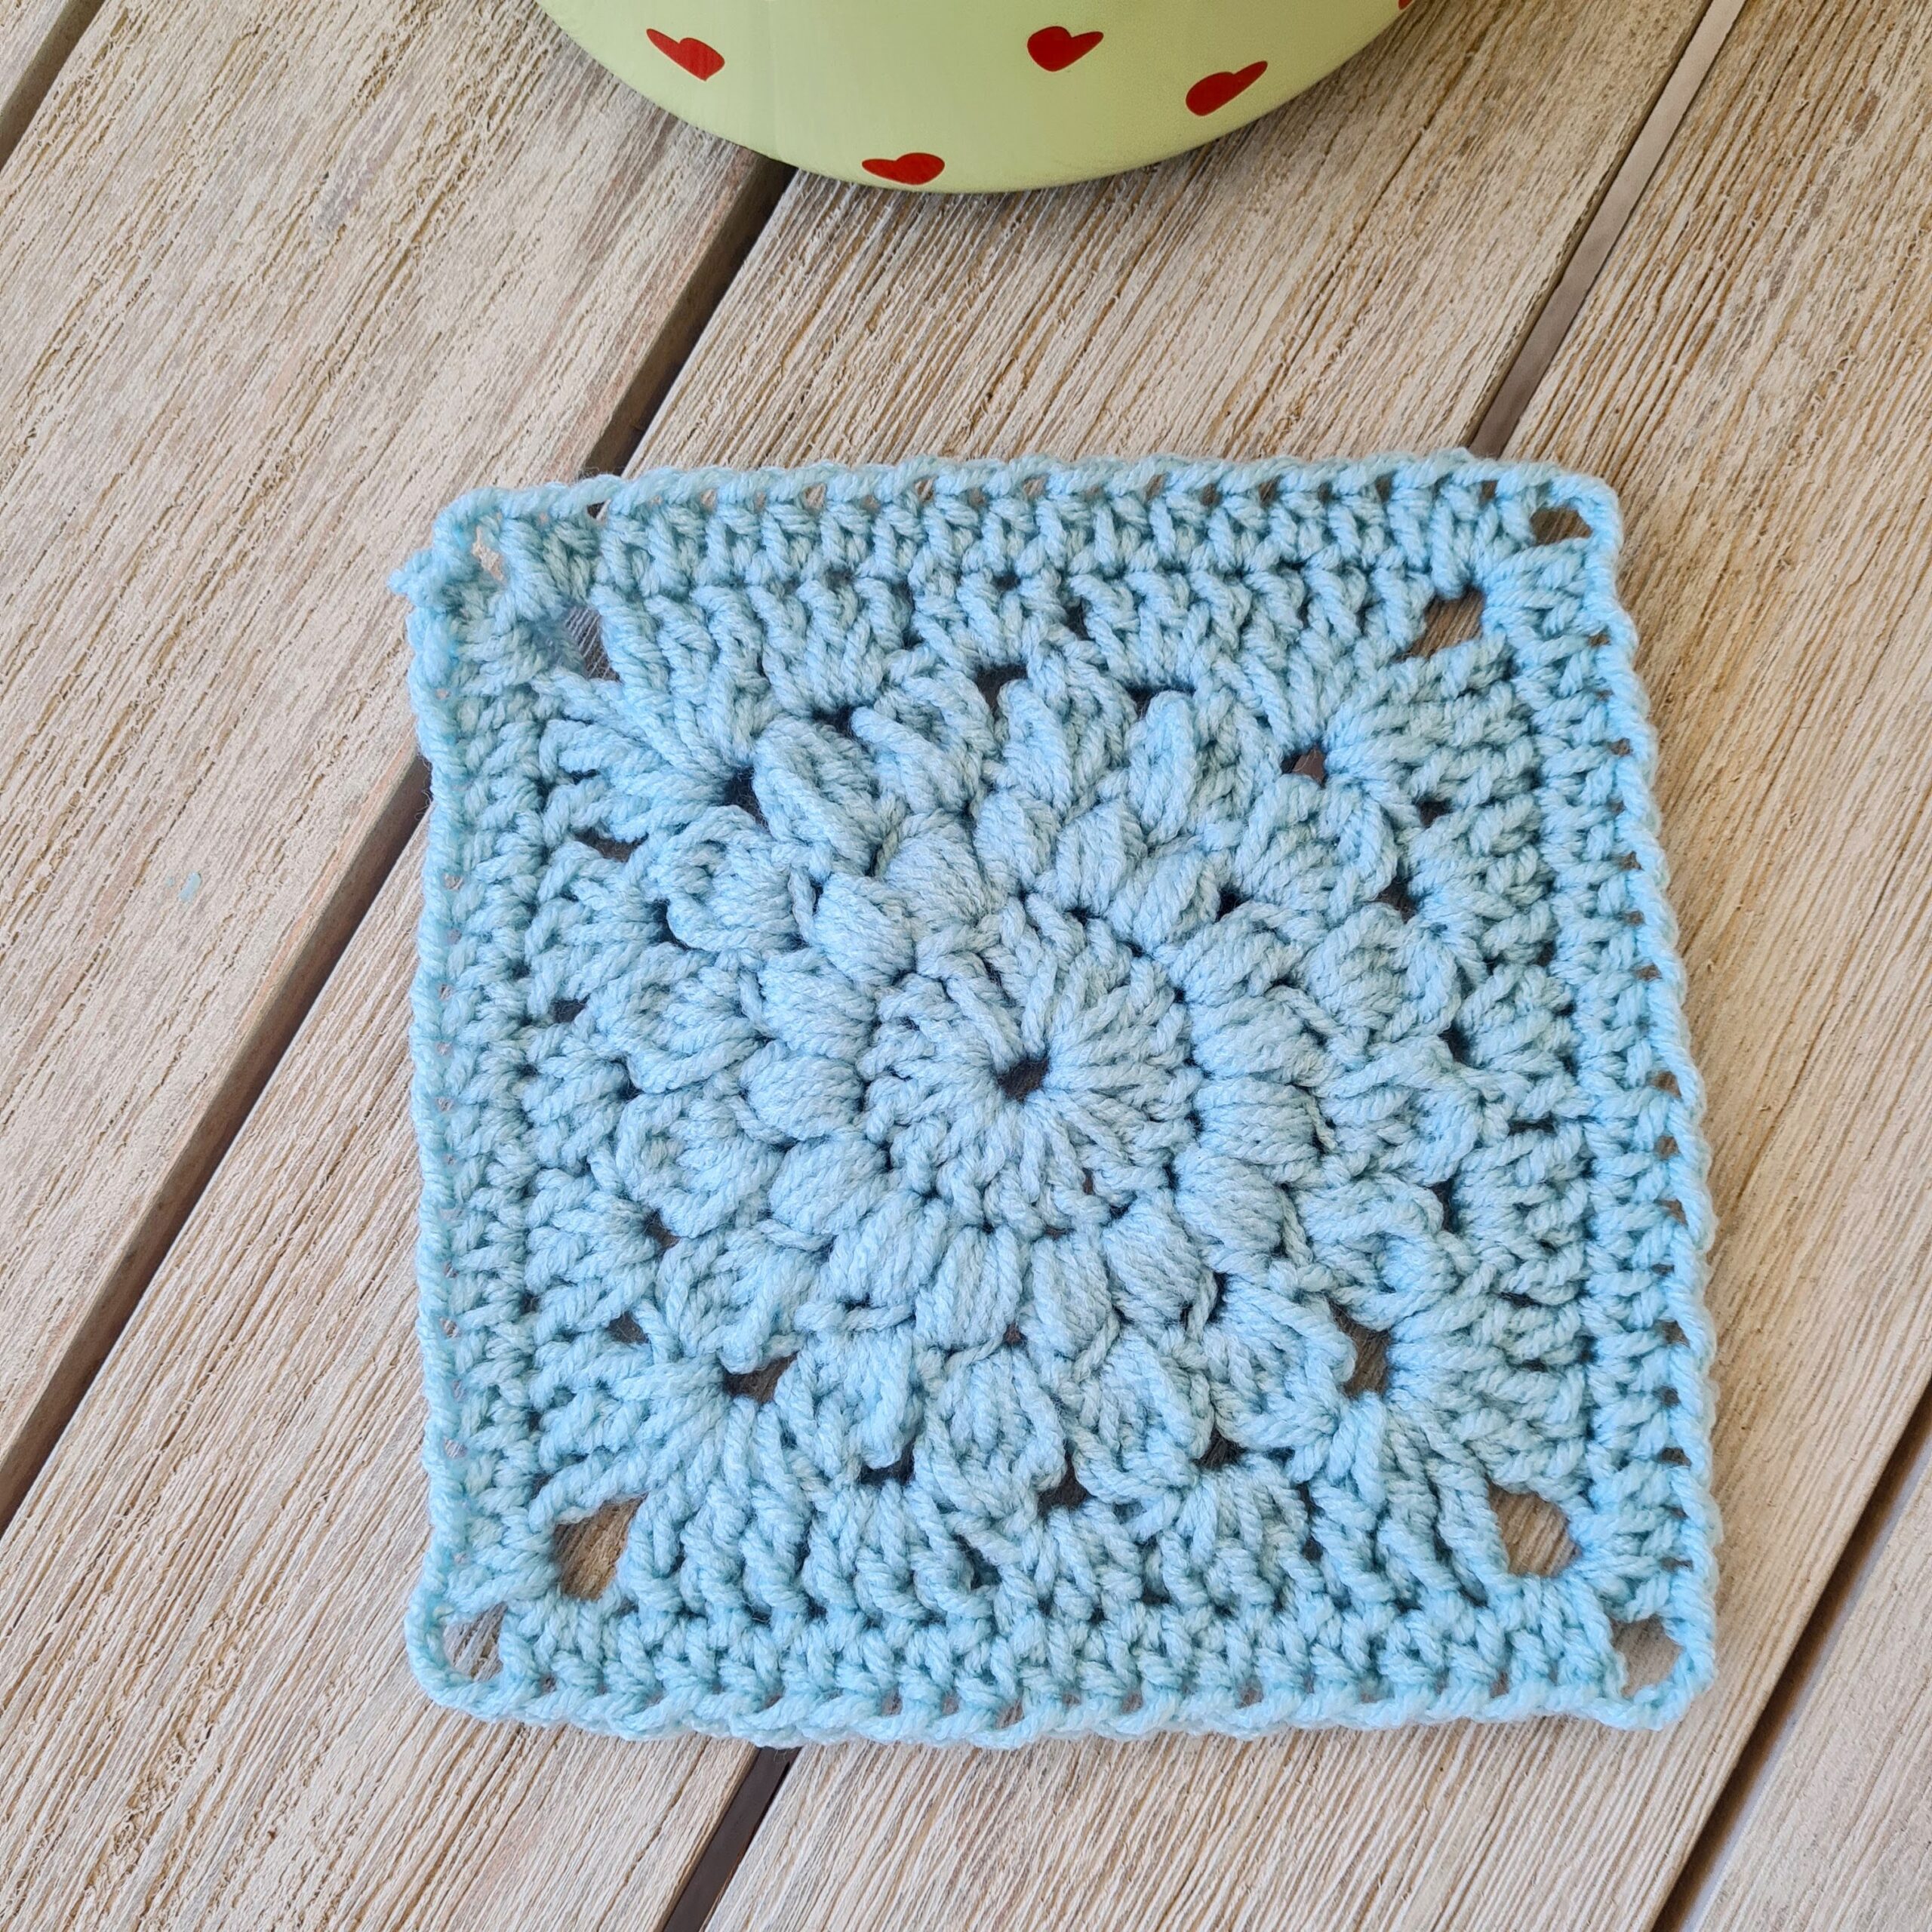
Your finished crochet bag in any size or stitch. Mine is a simple rectangle made with half double crochet stitches.
The same yarn weight you used for your bag. This is important, if you change the yarn weight, the border will not match the scale of your bag.
Use a contrasting color so every stitch is easy to see while you learn. Once you are comfortable you can work it in the same color as your bag.
The same hook size you used for your bag.
That is it. No special tools, no new yarn, no extra equipment.
** Some of the links in this post may include affiliate links. Purchasing from one of these links pays me a small referral fee at no added cost to you. These small fees add up and help me keep the blog running. View our Disclosure and Privacy Policy for more information.
How to Crochet a Picot Border for Bags
Step 1: Work a Foundation Round
Before the picot border, your bag needs a clean, even edge to work into. This foundation round gives you that.
Join your yarn to any corner stitch with a slip stitch. Chain one. Single crochet evenly all the way around the top edge of your bag. Work one single crochet per stitch along the top and bottom, and one single crochet per row along the sides. When you reach a corner, work three single crochets into the corner stitch to keep the edge flat and prevent pulling.
Slip stitch to join. Do not fasten off.
Step 2: Make the Picot Border
Now the picot round. Here is the complete stitch repeat. Read it once, then watch the video above to see it in motion before you try it yourself.
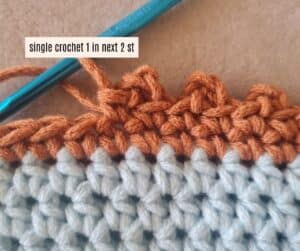
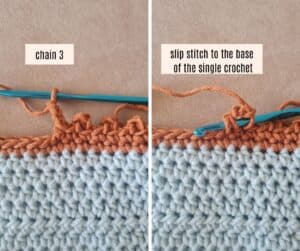
Single crochet into the first stitch. Chain three. Slip stitch back into that same single crochet you just made. This creates the picot bump. Single crochet into the next stitch.
That is the complete repeat: single crochet, chain three, slip stitch into that same single crochet, single crochet into next stitch.
Continue this repeat all the way around your bag.
If your bag is round, work the repeat continuously around with no adjustments. If your bag has corners, work 2 picots at each corner without a single crochet between them, then continue the regular repeat along the straight edges.
Step 3: Finish and Fasten Off
When you reach the end of the round, slip stitch to join your last single crochet to your first single crochet. Fasten off. Weave in your ends with a tapestry needle.
Your picot border is done.
Before you get started, check out my newest favorite finds!
Yarn Winder – a perfect crochet accessory
Steamer for Clothes – Portable, ideal for crochet projects
Blocking Mat – 12.5″ for all your squares
Tips for a Perfect Picot Border
Keep your tension even. The most common problem beginners have with picot borders is uneven spacing. Some picots end up tight and some end up loose. Take your time on the first few repeats until your hands find the rhythm.
Use a contrasting color the first time. I always recommend this for any border tutorial. When you can see every stitch clearly your hands learn the pattern much faster. Once you have done it once you will be able to work it confidently in any color.
The foundation round matters. Do not skip it. If you work the picot border directly into an uneven edge the whole border will pull and look crooked. The foundation round is five minutes of work that saves the entire project.
Love This Pattern? There’s More Where That Came From!
You will discover my complete collection of crochet patterns,
tutorials, and resources, both free and premium, all in one convenient place.
I know you’ll find something to inspire your next project🙃
Free Crochet Picot Border Pattern
Materials: The same yarn weight you used for your bag, in matching or contrasting colors. Same hook size you used for your bag Tapestry needle. Finished crochet bag
Abbreviations (US terms): SC = single crochet CH = chain SL ST = slip stitch
Foundation Round: Join yarn to any corner stitch with SL ST. CH 1. SC evenly around entire top edge of bag, working (Sc+ch1+Sc into each corner stitch if you have a rectangular bag). SL ST to join. Do not fasten off.
Picot Round: Ch 1,SC in 1st stitch. *CH 3. SL ST into that same SC just made (picot created). SC in next 2 stitches*. Repeat from * to * all the way around. If your bag is round, work the repeat continuously around the full round with no adjustments needed.
If your bag has corners, work 2or 3 picots at each corner without a single crochet between them, then continue the regular repeat along the straight edges.
SL ST to join. Fasten off. Weave in ends.
What to Make Next
Now that you know the picot border, you can add it to any bag you make. I have a whole series of crochet bag border tutorials coming to my channel
Next up is the Braid stitch border, which gives a completely different look but is just as beginner friendly.
If you want two exclusive crochet patterns every month that are never sold and never made free anywhere else, come and join the V-Stitch Club. It is five dollars a month and you can cancel any time. The link is below.
Save this post for later. You will want to come back to it the next time you finish a bag.
**This is an original Sandra Regev pattern: Owner /Designer of Sandra Stitches. This pattern may not be redistributed for free, sale, or trade, but finished products can be sold with credit to this shop – enjoy!
Looking for more tutorials 👇
Did you try this Pattern? Share a picture
Tag me on Instagram
@sandrastitchesil
Questions?
Ask and share in our
FREE Facebook Group
DISCLOSURE
AMAZON ASSOCIATES: Sandra Stitches is a participant in the Amazon Services LLC Associates Program, an affiliate advertising program designed to provide a means for sites to earn advertising fees by advertising and linking to Amazon.com.


